
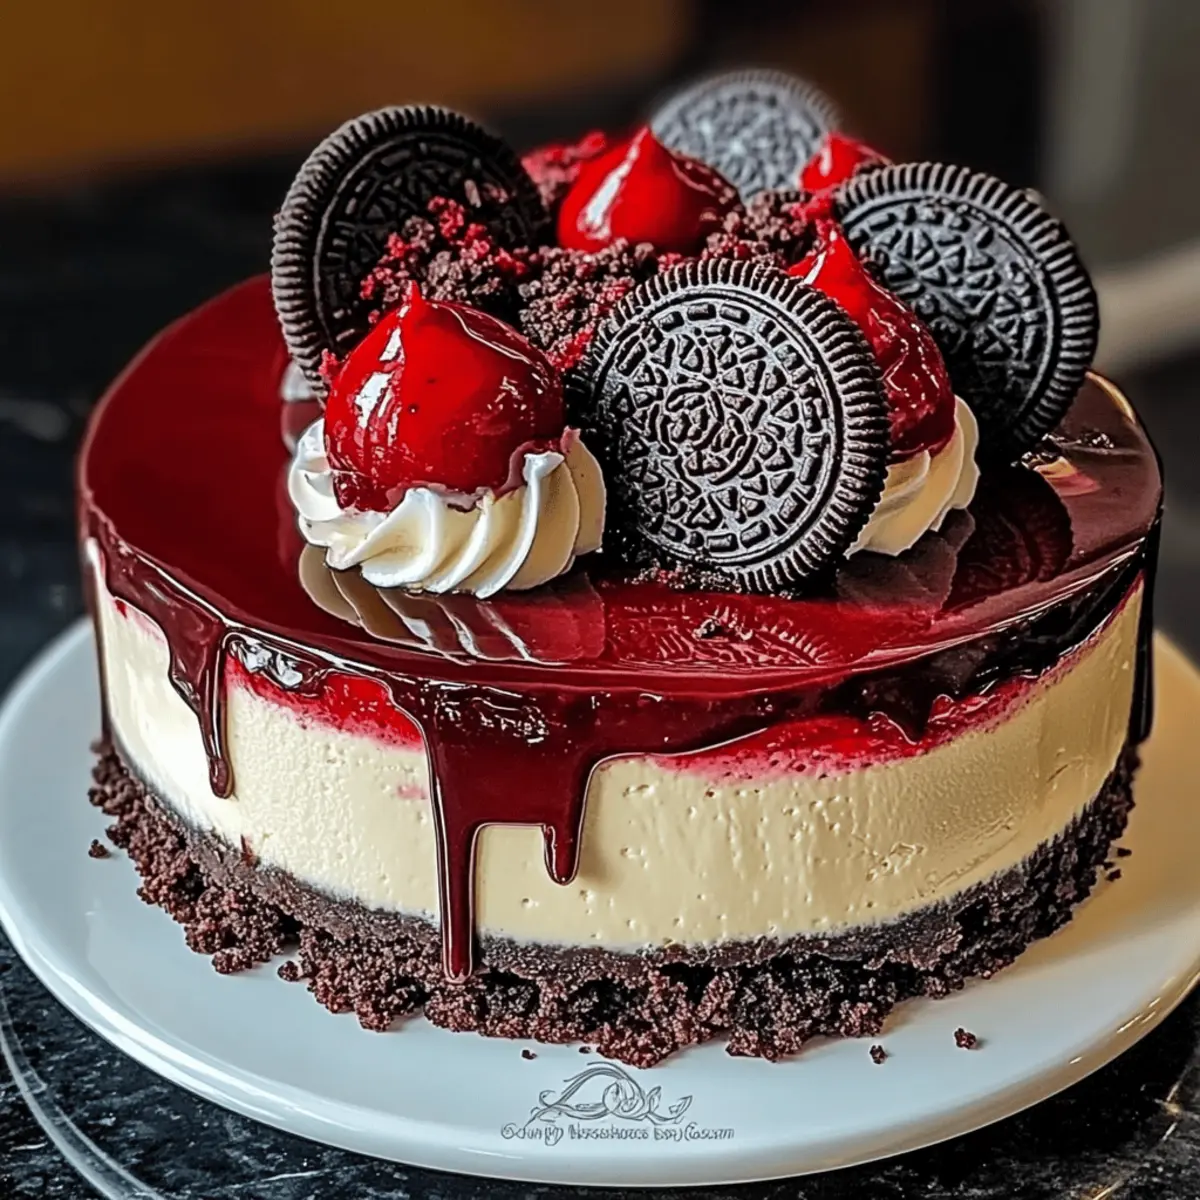
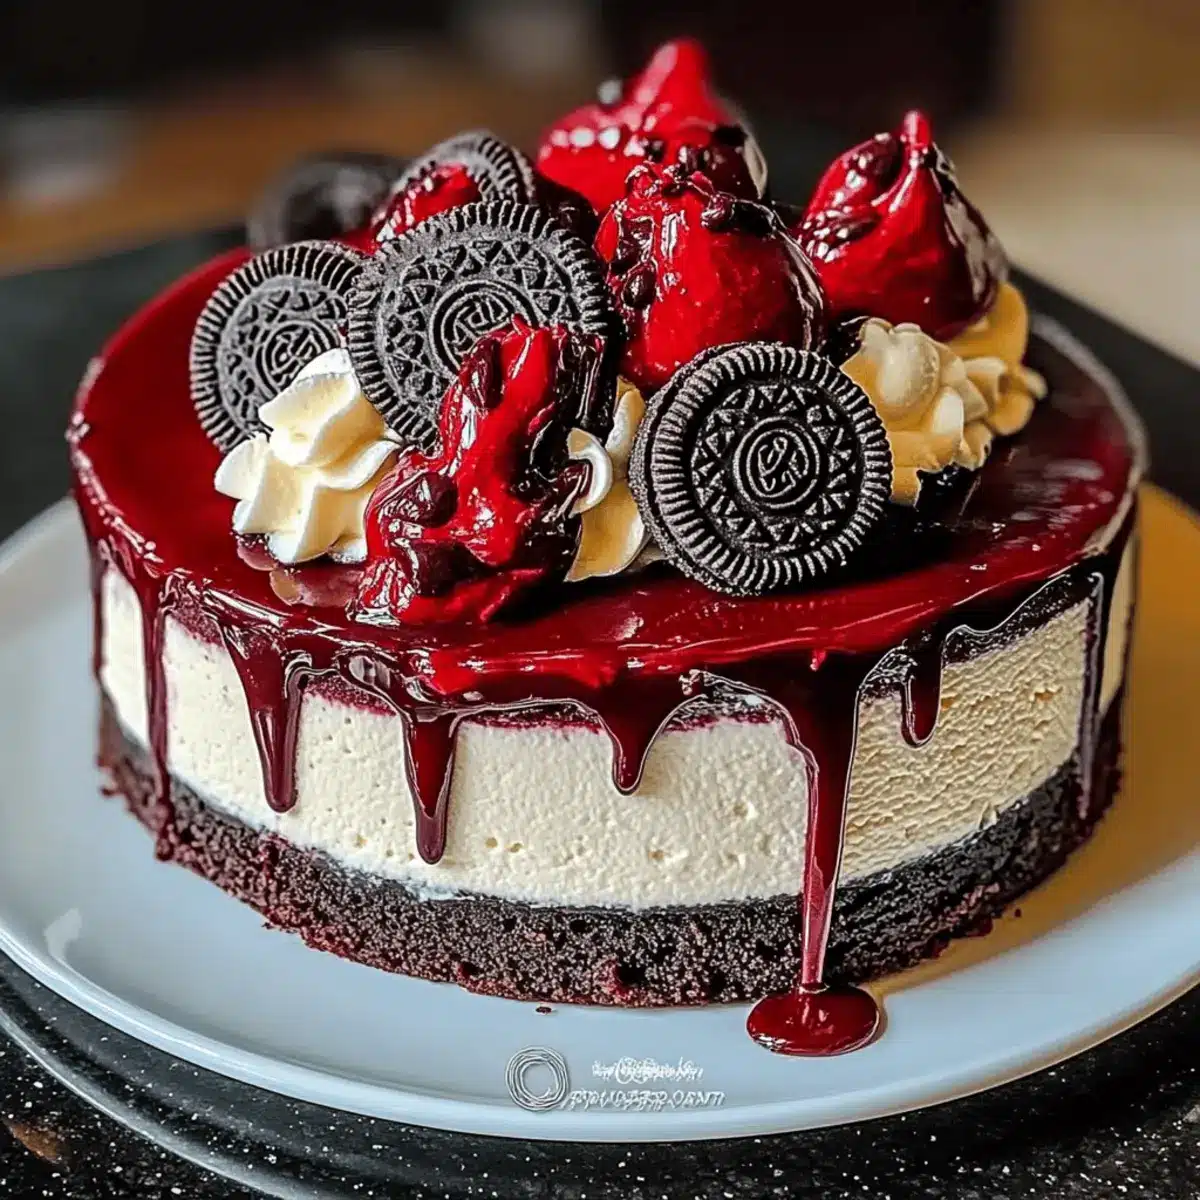
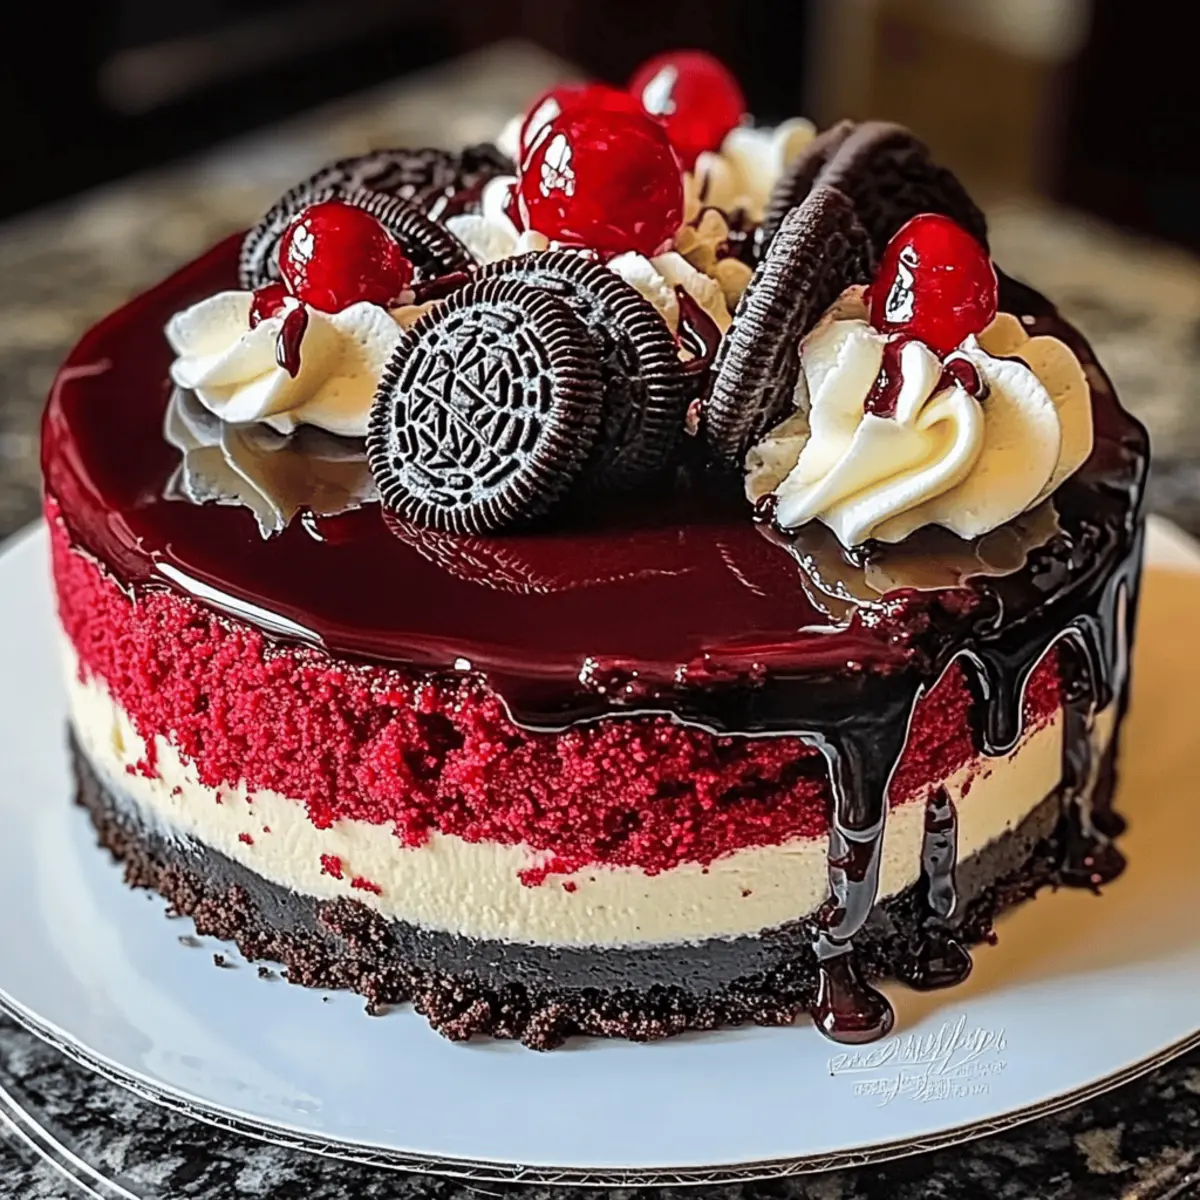
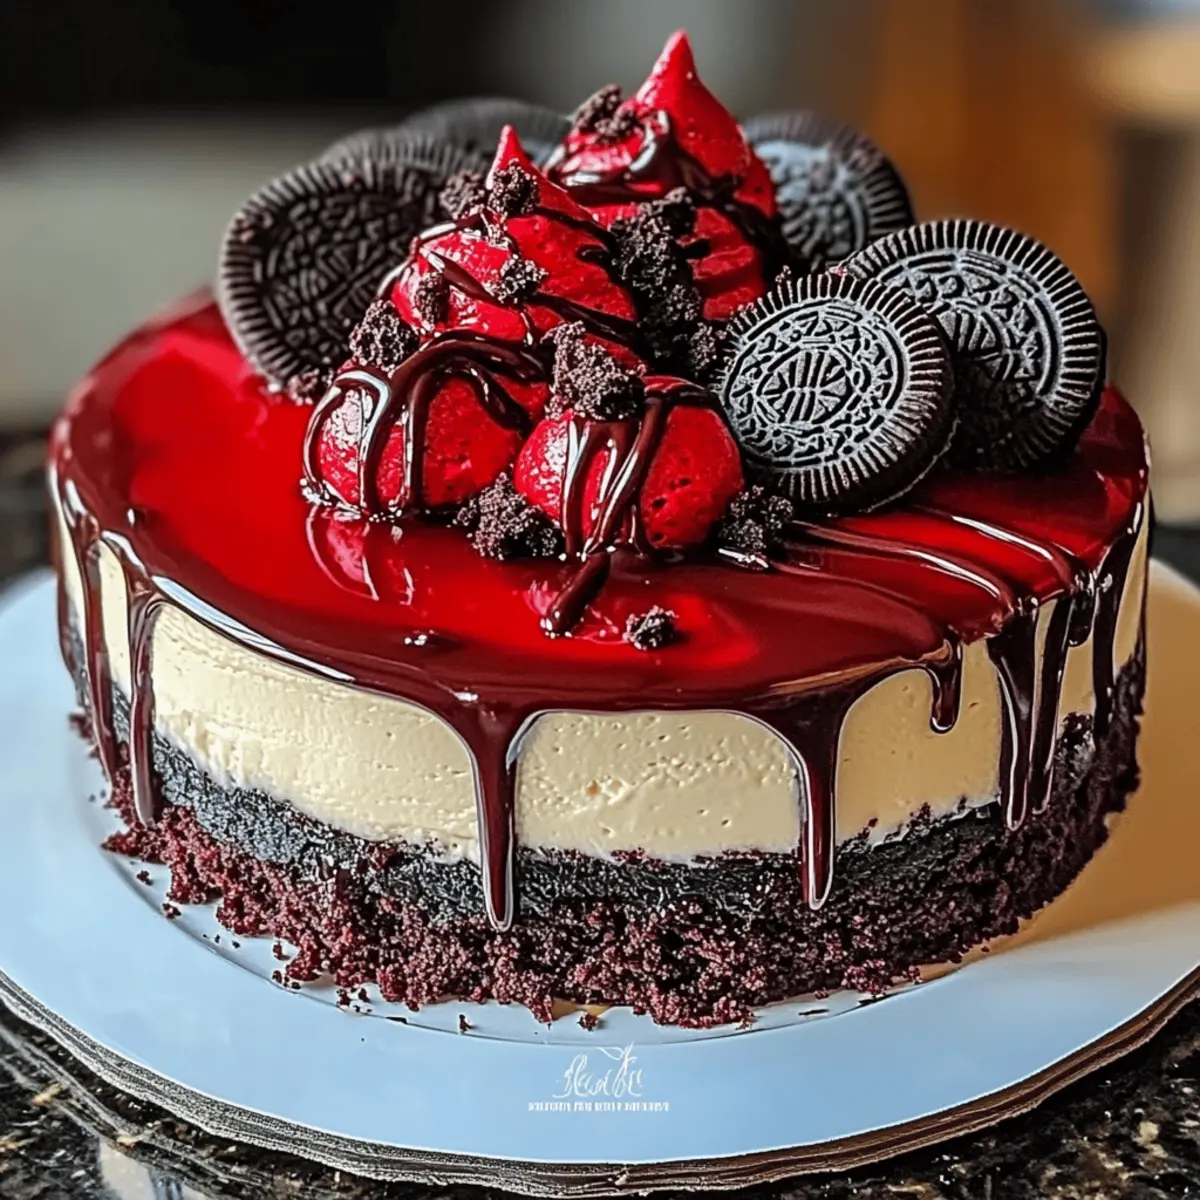
As I walked through the vibrant market, the rich, velvety hues of red velvet cake caught my eye, sending a wave of nostalgia crashing over me. That timeless dessert is not just a treat for the taste buds; it’s a celebration on a plate. Enter my Red Velvet Oreo Cheesecake—a sumptuous creation that perfectly marries the classic allure of red velvet with the delightful crunch of an Oreo crust. Why settle for ordinary when you can impress your loved ones with this layered cheesecake that’s as stunning as it is indulgent? Not only is it a show-stopper for special occasions, but its easy prep makes it a wonderful choice anytime a sweet craving strikes. Are you ready to elevate your dessert game and dive into a slice of this delightful fusion?
Why is This Cheesecake So Special?
Irresistible flavors collide: The combination of rich cream cheese and velvety red velvet creates a taste sensation that’s hard to resist.
Decadent crunch: The Oreo crust adds a delightful texture, making each bite a perfect balance of creaminess and crunch.
Celebrate every occasion: Ideal for birthdays, holidays, or simply when you want to wow guests, this cheesecake is always a hit!
Easy to prepare: With straightforward steps, you’ll be baking a masterpiece in no time. Plus, this dessert can be made a day ahead, allowing flavors to meld beautifully, giving you more time to enjoy your celebration!
Visually stunning: The vibrant color and glossy ganache will not only taste divine but also impress anyone lucky enough to get a slice. Don’t miss out on this show-stopping treat!
Red Velvet Oreo Cheesecake Ingredients
Indulge in the delights of home baking with these key components!
For the Crust
- Oreo Cookies – The base crust element providing chocolate flavor and crunch; you can substitute with chocolate graham crackers for a different twist.
- Unsalted Butter – Binds the Oreo crust together; ensure it’s melted before mixing with the crumbs.
For the Cheesecake Filling
- Cream Cheese – The primary ingredient adding creaminess to the cheesecake; be sure it’s at room temperature for easy blending.
- Granulated Sugar – Sweetens the cheesecake mixture; adjust it based on your taste preferences.
- Eggs – Provides structure and richness; add them one at a time to maintain a silky smooth batter.
- Red Velvet Cake Mix – Adds rich flavor and color to the cheesecake; you can skip food coloring for a subtler hue without affecting taste.
- Vanilla Extract – Enhances the flavor profile; don’t skip this little extra touch!
For the Ganache Topping
- Heavy Cream – Contributes richness to the ganache; ensure it’s heavy cream for the best texture.
- Chocolate Chips – The main ingredient for the chocolate ganache; opt for high-quality chocolate for maximum flavor.
Let your tastebuds dance in anticipation as you gather these ingredients for your mouthwatering Red Velvet Oreo Cheesecake!
Step‑by‑Step Instructions for Red Velvet Oreo Cheesecake
Step 1: Prepare the Crust
Start by preheating your oven to 350°F (175°C). In a mixing bowl, crush the Oreo cookies into fine crumbs using a food processor or a rolling pin. Combine the crumbs with melted unsalted butter, mixing until moistened. Press this mixture firmly and evenly into the bottom of a 9-inch springform pan to form a solid crust. Bake for 10 minutes, then let it cool while preparing the filling.
Step 2: Make Cream Cheese Mixture
In a large mixing bowl, use an electric mixer to beat the room-temperature cream cheese and granulated sugar together until smooth and creamy, about 3 minutes. Add the eggs one at a time, mixing on low speed until just incorporated. Pour in the vanilla extract and the red velvet cake mix, then blend until smooth. Be careful not to overmix to keep your Red Velvet Oreo Cheesecake from cracking.
Step 3: Layer Cheesecakes
Once your crust has cooled, pour half of the cream cheese mixture over the crust, spreading it evenly with a spatula. If desired, add a layer of plain cheesecake filling on top for a classic contrast. Finally, pour the remaining red velvet cheesecake mixture over the top, smoothing it out. This layering technique creates a beautiful finish for your stunning dessert.
Step 4: Bake the Cheesecake
Place the springform pan in the preheated oven and bake the cheesecake for about 45-50 minutes. You’ll know it’s ready when the edges are set and the center is slightly jiggly. Avoid opening the oven door during baking to prevent cracks. Once done, turn off the oven and leave the cheesecake inside for an additional hour to cool gradually.
Step 5: Cool & Chill
After one hour, remove the cheesecake from the oven and let it cool to room temperature. Once cooled, cover the springform pan with plastic wrap and refrigerate for at least 6 hours or overnight. This chilling time allows the flavors of your Red Velvet Oreo Cheesecake to meld beautifully and helps achieve a perfect, creamy texture.
Step 6: Prepare the Ganache
In a small saucepan over medium heat, bring heavy cream to a simmer. Remove from heat and pour the hot cream over chocolate chips in a heat-proof bowl. Let it sit for 2-3 minutes before stirring until smooth and glossy. If the ganache seems too runny, refrigerate it for a few minutes until it thickens to the desired consistency.
Step 7: Top & Serve
Once your Red Velvet Oreo Cheesecake is thoroughly chilled, carefully pour the ganache over the top, allowing it to drizzle down the sides. Let it set at room temperature for about 30 minutes before slicing. If you wish, add decorative touches like swirls of whipped cream or fresh berries before serving to enhance the visual appeal of your gorgeous dessert.
Make Ahead Options
These Red Velvet Oreo Cheesecake are perfect for busy home cooks looking to simplify their meal planning! You can easily prepare the crust and cheesecake filling up to 24 hours in advance; simply store them separately in the refrigerator to maintain their freshness. To do this, prepare the crust and let it cool before covering it with plastic wrap. For the filling, mix together the cream cheese, sugar, eggs, and red velvet cake mix, then refrigerate it in an airtight container. When you’re ready to bake, pour the filling over the crust and follow the baking instructions as normal. This approach not only saves time but ensures your cheesecake is just as delicious when it’s time to serve!
What to Serve with Red Velvet Oreo Cheesecake
Elevate your dessert experience with scrumptious sides that beautifully complement your indulgent creation.
- Whipped Cream: Light and airy, a dollop of whipped cream adds a delightful contrast to the rich cheesecake.
- Fresh Berries: Bright, tangy berries like strawberries or raspberries not only add color but also a refreshing burst of flavor.
- Chocolate Covered Strawberries: Luxurious and romantic, these add an elegant touch that pairs perfectly with the chocolate ganache.
- Coffee or Espresso: A warm cup of coffee enhances the cheesecake’s flavors, creating a comforting and satisfying experience.
- Ice Cream: Vanilla or red velvet ice cream can add an extra layer of indulgence, making every slice even more irresistible.
- Mint Leaves: A sprinkle of fresh mint not only beautifies the presentation but also adds a refreshing note to the decadent dessert.
Each of these accompaniments brings its own unique flavors and textures, creating a harmonious and luxurious experience that will delight every palate!
Tips for the Best Red Velvet Oreo Cheesecake
-
Room Temperature Ingredients: Allow all ingredients, especially cream cheese and eggs, to reach room temperature for a smooth, lump-free batter.
-
Avoid Overmixing: Gently mix in the eggs one at a time to prevent cracks in the cheesecake. Overmixing can lead to air bubbles.
-
Chill Overnight: For optimal flavor fusion and texture, make your Red Velvet Oreo Cheesecake a day in advance and let it chill overnight.
-
Prevent Sinking Layers: When layering, pour the cream cheese mixture slowly to minimize disruption of the crust and achieve a beautiful layered effect.
-
Use Quality Chocolate: Choose high-quality chocolate for your ganache to enhance the overall flavor and make every bite irresistible!
Red Velvet Oreo Cheesecake Variations
Embrace your creativity and personalize this decadent dessert to suit your tastes and occasion!
-
Gluten-Free Crunch: Swap Oreos for gluten-free chocolate cookies to make the crust suitable for gluten-sensitive friends without sacrificing crunch.
-
Double Chocolate Delight: Add chocolate chips to the cheesecake filling for an extra chocolaty surprise in every bite. This twist highlights the rich flavors beautifully!
-
Low-Sugar Option: Substitute granulated sugar for a sugar alternative like erythritol or stevia; enjoy the same creamy texture with reduced sweetness.
-
Coconut Infusion: Use coconut cream instead of heavy cream in the ganache for a tropical twist that adds a subtle sweetness and exotic flair to your cheesecake.
-
Nutty Flavor Boost: Fold in crushed nuts, such as pecans or walnuts, into the cheesecake for added texture and flavor. The crunch pairs excellently with the creaminess!
-
Fruity Surprise: Top your cheesecake with fresh fruit, such as raspberries or strawberries, to balance the richness. A touch of brightness from the fruit elevates the entire experience.
-
Layered Cheesecake Twist: Create a marble effect by gently swirling in some plain cheesecake batter alongside the red velvet mixture before baking. This visual effect is just as delightful as it tastes!
-
Spicy Kick: Add a pinch of cayenne pepper or ground cinnamon to the batter for a surprising and exciting twist that warms the palate, making your dessert even more memorable.
Feel inspired? These variations are designed for you to explore and customize your Red Velvet Oreo Cheesecake. Check out best cheesecake tips for more strategies to nail that perfect texture! If you’re in the mood for something fruity, consider topping it with fresh berries to add a colorful finish that brightens every slice. Happy baking!
How to Store and Freeze Red Velvet Oreo Cheesecake
Fridge: Store leftover cheesecake in an airtight container in the refrigerator for up to 5 days to keep it fresh and delicious.
Freezer: If you’d like to enjoy your Red Velvet Oreo Cheesecake later, wrap it tightly in plastic wrap and then in aluminum foil before freezing for up to 2 months.
Thawing: To enjoy frozen cheesecake, transfer it to the fridge and let it thaw overnight for the best texture and flavor.
Reheating: While cheesecake is best enjoyed chilled, if you prefer a warm slice, gently warm it in the microwave for about 15-20 seconds.
Red Velvet Oreo Cheesecake Recipe FAQs
What kind of Oreo cookies should I use for the crust?
Absolutely go with classic Oreos for that rich chocolate flavor and crunch! If you’re feeling adventurous, you can also use chocolate graham crackers for a different twist. Just remember to crush them finely and mix well with melted butter to create that perfect crust.
How do I store my Red Velvet Oreo Cheesecake?
Store any leftovers in an airtight container in the refrigerator for up to 5 days. This way, it will maintain its delightful creamy texture and flavors. If you find yourself with a lot of cheesecake, you can also freeze it!
Can I freeze Red Velvet Oreo Cheesecake?
Certainly! To freeze, wrap the cheesecake tightly in plastic wrap, followed by aluminum foil to protect it from freezer burn. It can be stored for up to 2 months. When you’re ready to enjoy, simply transfer it to the fridge and let it thaw overnight for the best results.
What if my cheesecake cracks while baking?
No worries! Cracks can happen due to overmixing the batter or sudden changes in temperature. To prevent this, mix the eggs in gently one at a time and avoid opening the oven door during baking. If it does crack, you can always cover it with the ganache, which will add extra charm and deliciousness!
Is this cheesecake suitable for those with allergies?
Always check for specific allergens! This Red Velvet Oreo Cheesecake contains dairy (cream cheese and heavy cream) and gluten (Oreo cookies). If you have gluten sensitivities, consider using gluten-free Oreos. For dairy-free versions, you can substitute cream cheese with a plant-based alternative and find a dairy-free chocolate for the ganache.
Can I make this cheesecake in advance?
Yes, indeed! In fact, making it a day ahead allows all the flavors to meld beautifully and enhances the overall texture. Prepare the cheesecake, chill it overnight, and you’ll be ready to impress your guests with a truly decadent dessert.
Irresistible Red Velvet Oreo Cheesecake for Special Celebrations
Ingredients
Equipment
Method
- Preheat your oven to 350°F (175°C). Crush Oreo cookies into fine crumbs and combine with melted butter. Press into a 9-inch springform pan to form a crust and bake for 10 minutes. Allow to cool.
- Beat cream cheese and sugar together until smooth. Add eggs one at a time, then mix in vanilla extract and red velvet cake mix until smooth.
- Pour half of the cream cheese mixture over the crust, then add a layer of plain cheesecake filling if desired, followed by the remaining red velvet mixture.
- Bake for 45-50 minutes, until edges are set and center is slightly jiggly. Turn off the oven and let the cheesecake cool inside for an hour.
- After an hour, cool to room temperature, then cover and refrigerate for at least 6 hours or overnight.
- Make the ganache by simmering heavy cream, then pour over chocolate chips and stir until smooth. Chill if too runny.
- Once chilled, pour ganache over the cheesecake, let it set, and serve with optional garnishes.
Leave a Reply