
There’s something magical about the combination of rich chocolate cake and airy mousse, isn’t there? This Easy Chocolate Mousse Cake is my go-to dessert whenever I want to wow friends or simply indulge myself after a long day. It transforms ordinary moments—like a family dinner or a quiet evening at home—into something extraordinary. The best part? This recipe is not only simple enough for bakers of any skill level to master, but it also makes an irresistible treat that pleases everyone. With quick prep time and a crowd-pleasing flavor, you’ll feel like a professional pastry chef with every slice. Ready to learn how to bring this delightful dessert to your table? Let’s dive into the layers of chocolatey goodness!
Why is This Cake So Irresistible?
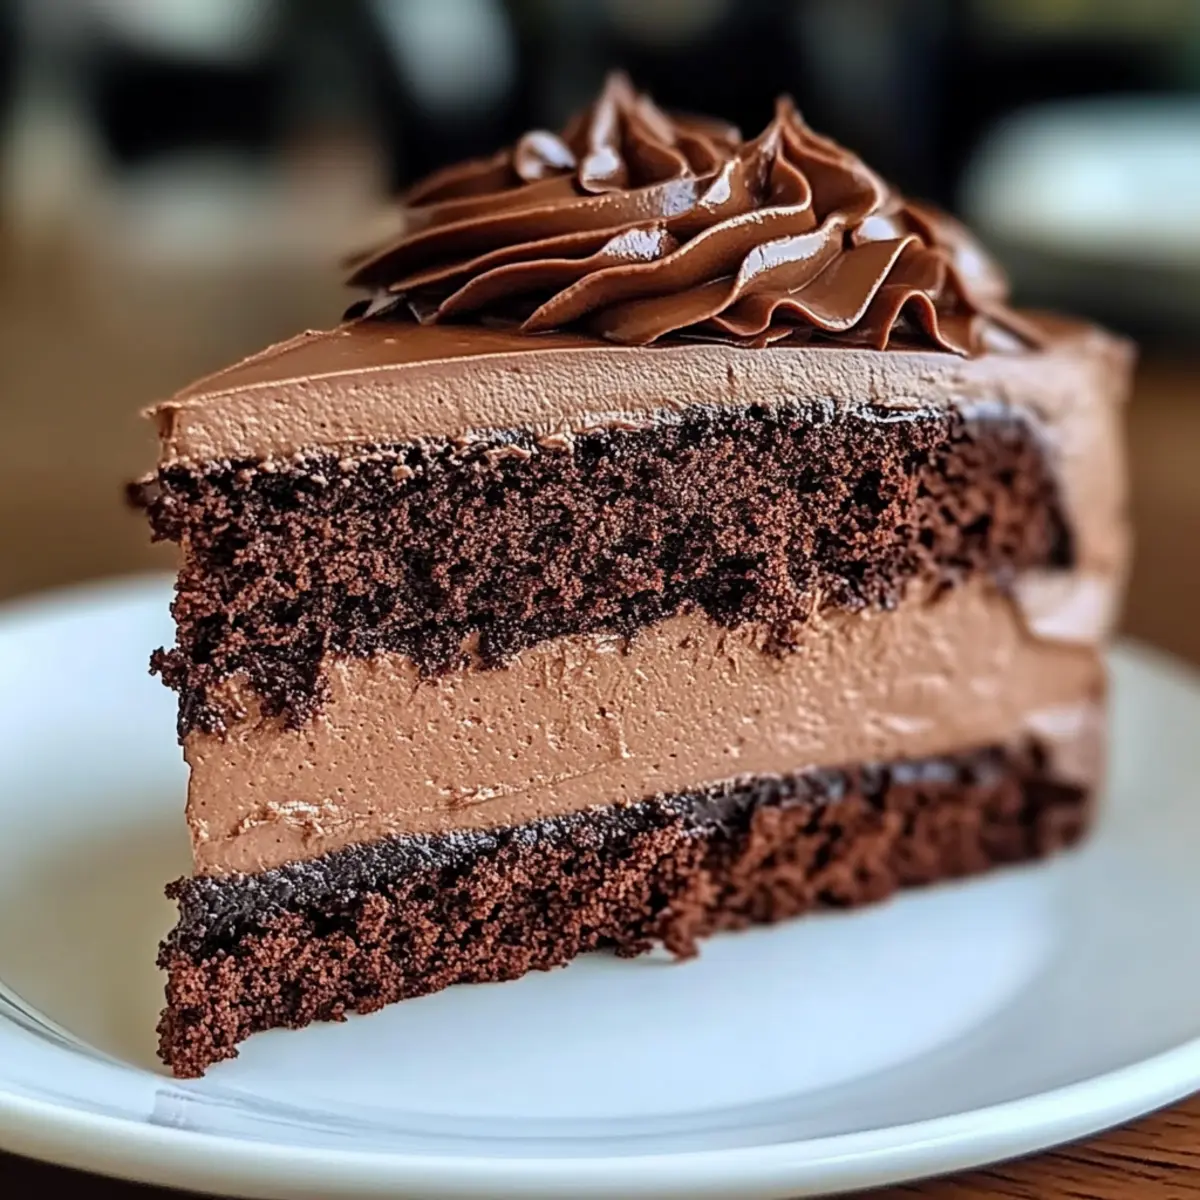
Decadent Texture: This cake layers a moist chocolate base with airy mousse, creating a heavenly combination that melts in your mouth.
Effortless Elegance: Perfect for any gathering, impressing your guests with minimal effort—it’s practically foolproof!
Versatile Flavors: Customize with your favorite chocolate types or add a zesty hint of orange or peppermint for a delightful twist.
Quick Assembly: With a fast prep time, you can whip this up even on a busy weeknight, making it ideal for last-minute treats.
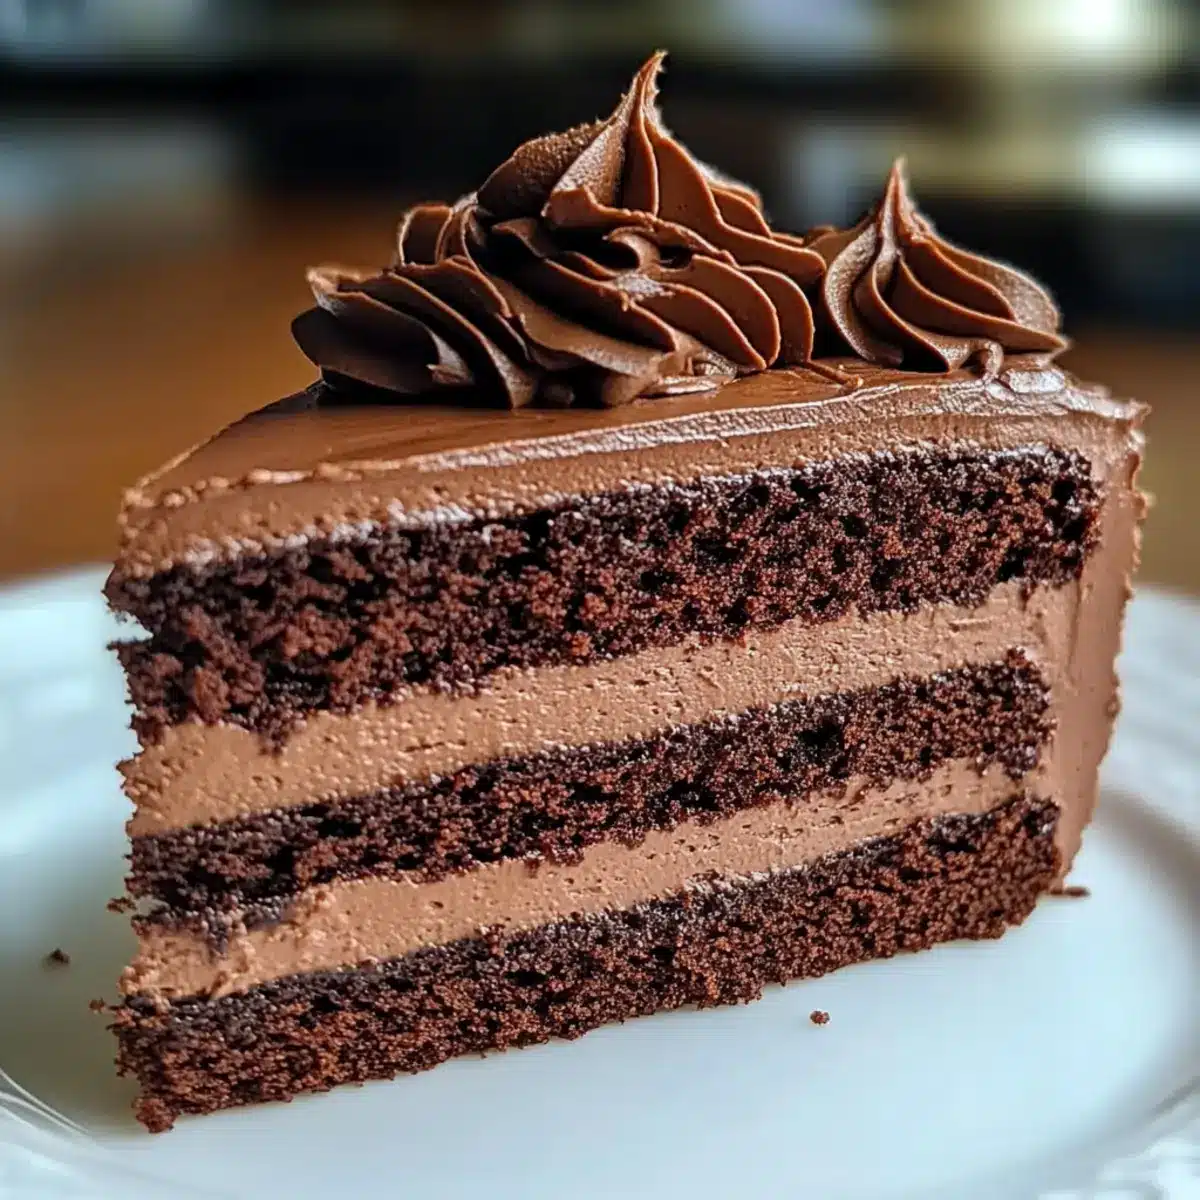
Showstopper Presentation: The glossy ganache draping down its sides gives the cake a stunning finish that looks indulgent without requiring extensive pastry skills.
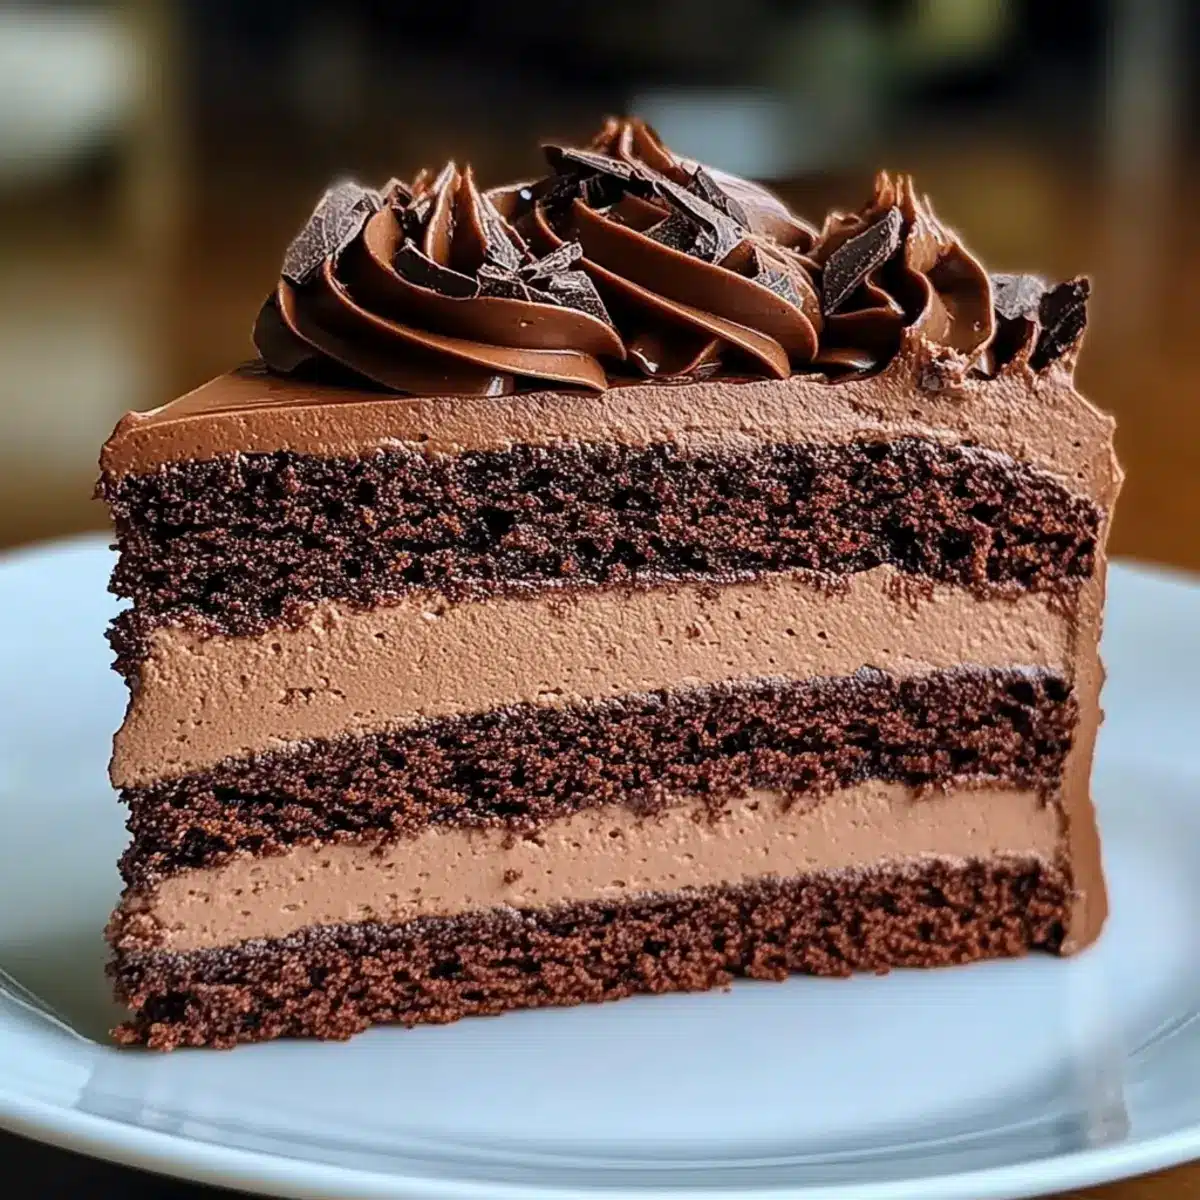
Pair it with some chocolate shavings or fresh berries to make it even more special. If you’re a fan of easy desserts, you should also check out our Homemade Chocolate Chip cookies for another crowd-pleaser!
Chocolate Mousse Cake Ingredients
• Let’s gather what you need to create this decadent treat!
For the Cake
- All-purpose flour – Provides structure; substitute with a gluten-free blend for a gluten-free option.
- Granulated sugar – Adds sweetness; consider using brown sugar for enhanced moisture and flavor.
- Cocoa powder – Offers a rich chocolate flavor; Dutch-processed cocoa can be used for a milder taste.
- Baking powder & Baking soda – Essential leavening agents; ensure they’re fresh for the best rise.
- Salt – Balances sweetness and amplifies flavor.
- Eggs – Provide moisture and structure; flax eggs can be a great vegan substitution.
- Vegetable oil – Adds moistness; melted coconut oil works beautifully as a substitute.
- Buttermilk – Contributes delicious tenderness; if unavailable, regular milk with a splash of vinegar works well.
- Hot coffee – Intensifies the chocolate flavor; water is an option, but it may tone down richness.
For the Mousse
- Semisweet chocolate – The base for a creamy mousse; dark chocolate can deepen the flavor.
- Heavy whipping cream – Creates that dreamy, airy mousse texture; light whipping cream will make the mousse denser.
- Powdered sugar – Sweetens the whipped cream for a delightful finish; sugar substitutes can be used for lower sugar options.
- Vanilla extract – Enhances overall flavor; almond extract introduces a delightful twist.
For the Ganache
- Bittersweet chocolate – For a luxurious ganache topping; adjust sweetness based on your preference.
- Corn syrup – Adds shine to the ganache; honey can be a lovely natural substitute.
- Butter – Gives the ganache a glossy finish; vegan butter is perfect for a dairy-free option.
Now that you have everything ready, you’re one step closer to indulging in the scrumptiousness of this Chocolate Mousse Cake!
Step‑by‑Step Instructions for Chocolate Mousse Cake
Step 1: Preheat and Prepare
Begin by preheating your oven to 350°F (175°C). While it warms, prepare two 9-inch round cake pans by greasing them with butter or oil and dusting with flour to prevent sticking. This ensures the Chocolate Mousse Cake will slide out easily, revealing its beautiful structure.
Step 2: Mix Dry Ingredients
In a large mixing bowl, whisk together the all-purpose flour, granulated sugar, cocoa powder, baking powder, baking soda, and salt until thoroughly combined. This step helps to evenly distribute the leavening agents and achieves a uniform texture for your cake, setting the foundation for an indulgent dessert.
Step 3: Combine Wet Ingredients
In a separate bowl, whisk together the eggs, vegetable oil, buttermilk, and hot coffee until the mixture is smooth and well-blended. The addition of hot coffee enhances the chocolate flavor, making every bite of your Chocolate Mousse Cake deeply satisfying.
Step 4: Combine Wet and Dry Mixtures
Gently fold the wet ingredients into the dry mixture using a spatula or wooden spoon. Mix until just combined, being careful not to over-mix to maintain a light texture. You should see a few small lumps—this is perfect and will create a tender cake once baked.
Step 5: Bake the Cake
Pour the batter evenly into the prepared cake pans and place them in the preheated oven. Bake for 25 to 30 minutes, or until a toothpick inserted in the center comes out clean. The cake should spring back when lightly pressed, indicating it’s ready to be removed and cooled completely.
Step 6: Melt the Chocolate
While the cake cools, melt the semisweet chocolate in a microwave-safe bowl or over a double boiler. If using the microwave, do so in 30-second increments, stirring in between to avoid burning. Once melted, allow the chocolate to cool slightly before incorporating it into the mousse.
Step 7: Whip the Cream
In a separate bowl, beat heavy whipping cream with powdered sugar and vanilla extract using an electric mixer until stiff peaks form. This airy whipped cream will give your Chocolate Mousse Cake its signature lightness and creamy texture.
Step 8: Fold in the Chocolate
Gently fold the cooled melted chocolate into the whipped cream mixture until fully combined. Be cautious during this step to keep your mousse airy and fluffy—the key to achieving the perfect consistency for your Chocolate Mousse Cake filling.
Step 9: Assemble the Cake
Use a springform pan to layer the cooled cakes with the mousse. Start by placing one cake layer at the bottom, spreading a generous layer of mousse over it. Add the second cake layer and top it with remaining mousse, smoothing the surface. Cover and refrigerate for at least 3 hours, or overnight for best results.
Step 10: Prepare the Ganache
In a small saucepan, heat the cream over medium heat until it starts to simmer. Remove from heat and stir in the bittersweet chocolate, corn syrup, and butter until smooth and glossy. This shiny ganache will create a luxurious finish for your Chocolate Mousse Cake.
Step 11: Finish the Cake
Once the mousse cake has chilled and set, pour the ganache over the top, allowing it to drip down the sides for an elegant look. Make sure to spread it evenly for a professional finish. Let the ganache set slightly before slicing into your beautiful creation.
Step 12: Serve and Enjoy
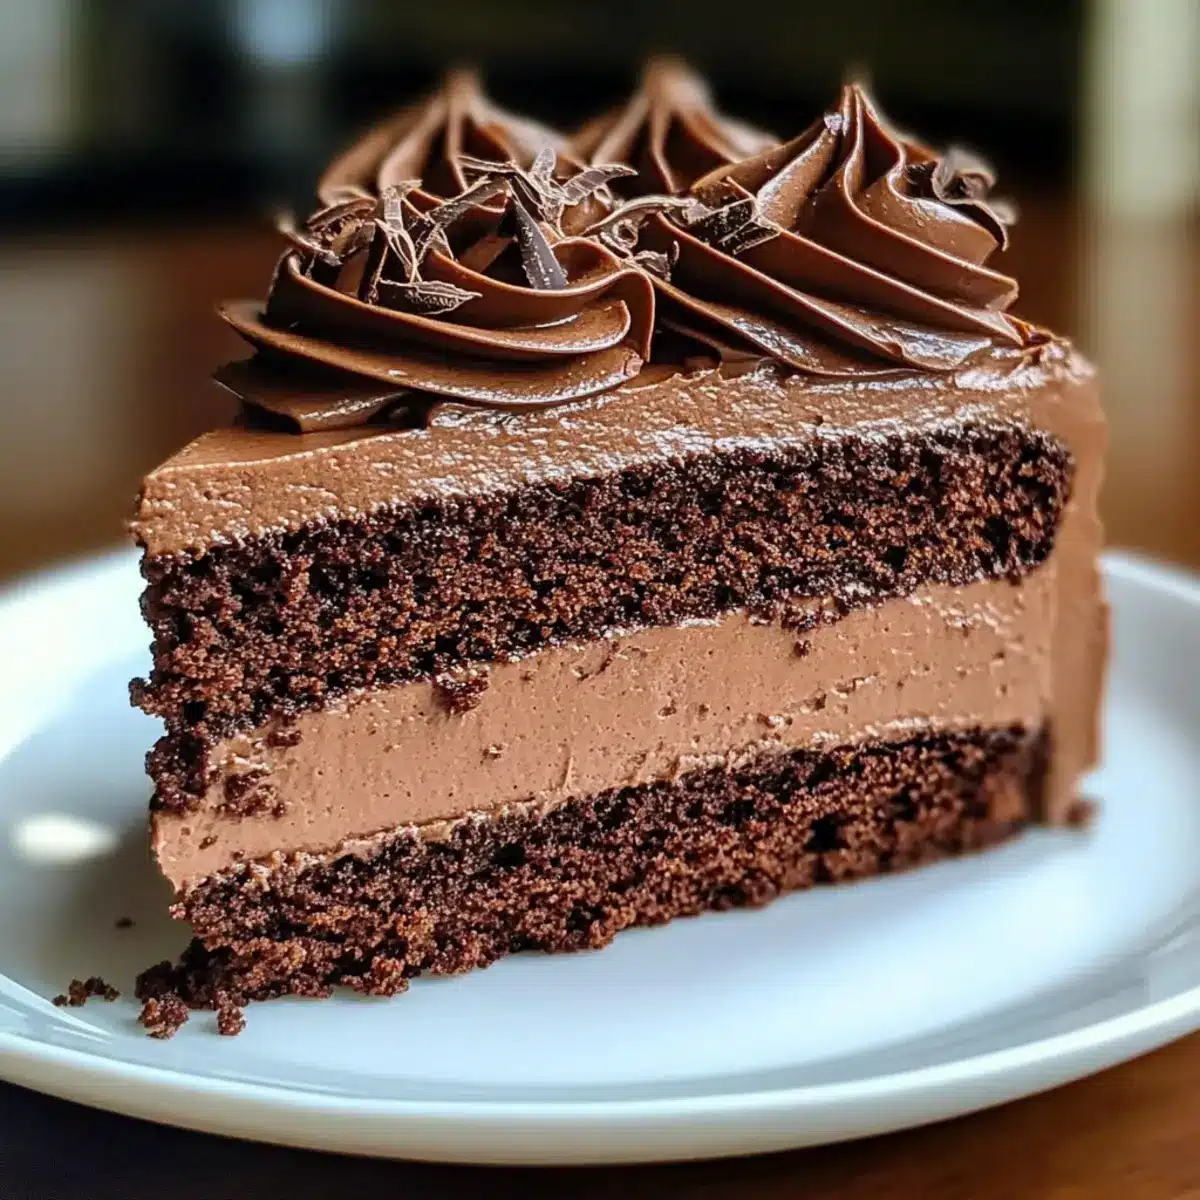
Now that your Chocolate Mousse Cake is completed, it’s perfect for serving. Slice with a hot knife for clean edges and consider garnishing with chocolate shavings or fresh berries for an added touch. Your guests will be delighted by this simple yet impressive dessert!
Expert Tips for Chocolate Mousse Cake
• Room Temperature Ingredients: Ensure all ingredients are at room temperature to achieve a smooth, consistent batter without any lumps.
• Gentle Mixing: Avoid over-mixing when combining wet and dry ingredients. This helps keep the cake light and airy, essential for an ideal Chocolate Mousse Cake.
• Cooling Time: Allow the cake layers to cool completely before assembling. This prevents the mousse from melting and helps maintain the structure.
• Perfect Ganache: Stir ganache until smooth, ensuring no chocolate bits remain to achieve a silky finish on top of your cake.
• Chill Well: Refrigerate the assembled cake for at least 3 hours, or overnight if possible. This allows the mousse to set perfectly, creating that deliciously creamy texture.
Chocolate Mousse Cake Variations
Feel free to make this delightful Chocolate Mousse Cake your own creation with these fun twists!
- Dairy-Free: Use coconut cream instead of heavy whipping cream to create a luscious, light mousse with tropical notes.
- Gluten-Free: Substitute all-purpose flour with a gluten-free flour blend to enjoy this cake without the gluten! It will still keep that heavenly taste.
- Lower Sugar: Replace granulated and powdered sugar with your favorite sugar alternatives to suit your dietary needs. Just remember that flavor may vary slightly!
- Nutty Flavor: Add finely chopped nuts, like hazelnuts or almonds, to the mousse or the cake layers for an extra layer of texture and crunch.
- Additional Spice: Introduce cinnamon or espresso powder into the cake mix for a warm, subtle background flavor that enhances the chocolate creaminess.
- Fruity Burst: Incorporate fresh raspberries or strawberries into the mousse for delightful bursts of fruitiness in every bite. You can also add them as a topping to create a beautiful presentation.
- Chocolate Varieties: Experiment with different types of chocolate, such as milk chocolate or white chocolate, to find your perfect flavor profile! You might discover a new favorite.
- Zesty Kick: Add a teaspoon of orange zest to the mousse for a refreshing citrus twist that beautifully complements the chocolatey goodness.
Looking for more decadent options? Don’t miss our delicious Churro Maple Chocolate for another unique treat!
How to Store and Freeze Chocolate Mousse Cake
Fridge: Store leftover Chocolate Mousse Cake in an airtight container for up to 3 days. Ensure it’s well-covered to maintain freshness and prevent it from absorbing other odors.
Freezer: For longer storage, freeze the cake in slices or whole; wrap tightly in plastic wrap followed by aluminum foil for up to 2 months. Thaw in the fridge overnight before serving.
Reheating: If desired, let the cake come to room temperature before serving; do not microwave, as it may affect the mousse texture. Enjoy the perfect combination of chocolate cake and airy mousse!
What to Serve with Easy Chocolate Mousse Cake
Looking to complete your dessert experience? Pairing delightful accents with this heavenly chocolate creation elevates your dining occasion.
- Fresh Berries: Add a burst of tartness with strawberries or raspberries, balancing the cake’s rich chocolate flavors beautifully.
- Vanilla Ice Cream: A scoop of creamy vanilla ice cream enhances the dessert, making every bite even more indulgent and refreshing.
- Espresso or Coffee: Pair with a hot cup of freshly brewed espresso to awaken the chocolate flavors and create a delightful contrast.
- Creamy Whipped Cream: Light, sweetened whipped cream offers a fluffy texture that complements the dense mousse, making it a classic pairing.
For a swell of flavor, consider adding a Chocolate Sauce Drizzle on top—this extra layer of indulgence will send your chocolate experience over the edge. Perfect after a family dinner or a cozy gathering, your guests will revel in every forkful!
Make Ahead Options
These Easy Chocolate Mousse Cakes are a lifesaver for busy home cooks looking to save time while still impressing guests! You can bake the cake layers up to 24 hours in advance and store them wrapped in plastic wrap to maintain moisture. The mousse can also be prepared ahead; mix it and refrigerate for up to 3 days before assembling the cake. To keep the mousse airy, fold in the melted chocolate just before layering with the cake. When you’re ready to serve, simply assemble the cake and top it with the ganache, allowing it to set slightly for that irresistible bakery-style finish. Enjoy personalized treats without the last-minute rush!
Easy Chocolate Mousse Cake Recipe FAQs
How do I choose the right cocoa powder for the cake?
Absolutely! Opt for high-quality unsweetened cocoa powder—preferably Dutch-processed for a milder flavor. Look for deep, rich colors—darker cocoa typically offers a more intense chocolate taste, which balances beautifully with the mousse.
What is the best way to store leftover Chocolate Mousse Cake?
After enjoying your cake, store any leftovers in an airtight container in the refrigerator. It will stay fresh for up to 3 days. It’s essential to ensure it is well-covered to maintain its moistness and prevent it from absorbing other fridge odors.
Can I freeze Chocolate Mousse Cake for later?
Certainly! To freeze, slice the cake or keep it whole, wrapping it tightly in plastic wrap followed by aluminum foil. This double-layer protection will help prevent freezer burn. It can be stored in the freezer for up to 2 months. Just thaw in the fridge overnight before serving for the best results!
What should I do if my ganache doesn’t come out smooth?
If your ganache is grainy or not smooth, it may not have been mixed thoroughly or heated correctly. To fix it, gently reheat the mixture over low heat, stirring continuously until silky. If you find that it still isn’t coming together, you can try adding a splash of warm cream to help it emulsify.
Can I make this Chocolate Mousse Cake vegan?
Yes, you can make this cake vegan! Substitute eggs with flax eggs (1 tablespoon ground flaxseed mixed with 2.5 tablespoons water per egg), use plant-based milk instead of buttermilk, and swap heavy cream for coconut cream. Make sure to use vegan butter for the ganache as well, and you’re all set!
How long should I refrigerate the mousse before serving?
For the best texture, refrigerate the assembled cake for at least 3 hours or overnight if you have the time. This allows the mousse to set perfectly, giving you that rich and creamy consistency everyone loves.
Decadent Chocolate Mousse Cake for Unforgettable Moments
Ingredients
Equipment
Method
- Preheat your oven to 350°F (175°C). Grease two 9-inch round cake pans with butter or oil and dust with flour to prevent sticking.
- In a large mixing bowl, whisk together the all-purpose flour, granulated sugar, cocoa powder, baking powder, baking soda, and salt until thoroughly combined.
- In a separate bowl, whisk together the eggs, vegetable oil, buttermilk, and hot coffee until the mixture is smooth and well-blended.
- Gently fold the wet ingredients into the dry mixture using a spatula until just combined, being careful not to over-mix.
- Pour the batter evenly into the prepared cake pans and bake for 25 to 30 minutes, or until a toothpick comes out clean.
- Melt the semisweet chocolate in a microwave-safe bowl or over a double boiler, then allow to cool slightly.
- In a separate bowl, beat heavy whipping cream with powdered sugar and vanilla extract until stiff peaks form.
- Gently fold the cooled melted chocolate into the whipped cream mixture until fully combined.
- Use a springform pan to layer the cooled cakes with the mousse. Start by placing one cake layer at the bottom.
- Refrigerate for at least 3 hours, or overnight for best results.
- In a small saucepan, heat the cream until it starts to simmer. Stir in the bittersweet chocolate, corn syrup, and butter until smooth.
- Pour the ganache over the top of the chilled mousse cake, allowing it to drip down the sides.
- Slice with a hot knife for clean edges and garnish with chocolate shavings or fresh berries.
Leave a Reply