
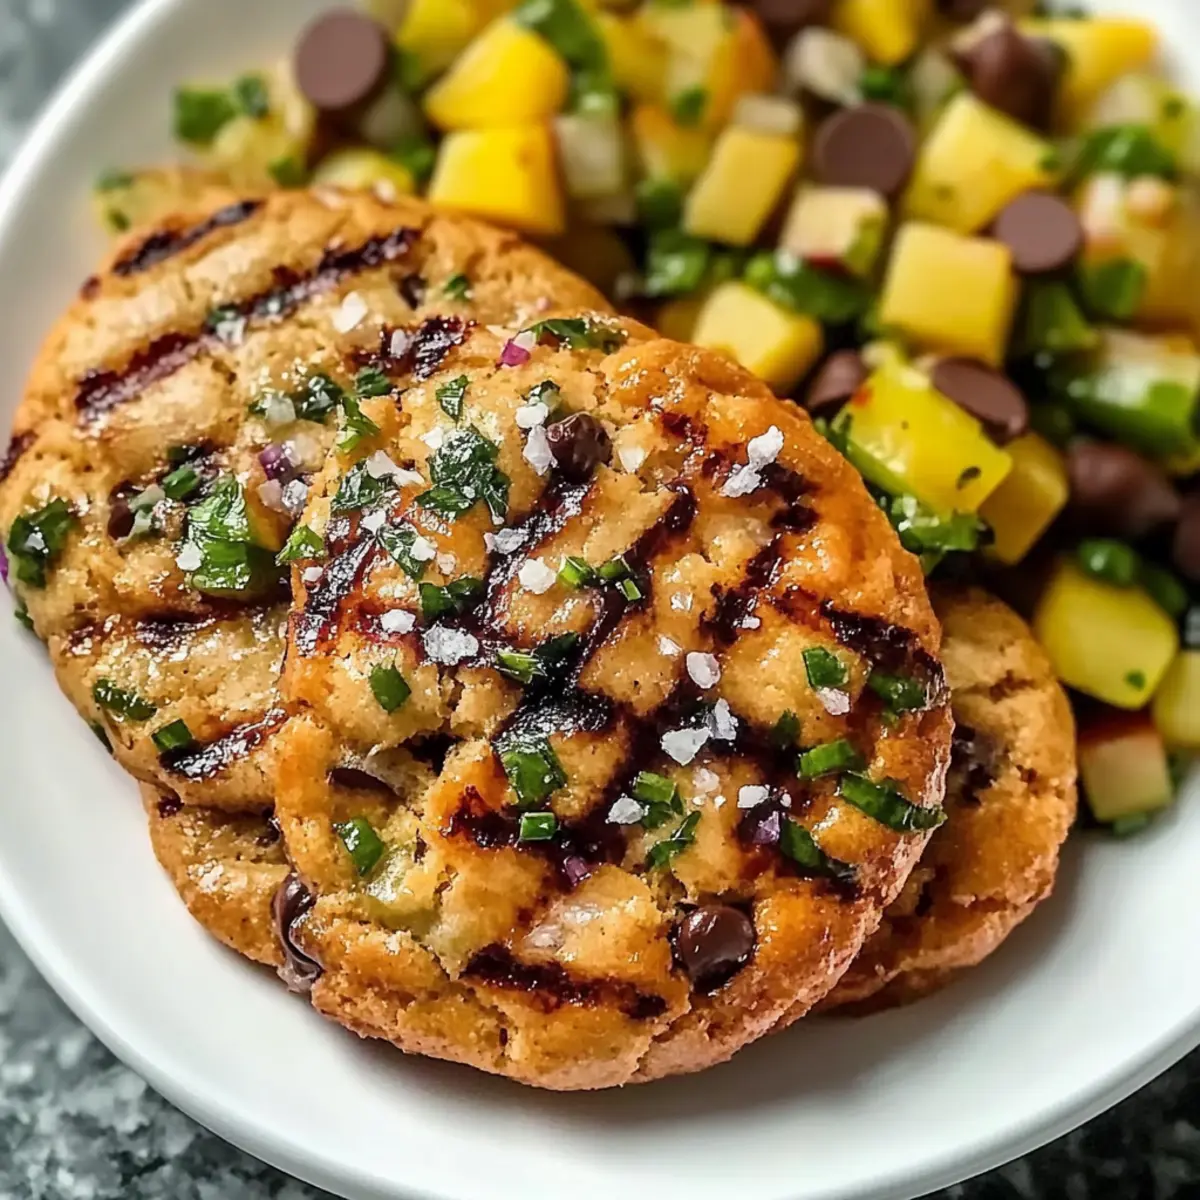
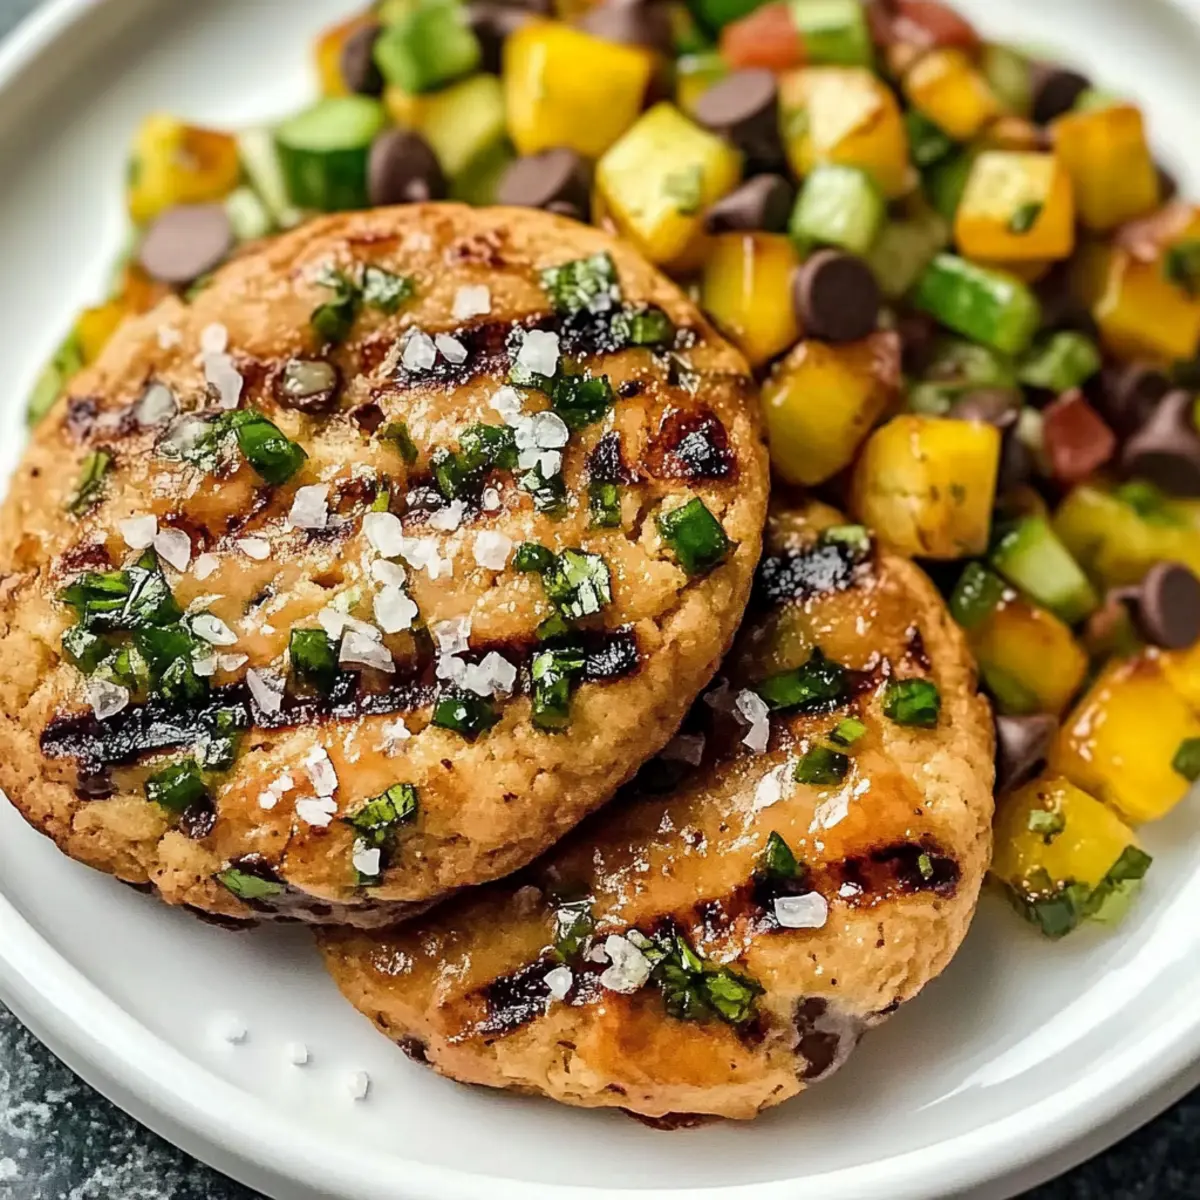
The kitchen filled with the tantalizing aroma of something sweet and buttery; it felt like a warm hug on a chilly day. Nothing beats the comforting bliss of homemade Chocolate Chip Cookies, especially when they’re fresh from the oven, golden on the edges and delightfully chewy in the center. This recipe perfectly balances rich chocolate with a hint of vanilla, promising a quick dessert that even the busiest of home chefs can whip up in under 30 minutes. Plus, they’re fully customizable to suit your dietary needs or personal preferences, whether you want to go gluten-free or vegan. So, ready to indulge your inner baker and create that nostalgic feeling in your home? Let’s dive into making these cookies that will have everyone asking for seconds!
Why are these cookies a must-try?
Deliciously Simple: The recipe is straightforward, making it perfect for both novice and experienced bakers.
Irresistible Aroma: Your kitchen will be filled with a mouthwatering scent that will have everyone asking what’s baking!
Customizable: Whether you’re craving gluten-free or vegan options, this recipe offers endless possibilities to satisfy everyone’s tastes.
Quick Baking Time: In under 30 minutes, you can savor warm, chewy cookies—ideal for those spontaneous sweet cravings.
Crowd-Pleasing Flavor: With their rich chocolatey goodness, these cookies are bound to be a hit at any gathering, much like the beloved Honey Dijon Chicken or Baked Brie Puff.
Perfect Texture: Enjoy the delightful contrast of crispy edges and a gooey center that makes each bite heavenly.
Chocolate Chip Cookie Ingredients
• For those who want to recreate that nostalgic love of homemade Chocolate Chip Cookies, here’s what you need!
For the Dough
- All-Purpose Flour – This is your base for structure; feel free to swap it for a gluten-free flour blend if needed.
- Baking Soda – The key to achieving puffy cookies, so always check that it’s fresh for the best results.
- Salt – Elevates all flavors; using sea salt gives a gourmet finish.
- Unsalted Butter – Provides a rich, buttery taste and moisture; alternatively, coconut oil works for a dairy-free option.
- Granulated Sugar – Adds sweetness and crispiness; use a blend with brown sugar to enhance chewiness.
- Brown Sugar – Contributes depth and moisture; choose dark brown for a more intense flavor.
- Eggs – Binds everything together for that classic chewy texture; for vegan cookies, replace with flax eggs (1 tablespoon ground flaxseed + 2.5 tablespoons water).
- Vanilla Extract – Infuses delightful flavor; always opt for pure vanilla for the best taste.
- Chocolate Chips – Provide bursts of sweetness; consider mixing in white chocolate or nuts for a creative twist.
Optional Mix-Ins
- Nuts (e.g., Walnuts or Pecans) – Add crunch and richness; feel free to leave them out for a nut-free version!
- Oats – For a chewy texture twist, mix in rolled oats for extra heartiness.
- Dried Fruit – Swap chocolate chips for dried fruit like cranberries for a healthier alternative.
Let’s get baking and create these classic chocolate chip cookies that will delight everyone around the table! 🍪
Step‑by‑Step Instructions for Ultimate Chewy Chocolate Chip Cookies
Step 1: Preheat the Oven
Begin by preheating your oven to 350°F (175°C). This crucial step ensures that your cookies bake evenly and reach that perfect golden edge. While the oven warms up, gather your ingredients to make everything easily accessible for the upcoming steps.
Step 2: Mix Dry Ingredients
In a medium bowl, whisk together 2 cups of all-purpose flour, 1 teaspoon of baking soda, and ½ teaspoon of salt. This process is essential for distributing the baking soda and salt evenly throughout the flour, which helps the cookies rise beautifully. Set this bowl aside once the mixture is well combined.
Step 3: Cream Butter and Sugars
In a large mixing bowl, use an electric mixer to beat together 1 cup of softened unsalted butter, ¾ cup of granulated sugar, and ¾ cup of packed brown sugar until the mixture is light and fluffy—about 3 minutes. This creaming process incorporates air into the dough, resulting in a delightful chewy texture in your ultimate chocolaty cookies.
Step 4: Add Egg and Vanilla
Next, crack in 1 large egg and pour in 1 teaspoon of pure vanilla extract. Mix on medium speed until well incorporated—around 1 minute. The egg binds everything together while the vanilla provides a warm, inviting aroma, enhancing the overall flavor of your classic chocolate chip cookies.
Step 5: Combine Dry and Wet Ingredients
Gradually add the flour mixture into the creamy butter mix, stirring gently until just combined. Be cautious not to overmix at this stage; a few streaks of flour are perfectly fine. This ensures your cookies remain tender and don’t become tough, leading to the soft, chewy center everyone loves.
Step 6: Fold in Chocolate Chips
With a spatula, fold in 2 cups of chocolate chips, ensuring they are evenly distributed throughout the cookie dough. The chocolate chips will melt deliciously as they bake, creating rich pockets of sweetness in your cookies. If desired, feel free to add in any optional mix-ins, like nuts or oats, for additional texture.
Step 7: Scoop the Dough
Using a cookie scoop or two tablespoons, drop balls of dough onto parchment-lined baking sheets, leaving about 2 inches of space between each scoop. This spacing is crucial as the cookies will spread while baking. Aim for around 12 cookies per sheet to allow for proper air circulation as they bake.
Step 8: Bake the Cookies
Place the baking sheets in the preheated oven and bake for 10-12 minutes. Keep a close eye on them; the edges should be golden while the centers look slightly underbaked. This visual cue indicates that the cookies will firm up beautifully after cooling, ensuring a perfect chewy finish.
Step 9: Cool the Cookies
Once baked, remove the sheets from the oven and let the cookies cool on the sheet for about 5 minutes. This resting time allows the cookies to stabilize so they won’t break apart when you transfer them. Afterward, carefully move them to a wire rack to cool completely—all while your kitchen is infused with that sweet cookie aroma.
What to Serve with Ultimate Chewy Chocolate Chip Cookies
Indulging in the warm sweetness of homemade cookies opens a world of delightful pairings that enhance your dessert experience.
- Cold Glass of Milk: A classic companion, the creamy coldness perfectly balances the cookie’s rich sweetness and texture.
- Vanilla Ice Cream: Serve warm cookies à la mode with a scoop of vanilla ice cream that melts into every nook and cranny.
- Coffee or Espresso: The bold flavors of coffee create a delicious contrast, intensifying the chocolatey goodness in each bite.
- Hot Chocolate: For a cozy, indulgent treat, dip your warm cookie into a rich mug of hot chocolate for a double dose of sweetness.
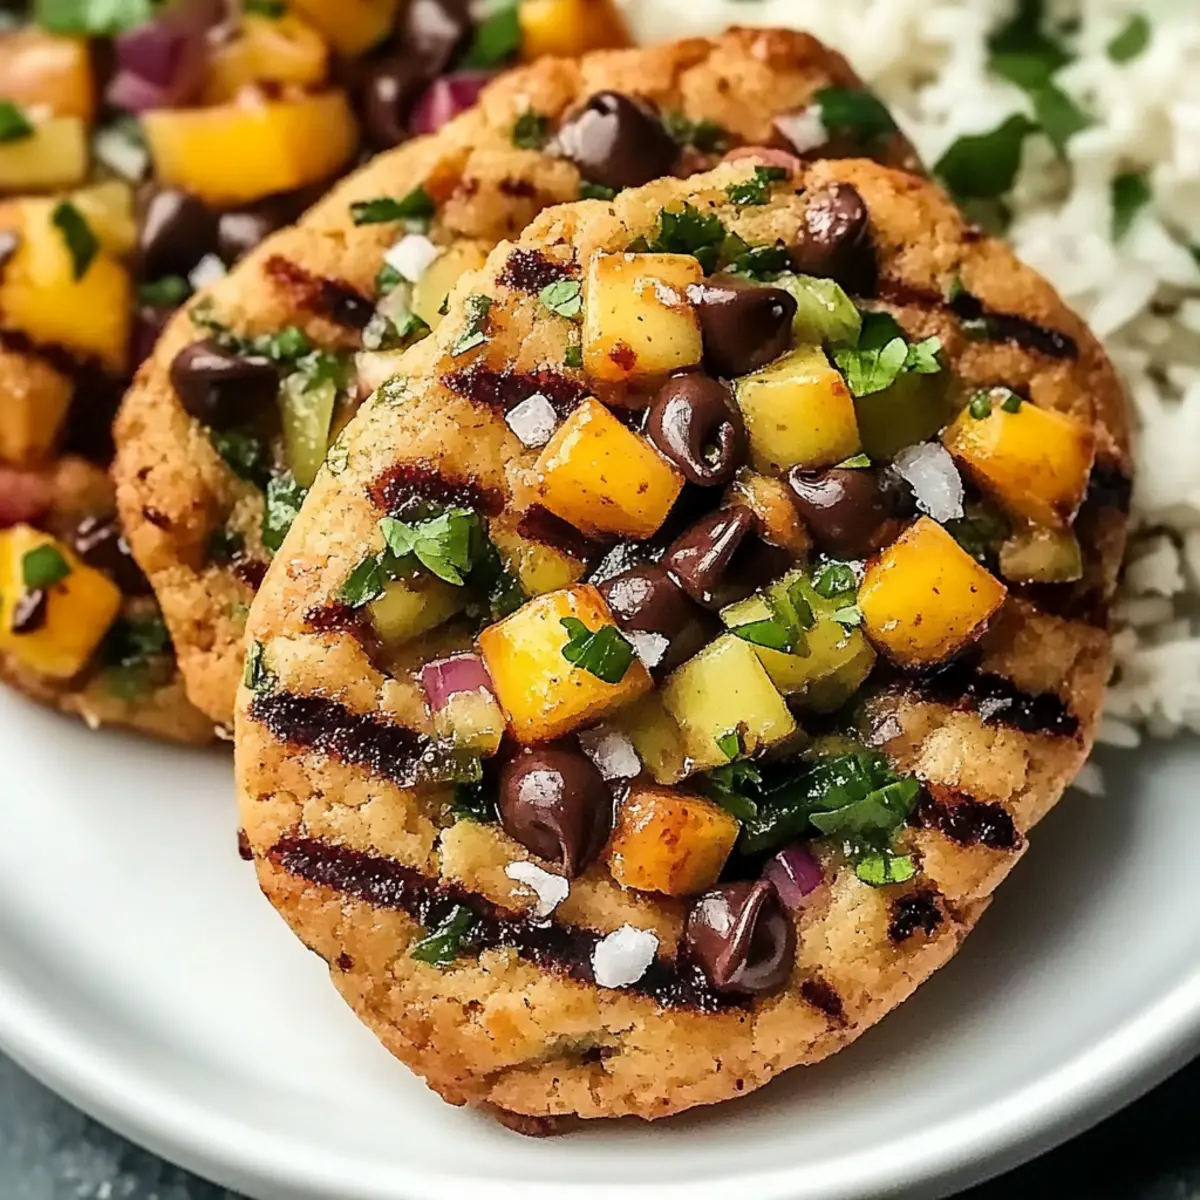
- Fruit Salad: A refreshing fruit salad adds brightness and texture, cutting through the sweetness with zesty notes. Fresh berries or mango slices work beautifully!
- Caramel Sauce: Drizzle warm cookies with a touch of caramel sauce for extra decadence; the sticky sweetness pairs beautifully with chocolate.
- Nutty Granola: On a more wholesome note, crunchy nutty granola offers a delightful contrast and makes for a fun cookie topping.
- Coconut Milk: Serve these cookies alongside a chilled glass of coconut milk for a tropical twist that softens their richness with creamy notes.
- Tea: A warm cup of herbal or chai tea creates comforting vibes, mingling flavors that complement the chocolate perfectly.
Storage Tips for Chocolate Chip Cookies
- Room Temperature: Store cookies in an airtight container at room temperature for up to 1 week; they’ll stay fresh and chewy for day-to-day enjoyment.
- Fridge: If you live in a warm climate, consider keeping them in the fridge for extra freshness, where they can last up to 2 weeks; just let them sit at room temperature before serving.
- Freezer: To extend shelf life, freeze individual cookies in a single layer on a baking sheet, then transfer them to a resealable bag for up to 3 months; simply thaw at room temperature.
- Reheating: For that freshly-baked taste, microwave a cookie for about 10-15 seconds; this will soften it just enough to bring back that delightful gooeyness of your chocolate chip cookies.
Expert Tips for Ultimate Chewy Chocolate Chip Cookies
Measure Flour Properly: Make sure to spoon the flour into your measuring cup rather than scooping it directly to avoid dense cookies.
Avoid Overmixing: Gently combine the dry and wet ingredients to prevent tough cookies; it’s okay if a little flour remains visible!
Chill the Dough: For even baking and to control spreading, chill the cookie dough for at least 30 minutes before scooping.
Use Quality Chocolate: Invest in high-quality chocolate chips; this will elevate the flavor of your cookies significantly.
Perfect Baking Time: Keep an eye on your cookies; the centers should appear slightly underbaked—this ensures they stay chewy.
Top with Sea Salt: For an added layer of flavor, sprinkle a pinch of sea salt on top before baking, enhancing the overall sweetness of the cookies.
Variations & Substitutions for Chocolate Chip Cookies
Feel free to get creative with these delightful cookie variations to make them uniquely yours!
-
Gluten-Free: Substitute all-purpose flour with a 1:1 gluten-free flour blend for a deliciously chewy cookie. Keep the flavors intact while meeting dietary needs.
-
Vegan-Friendly: Replace the egg with flax eggs (1 tablespoon ground flaxseed + 2.5 tablespoons water) and use coconut oil instead of butter. You’ll achieve that classic chewy texture while accommodating vegan diets.
-
Nutty Addition: Fold in chopped nuts like walnuts or pecans for an added crunch. The nutty flavors complement the chocolate beautifully, making each bite even more satisfying.
-
Oatmeal Twist: Incorporate 1 cup of rolled oats into the dough for a heartier texture. The oatmeal creates a delightful chewiness and adds some wholesome goodness to the cookies.
-
Flavor Boost: Add a teaspoon of orange zest or a pinch of cinnamon to the dough for an exciting flavor twist. These subtle enhancements elevate your cookies beyond the classic version.
-
Chocolate Duo: Use a mix of dark and white chocolate chips for a colorful and rich chocolate experience. The combination adds layers of flavor, pleasing chocolate lovers of all kinds.
-
Dried Fruit: Swapping out chocolate chips for dried cranberries or cherries creates a chewy cookie with a fruity touch. It’s a perfect way to enjoy a healthier snack option without sacrificing taste.
-
Sea Salt Finish: Sprinkle a pinch of coarse sea salt on top of each cookie before baking. This simple addition creates a mouthwatering contrast to the sweetness, making each cookie unforgettable.
With these fun variations, you can enjoy an array of delicious cookies that fit every craving! Plus, if you’re in the mood for savory, you might also enjoy these popular dishes like Honey Dijon Chicken or a delightful Baked Brie Puff. Happy baking!
Make Ahead Options
These Ultimate Chewy Chocolate Chip Cookies are perfect for busy home cooks looking to save time! You can prepare the cookie dough up to 24 hours in advance—simply follow the recipe until Step 6, then cover the bowl tightly and refrigerate. When you’re ready to bake, allow the dough to sit at room temperature for 15-20 minutes before scooping and baking as directed. If you prefer, you can also scoop the dough into balls and freeze them for up to 3 months; just bake directly from frozen, adding an extra minute or two to the baking time. This method ensures that your cookies remain just as delicious and fresh, delivering warm, gooey goodness whenever the craving strikes!

Ultimate Chewy Chocolate Chip Cookies Recipe FAQs
How do I know if my chocolate chips are still good?
Absolutely! Chocolate chips can be good for a long time, but if they show signs of discoloration, are hard as a rock, or have an off smell, it’s best to toss them out. Typically, they last for about 18 months if stored correctly in a cool, dry place.
What is the best way to store chocolate chip cookies?
For optimum freshness, store your chocolate chip cookies in an airtight container at room temperature for up to 7 days. They’ll stay chewy and delicious! If your kitchen is warm and humid, consider placing them in the fridge where they can last up to 14 days, but don’t forget to let them sit at room temperature before enjoying them.
Can I freeze chocolate chip cookies?
Certainly! To freeze your cookies, first, place them in a single layer on a baking sheet and freeze for about 1-2 hours. Once firm, transfer them to a resealable freezer bag. They can be stored for up to 3 months. When you’re ready to enjoy, simply thaw them at room temperature or pop them in the microwave for 10-15 seconds for that fresh-out-of-the-oven feel.
How can I achieve the perfect chewy texture in my cookies?
Great question! To achieve the ultimate chewy texture, make sure to use a combination of granulated and brown sugar, and avoid overmixing your dough once you add the flour. Chilling your dough for at least 30 minutes before baking can also help. This allows the butter to firm up, preventing too much spread as they bake, creating that chewy center we all love!
Are there any dietary considerations I should keep in mind?
Very much so! For those with allergies, ensure the chocolate chips are dairy-free if lactose intolerant. If you’re baking for someone who is gluten-sensitive, you can easily swap all-purpose flour with a gluten-free flour blend. And for a vegan option, replace the egg with a flax egg (1 tablespoon ground flaxseed mixed with 2.5 tablespoons water) for equally delightful results.
What should I do if my cookie dough is too dry?
No worries at all! If your cookie dough seems too dry and crumbly, it usually means you may have added too much flour. Start by adding a tablespoon of milk or water to the dough, mixing gently until you reach the desired consistency. Remember, cookie dough should be moist but not sticky, so a little bit of adjustment can go a long way!
Delicious Honey Lime Chicken with Mango Salsa Delight
Ingredients
Equipment
Method
- In a mixing bowl, whisk together honey, lime juice, garlic powder, cumin, salt, and pepper.
- Marinate chicken breasts in the mixture for at least 15 minutes.
- Preheat the grill to medium-high heat.
- Grill the chicken for 6-7 minutes per side until fully cooked.
- Allow the chicken to rest for 5 minutes before slicing.
- In a bowl, combine diced mango, red onion, red bell pepper, cilantro, lime juice, and salt.
- Mix well and let it sit for 10 minutes to let flavors meld.
- Slice the grilled chicken and serve topped with mango salsa.
- Enjoy your delicious honey lime chicken with a refreshing mango salsa!
Leave a Reply