
In the midst of a bustling kitchen, a delightful scent wafted through the air, instantly transporting me to sun-drenched afternoons spent with family. It was during these golden moments that I first tasted the charm of Old-Fashioned Pink Jelly Cakes, a treasured Australian dessert that brings pure joy with every bite. These delightful cakes are more than just a nostalgic indulgence; they are a quick and easy recipe perfect for any gathering, ideal for impressing guests without spending hours in the kitchen. Picture layers of fluffy vanilla sponge coated in sweet strawberry jelly, rolled in desiccated coconut, and topped with luscious whipped cream. This beautiful combination makes them not only a feast for the eyes but also a crowd-pleaser that everyone will adore. Curious about how to bring this delightful treat to your next tea party or celebration? Let’s dive into this sweet adventure together!
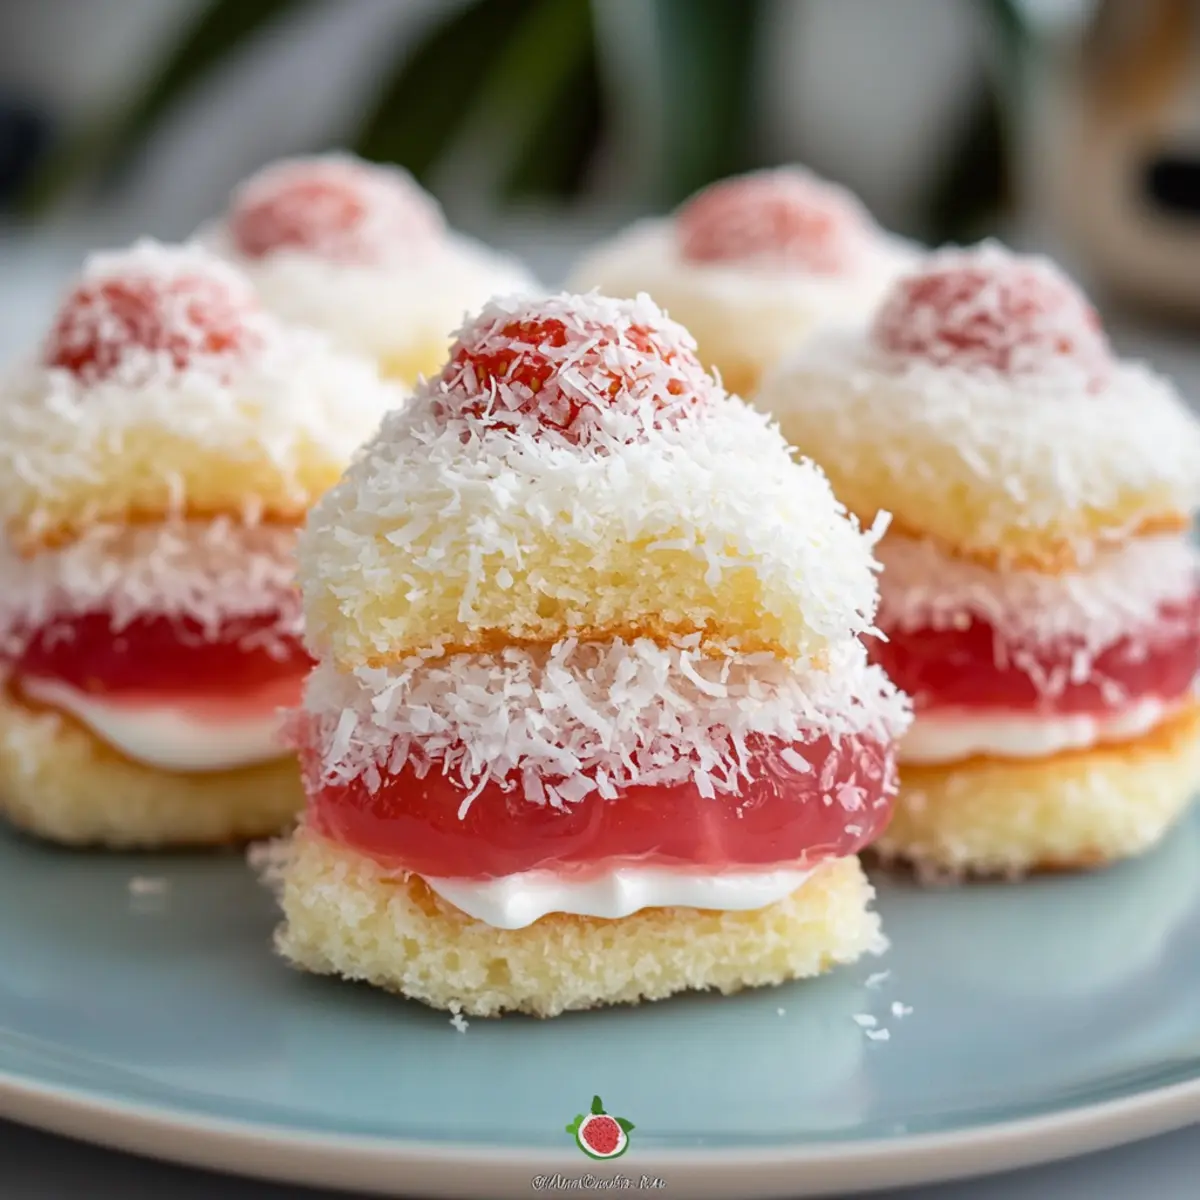
Why Are Old-Fashioned Pink Jelly Cakes Irresistible?
Nostalgic flavors take you back to cherished childhood moments, making these cakes a delightful trip down memory lane. Effortless preparation means you can whip them up in no time, allowing more time for enjoyment with friends and family. Versatile options for jelly flavors let you tailor this treat to your personal taste or seasonal favorites. Crowd-pleasing appeal ensures they’ll steal the show at any gathering, just like a plate of Oatmeal Pumpkin Pancakes would! And with easy-to-follow steps, you can impress even the pickiest eaters. Dive into making these charming cakes and watch smiles light up the room!
Old-Fashioned Pink Jelly Cakes Ingredients
• To create these delightful Old-Fashioned Pink Jelly Cakes, gather the following essentials:
For the Cake
- All-purpose flour – Provides the structure and texture of the sponge cake; you can substitute with gluten-free flour for a gluten-free option.
- Caster sugar – Adds sweetness and moisture; can replace with granulated sugar if needed, though texture may differ.
- Baking powder – Helps the sponge rise and become fluffy; no substitutions recommended.
- Salt – Enhances flavor; essential for balance, so omit only if strictly necessary.
- Eggs – Provide structure and moisture; for an egg-free version, consider flax eggs or aquafaba.
- Milk – Adds moisture and richness; use almond or oat milk for a dairy-free version.
- Butter – Contributes richness and flavor; substitute with margarine or vegan butter for a dairy-free alternative.
For the Coating and Filling
- Strawberry jelly – Offers sweetness and a fruity layer; alternatives like raspberry or passionfruit jelly work for different flavors.
- Desiccated coconut – Adds texture and a chewy bite; substitute with finely crushed nuts for a different twist.
- Whipped cream – Fills the cakes and adds creaminess; coconut cream can make it dairy-free if needed.
Step‑by‑Step Instructions for Old-Fashioned Pink Jelly Cakes
Step 1: Preheat and Prepare
Preheat your oven to 350°F (180°C) and line a standard muffin tin with paper cups. This step is vital for evenly baked Old-Fashioned Pink Jelly Cakes. As the oven warms, gather your ingredients, including the all-purpose flour, caster sugar, and baking powder, so that you’re ready to mix shortly.
Step 2: Mix Dry Ingredients
In a large mixing bowl, combine 1 and 1/2 cups of all-purpose flour, 1 cup of caster sugar, 2 teaspoons of baking powder, and a pinch of salt. Stir these dry ingredients together until evenly mixed. This creates the foundational texture for your sponge, which will be fluffy and delightful when baked.
Step 3: Whisk Wet Ingredients
In a separate bowl, whisk together 2 large eggs and 1/2 cup of milk until frothy and pale. Melting 1/2 cup of butter and allowing it to cool slightly, combine it into the egg mixture. This combination introduces moisture and richness, ensuring that your sponge for the Old-Fashioned Pink Jelly Cakes will be tender and tasty.
Step 4: Combine Mixtures
Pour the wet mixture into the bowl of dry ingredients, mixing gently with a spatula until just combined. Be careful not to over-mix, as this can make the sponge tough. The batter should be slightly lumpy, indicating that your Old-Fashioned Pink Jelly Cakes will maintain the light texture desired.
Step 5: Bake the Cakes
Spoon the batter evenly into the prepared muffin tins, filling each cup about two-thirds full. Bake in the preheated oven for 15-20 minutes, or until the cakes are lightly golden and spring back when gently pressed. The enticing aroma will surely make your kitchen smell heavenly as they bake!
Step 6: Cool the Cakes
Once baked, remove the tin from the oven and allow the cakes to cool in the pan for 5 minutes. Then transfer them to a wire rack to cool completely. This cooling step is important for ensuring that each Old-Fashioned Pink Jelly Cake holds its shape while being handled for the next steps.
Step 7: Prepare the Jelly Coating
While the cakes cool, prepare your strawberry jelly according to package instructions, allowing it to thicken slightly. This will ensure it adheres nicely to the cakes, creating a beautiful layer of sweetness. It’s a vibrant addition that captures the essence of these nostalgic treats.
Step 8: Coat the Cakes
Dip each cooled cake in the strawberry jelly, ensuring they are well coated but not overly drenched. Allow excess jelly to drip off before rolling them in desiccated coconut. The jelly not only adds flavor but also helps the coconut stick, creating that beloved texture found in Old-Fashioned Pink Jelly Cakes.
Step 9: Fill with Whipped Cream
Once all cakes are coated, take the whipped cream and dollop a generous amount onto the flat side of one cake, then sandwich it with another cake. This creamy filling elevates the flavor profile of your dessert, giving it a delightful contrast to the sweetness of the jelly and richness of the coconut.
Step 10: Chill and Serve
Chill the assembled Old-Fashioned Pink Jelly Cakes in the refrigerator for at least 30 minutes. This allows the flavors to meld beautifully while ensuring the cakes set properly. Serve them chilled on a platter, and watch as everyone enjoys this charming Australian dessert at your next gathering!
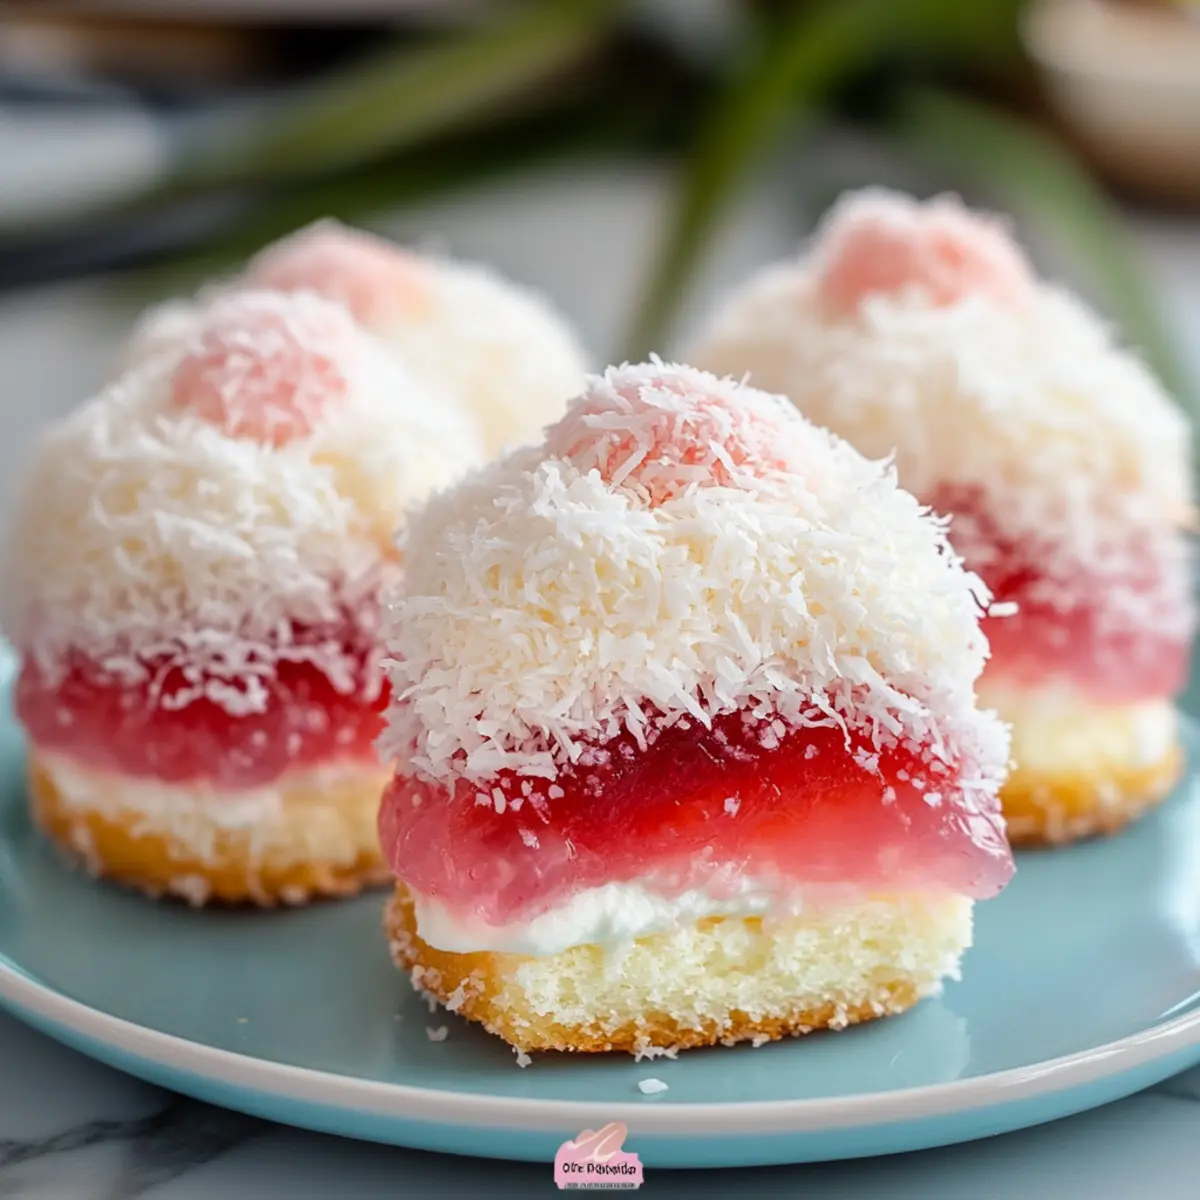
Old-Fashioned Pink Jelly Cakes Variations
Feel free to elevate your Old-Fashioned Pink Jelly Cakes with these delightful twists and substitutions for a tailored experience!
- Gluten-Free: Substitute all-purpose flour with a gluten-free blend to accommodate dietary needs without sacrificing texture.
- Dairy-Free Delight: Replace butter with margarine or vegan butter and use almond or oat milk for a dairy-free version that still tastes amazing.
- Fruit Fusion: Try different jelly flavors, like raspberry or mango, to create a new fruity twist that reflects your favorite tastes. Experience the joy of customization and add your personal flair!
- Lighter Option: Ditch the whipped cream filling for a lighter take or use a yogurt alternative to keep it refreshing yet creamy.
- Nutty Variation: Swap out desiccated coconut for finely crushed nuts for added crunch and a nutty flavor that pairs beautifully with the sponge.
- Extract Infusion: Add a teaspoon of almond or vanilla extract into the batter for a lovely depth of flavor, making every bite even more delightful!
- Sugar Swap: Use coconut sugar instead of caster sugar for a caramel-like sweetness that takes these cakes to a new level.
- Chilled Cream: For an extra chilled experience, freeze the whipped cream slightly before using, creating a delightful ice cream-like filling between the cakes.
As you explore these variations, don’t forget to serve your creations alongside fresh fruits or a nice cup of tea, just like with these adorable Apple Cider Cupcakes or German Potato Pancakes!
Expert Tips for Old-Fashioned Pink Jelly Cakes
- Thick Jelly: Ensure your strawberry jelly is slightly thickened before dipping the cakes to achieve a perfect coating that won’t slide off.
- Real Whipped Cream: Use real whipped cream for the filling to provide optimal flavor; avoid whipped toppings that lack the rich taste.
- Proper Cooling: Let the cakes cool completely before dipping; this prevents the jelly from melting and maintains the ideal texture of your Old-Fashioned Pink Jelly Cakes.
- Make-Ahead Strategy: For the best texture, prepare the sponge cakes a day in advance and assemble them with jelly and whipped cream on the day of serving.
- Flavor Variations: Experiment with jelly flavors like raspberry or passionfruit for a fun twist, personalized to suit your guests’ preferences.
How to Store and Freeze Old-Fashioned Pink Jelly Cakes
Fridge: Keep assembled cakes in an airtight container for up to 3 days. This helps maintain their freshness and prevents the jelly from separating.
Freezer: To freeze, store unassembled cakes in an airtight container for up to 2 months. Assemble with jelly and whipped cream after thawing for the best texture.
Room Temperature: It’s best to avoid storing these cakes at room temperature, as the jelly and cream can spoil quickly. Always store them in the fridge or freezer.
Reheating: If you’d like to enjoy them warm, gently warm them in the microwave for a few seconds. However, note that the jelly may lose its texture if heated too much.
Make Ahead Options
These Old-Fashioned Pink Jelly Cakes are perfect for meal prep enthusiasts looking to save time on busy days! You can bake the sponge cakes up to 24 hours in advance, allowing them to cool completely before storing them in an airtight container. The cakes will stay fluffy and delicious this way. Prepare the strawberry jelly and let it thicken, ready for use the next day. When it’s time to serve, simply coat the cooled cakes in the jelly, roll them in desiccated coconut, and fill them with whipped cream. This way, you can have delightful, homemade treats ready with minimal effort, just as scrumptious as if they were made fresh!
What to Serve with Old-Fashioned Pink Jelly Cakes?
Share these charming treats with loved ones and enhance your next gathering with perfect pairings that elevate every delightful bite.
-
Fresh Berries: The bright tartness of mixed berries, like strawberries and raspberries, adds a refreshing contrast, complementing the sweetness of the cake beautifully. Their juicy texture enhances the overall enjoyment of this nostalgic dessert.
-
Lightly Sweetened Whipped Cream: Serve alongside a bowl of whipped cream lightly sweetened with vanilla. This fluffy addition invites guests to personalize each bite, enriching the flavor profile without overwhelming the delicate sweetness of the jelly cakes.
-
Classic Tea: A warm cuppa, like English Breakfast or Earl Grey, supports the nostalgic feel of these cakes, balancing sweet layers with rich, comforting notes. The fragrant steam mingles with the scent of the cakes, creating a sensory delight.
-
Iced Lemonade: For a zesty twist, offer refreshing iced lemonade. The citrus cuts through the sweetness, making each bite of cake taste even more delicious. It’s a lively pairing that will rejuvenate your guests on a sunny day.
-
Coconut Sorbet: For a delightful and cooling option, serve alongside coconut sorbet. Its creamy texture echoes the cake’s desiccated coconut, creating a luscious dessert experience with dessert harmoniously blending together.
-
Chocolate Drizzle: Elevate each cake slice with a light drizzle of chocolate sauce. The rich chocolate notes add depth and contrast to the playful jelly and coconut, creating a wonderfully decadent treat.
-
Sliced Mango: Add a tropical touch with sweet, juicy mango slices. Their vibrant flavor provides a delightful and fresh accompaniment that balances the richness of the sponge and cream.
-
Herbal Iced Tea: Serve with a refreshing herbal iced tea, like mint or chamomile. The herbal notes add a refreshing element after each sweet bite, creating a sense of harmony between flavors and aromas.
-
Almond Biscotti: As a lovely crunchy alternative, pair these cakes with almond biscotti for some delightful texture and nutty flavor to complement the sweet layers.
-
Sparkling Water with Lime: For a non-sweet option, serve sparkling water with a splash of lime. Its bubbly nature refreshes your palate, ensuring every bite of Old-Fashioned Pink Jelly Cakes shines.
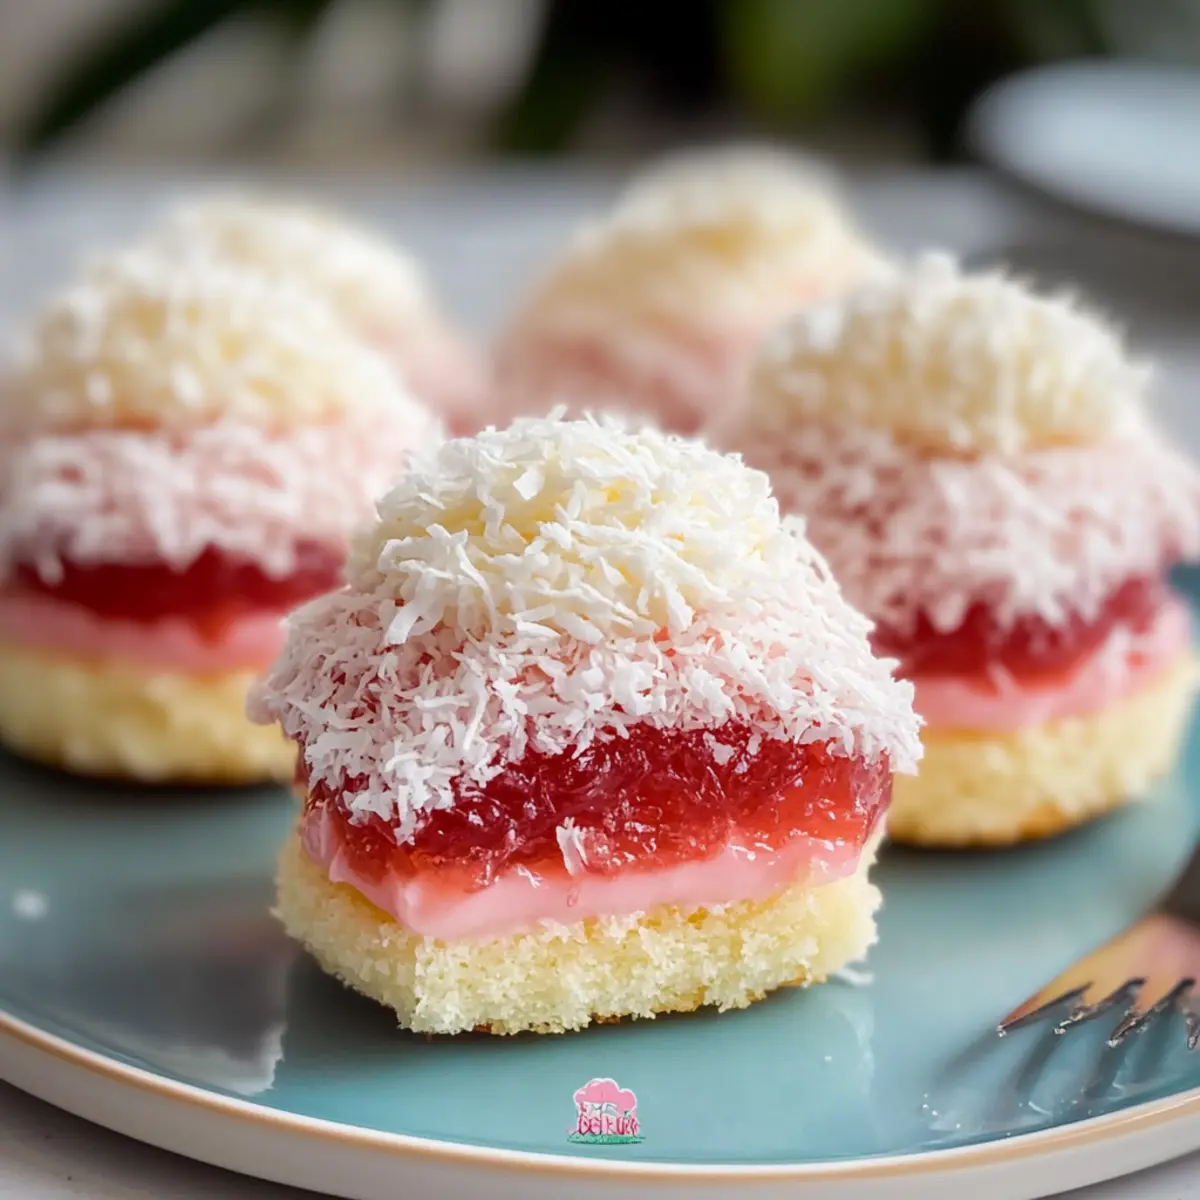
Old-Fashioned Pink Jelly Cakes Recipe FAQs
How do I choose ripe strawberries for the jelly?
Absolutely! When selecting strawberries for your jelly, look for berries that are bright red with no dark spots all over. The best ones should feel firm to the touch and have a sweet, aromatic scent. Avoid soggy or overly soft fruits, as they may affect the jelly’s texture and taste.
How should I store my Old-Fashioned Pink Jelly Cakes?
To keep these delightful cakes fresh, store them in an airtight container in the fridge for up to 3 days. This will help maintain the cakes’ moisture and prevent the jelly from separating. If they are unassembled, you can keep the sponge cakes in an airtight container for 2-3 days and fill them with jelly and whipped cream just before serving.
Can I freeze Old-Fashioned Pink Jelly Cakes?
Yes, you can! To freeze unassembled cakes, place them in an airtight container and freeze for up to 2 months. When ready to enjoy, simply thaw them in the fridge overnight and then assemble with jelly and whipped cream for the best texture.
What should I do if my jelly isn’t sticking to the cakes?
Very! If you find the jelly isn’t adhering well, it’s likely too thin. Ensure your jelly has thickened enough according to the package instructions before dipping the cakes. Also, consider chilling the cakes slightly before dipping; this helps the jelly cling better. If it’s still a challenge, try rolling the cakes in the desiccated coconut immediately after dipping to create a barrier that keeps the jelly in place.
Are Old-Fashioned Pink Jelly Cakes safe for pets or people with allergies?
If you’re concerned about dietary considerations, it’s important to note that these cakes contain dairy, eggs, and gluten. If you’re making accommodations for allergies, consider using dairy-free milk, a vegan butter alternative, and gluten-free flour. Always check the labels for cross-contamination if you’re serving anyone with allergies.
Can I make Old-Fashioned Pink Jelly Cakes ahead of time?
Absolutely! For the best results, you can prepare the sponge cakes a day in advance and store them in an airtight container. However, for optimal taste and texture, assemble the cakes with jelly and whipped cream on the day of serving — this keeps everything fresh and enjoyable for everyone!
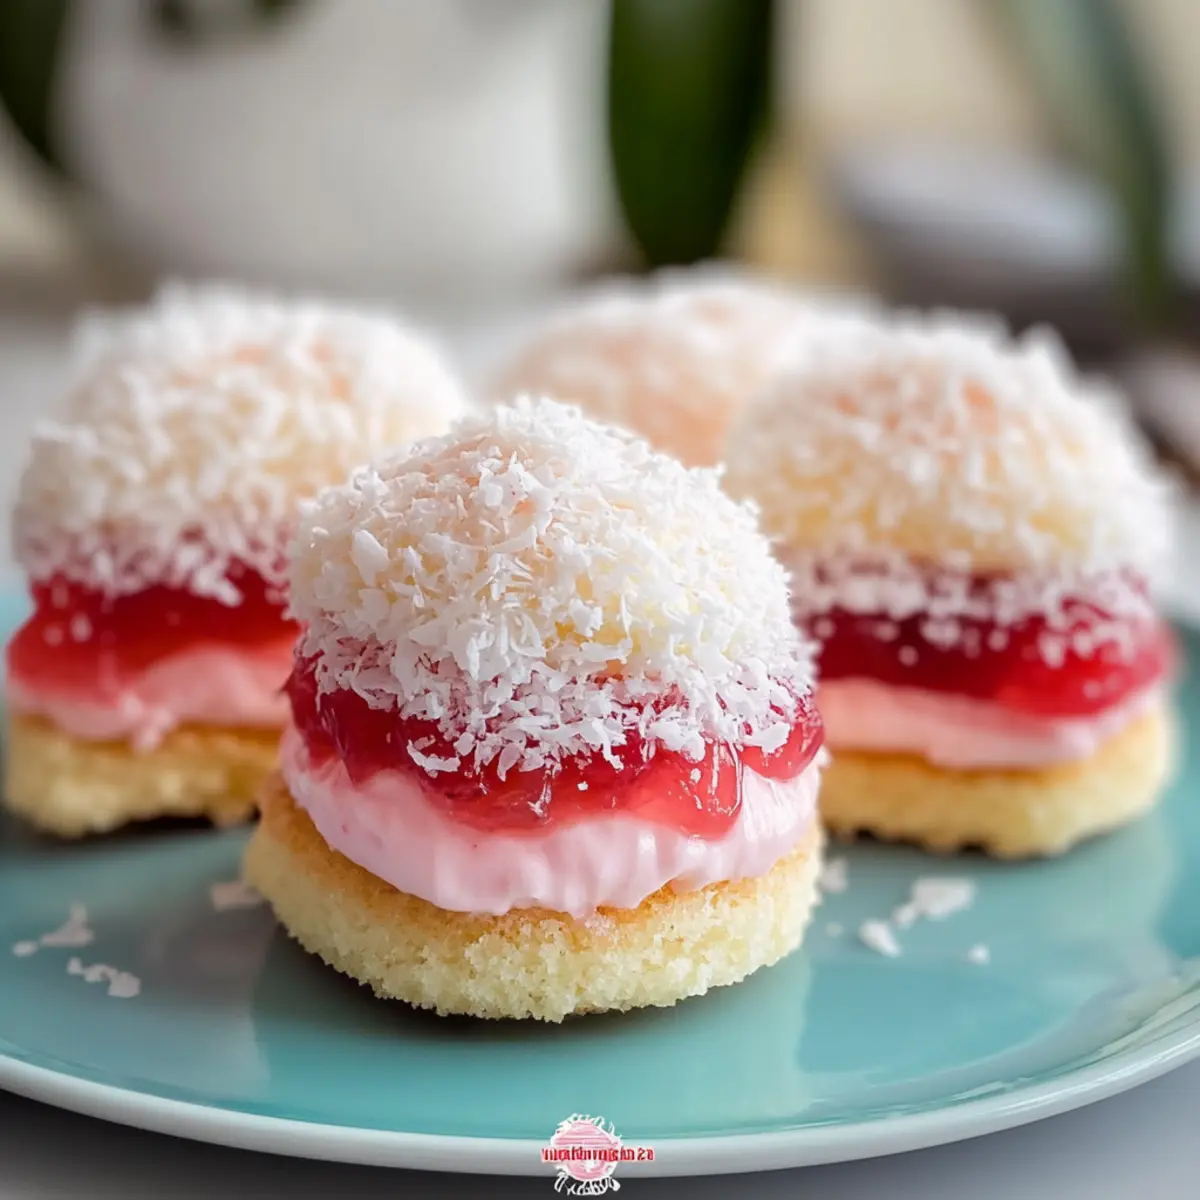
Old-Fashioned Pink Jelly Cakes that Bring Back Sweet Memories
Ingredients
Equipment
Method
- Preheat your oven to 350°F (180°C) and line a standard muffin tin with paper cups.
- In a large mixing bowl, combine flour, sugar, baking powder, and salt until evenly mixed.
- In a separate bowl, whisk together eggs and milk, then mix in melted butter.
- Pour wet mixture into the dry ingredients and mix gently with a spatula until just combined.
- Spoon the batter into muffin tins, filling each cup about two-thirds full, and bake for 15-20 minutes.
- Allow the cakes to cool in the pan for 5 minutes before transferring them to a wire rack.
- Prepare the strawberry jelly according to package instructions.
- Dip each cooled cake in the strawberry jelly, allowing excess jelly to drip off.
- Roll the coated cakes in desiccated coconut, then fill with whipped cream between two cakes.
- Chill the assembled cakes in the refrigerator for at least 30 minutes before serving.
Leave a Reply