
As I pulled the warm, rich layers of my Matilda Chocolate Cake from the oven, the sweet, heavenly scent filled my kitchen, instantly transporting me back to the whimsical world of Roald Dahl’s beloved story. This ultra-moist triple-layer cake is a chocolate lover’s dream, effortlessly marrying deep cocoa flavor with a glossy ganache that glistens like magic. Not only is it a stunning centerpiece for celebrations, but it’s also a breeze to whip up—perfect for those who crave homemade comfort over fast food. Whether you’re hosting a birthday party or just indulging in a movie night with loved ones, this cake will have everyone wanting seconds. Curious how to create this delightful masterpiece? Let’s dive into the recipe!
Why Will You Adore This Cake?
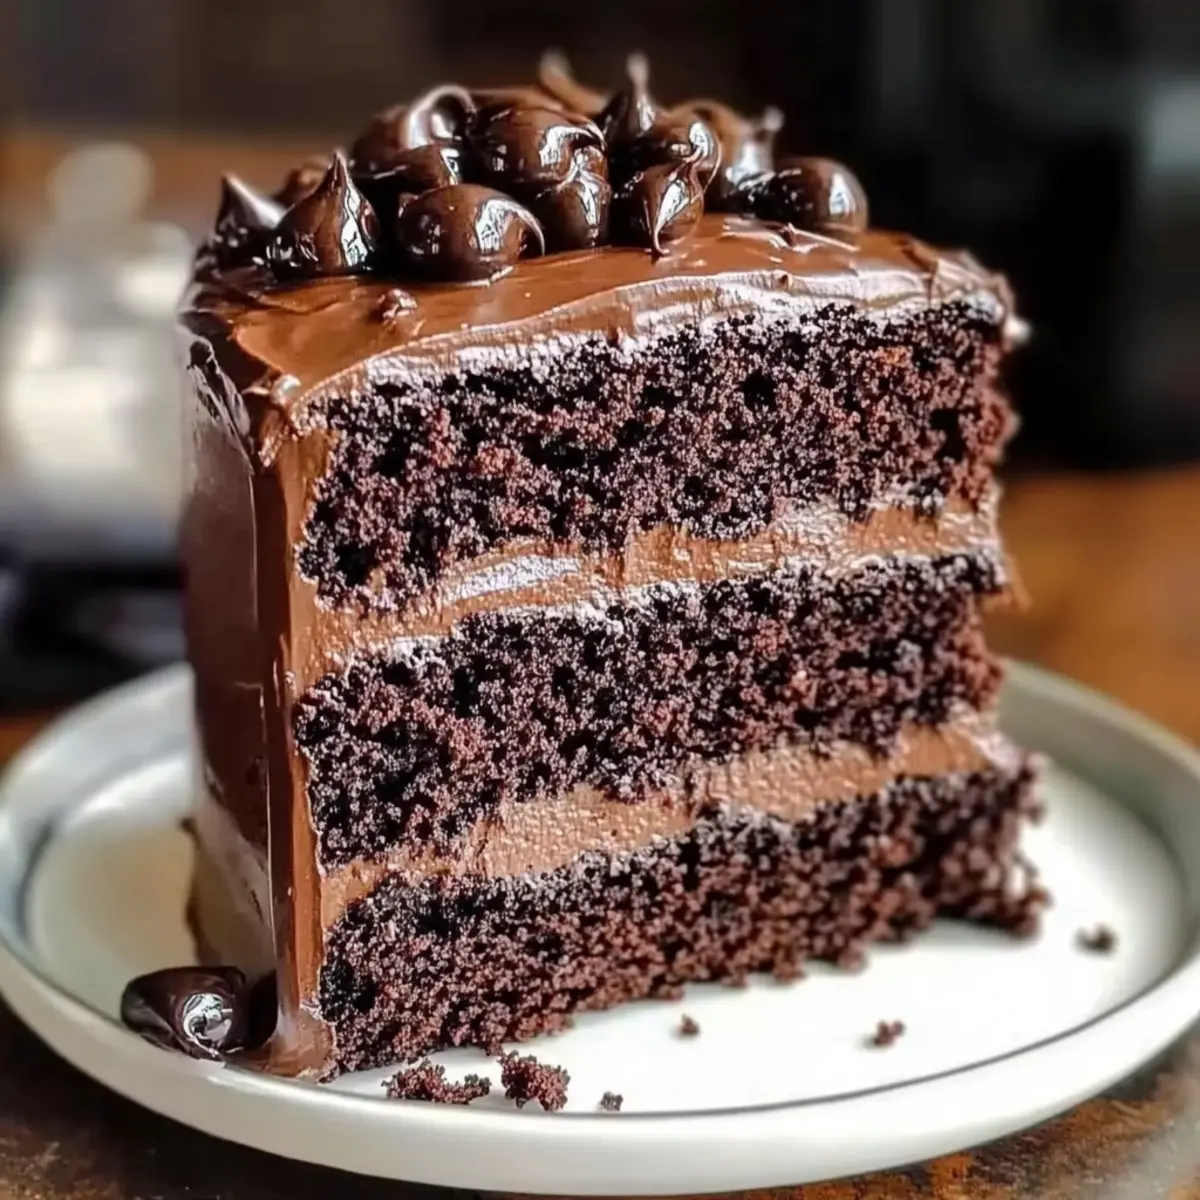
Irresistible Moisture: Each slice of this Matilda Chocolate Cake is ultra-moist, thanks to the secret ingredient of buttermilk and rich dark chocolate.
Decadent Layers: With three fluffy layers adorned with glossy ganache, it’s a show-stopper that’s sure to impress your guests.
Easy Preparation: You don’t need to be a baking expert—this recipe is straightforward, perfect for both novice bakers and seasoned chefs.
Versatile Options: Customize it! Add nuts, layer in fruit like raspberries, or swap ganache for a buttercream frosting, making it uniquely yours.
Crowd-Pleasing Delight: Ideal for birthdays or cozy movie nights, it balances rich chocolate flavor with a light texture, ensuring everyone will be back for more!
Whether served alongside a refreshing fruit salad or paired with a delightful dessert like our Coconut Toffee Chocolate bars, this cake will elevate any occasion.
Matilda Chocolate Cake Ingredients
For the Cake Layers
• Dark Chocolate – Provides rich cocoa flavor and moisture; quality matters, so opt for high-cocoa content chocolate.
• Unsalted Butter – Adds richness and structure; ensure it’s at room temperature for proper creaming.
• Granulated Sugar – Sweetens the cake; together with light brown sugar, adds depth of flavor and moisture.
• Light Brown Sugar – Enhances the cake’s moisture; its molasses content provides a delicious caramel note.
• Eggs – Acts as a binder and adds richness; room temperature eggs mix better for a smooth batter.
• Pure Vanilla Extract – Enhances the overall flavor; always choose high-quality extract for a richer taste.
• All-Purpose Flour – Provides structure to the cake; can be substituted with gluten-free flour for a gluten-free option.
• Sifted Cocoa Powder – Deepens the chocolate flavor; use unsweetened cocoa for the perfect taste.
• Baking Soda & Baking Powder – Leavening agents that help the cake rise; ensure they are fresh for best results.
• Optional Espresso Powder – Intensifies the chocolate flavor; feel free to omit it if you prefer a sweeter cake.
• Salt – Balances sweetness and enhances overall flavor; just a pinch goes a long way!
• Buttermilk – Contributes to moisture and tenderness; substitute with milk plus a splash of vinegar if needed.
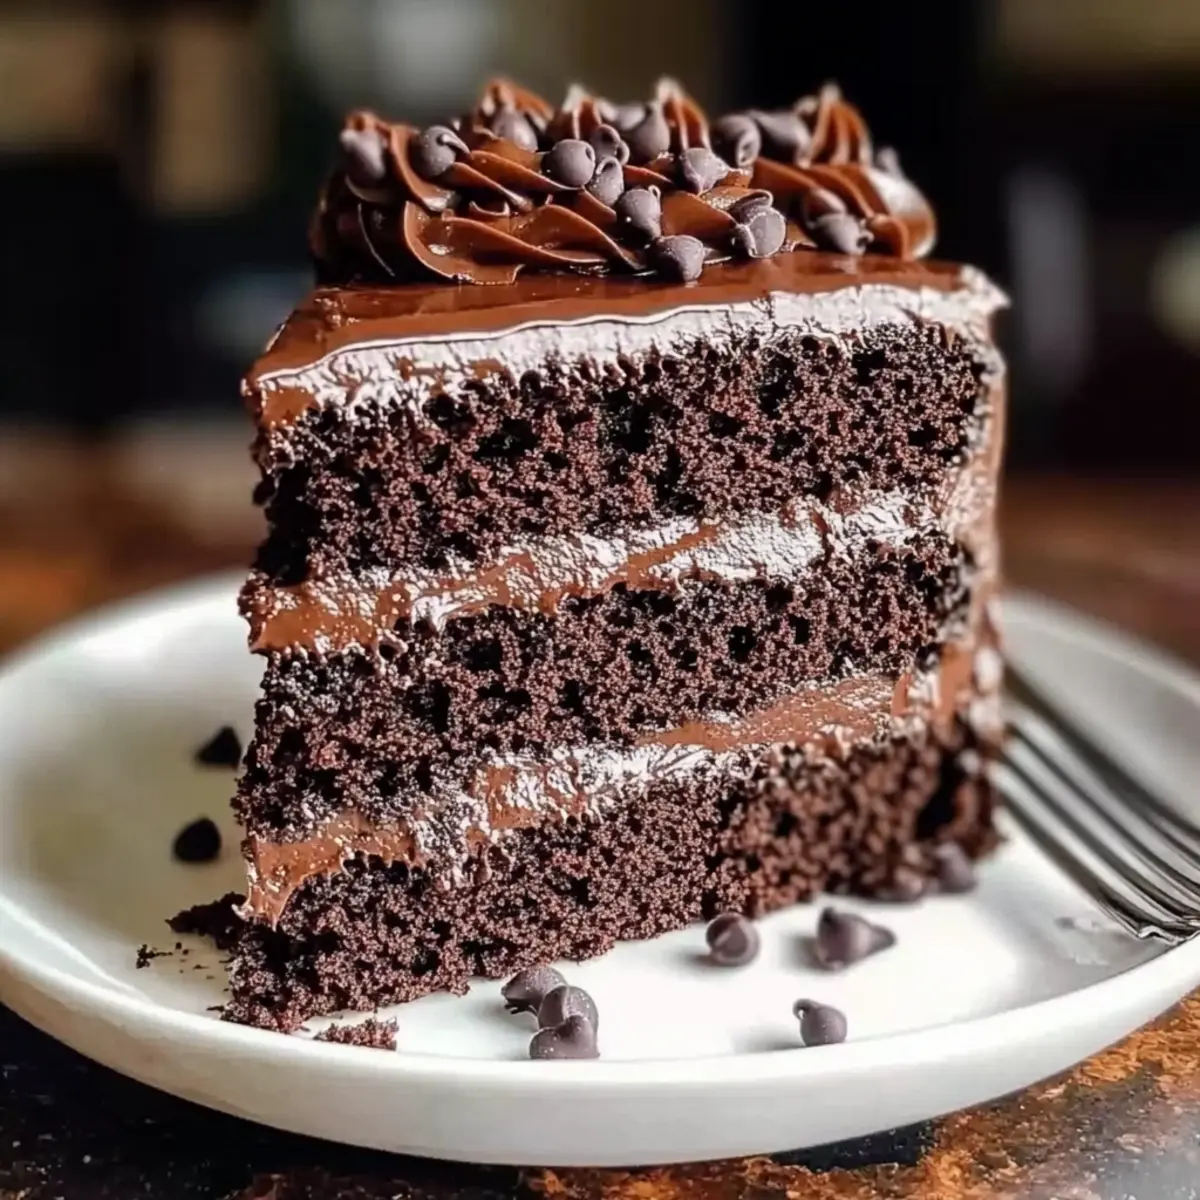
• Semi-Sweet Chocolate Chips – Add delightful pockets of chocolate throughout; omit if you prefer a simpler flavor.
For the Ganache
• Heavy Cream – Gives the ganache a silky texture; don’t substitute with low-fat creams as it may affect consistency.
• Dark Chocolate (for ganache) – Create a luscious topping that shines; choose a quality chocolate for the best flavor.
• Corn Syrup (optional) – Adds shine to the ganache; although optional, it makes for a beautiful finish.
Dive into creating this Matilda Chocolate Cake and experience its delightful layers and exquisite flavors!
Step‑by‑Step Instructions for Matilda Chocolate Cake
Step 1: Preheat & Prepare Pans
Preheat your oven to 350°F (175°C). While the oven heats, prepare two 9-inch round cake pans by lining the bottoms with parchment paper and greasing the sides with butter or cooking spray. This will ensure a smooth release of your ultra-moist Matilda Chocolate Cake layers once baked.
Step 2: Melt Chocolate
Chop the dark chocolate into small pieces and melt it using either a microwave in short bursts or a double boiler, stirring frequently until smooth. Allow the melted chocolate to cool slightly; this helps it incorporate more easily into the batter without cooking the eggs during mixing.
Step 3: Cream Butter & Sugars
In a mixing bowl, combine the room temperature unsalted butter, granulated sugar, and light brown sugar. Beat the mixture using an electric mixer on medium speed for about 3 minutes, or until it becomes light and fluffy. This aeration will create a tender crumb in your Matilda Chocolate Cake.
Step 4: Incorporate Eggs
Add the eggs to the creamed butter and sugars one at a time, mixing well after each addition. Once fully mixed, stir in the pure vanilla extract and the cooled melted chocolate until the mixture is smooth and well combined, creating a rich base for your cake.
Step 5: Combine Dry Ingredients
In a separate bowl, whisk together the all-purpose flour, sifted cocoa powder, baking soda, baking powder, optional espresso powder, and salt. This ensures that the leavening agents are evenly distributed in your dry mixture, crucial for the proper rise of your Matilda Chocolate Cake.
Step 6: Mix Wet & Dry Ingredients
Gradually add the dry ingredients to the wet mixture in three parts, alternating with the buttermilk. Begin and end with the dry ingredients, mixing gently after each addition until just combined. Be careful not to overmix; the batter should remain slightly lumpy, which ensures a tender cake.
Step 7: Add Chips
Fold in the semi-sweet chocolate chips gently with a spatula until they are evenly distributed throughout the batter. This step adds delightful pockets of chocolate to each slice of your Matilda Chocolate Cake, enhancing its rich, chocolaty goodness.
Step 8: Divide & Bake
Divide the batter equally between the prepared cake pans. Bake in the preheated oven for 30-35 minutes, or until a toothpick inserted in the center comes out with moist crumbs. Allow the cakes to cool in the pans for about 10 minutes before transferring them to wire racks to cool completely.
Step 9: Make Ganache
In a small saucepan, heat the heavy cream until it simmers, but do not let it boil. Pour the hot cream over the chopped dark chocolate in a bowl and let it sit for a few minutes. Then, stir until completely smooth. To enhance the ganache, add butter, vanilla extract, and optional corn syrup for shine.
Step 10: Assemble Cake
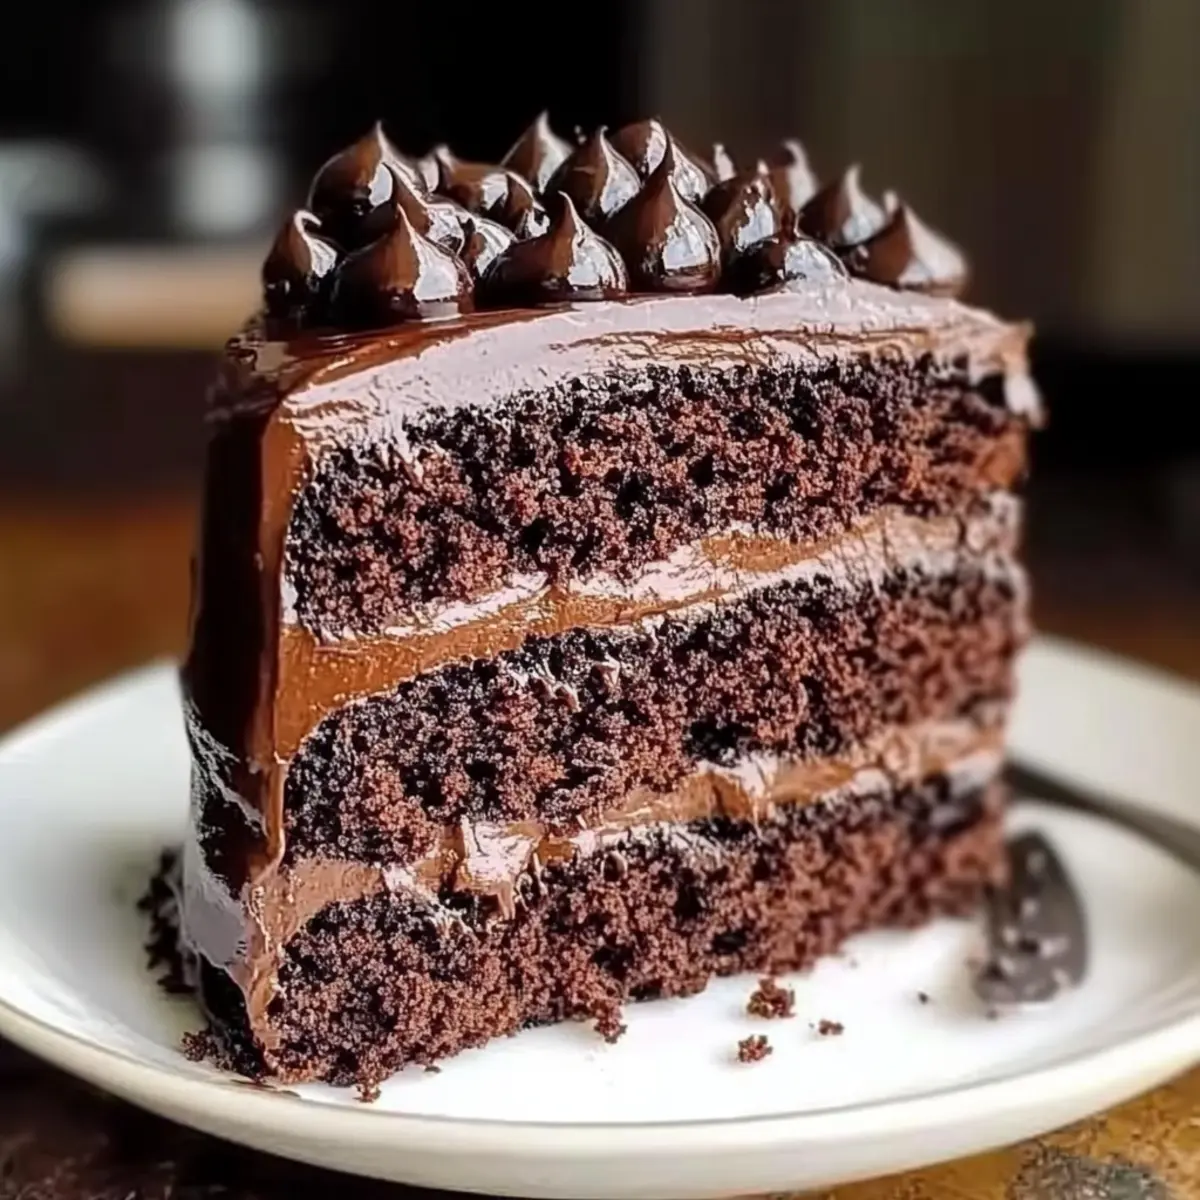
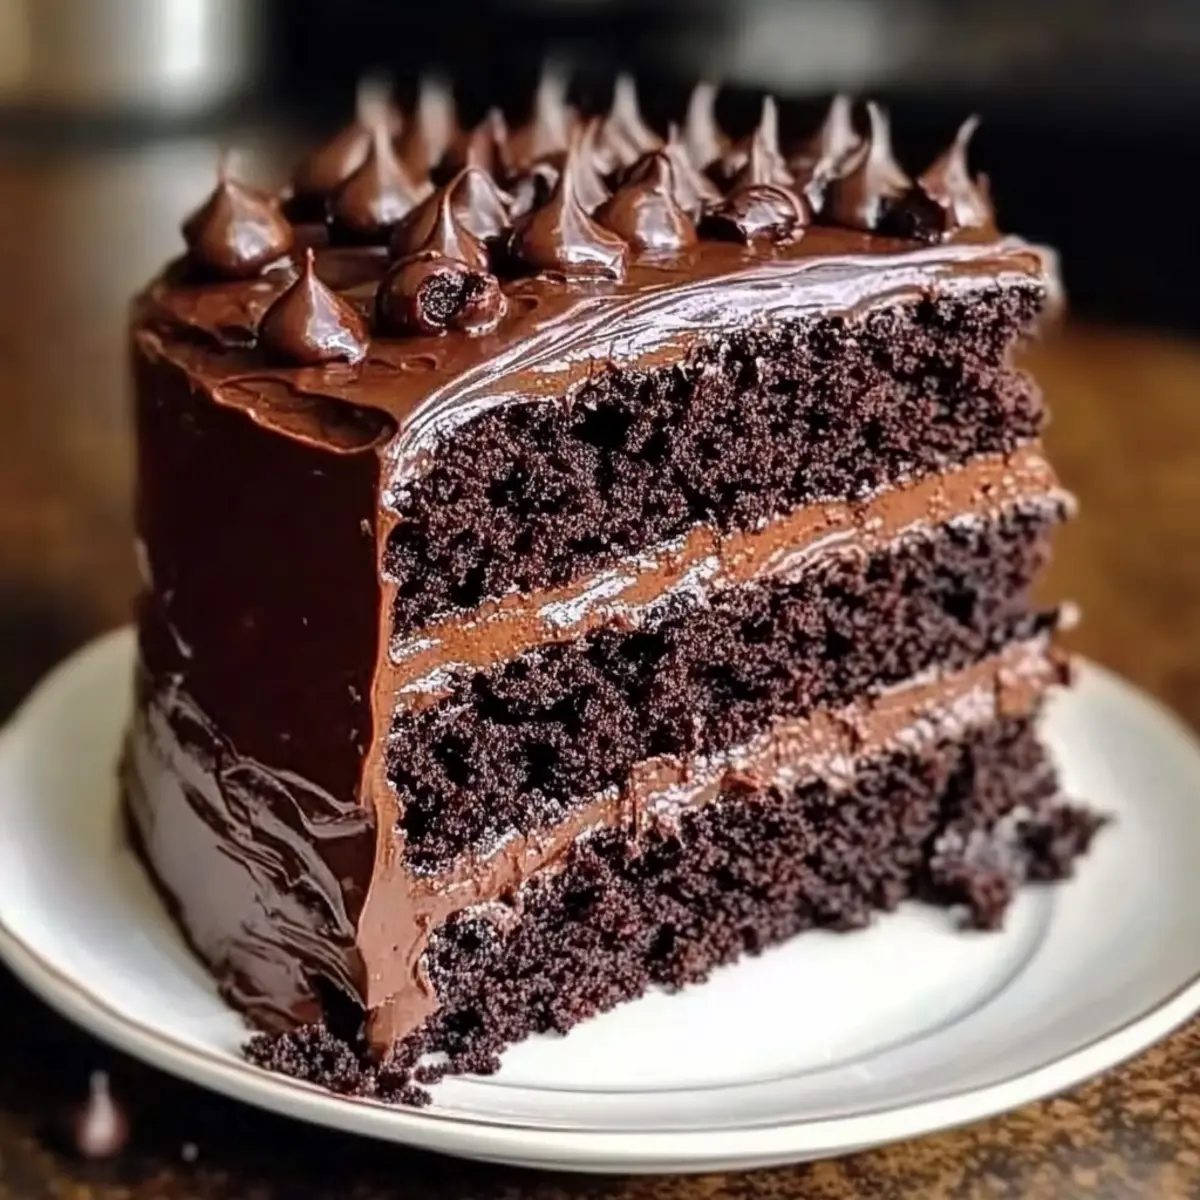
Once the cakes are completely cooled, place one layer on a serving plate and spread a generous amount of ganache on top. Add the second layer, repeating the process. Finally, pour the remaining ganache over the top layer, allowing it to drizzle down the sides of this stunning Matilda Chocolate Cake.
Matilda Chocolate Cake Variations
Feel free to unleash your creativity and customize the Matilda Chocolate Cake to suit your taste preferences!
-
Gluten-Free: Substitute all-purpose flour with a high-quality gluten-free blend to enjoy this indulgence without gluten.
-
Dairy-Free: Swap unsalted butter and buttermilk with dairy-free alternatives, such as coconut oil and almond milk mixed with vinegar for tartness.
-
Fruity Twist: Layer in fresh raspberries or strawberries between the cake layers for a tangy surprise that brightens every bite.
-
Nutty Flavor: Add chopped walnuts or pecans to the batter for a delightful crunch and a rich, nutty flavor.
-
Layered Dessert: Create individual servings by baking the cake in small ramekins and topping with ganache for a personal touch.
-
Frosting Options: If you prefer a different finish, use a classic buttercream frosting instead of ganache—it’s just as luscious!
-
Spicy Kick: Incorporate a pinch of cayenne or chili powder into the batter for a delightful surprise that complements the chocolate.
-
Decadent Espresso: Boost the coffee flavor by enhancing the optional espresso powder in the cake for an extra rich chocolate experience.
Whether you serve it alongside a fruity salad or pair it with a slice of our delicious Chai Cake Spice, these variations ensure that your Matilda Chocolate Cake remains a breathtaking centerpiece for every occasion!
What to Serve with Matilda Chocolate Cake?
Elevate your dessert experience with these delicious pairings that complement the rich, chocolaty delight of Matilda Chocolate Cake.
- Creamy Vanilla Ice Cream: The smoothness of vanilla ice cream contrasts beautifully with the cake’s rich texture, creating a balanced and satisfying bite.
- Fresh Berry Compote: A tart berry compote adds a fruity brightness that cuts through the sweetness, enhancing the cocoa flavor with each forkful.
- Whipped Cream: Light and airy, freshly whipped cream provides a perfect contrast, allowing the chocolate to shine without overwhelming the palate.
- Chocolate Mousse: For the ultimate chocolate lover’s experience, pair the cake with a dollop of decadent chocolate mousse for double the indulgence!
- Hot Coffee: A steaming cup of brewed coffee enhances the chocolate flavors and creates a cozy atmosphere, making it ideal for gatherings.
- Minty Mojito: The refreshing zest of a mint mojito offers a fun contrast to the cake’s richness, perfect for a vibrant celebration.
- Salted Caramel Sauce: Drizzling warm salted caramel on your slice introduces a salty-sweet dynamic that pairs exquisitely with the deep chocolate flavors.
- Beer Float: For a creative twist, try a beer float with chocolate stout and vanilla ice cream—it’s an unexpected treat that adds creativity to dessert time!
- Mini Cheesecake Bites: Serve alongside mini cheesecake bites for a delightful mix of textures and flavors, making your dessert table irresistibly charming.
Make Ahead Options
The Matilda Chocolate Cake is perfect for meal prep, allowing you to enjoy delicious homemade dessert with ease! You can prepare the cake layers up to 24 hours in advance. Simply bake and cool the layers completely, then wrap each one in plastic wrap to maintain moisture, before refrigerating. The ganache can also be made ahead of time—just store it in the fridge for up to 3 days; when you’re ready to assemble, gently reheat it until pourable. Once you’ve layered the cake and added the ganache, it’s best enjoyed the same day for the freshest taste. This makes hosting any gathering so much simpler, as the bulk of your work is done!
Expert Tips for Matilda Chocolate Cake
-
Quality Ingredients: Choose high-quality dark chocolate and butter for your Matilda Chocolate Cake. Their flavors significantly elevate the cake’s overall taste.
-
Room Temperature Items: Ensure that butter and eggs are at room temperature before mixing. This helps create a smooth, well-emulsified batter that results in a moist cake.
-
Don’t Overmix: Combine the ingredients just until they are incorporated. Overmixing can lead to a dense cake texture, so gently fold in dry ingredients and chocolate chips.
-
Check for Doneness: Use a toothpick to test for doneness. It should come out with a few moist crumbs, not completely clean, to ensure the cake remains ultra-moist.
-
Cooling Time: Allow the cakes to cool completely before frosting. This prevents the ganache from melting and sliding off, ensuring your Matilda Chocolate Cake looks as good as it tastes.
-
Storage Secrets: Store any leftover cake in an airtight container at room temperature for up to 5 days, or refrigerate for longer freshness while keeping it deliciously moist.
How to Store and Freeze Matilda Chocolate Cake
Room Temperature: Store leftover cake in an airtight container at room temperature for up to 5 days to keep it fresh and moist.
Fridge: If you prefer longer freshness, refrigerate the cake in an airtight container for up to 7 days. It may lose some of its moist texture, so serve at room temperature.
Freezer: For extended storage, freeze the cake layers wrapped tightly in plastic wrap, then foil, for up to 3 months. Thaw overnight in the fridge before serving.
Reheating: To enjoy a slice warm, gently microwave it for about 10-15 seconds. This enhances the decadent flavor of your Matilda Chocolate Cake!
Matilda Chocolate Cake Recipe FAQs
What type of chocolate should I use for the cake?
Absolutely! For the best flavor, choose high-cocoa content dark chocolate, preferably around 70% cocoa. This will provide a rich depth of flavor and moisture to your Matilda Chocolate Cake. Avoid generic brands as they may not yield the same quality.
How should I store my leftover Matilda Chocolate Cake?
Leftover cake can be stored in an airtight container at room temperature for up to 5 days. For extra freshness, refrigerate it for up to a week. Just remember, chilling may slightly change the cake’s texture, so let it come to room temperature before serving again.
Can I freeze the Matilda Chocolate Cake?
Of course! To freeze your cake layers, wrap them tightly in plastic wrap and then in aluminum foil. They can be stored in the freezer for up to 3 months. When you’re ready to enjoy, thaw the layers overnight in the fridge, then assemble with ganache once completely thawed.
Why is my cake not rising properly?
Very! If your cake is dense, it might be due to expired leavening agents like baking powder or baking soda. Always check their freshness before use. Additionally, overmixing the batter can lead to a heavy texture. Mix just until combined for a light and fluffy result.
Are there any dietary considerations with this recipe?
Absolutely! This Matilda Chocolate Cake contains gluten and dairy, but you can easily adapt it. For a gluten-free version, substitute all-purpose flour with a gluten-free flour blend. Similarly, non-dairy milk mixed with a splash of vinegar can replace buttermilk. Just be mindful that these swaps may alter the taste and texture slightly.
Can I add fruits or nuts to the recipe?
The more the merrier! You can definitely add nuts like walnuts or pecans for extra texture, or layer in fresh fruits like raspberries for a delightful twist. Just make sure to adjust the baking time slightly if you add a significant amount of additional ingredients to ensure the cake bakes evenly.
Matilda Chocolate Cake: Indulge in Triple-Layer Bliss
Ingredients
Equipment
Method
- Preheat your oven to 350°F (175°C) and prepare two 9-inch round cake pans with parchment paper and greased sides.
- Chop the dark chocolate and melt using a microwave or double boiler, stirring until smooth.
- In a mixing bowl, combine unsalted butter, granulated sugar, and light brown sugar; beat until light and fluffy.
- Incorporate eggs one at a time, then stir in pure vanilla extract and cooled melted chocolate.
- In a separate bowl, whisk together flour, cocoa powder, baking soda, baking powder, optional espresso powder, and salt.
- Gradually add dry ingredients to the wet mixture, alternating with buttermilk, mixing until just combined.
- Fold in semi-sweet chocolate chips gently.
- Divide the batter into the prepared pans and bake for 30-35 minutes or until a toothpick comes out with moist crumbs.
- Allow cakes to cool in pans for 10 minutes before transferring to wire racks to cool completely.
- Heat heavy cream in a saucepan until it simmers, then pour over chopped dark chocolate and stir until smooth.
- Layer the cooled cakes with ganache in between and pour remaining ganache on top, allowing it to drizzle down.
Leave a Reply