
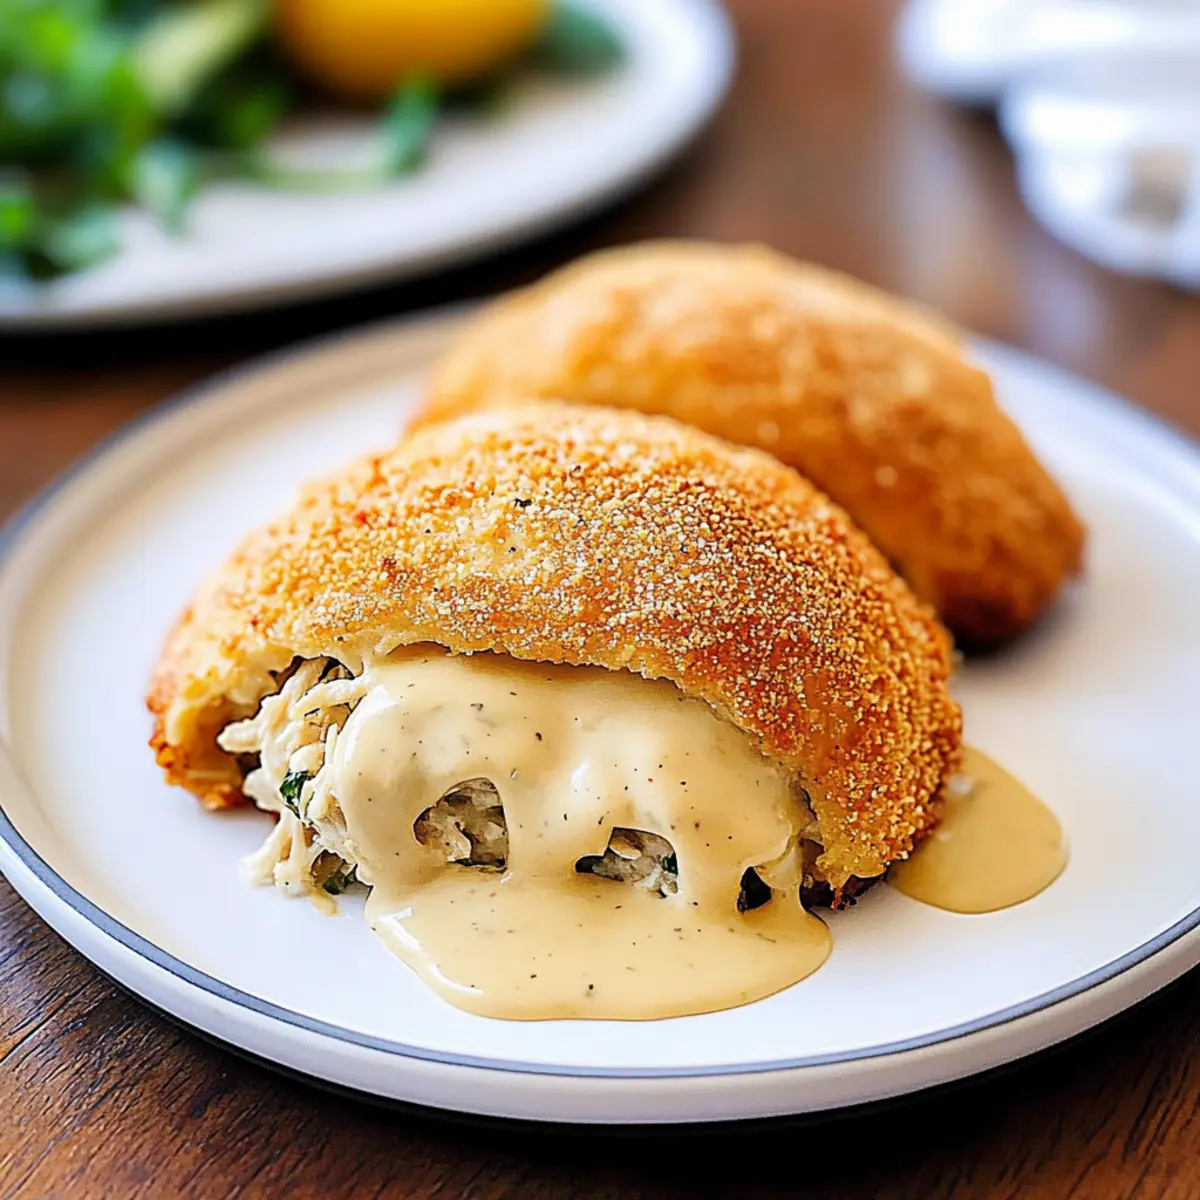
The aroma wafting through my kitchen takes me back to cozy family dinners, where laughter and love filled the air. Today, I’m thrilled to share my easy Chicken Pillows recipe—an absolute crowd-pleaser that combines creamy, seasoned chicken filling with flaky crescent dough. Whether you’re facing a busy weeknight or want to impress friends with homemade comfort food, these delightful pockets are a breeze to make. Prepped in no time and baked to golden perfection, they are not just family-friendly but also adaptable; think of variations like Chicken Cordon Bleu Pillows to add your personal touch! Are you excited to dive into these mouthwatering morsels that bring everyone together around the table? Let’s get cooking!
Why are Chicken Pillows a must-try?
Family-Friendly Delight: Each bite of these Chicken Pillows offers a comforting taste that kids and adults alike will adore.
Quick Preparation: With simple ingredients and minimal prep time, they’re perfect for busy weeknights or last-minute gatherings.
Versatile Filling Options: Don’t hesitate to switch up the proteins and seasonings—try incorporating flavors from your favorite recipes like Honey Dijon Chicken or even some chopped vegetables for a nutrition boost!
Flaky Goodness: The flaky crescent dough creates a delightful contrast to the creamy filling, ensuring everyone will come back for seconds.
Make Ahead Friendly: Prepare them a day in advance, or freeze for future meals, making them a time-saving addition to your cooking repertoire!
Crowd-Pleasing Comfort Food: Serve them at family gatherings or casual dinners, and watch them disappear from the table in no time!
Chicken Pillows Ingredients
For the Filling
• Cooked Shredded Chicken (10 ounces) – This hearty ingredient provides protein; rotisserie chicken is a great shortcut!
• Cream Cheese (4 ounces, softened) – Adds a rich, creamy texture; Greek yogurt can lighten it up if desired.
• Salted Butter (1 tablespoon, softened) – This contributes moisture and flavor; you can use margarine if needed.
• Dried Chives (1/2 tablespoon) – Offers a mild onion flavor; feel free to use fresh chives or green onions for freshness.
• Dried Minced Onion (1/2 tablespoon) – Enriches the savory aspect; substitute with finely chopped fresh onions if you prefer.
• Salt and Pepper – Season to taste for the perfect balance.
For the Dough
• Refrigerated Pillsbury Crescent Roll Dough (1 can – 8 ounces) – This flaky dough forms the pillow’s exterior; store-brand options work just as well.
For the Crunch
• Italian Breadcrumbs (1/2 cup) – Adds a delightful crunch to each bite; consider using panko breadcrumbs for extra crispiness.
For the Gravy
• Cream of Chicken Soup (1 can – 10 ounces) – Used for making a luscious topping; cream of mushroom soup is a great vegetarian alternative.
• Chicken Gravy Mix (1 packet) – Enhances the flavor and creates a savory sauce over the pillows; feel free to adjust according to taste.
Embrace the deliciousness that these Chicken Pillows bring to your table, and enjoy creating a family favorite that everyone will rave about!
Step‑by‑Step Instructions for Chicken Pillows
Step 1: Preheat the Oven
Begin by preheating your oven to 350°F (175°C). While the oven warms up, grease a baking sheet with a bit of cooking spray or butter to prevent sticking. This step is essential, as a prepared baking sheet will help your Chicken Pillows bake evenly and come out perfectly golden brown.
Step 2: Prepare the Filling
In a mixing bowl, combine softened cream cheese and softened butter until the mixture is smooth and creamy, about 2 minutes of mixing. Next, stir in the cooked shredded chicken, dried chives, dried minced onion, salt, and pepper to taste. This creamy filling will provide a savory heartiness that you’ll love once the Chicken Pillows are baked.
Step 3: Unroll the Dough
Take the package of refrigerated Pillsbury Crescent Roll Dough and unroll it on a clean surface. Carefully press two triangles together to form a rectangle, ensuring the seams are well sealed. This step is crucial as it creates a sturdy pocket for the delicious chicken filling that makes up each Chicken Pillow.
Step 4: Fill the Dough
Scoop a generous amount of the chicken mixture onto the center of each rectangle you formed. Gently fold the dough over the filling, pinching the edges tightly to seal each Pillow securely. Make sure there are no gaps—keeping everything tucked in will allow for a delightful bite without any spillage while baking.
Step 5: Coat the Pillows
Melt ¼ cup of butter in a small bowl. Dip each sealed Chicken Pillow into the melted butter, ensuring they are well-coated for added flavor. Afterward, roll each pillow in Italian breadcrumbs, shaking off any excess. This crunchy layer will give your Chicken Pillows a satisfying texture that perfectly contrasts the creamy filling.
Step 6: Bake the Chicken Pillows
Place each breaded Chicken Pillow on the prepared baking sheet, spacing them evenly apart. Bake in the preheated oven for 22-25 minutes or until they turn a beautiful golden brown. Keep an eye on them; once the tops are crispy and the filling is heated through, you’ll know they’re ready to come out of the oven.
Step 7: Prepare the Gravy
While your Chicken Pillows are baking, it’s time to prepare the topping! In a saucepan, combine the cream of chicken soup, chicken gravy mix, and a small amount of water. Heat on medium until it starts to bubble, then reduce to low and let it simmer for about 5 minutes, stirring occasionally to ensure a smooth gravy.
Step 8: Serve and Enjoy
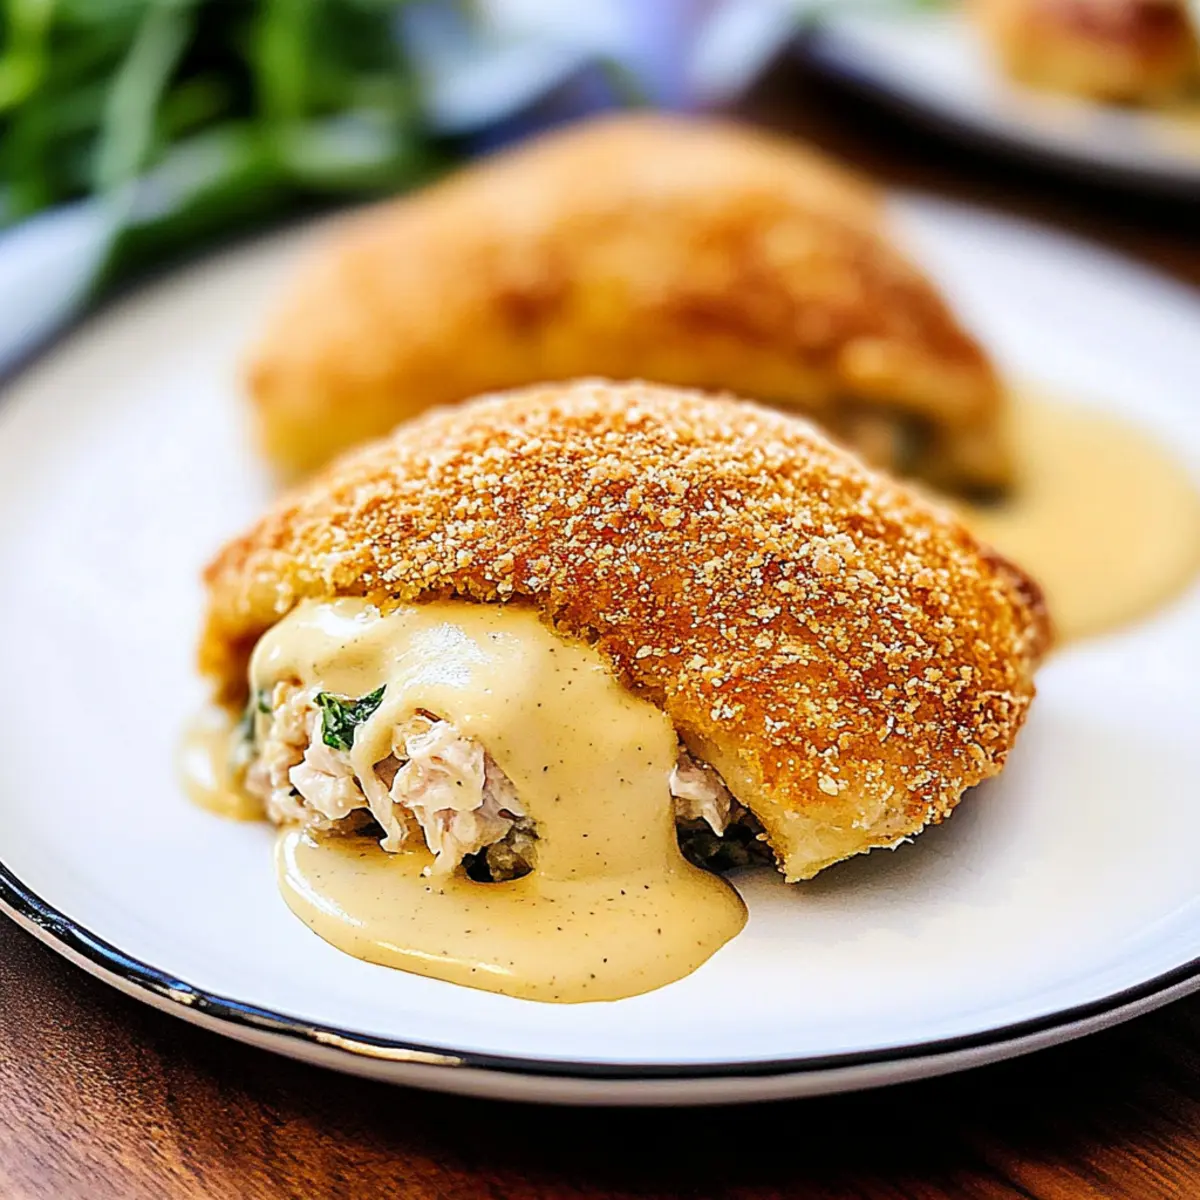
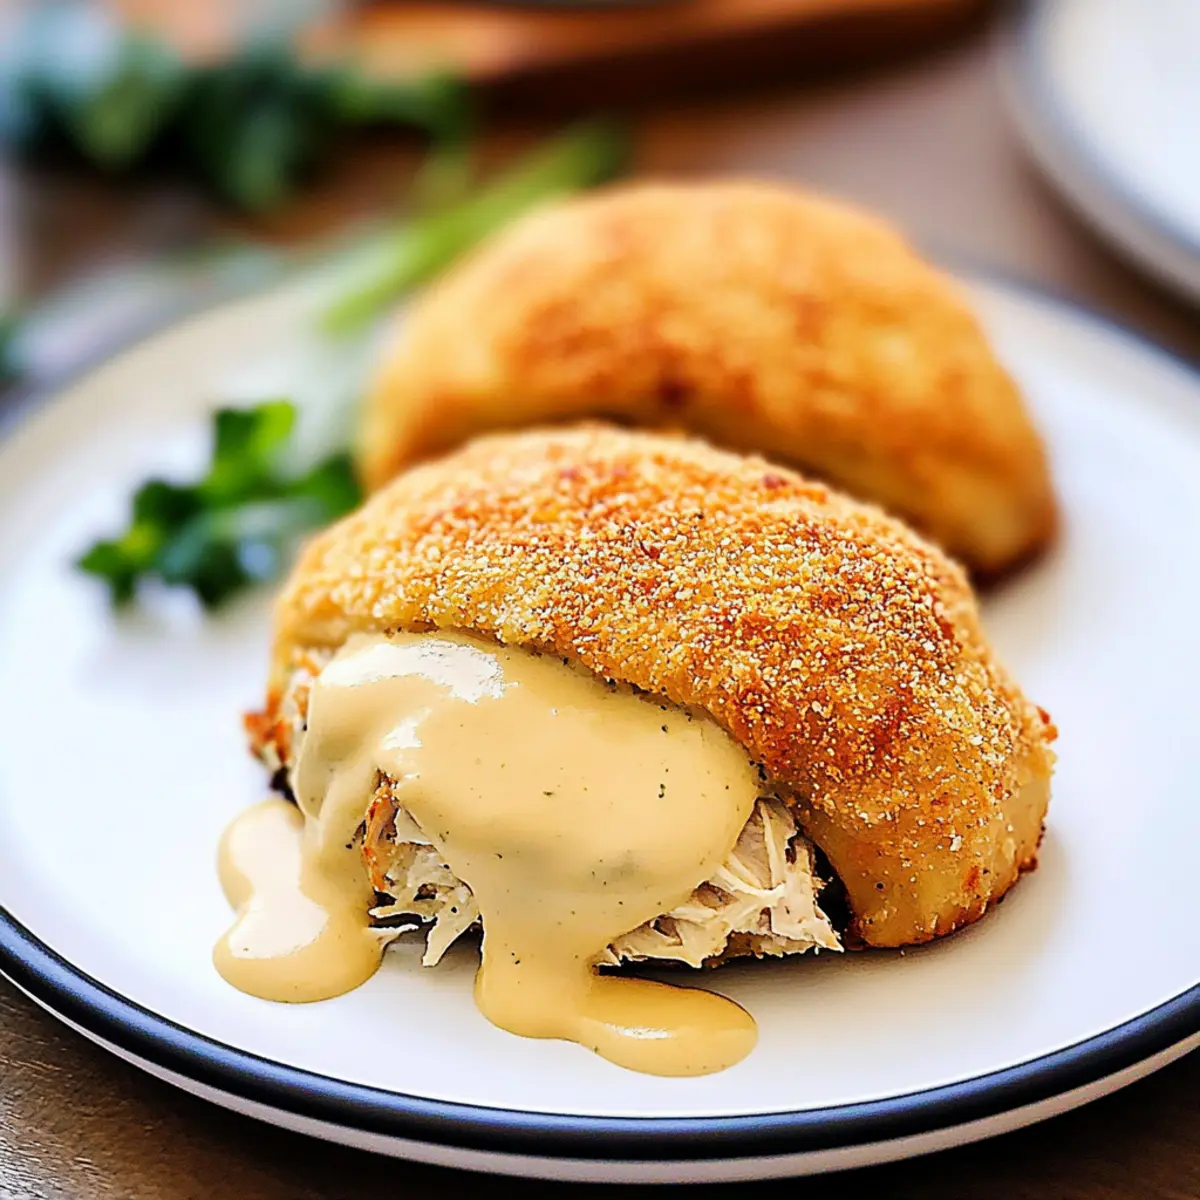
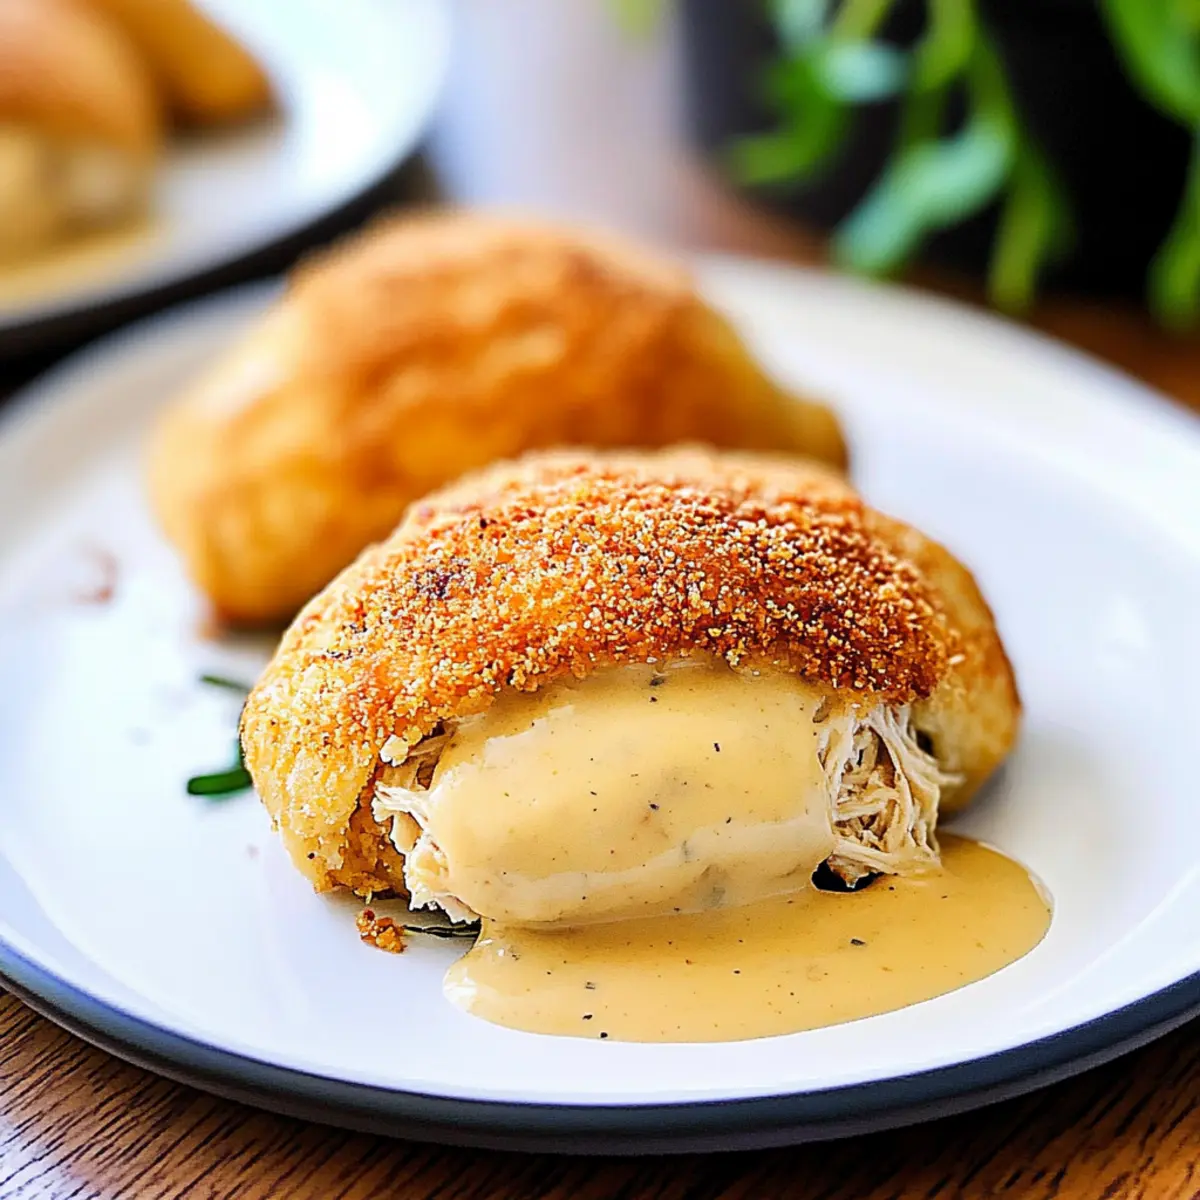
Once the Chicken Pillows are baked and golden, remove them from the oven and drizzle your warm gravy over the top. These Chicken Pillows can be served immediately and are best enjoyed while hot. The combination of the warm, flaky exterior and the creamy filling with savory gravy is sure to impress everyone at your table!
Chicken Pillows Variations & Substitutions
Get ready to elevate your Chicken Pillows experience with delicious twists and swaps that suit your taste and dietary needs!
-
Protein Swap: Use cooked turkey or ham instead of chicken for a different flavor profile. This lets you mix it up based on what you have on hand!
-
Cheesy Delight: Add Swiss or cheddar cheese to the filling for extra creaminess. Cheese lovers will truly savor this variation with every bite!
-
Vegetarian Twist: Replace the shredded chicken with chopped spinach and ricotta for a delightful vegetarian option. It’s light yet packed with flavor!
-
Spicy Kick: Incorporate hot sauce into the filling for a zesty punch or mix in some pepper jack cheese. This variation brings a deliciously fiery element to your comforting dish.
-
Herb Infusion: Use fresh herbs like parsley or basil in place of dried chives for a burst of freshness. It adds a vibrant touch, making each pillow feel gourmet.
-
Seasoning Variations: Experiment with seasoning blends like Cajun or barbecue for a bold flavor change. Think of elevating your classic Chicken Pillows by introducing flavors from other beloved dishes!
-
Pasta Lovers: Try crumbling some cooked Italian sausage into the filling. The added depth of flavor makes it a hearty treat that’s enjoyable for everyone.
-
Creamy Alternatives: Opt for Greek yogurt instead of cream cheese for a lighter filling. You’ll still enjoy that creamy texture while cutting back on calories!
Feel inspired by these variations? Check out other delicious dishes like Chopped Chicken Bacon for more creative ideas and flavors that blend perfectly with family favorites like Chicken Pillows!
Make Ahead Options
These Chicken Pillows are perfect for meal prep enthusiasts! You can assemble the pillows up to 24 hours in advance by mixing the creamy filling and sealing them in the crescent dough, then storing them covered in the refrigerator. To maintain their flaky texture and avoid sogginess, make sure to refrigerate them on a baking sheet lined with parchment paper. When you’re ready to serve, simply preheat the oven and bake as instructed, adding a few extra minutes if they’re chilled from the fridge. With this make-ahead option, you’ll enjoy delicious, comforting Chicken Pillows with minimal effort—ideal for those busy weeknights!
How to Store and Freeze Chicken Pillows
Fridge: Store leftover Chicken Pillows in an airtight container for up to 3 days. Be sure to let them cool completely before sealing.
Freezer: For long-term storage, wrap each Chicken Pillow individually in plastic wrap and place them in an airtight container or freezer bag. They can be frozen for up to 3 months.
Reheating: To reheat, place frozen Chicken Pillows on a baking sheet and bake at 350°F (175°C) for about 30 minutes until heated through. You can also microwave them, but baking will keep them crispier.
Make-Ahead: Prepare your Chicken Pillows a day in advance and keep them in the fridge before baking for an effortless meal option!
Expert Tips for Chicken Pillows
-
Seal Tightly: Ensure to seal the edges of the crescent dough tightly to avoid any filling leakage during baking, which can result in a messy outcome.
-
Golden Brown Perfection: Bake until the pillows are golden brown for the best texture; underbaking may lead to a soggy exterior while overbaking can dry them out.
-
Flavor Boost: Don’t hesitate to add chopped spinach, sautéed mushrooms, or bell peppers to the chicken mixture for added nutrition and flavor, making your Chicken Pillows even more delightful.
-
Breadcrumb Crunch: For a fresher crunch, consider using panko breadcrumbs instead of Italian; they can provide a more satisfying texture and extra crispiness.
-
Gravy Variations: Experiment with different gravies such as mushroom or turkey gravy to elevate the dish and customize it to your family’s taste preferences.
What to Serve with Easy Chicken Pillows
Elevate your dining experience with perfect pairings that enhance the comforting allure of these creamy, savory morsels.
-
Steamed Broccoli: Fresh and vibrant, steamed broccoli adds a delightful crunch and a healthy green touch to your meal. It’s a classic veggie side that balances richness nicely.
-
Garlic Bread: Serve warm, crusty garlic bread for dipping into gravy and soaking up all the delicious juices. The buttery aroma fills the air, making every bite better than the last.
-
Caesar Salad: Crisp romaine, tangy dressing, and crunchy croutons offer a refreshing contrast to the Chicken Pillows. This classic salad provides a lightness that enhances the heartiness of your dish.
-
Mashed Potatoes: Creamy mashed potatoes create a comforting, indulgent pairing, perfect for scooping up gravy. Their velvety texture complements the crispy exterior of the pillows beautifully.
-
Crispy Green Beans: Sautéed or roasted green beans bring a pop of color and a satisfying snap. Toss them with garlic and almonds for added flavor and a touch of elegance.
-
Apple Crisp: For a sweet finish, serve a warm apple crisp. The combination of cinnamon-spiced apples and oat topping creates a delightful end to your meal that feels like a warm hug.
-
Sparkling Cider: Elevate the dining experience with a glass of refreshing sparkling cider. The fizz and fruity notes clean the palate and pair well with the savory flavors of Chicken Pillows.
Explore these pairings to create a complete meal that everyone will love, turning your dining table into a memorable gathering spot!
Chicken Pillows Recipe FAQs
What type of chicken should I use for Chicken Pillows?
Absolutely! You can use cooked shredded chicken, which provides heartiness and protein. A rotisserie chicken is a wonderful shortcut if you’re looking for convenience. Just be sure to shred it before mixing with the other ingredients for your Chicken Pillows!
How should I store leftover Chicken Pillows?
After enjoying a delightful meal, store any leftovers in an airtight container in the fridge for up to 3 days. Make sure they are completely cooled before sealing to maintain freshness. This way, you can savor those tasty flavors even after the first round!
Can Chicken Pillows be frozen for later use?
Very much so! To freeze, wrap each Chicken Pillow individually in plastic wrap and place them in an airtight container or freezer bag. They can be stored in the freezer for up to 3 months. When you’re ready to enjoy them again, simply bake them from frozen at 350°F (175°C) for about 30 minutes, or until heated through. This method keeps their crust crispy and delicious!
What should I do if my Chicken Pillows leak while baking?
If leakage occurs, don’t worry! For next time, be sure to seal the edges of the crescent dough tightly. Pinch seams firmly and consider folding the dough over the filling more securely. If any filling does escape during baking, just keep an eye on them and remove the baking sheet promptly to avoid further mess!
Can I adjust the recipe for dietary restrictions?
Absolutely! If you’re catering to dietary preferences or allergies, you can easily switch out ingredients. For example, use Greek yogurt instead of cream cheese for a lighter option, or substitute the chicken with cooked turkey or ham. Additionally, for a vegetarian alternative, swap the cream of chicken soup with cream of mushroom soup to maintain that comforting flavor without meat.
Are Chicken Pillows safe for pets?
While they are delicious for humans, it’s best to avoid sharing Chicken Pillows with pets. Ingredients like cream cheese and spices may not sit well with your furry friends. Always keep their diet in mind and stick to pet-friendly treats instead!
Amazing Chicken Pillows: Creamy Comfort in Every Bite
Ingredients
Equipment
Method
- Preheat the oven to 350°F (175°C) and grease a baking sheet.
- In a mixing bowl, combine cream cheese and butter until smooth. Stir in chicken, chives, onion, salt, and pepper.
- Unroll the crescent roll dough and press two triangles together to form rectangles.
- Scoop the chicken mixture onto the center of each rectangle and fold the dough over, sealing edges tightly.
- Melt ¼ cup of butter and dip each sealed pillow in it, then roll in breadcrumbs.
- Place on the baking sheet and bake for 22-25 minutes until golden brown.
- Prepare the gravy by combining soup, gravy mix, and water in a saucepan; heat until bubbling, then simmer for 5 minutes.
- Drizzle warm gravy over baked Chicken Pillows and serve hot.
Leave a Reply