
The comforting aroma of baked pasta wafts through my kitchen, instantly transporting me to the heart of Italy. Today, I’m excited to share my Ultimate Rigatoni al Forno recipe—a heartwarming dish that’s perfect for gatherings or cozy family dinners. This cheesy, meaty delight combines a rich homemade tomato sauce with rigatoni, ensuring that each bite brings a nostalgic wave of flavor. One of the best perks? It’s a crowd-pleaser that can easily be customized with different meats and cheeses to suit your taste. Plus, it’s a fantastic make-ahead option, meaning you can prepare it for busy weeknights or special occasions with ease. Are you ready to dive into a dish that wraps you in warmth and joy? Let’s get cooking!
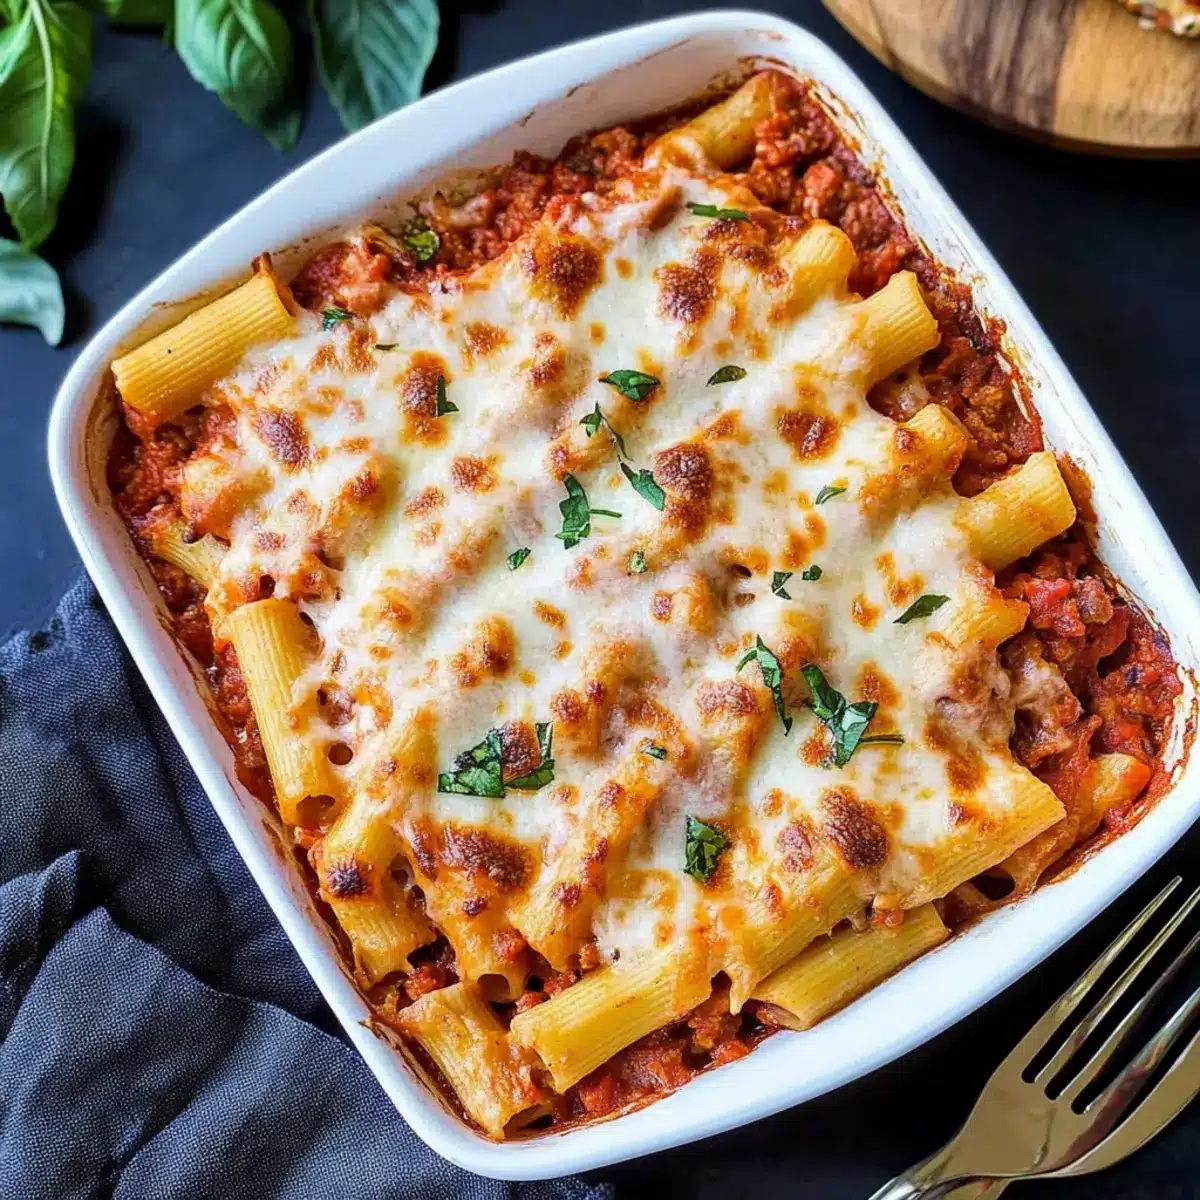
Why is Rigatoni al Forno a Must-Try?
Crowd-Pleasing Delight: This dish is perfect for feeding a hungry group, with its cheesy, meaty goodness pleasing even the pickiest eaters.
Comforting Flavors: The homemade tomato sauce envelops each piece of rigatoni, creating a warm, heartening experience reminiscent of family gatherings.
Customizable Options: Easily tailor this recipe to your liking! Swap in different meats or cheeses, or even add sautéed vegetables for extra nutrition.
Make-Ahead Magic: Prep it in advance for busy nights! Simply assemble and refrigerate until it’s time to bake, making weeknight dinners a breeze.
Simplicity in Cooking: The straightforward process means you’ll spend less time in the kitchen and more time enjoying meals with loved ones.
Rigatoni al Forno Ingredients
For the Sauce
- Extra Virgin Olive Oil – Adds flavor while sautéing; you can use light olive oil as a substitute.
- Yellow Onion – Sweetens the sauce; white onion works if you’re in a pinch.
- Lean Ground Beef – This main protein source enhances flavor; ground turkey is a great lighter alternative.
- Ground Pork or Italian Sausage – Introduces richness; swap with ground chicken for a lighter dish.
- Garlic – Elevates aroma and flavor; feel free to use pre-minced for convenience.
- Tomato Paste – Concentrates the tomato flavor; fresh diced tomatoes make a tasty substitute.
- Dried Herbs (Basil, Oregano, Thyme, Sage) – Adds aromatic notes; fresh herbs can be used, adjusting amounts as needed.
- Red Pepper Flakes – Delivers subtle heat; omit if you prefer a milder sauce.
- Crushed Tomatoes – Serves as the sauce’s base; San Marzano tomatoes enhance flavor, though any canned variety works well.
- Granulated Sugar – Balances acidity in the tomatoes; honey can be a nice substitute too.
For the Pasta
- Rigatoni Pasta – The perfect pasta shape for holding sauce; consider penne or ziti as alternatives.
For the Cheese Layer
- Ricotta Cheese – Adds creaminess; cottage cheese can be a lower-fat alternative.
- Shredded Mozzarella Cheese – Creates that gooey texture; alternative flavors like provolone or cheddar can diversify your dish.
For Garnish
- Fresh Basil – A vibrant finishing touch that adds freshness and color to your presentation.
Dive into this comforting dish of Rigatoni al Forno, and let each ingredient shine through the layers of flavor!
Step‑by‑Step Instructions for Rigatoni al Forno
Step 1: Sauté the Aromatics
In a large pot, heat 2 tablespoons of extra virgin olive oil over medium heat. Add 1 diced yellow onion and sauté for 2-3 minutes, stirring occasionally until the onion becomes translucent and tender. This step enhances the flavor base for your Rigatoni al Forno, so ensure the onion is softened before proceeding.
Step 2: Brown the Meat
Introduce 1 pound of lean ground beef and 1 pound of ground pork (or Italian sausage) to the pot. Season with salt and pepper, cooking for about 3-4 minutes, stirring until the meat is mostly browned but not fully cooked. This process creates a delicious meaty foundation for the sauce that will envelop the rigatoni.
Step 3: Add Garlic and Tomato Paste
Mix in 3 cloves of minced garlic, 2 tablespoons of tomato paste, 1 teaspoon dried basil, 1 teaspoon dried oregano, and a pinch of red pepper flakes into the pot. Cook for another 1-2 minutes, stirring constantly until the garlic is fragrant. This step infuses the Rigatoni al Forno sauce with deep, aromatic flavors that combine beautifully.
Step 4: Incorporate Crushed Tomatoes
Pour in a 28-ounce can of crushed tomatoes and add 1 teaspoon of granulated sugar. Stir everything together and bring the mixture to a gentle simmer. Allow it to cook uncovered for at least 15 minutes, stirring occasionally. This simmering is essential for melding the flavors and thickening your sauce—watch for a slight bubbling.
Step 5: Cook the Rigatoni
Meanwhile, bring a large pot of salted water to boil. Add 1 pound of rigatoni pasta and cook it for 2 minutes less than the package instructions suggest. Drain the pasta in a colander, ensuring it retains some firmness, as it will continue cooking in the oven with the sauce.
Step 6: Combine Pasta and Sauce
In the pot with your simmered sauce, fold in the drained rigatoni along with 1 cup of ricotta cheese and 3 cups of shredded mozzarella cheese. Stir gently until the pasta is evenly coated with the sauce and the cheeses are well distributed. This mixture transforms into a hearty filling for your Rigatoni al Forno.
Step 7: Prepare for Baking
Transfer the pasta and sauce mixture into a greased 9×13-inch baking dish, spreading it evenly. Top it off with the remaining mozzarella cheese, ensuring a generous cheesy layer. This step is crucial for achieving that golden, bubbly top that makes Rigatoni al Forno so irresistible.
Step 8: Bake the Dish
Preheat your oven to 350°F (175°C). Bake the assembled rigatoni for about 30 minutes, or until the cheese is melted and bubbly, with a light golden crust forming on top. This baking step ensures all the flavors meld together while creating a beautifully coherent dish.
Step 9: Let It Rest
Once baked, remove the dish from the oven and let it cool for about 10 minutes. This resting time is key to allowing the layers to set and making it easier to serve. The Rigatoni al Forno will be at its best, with gooey cheese and flavorful pasta waiting to be enjoyed.
Step 10: Garnish and Serve
To finish, sprinkle with freshly chopped basil before serving. This vibrant garnish not only adds a pop of color but also enhances the overall fresh flavor. Your Rigatoni al Forno is now ready to be shared and savored with family and friends!
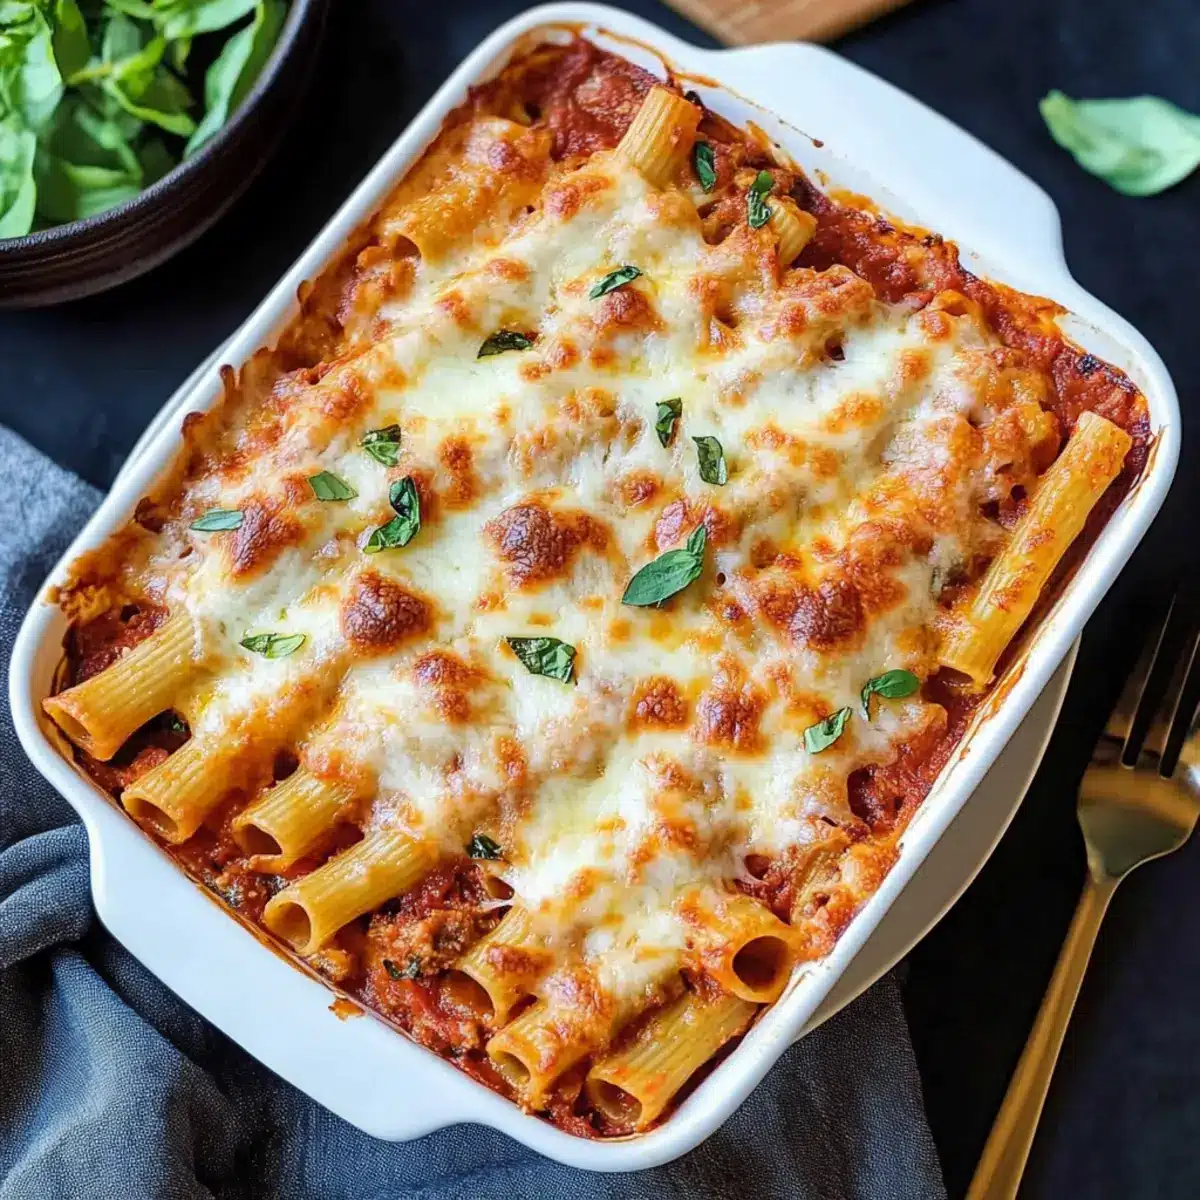
What to Serve with Ultimate Rigatoni al Forno?
Bring your dining experience to life with delightful sides that pair beautifully with this cheesy baked delight!
- Garlic Bread: Warm, buttery slices infused with garlic are the perfect accompaniment, ideal for mopping up every last bite of sauce.
- Mixed Greens Salad: A crisp, refreshing salad with a tangy vinaigrette adds a lightness to balance the hearty rigatoni, making each bite feel complete.
- Roasted Vegetables: Add vibrant seasonal veggies like zucchini and bell peppers to the table, providing a splash of color and enhancing nutrition. Their earthy flavors complement the richness of the dish.
- Italian Antipasto Platter: A spread of cured meats, olives, and cheeses serves as an enticing pre-meal appetizer, inviting guests to savor Italian flavors before the main course.
- Sparkling Water or Wine: Pair with a chilled glass of sparkling water or a fruity red wine, enhancing the meal’s warmth and comfort, while keeping conversations lively.
- Tiramisu for Dessert: Conclude the evening with a decadent tiramisu, perfectly blending coffee, cream, and cocoa to leave a lasting sweet impression.
Make Ahead Options
These Rigatoni al Forno are perfect for meal prep enthusiasts! You can prepare the sauce and assemble the dish up to 24 hours in advance; simply refrigerate it in a covered baking dish. To maintain quality, ensure the sauce is cooled before covering, as this prevents the pasta from becoming soggy. If you wish to freeze, wrap the unbaked dish tightly and it can last for up to 2 months. When you’re ready to enjoy it, simply bake from frozen but increase the cooking time to about 45-60 minutes at 350°F, or until the cheese is bubbly and golden. Enjoy a delicious homemade meal with minimal effort on busy evenings!
Expert Tips for Rigatoni al Forno
- Flavorful Meat Mix: Combine lean ground beef and pork for the best flavor profile; avoid using overly fatty meats that will render too much grease.
- Al Dente Pasta: Cook rigatoni just shy of al dente to ensure it doesn’t become mushy during baking; this keeps the pasta perfectly textured.
- Simmer for Depth: Allow the sauce to simmer for at least 30 minutes if possible; this deepens the flavor, making your Rigatoni al Forno truly outstanding.
- Adjust Seasoning: Always taste the sauce before combining with pasta and adjust the seasonings to your preference for an optimal flavor balance.
- Make-Ahead Magic: Consider assembling your Rigatoni al Forno in advance and refrigerating; just add an extra 10-15 minutes to the baking time while cooking.
- Freezing Tips: If freezing, wrap the unbaked dish tightly; ensure no air gets in to prevent freezer burn for great make-ahead meals.
How to Store and Freeze Rigatoni al Forno
Fridge: Store any leftover Rigatoni al Forno in an airtight container in the refrigerator for up to 3 days. Reheat in the oven or microwave until warmed through.
Freezer: To freeze, wrap the assembled, unbaked Rigatoni al Forno tightly and place in the freezer. It can be stored for up to 2 months without losing quality.
Reheating: If reheating from frozen, bake directly from the freezer, adding an extra 10-15 minutes to the baking time. Ensure it reaches an internal temperature of 165°F for safe consumption.
Make-Ahead: Prepare the Rigatoni al Forno in advance and refrigerate without baking for up to 24 hours. When ready, simply bake as directed for an easy, delicious meal.
Rigatoni al Forno Variations & Substitutions
Feel free to get creative and make this Rigatoni al Forno your own! Each variation opens a door to a delightful twist that you and your loved ones will adore.
- Dairy-Free: Use cashew or almond cream and dairy-free cheese substitutes to create a luscious, creamy pasta dish without the dairy.
- Veggie-Packed: Toss in sautéed spinach, mushrooms, or zucchini to enhance nutrition and flavor while keeping it colorful and vibrant.
- Spicy Twist: Add extra red pepper flakes or a drizzle of chili oil to boost heat and create an exciting flavor profile.
- Sausage Swaps: Substitute Italian sausage with spicy chorizo or andouille for a robust, intense flavor in your sauce!
- Cheese Variations: Experiment with different cheeses like sharp cheddar or creamy goat cheese to create new flavor dimensions that suit your palate.
- Whole Grain Pasta: Upgrade to whole grain rigatoni or a gluten-free option for a more health-conscious choice without sacrificing taste.
- Herb Infusion: Add fresh herbs like thyme or parsley to elevate the dish’s aroma and add a touch of summer freshness to every bite.
Each of these variations lets you discover new tastes and textures. For a complete meal, consider pairing your Rigatoni al Forno with a light mixed greens salad or some homemade garlic bread for a delightful dining experience. You might even like to explore some quick, fresh pesto as a topping – it’s a fantastic way to boost those vibrant flavors even more! Enjoy the journey of cooking, and make this dish your own!
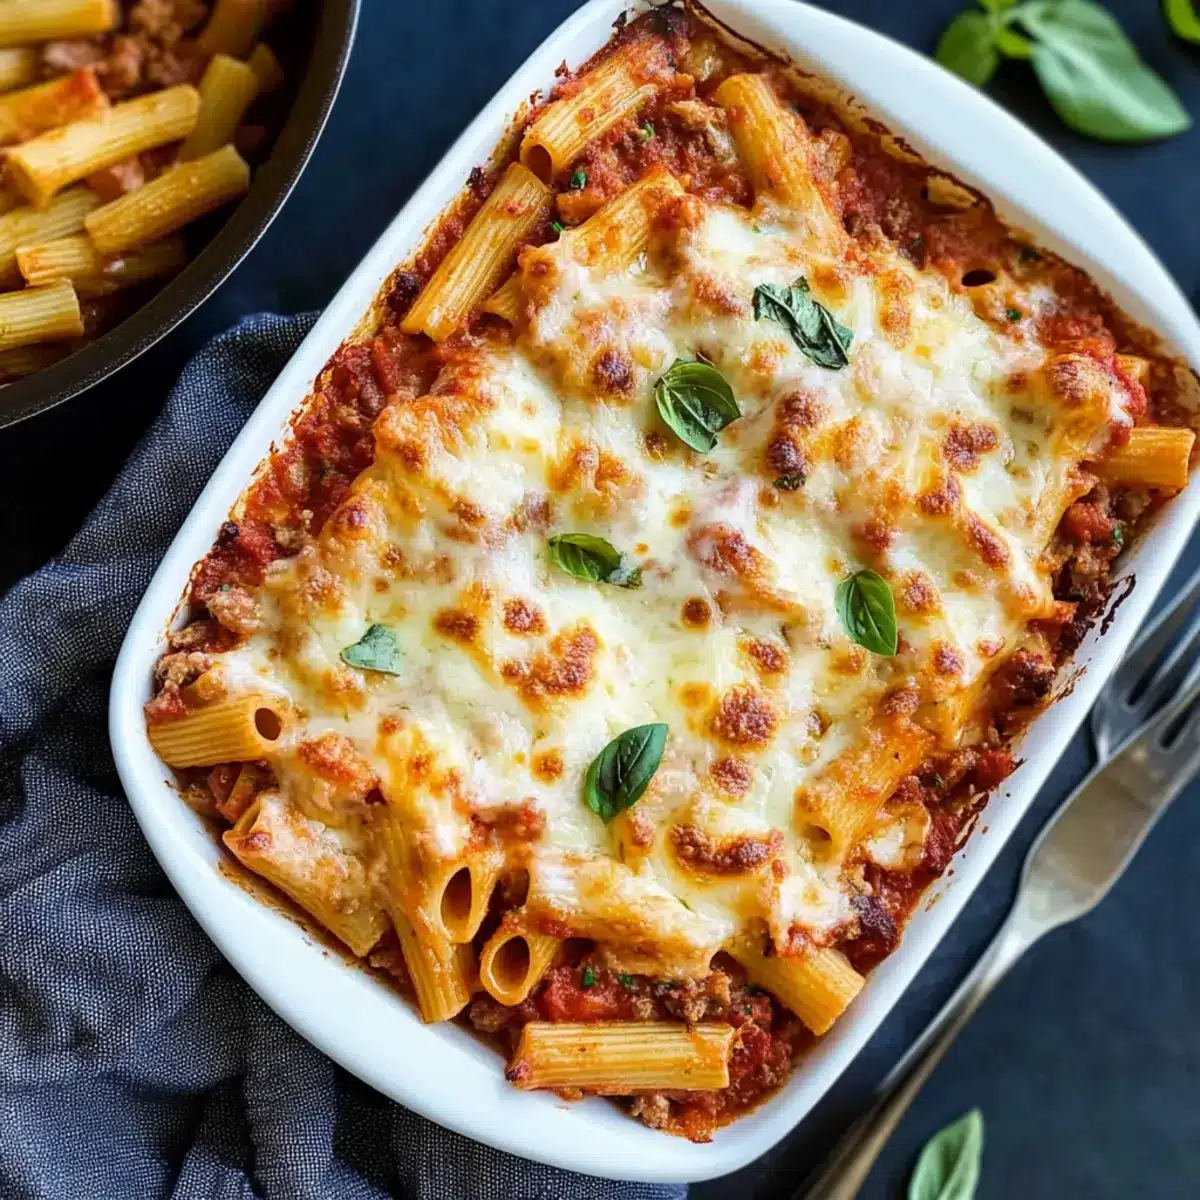
Rigatoni al Forno Recipe FAQs
How do I choose the best tomatoes for the sauce?
Absolutely! For the best flavor, opt for San Marzano tomatoes if you can find them; they’re known for their rich taste. If not, any quality canned crushed tomatoes will do—just look for ones without added preservatives. You want to avoid cans with dark spots or bulging lids, as they could indicate spoilage.
How should I store leftovers?
Leftover Rigatoni al Forno can be stored in an airtight container in the refrigerator for up to 3 days. Ensure it’s completely cooled before sealing it up to maintain freshness. When you’re ready to enjoy it again, simply reheat in the microwave or oven until warmed through.
Can Rigatoni al Forno be frozen?
Absolutely! To freeze, wrap the assembled, unbaked Rigatoni al Forno tightly in plastic wrap and then aluminum foil to prevent freezer burn. It can be stored in the freezer for up to 2 months. When you’re ready to bake it, just preheat your oven and add 10-15 minutes to the baking time if cooking from frozen.
What can I do if my sauce is too acidic?
If your sauce ends up too acidic, don’t worry! Adding a teaspoon of granulated sugar can help balance it out. You could also mix in a bit of olive oil or a dollop of cream to mellow the acidity—taste as you go to find the right balance for your palate!
Are there any dietary considerations for pets or common allergens?
It’s always wise to be cautious! While Rigatoni al Forno is a delicious treat for humans, it’s best to keep it away from pets due to ingredients like onion and garlic, which are toxic to dogs and cats. Additionally, if you’re making it for guests with allergies, consider alternatives for dairy and gluten by using plant-based cheeses and gluten-free pasta options.
How long should I allow the dish to rest before serving?
After baking your Rigatoni al Forno, let it rest for about 10 minutes before serving. This resting period allows the layers to set, making it easier to portion and serve without falling apart. Plus, it lets the flavors meld even further—creating a delightful dining experience!
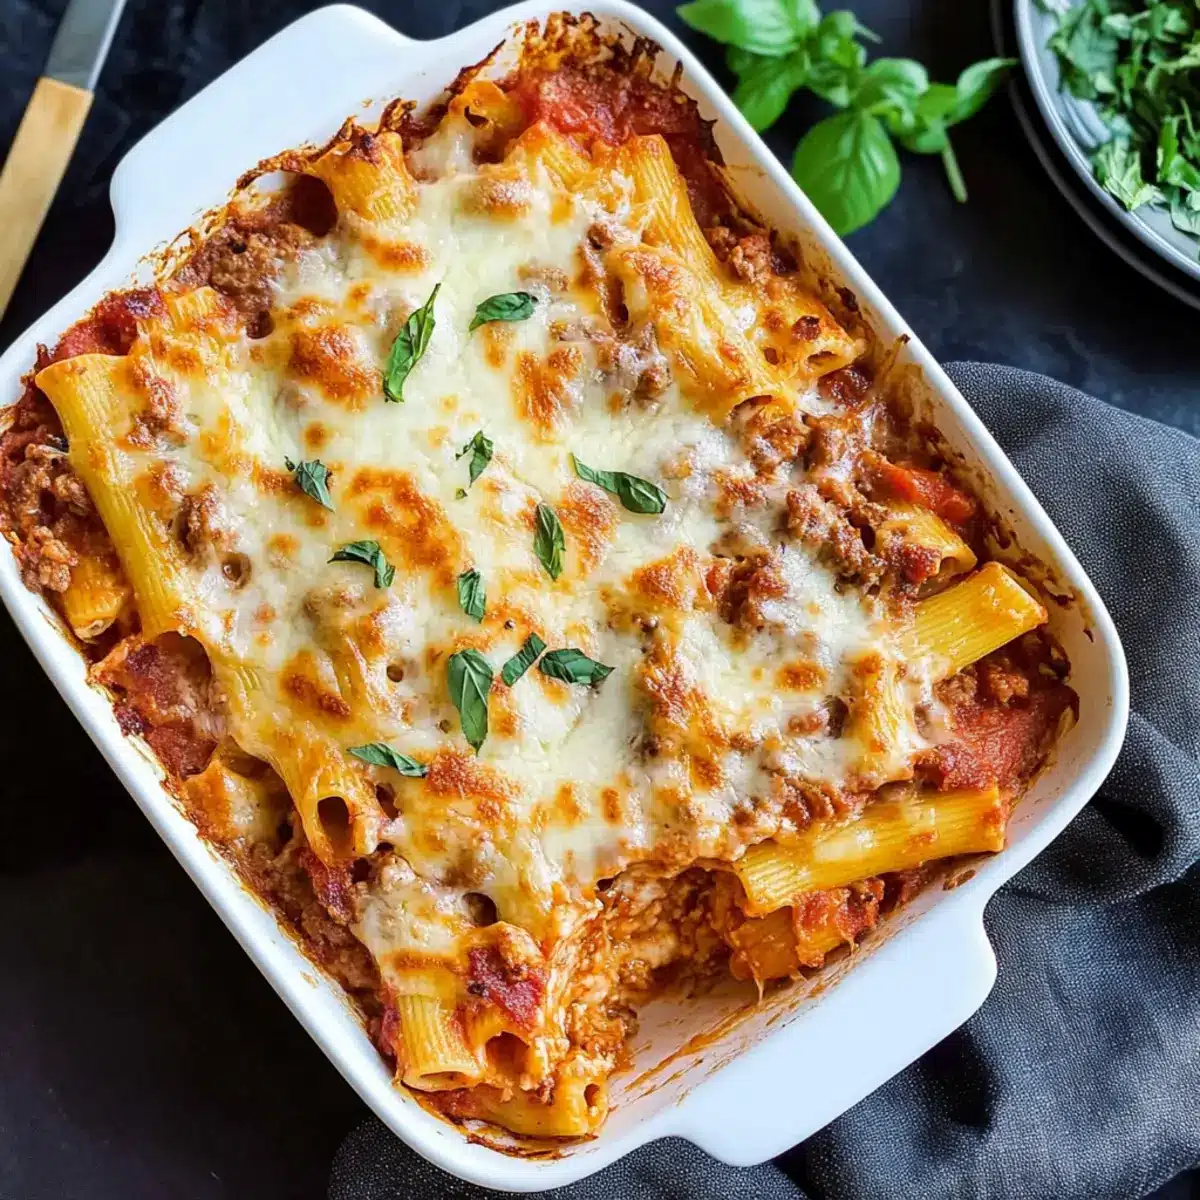
Heavenly Rigatoni al Forno - A Cozy Italian Delight
Ingredients
Equipment
Method
- In a large pot, heat 2 tablespoons of extra virgin olive oil over medium heat. Add 1 diced yellow onion and sauté for 2-3 minutes, stirring occasionally until the onion becomes translucent and tender.
- Introduce 1 pound of lean ground beef and 1 pound of ground pork (or Italian sausage) to the pot. Season with salt and pepper, cooking for about 3-4 minutes, stirring until the meat is mostly browned but not fully cooked.
- Mix in 3 cloves of minced garlic, 2 tablespoons of tomato paste, 1 teaspoon dried basil, 1 teaspoon dried oregano, and a pinch of red pepper flakes into the pot. Cook for another 1-2 minutes, stirring constantly until the garlic is fragrant.
- Pour in a 28-ounce can of crushed tomatoes and add 1 teaspoon of granulated sugar. Stir everything together and bring the mixture to a gentle simmer. Allow it to cook uncovered for at least 15 minutes, stirring occasionally.
- Meanwhile, bring a large pot of salted water to boil. Add 1 pound of rigatoni pasta and cook it for 2 minutes less than the package instructions suggest. Drain the pasta in a colander.
- In the pot with your simmered sauce, fold in the drained rigatoni along with 1 cup of ricotta cheese and 3 cups of shredded mozzarella cheese. Stir gently until the pasta is evenly coated.
- Transfer the pasta and sauce mixture into a greased 9x13-inch baking dish, spreading it evenly. Top it off with the remaining mozzarella cheese.
- Preheat your oven to 350°F (175°C). Bake the assembled rigatoni for about 30 minutes, or until the cheese is melted and bubbly.
- Once baked, remove the dish from the oven and let it cool for about 10 minutes before serving.
- To finish, sprinkle with freshly chopped basil before serving.
Leave a Reply