
A refreshing dessert can turn a simple gathering into a memorable experience, and that’s exactly what these No-Bake Key Lime Cheesecake Cups deliver! With their creamy, zesty filling layered over a buttery graham cracker crust, these individual treats are the perfect mix of fun and sophistication. Best of all, they require no baking—so you can whip them up in a flash without the stress of a hot oven. Whether it’s a summer picnic or a cozy family dinner, they make for a delightful finish that will impress everyone at your table. You can even customize them with your favorite toppings for that extra personal touch! Ready to create a dessert that’s both easy and unforgettable? Let’s dive in!
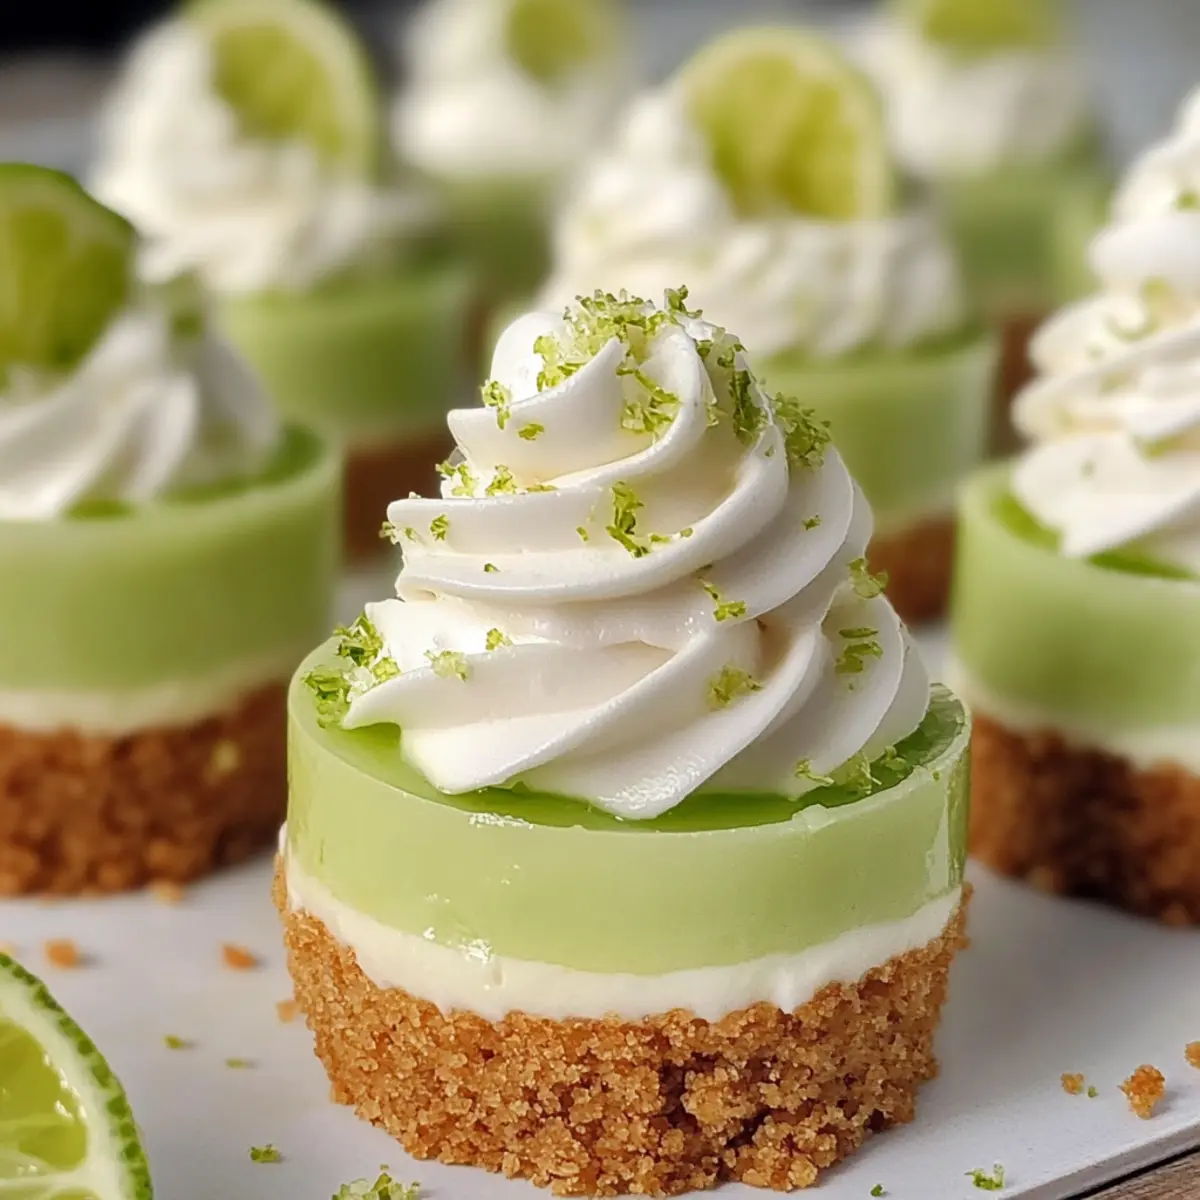
Why Are No-Bake Cheesecake Cups Amazing?
Effortless Preparation: These No-Bake Key Lime Cheesecake Cups come together in no time—perfect for busy cooks.
Refreshing Flavor: The blend of zesty key lime and creamy goodness creates a bright and delicious dessert that everyone will love.
Individual Portions: Serving them in cups makes them easy to share and enjoy at any gathering, from casual picnics to elegant dinners.
Customizable Toppings: Feel free to personalize with fresh fruit or a drizzle of chocolate to elevate your dessert experience.
Summer Perfect: Ideal for beating the heat, these chilled treats require no oven, giving you more time to relax.
If you’re craving something reminiscent of summer sunshine, try these cups alongside Iced Cinnamon Whiskey Chai for a refreshing twist!
No-Bake Key Lime Cheesecake Cups Ingredients
-
For the Crust
• Graham Cracker Crumbs – A perfect base for that crunchy, sweet layer; substitute with digestive biscuits if preferred.
• Granulated Sugar – Sweetens the crust; consider using brown sugar for a richer taste.
• Melted Butter – Binds everything together; coconut oil works as a great dairy-free alternative. -
For the Filling
• Cream Cheese (softened) – Creates the luscious, creamy filling; ricotta can lighten it up nicely.
• Powdered Sugar – Sweetens and gives a smooth texture to the cheese; granulated sugar can be powdered in a pinch.
• Key Lime Juice – Delivers that signature tartness; regular lime juice is a substitute, but the flavor will vary.
• Lime Zest (optional) – Boosts the lime flavors; omit if you don’t have it on hand.
• Whipped Topping – Adds a light, airy quality to the filling; whipped coconut cream provides a vegan option.
These No-Bake Key Lime Cheesecake Cups are sure to impress, combining simplicity with flavor!
Step‑by‑Step Instructions for No-Bake Key Lime Cheesecake Cups
Step 1: Prepare the Crust
In a medium bowl, combine graham cracker crumbs, granulated sugar, and melted butter. Using a fork, mix well until the crumbs are thoroughly coated and resemble wet sand. Once combined, distribute the mixture evenly into the bottom of serving cups, pressing down firmly with the back of a spoon to form a compact crust. Set aside while you prepare the filling.
Step 2: Make the Filling
In a large mixing bowl, beat the softened cream cheese with an electric mixer on medium speed until it becomes smooth and creamy, about 2-3 minutes. Gradually add in the powdered sugar, continuing to mix until well incorporated. Next, stir in the key lime juice and optional lime zest, blending until the mixture is completely smooth and all ingredients are combined.
Step 3: Fold in Whipped Topping
Add the whipped topping to the cream cheese mixture, and gently fold it in using a spatula or large spoon. Be careful not to deflate the mixture; stop once no streaks remain. This step will give your No-Bake Key Lime Cheesecake Cups that light, airy texture that complements the creamy filling perfectly.
Step 4: Assemble the Cups
Spoon the cream cheese filling over the crust in each cup, ensuring they are filled to the top. Use a spatula to smooth out the filling as needed, creating a neat and even layer. Take care to distribute the filling evenly between all cups to ensure a consistent serving size.
Step 5: Chill
Cover the filled cups with plastic wrap or lids and place them in the refrigerator. Allow the No-Bake Key Lime Cheesecake Cups to chill for at least 2 hours, or until the filling is set and firm to the touch. This chilling time is crucial for achieving the perfect texture, so don’t rush this step.
Step 6: Garnish and Serve
Before serving, remove the cups from the refrigerator and add an extra dollop of whipped topping on top of each cheesecake. For a burst of color and flavor, sprinkle with additional lime zest or your favorite toppings like fresh fruit or chocolate shavings. Serve immediately and savor the refreshing taste of your homemade No-Bake Key Lime Cheesecake Cups!
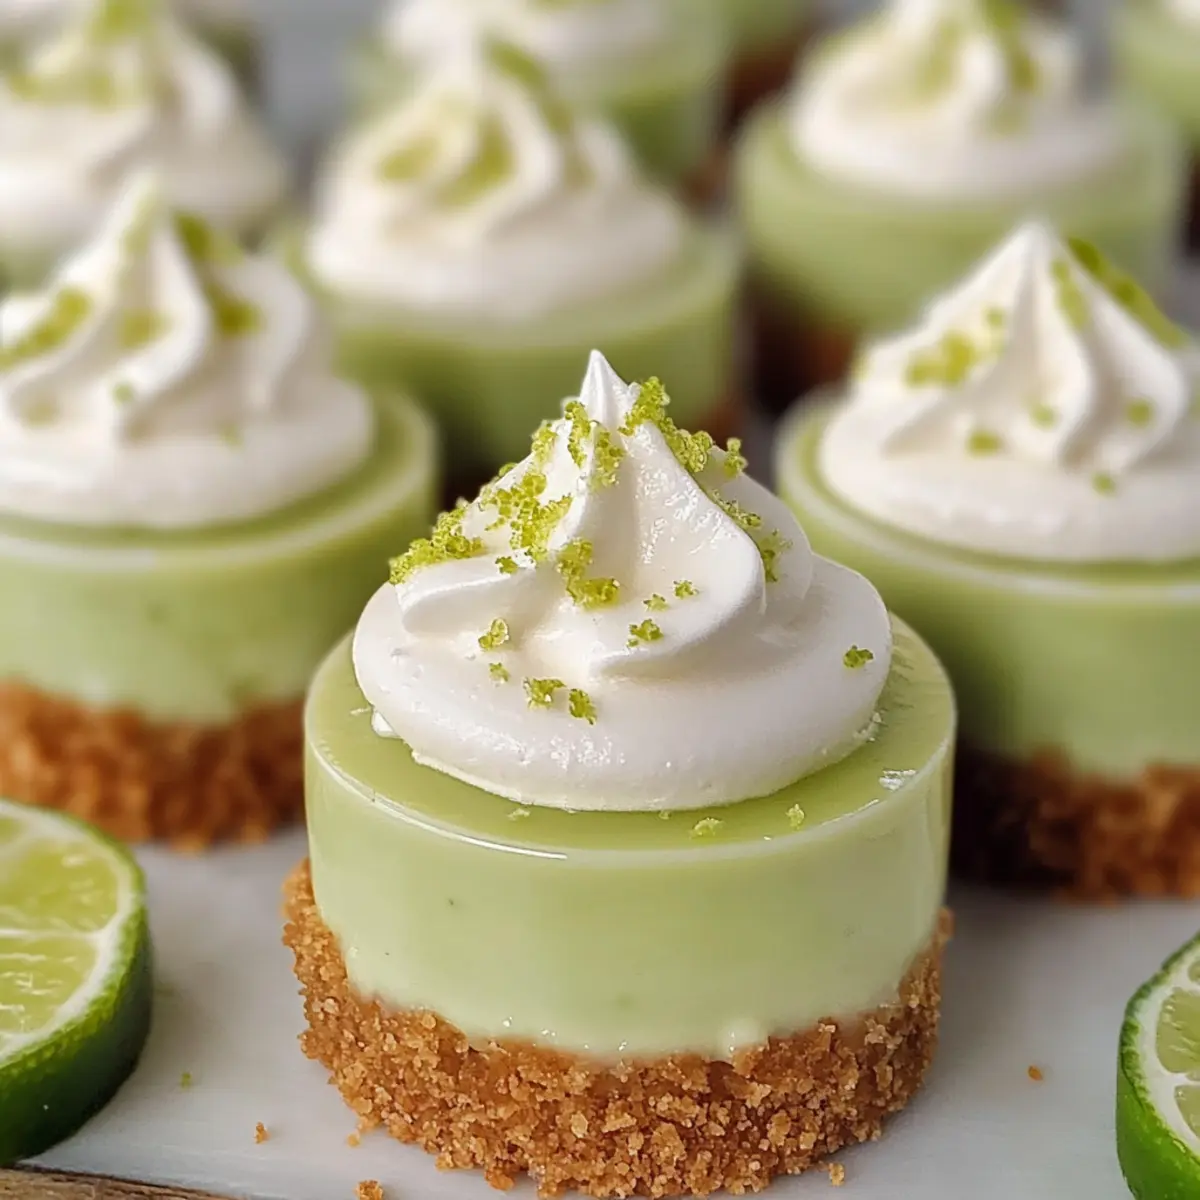
No-Bake Key Lime Cheesecake Cups Variations
Feel free to get creative and make these No-Bake Key Lime Cheesecake Cups your own by incorporating these delicious variations!
-
Citrus Swap: Substitute key lime juice with lemon or orange juice for a refreshing twist. This creates a different flavor profile while maintaining that zesty essence.
-
Fruit Puree Layer: Add a layer of berry puree (like raspberry or strawberry) under the filling for a colorful and flavorful surprise. The tartness of the berries will elevate the dessert!
-
Chocolate Drizzle: For chocolate lovers, drizzle melted chocolate on top for added richness. This delightful layer will create a delicious contrast to the tangy key lime filling.
-
Nutty Crust: Replace graham cracker crumbs with crushed nuts (like almonds or pecans) for a gluten-free crust option. This adds texture and a subtle nutty flavor that pairs beautifully.
-
Spiced Up: Add a pinch of cinnamon or nutmeg to the crust for an unexpected warm note. It complements the cool creaminess of the filling, giving it an exciting layer of flavor.
-
Vegan Delight: Make these cups entirely plant-based by using silken tofu blended with coconut cream in place of cream cheese. It maintains creaminess while keeping it dairy-free.
-
Extra Zing: Fold in some finely grated lime zest into the filling for an intensified lime flavor in every bite. It amplifies the freshness you’re aiming for!
-
Garnish Galore: Top with toasted coconut flakes or a sprinkle of crushed graham cracker for a fun texture. Combine these garnishes with fresh berries for a vibrant finish!
Whichever variations you choose, know these No-Bake Key Lime Cheesecake Cups will always be a treat. If you’re looking for new delightful desserts, consider pairing these cups with Velvet Oreo Cheesecake for a sweet twist or enjoying them with a warm bowl of Roast Turkey Herbed Dumpling Stew during cozy dinners!
How to Store and Freeze No-Bake Key Lime Cheesecake Cups
Fridge: Store your No-Bake Key Lime Cheesecake Cups in the refrigerator, covered, for up to 3 days to maintain their freshness and creamy texture.
Freezer: If you want to prepare them in advance, these cups can be frozen for up to 2 months. Just make sure they are well-sealed to prevent freezer burn.
Thawing: When you’re ready to enjoy them, transfer the frozen cups to the refrigerator to thaw for several hours before serving. This helps retain their delicious flavor and texture.
Reheating: There’s no need to reheat these cheesecake cups; serve them chilled for the best taste and experience!
Make Ahead Options
These No-Bake Key Lime Cheesecake Cups are ideal for meal prep, allowing you to save time and stress during busy days! You can prepare the crust and filling up to 24 hours in advance. Simply make the crust, press it into the serving cups, and mix the filling as directed. After assembling the cups, cover them and refrigerate to allow the flavors to meld while maintaining the creamy texture. To keep the crust from becoming soggy, assemble the cups and add any topping only right before serving. When you’re ready to impress your guests, simply garnish with whipped topping and lime zest for a refreshing and delightful dessert that tastes just as delicious!
Expert Tips for No-Bake Key Lime Cheesecake Cups
-
Soften Cream Cheese: Ensure the cream cheese is completely softened at room temperature to avoid lumps in the filling for your No-Bake Key Lime Cheesecake Cups.
-
Chill Time Matters: Don’t skip or rush the chilling step; refrigerating for the full 2 hours is essential for the filling to set properly and hold its shape.
-
Customize Wisely: Feel free to top with seasonal fruit or chocolate shavings, but watch the tartness—some may find the key lime flavor a bit strong.
-
Graham Cracker Quality: Use fresh graham cracker crumbs for an optimal crunch. If they’re stale, the crust won’t hold up as well.
-
Adjust Sweetness: If you prefer a sweeter dessert, increase the powdered sugar in the filling slightly; taste and adjust to your preference!
-
Presentation Counts: Layer your whipped topping carefully on top before serving, as this adds an inviting touch to your No-Bake Key Lime Cheesecake Cups.
What to Serve with No-Bake Key Lime Cheesecake Cups
These delightful cups are the perfect sweet finish to any meal, bursting with refreshing flavors that dance on your palate.
-
Fresh Berries: A medley of strawberries, blueberries, and raspberries adds vibrant color and a hint of tartness, harmonizing beautifully with the cheesecake’s creaminess.
-
Mint-Infused Iced Tea: A chilled brew with sprigs of fresh mint offers a cool contrast, making each sip and bite feel like a mini-vacation.
-
Coconut Macaroons: The chewy sweetness of these treats provides a texture contrast that pairs wonderfully with the smooth cheesecake filling and adds a tropical twist.
-
Fruit Salad: A refreshing mix of seasonal fruits brings sweetness and juice to each bite, enhancing the tropical vibes while adding a nutritious element.
-
Lemonade Spritzer: The effervescent zing of lemonade mixed with sparkling water is a refreshing companion, cutting through the richness of the cheesecake cups.
-
Chocolate Dipped Graham Crackers: These add a delightful crunch and rich chocolatey goodness that complements the key lime without overwhelming its zest.
-
Vanilla Ice Cream: A scoop of velvety vanilla on the side melts just a bit against the cold cheesecake, enhancing each creamy bite and adding a touch of extravagance.
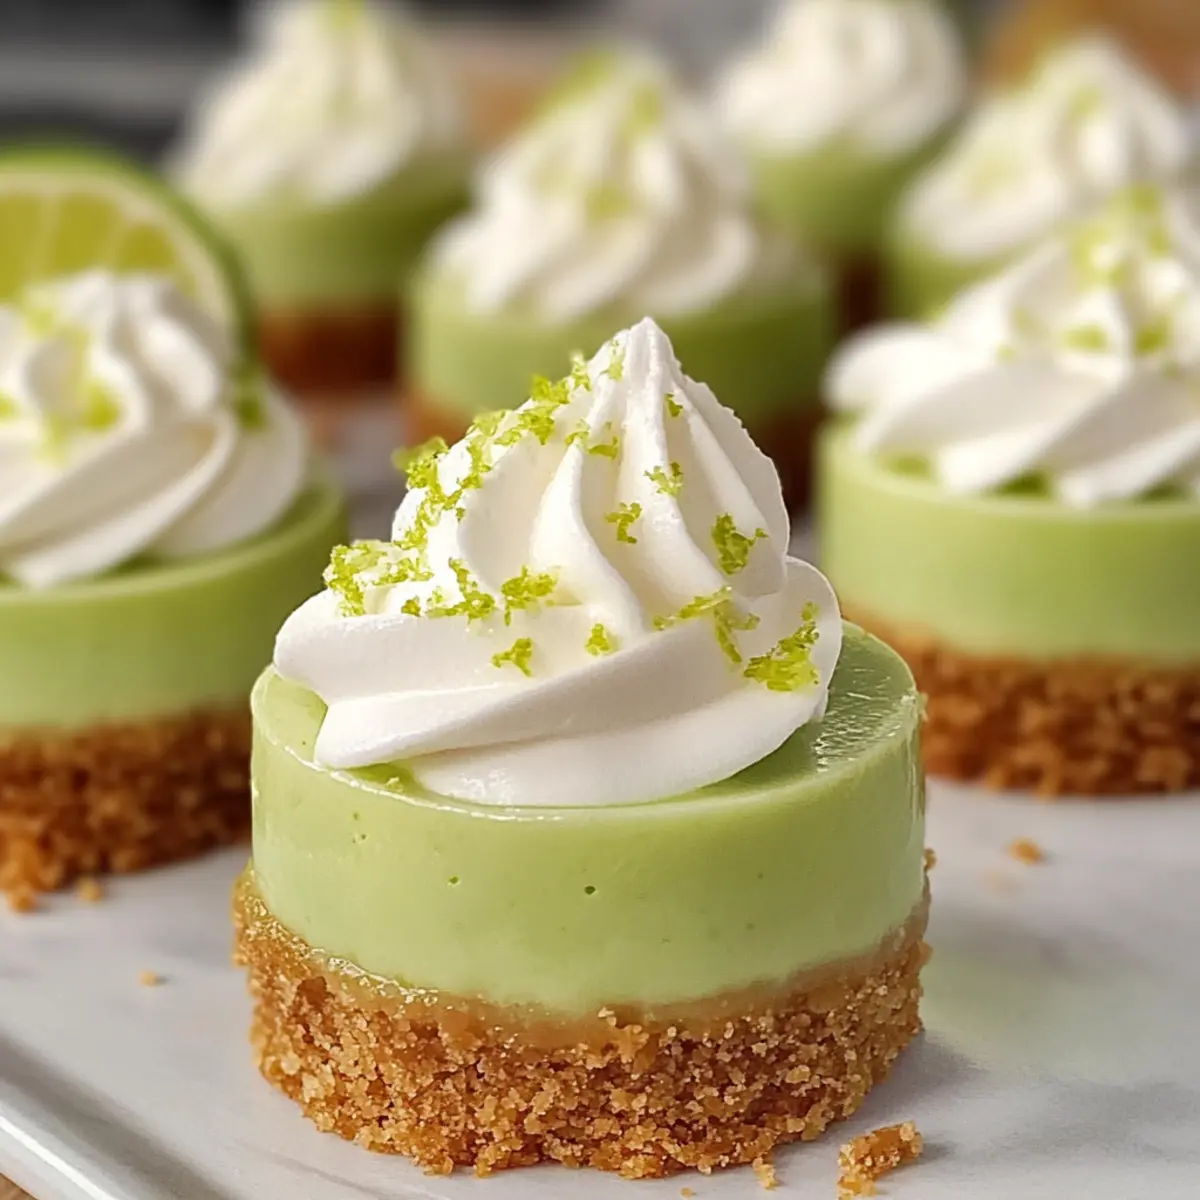
No-Bake Key Lime Cheesecake Cups Recipe FAQs
What type of key limes should I use?
Absolutely! Fresh key limes are the best option for that vibrant, tart flavor, but if you can’t find them, regular limes work just as well. Just keep in mind the taste will be slightly different—less tart, but still delicious!
How should I store the No-Bake Key Lime Cheesecake Cups?
Store your delightful cheesecake cups in the refrigerator, covered, for up to 3 days. This keeps them fresh and helps maintain that delicious creamy texture that everyone loves.
Can I freeze No-Bake Key Lime Cheesecake Cups?
Yes, you can! These cups can be frozen for up to 2 months. Just make sure to wrap them tightly in plastic wrap or place them in airtight containers to prevent freezer burn. When you’re ready to enjoy, simply thaw them in the refrigerator for a few hours.
What if my filling is lumpy?
If your filling turns out lumpy, it’s likely because the cream cheese wasn’t softened enough. For a smooth texture, make sure to let it sit at room temperature for about 30 minutes before mixing. Also, remember to beat the mixture thoroughly to incorporate air and smooth it out!
Are there any dietary considerations for this recipe?
Of course! If you or any guests have dietary restrictions, you can easily adjust this recipe. Use dairy-free cream cheese and whipped topping for a vegan version, and opt for a gluten-free graham cracker alternative to ensure that everyone can enjoy these No-Bake Key Lime Cheesecake Cups.
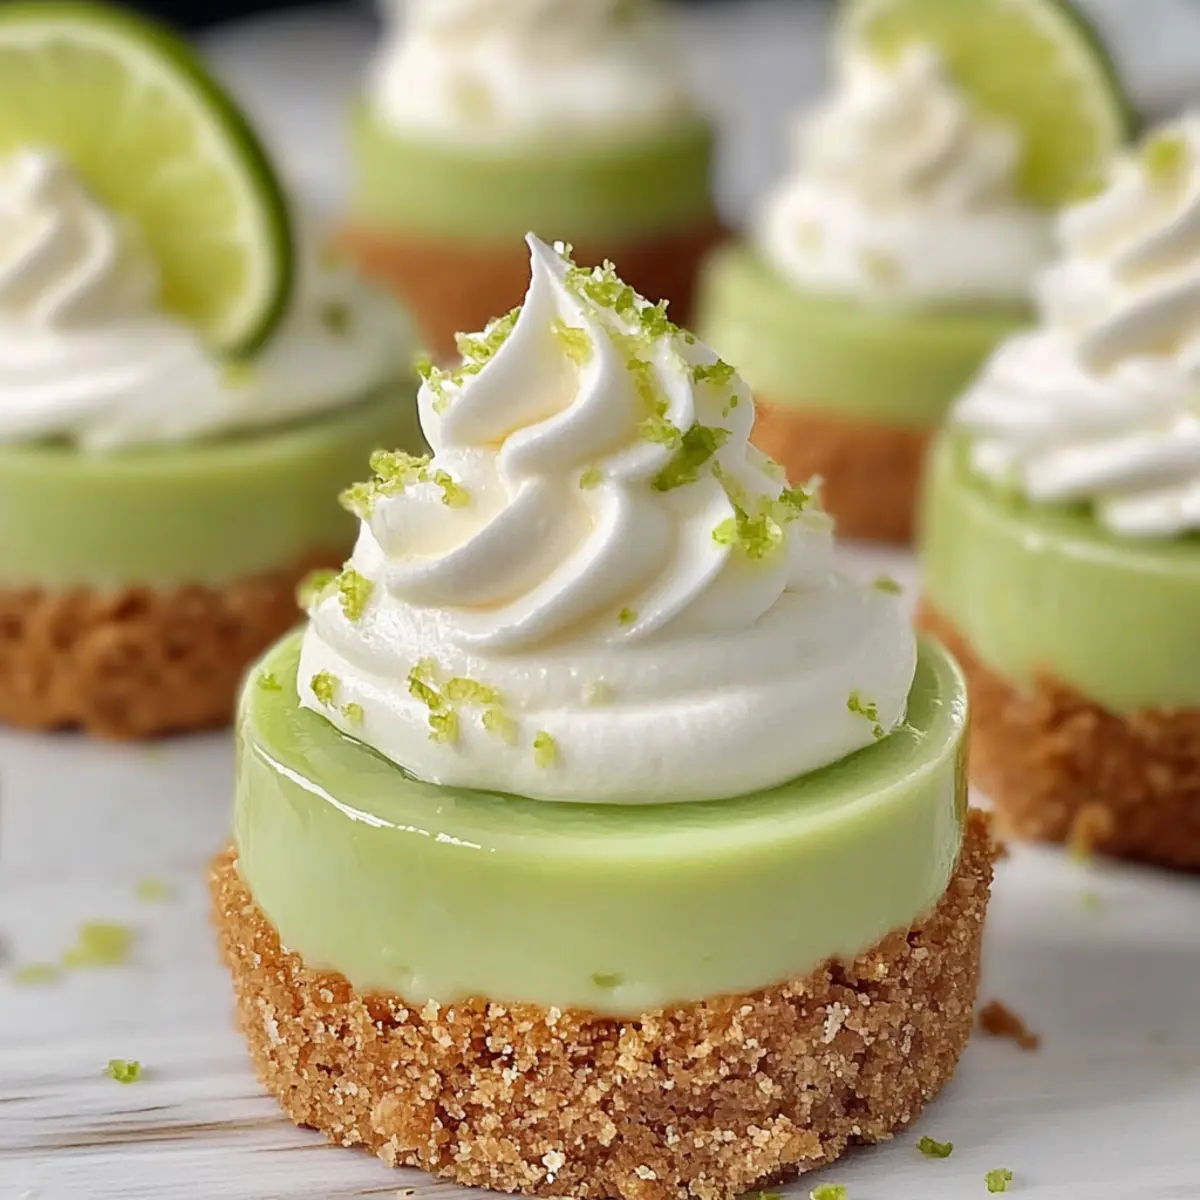
No-Bake Key Lime Cheesecake Cups for Effortless Summer Bliss
Ingredients
Equipment
Method
- Prepare the Crust: In a medium bowl, combine graham cracker crumbs, granulated sugar, and melted butter. Mix until crumbs resemble wet sand. Press into serving cups to form a compact crust.
- Make the Filling: In a large mixing bowl, beat softened cream cheese until smooth. Gradually add powdered sugar, then stir in key lime juice and optional lime zest until smooth.
- Fold in Whipped Topping: Gently fold whipped topping into cream cheese mixture until no streaks remain.
- Assemble the Cups: Spoon filling over the crust in each cup, smoothing out the filling evenly.
- Chill: Cover and refrigerate for at least 2 hours until set.
- Garnish and Serve: Add whipped topping and optional fresh fruit or chocolate shavings before serving.
Leave a Reply