
As I strolled through my local market, a vivid blush of pink caught my eye, and suddenly I was transported back to carefree summer days spent savoring sweet bubblegum ice cream. There’s something undeniably magical about creating your own homemade Bubblegum Ice Cream—this creamy delight brings out the inner child in all of us. Not only is it a fun and nostalgic treat, but making it from scratch also allows you to skip the artificial additives found in store-bought versions. With just a few simple ingredients, you can whip up a vibrant dessert that’s perfect for warm gatherings or a cozy night in. Ready to dive into this delicious nostalgia? Let’s make some ice cream magic together!
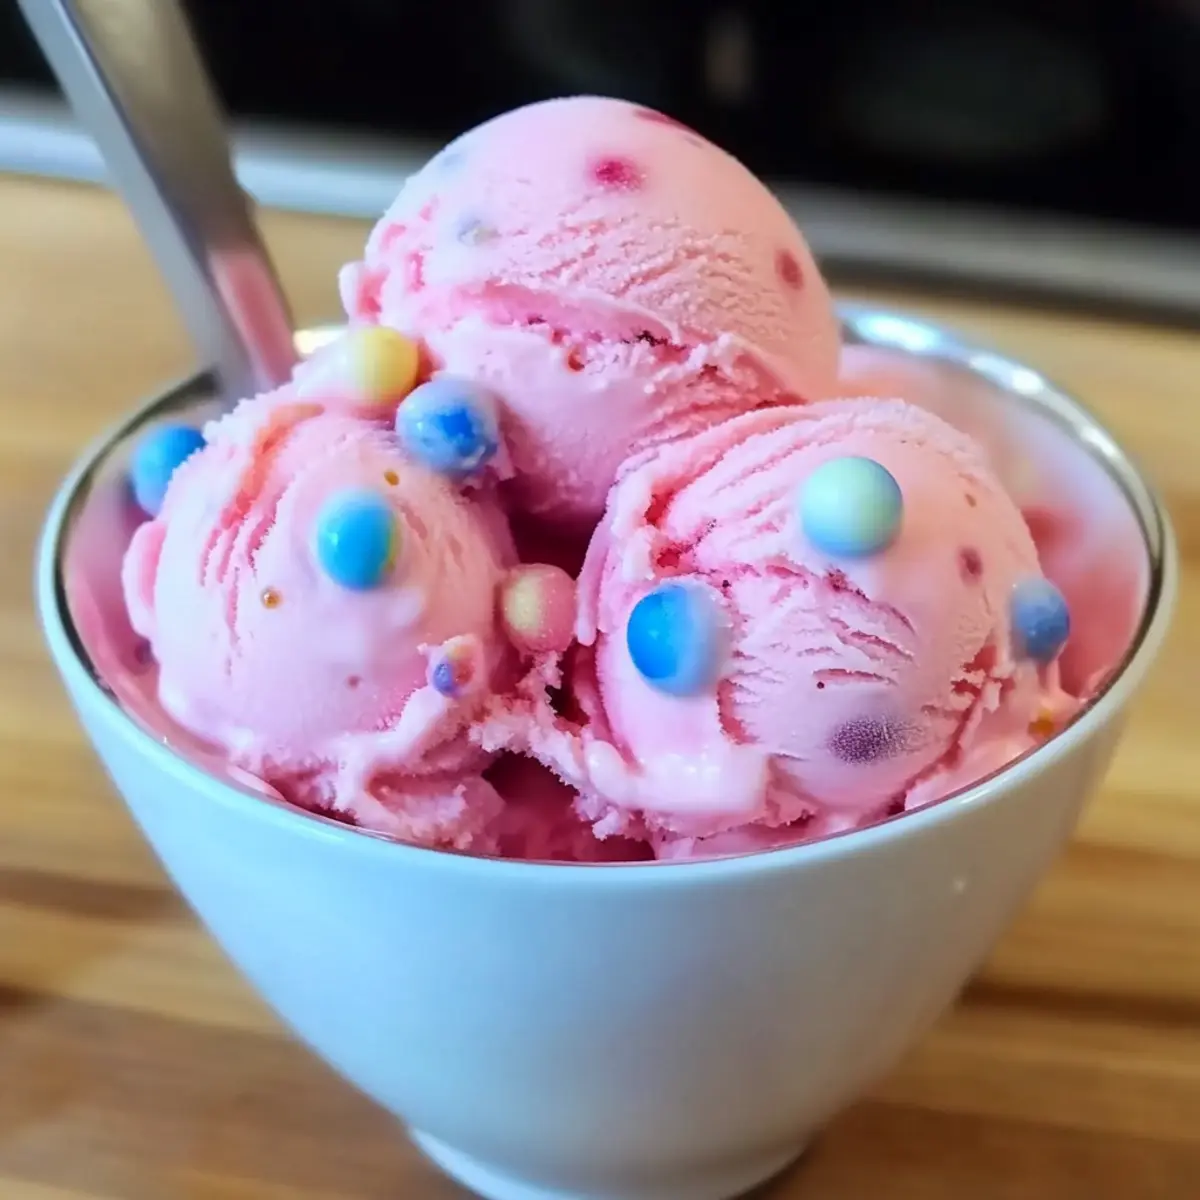
Why is Homemade Bubblegum Ice Cream Special?
Nostalgic Experience: The delightful flavor of this bubblegum ice cream takes you back to carefree childhood summers.
Easy to Make: This recipe is simple and perfect for home cooks of all skill levels; no need for complicated techniques!
Natural Ingredients: Skip the artificial additives and enjoy a creamy dessert made with wholesome ingredients.
Customizable Fun: Want a twist? Add chopped soft bubblegum pieces or make a refreshing bubblegum float with soda!
Crowd-Pleasing Treat: Perfect for summer gatherings, this vibrant pink dessert will impress guests of all ages, making every scoop a hit!
When you crave something sweet, why not make it a nostalgic adventure? Check out my Soft Cinnamon Frosting for a delicious pairing or indulge your sweet tooth with other treats like Honey Dijon Chicken that complement the fun vibe!
Bubblegum Ice Cream Ingredients
• Create your dreamy, homemade bubblegum ice cream with these key ingredients!
For the Base
• Bazooka Bubblegum – Use 45 pieces for an authentic bubblegum flavor that shines through.
• Whole Milk – Provides creaminess; substitute with full-fat coconut milk for a dairy-free version.
• Heavy Cream – This enhances the silky texture; try cashew cream for a non-dairy touch.
For Sweetening & Thickening
• Sugar – Start with 2 tablespoons for balanced sweetness; adjust according to your taste preference.
• Cornstarch – Acts as a thickening agent for a smooth, creamy consistency in the ice cream.
• Salt – Just a pinch enhances the sweetness and overall flavor profile.
For Cooling & Preparing
• Ice Water – Used to quickly cool the mixture, prepping it for that perfect freeze!
Step‑by‑Step Instructions for Homemade Bubblegum Ice Cream
Step 1: Prepare Cornstarch Slurry
In a small bowl, mix 2 tablespoons of cornstarch with 2 tablespoons of whole milk until smooth. This cornstarch slurry will help thicken your bubblegum ice cream base. Set it aside while you prepare the other ingredients, ensuring you have everything ready to create a creamy, dreamy treat.
Step 2: Blend Ingredients
Combine 45 pieces of Bazooka bubblegum, 2 cups of whole milk, and 1 cup of heavy cream in a blender. Blend the ingredients on high until they become a smooth, vivid pink mixture, which will be the flavorful foundation of your bubblegum ice cream. This should take about 1-2 minutes for a nicely blended texture.
Step 3: Heat Mixture
Pour the blended mixture into a medium saucepan and add 2 tablespoons of sugar and a pinch of salt. Heat it over medium-high heat, stirring gently until it just begins to simmer, which should take about 5-7 minutes. Be careful not to let it boil, as boiling could affect the smoothness of your bubblegum ice cream.
Step 4: Thicken
Reduce the heat to low and gradually whisk in the prepared cornstarch slurry. Continue to whisk for about 3-5 minutes until the mixture slightly thickens, turning from a liquid to a rich, creamy texture. This is the magic moment when your bubblegum ice cream base transforms into something truly special.
Step 5: Cool Mixture
Once thickened, remove the saucepan from heat. Pour the mixture into a large Ziploc bag and immerse it in a bowl of ice water to cool completely. Allow it to chill for about 15-20 minutes, ensuring that your ice cream base is icy cold before moving on to the next step for the best final texture.
Step 6: Strain
After cooling, strain the mixture several times through a cheesecloth or fine mesh sieve to remove any remaining pieces of gum. This ensures a smooth ice cream base, free of any chewy gum remnants. You should have a vibrant pink, silky mixture ready for churning.
Step 7: Churn Ice Cream
Pour the strained mixture into your ice cream maker and churn according to the manufacturer’s instructions, typically for about 20-25 minutes. You’ll notice it gaining volume and a lovely, fluffy texture that’s characteristic of homemade bubblegum ice cream.
Step 8: Freeze
Transfer the churned ice cream into an airtight container and smooth the top. Freeze it for at least 4 hours to firm up the texture. This final freezing stage will ensure your bubblegum ice cream is scoopable and delightfully creamy whenever you’re ready to serve.
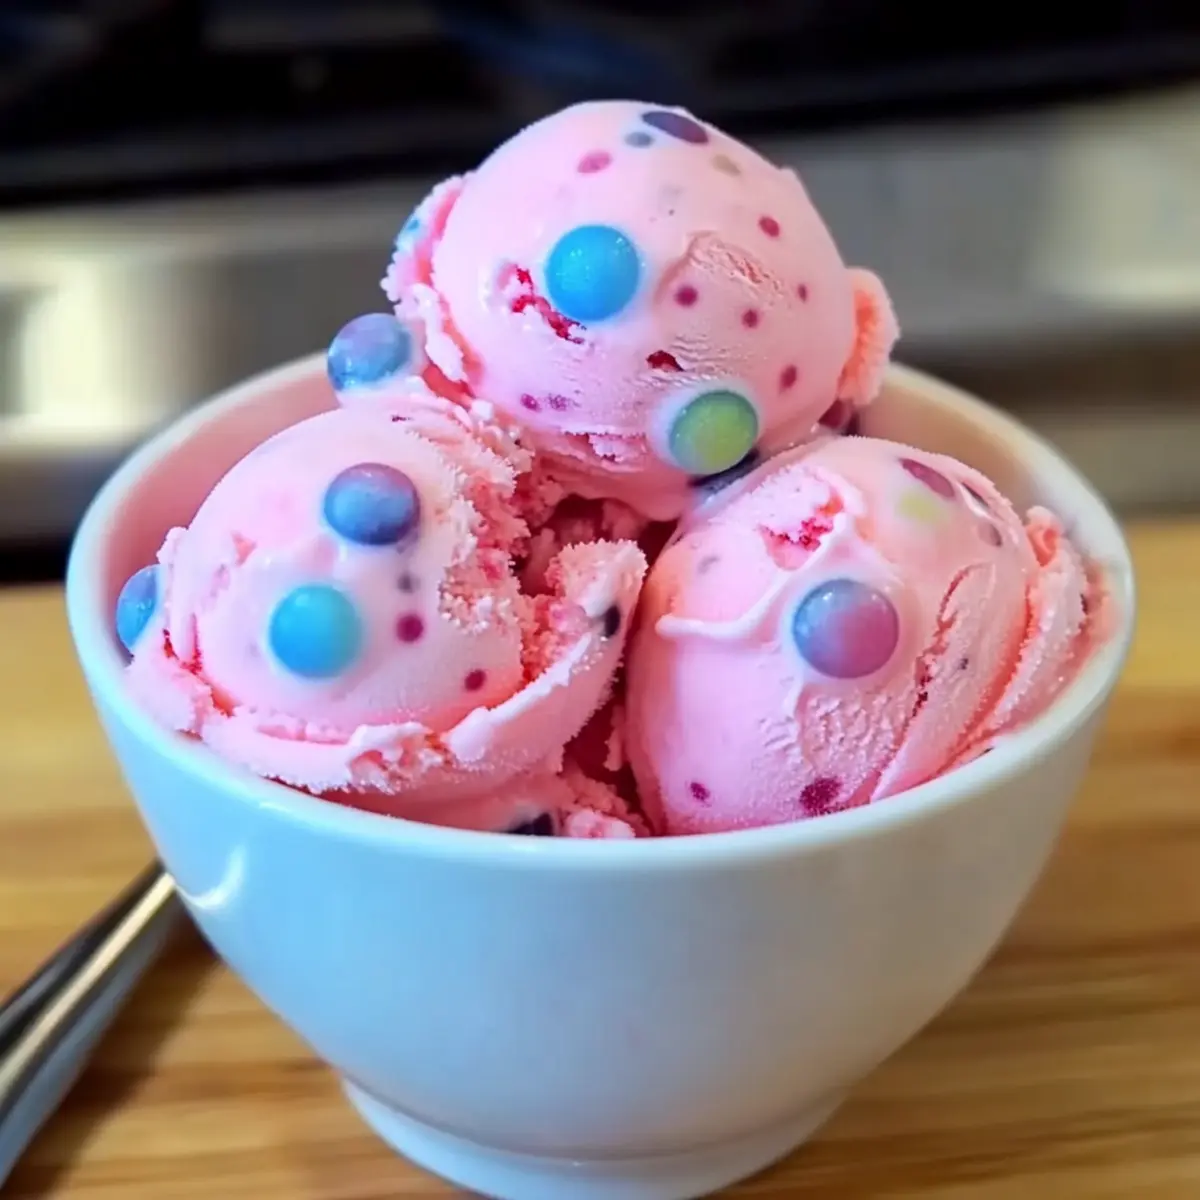
Bubblegum Ice Cream Variations
Feel free to let your creativity shine as you customize this delightful bubblegum ice cream recipe!
- Extra Chewy: Add chopped soft bubblegum pieces for an extra chew that takes you back to your childhood memories. Imagine each scoop bursting with colorful surprises!
- Dairy-Free Delight: Substitute whole milk and heavy cream with full-fat coconut milk and cashew cream for a creamy, non-dairy version that everyone can enjoy.
- Fun Toppings: Top your ice cream with crushed candies, sprinkles, or a drizzle of white chocolate for added sweetness and texture. It transforms each scoop into a party!
- Bubblegum Float: Create a refreshing bubblegum float by pairing this ice cream with a fizzy soda for a delightful twist on a classic treat. It’s a bubbly experience with each sip and scoop!
- Flavor Infusion: Stir in a splash of vanilla extract or a hint of almond extract to elevate the flavor profile, adding a dreamy layer of complexity.
- Berry Bliss: Blend in some fresh berries like strawberries or raspberries for a fruity contrast that balances the sweetness of bubblegum.
- Nutty Crunch: Mix in chopped nuts, such as almonds or pecans, for a delightful crunch and a different texture contrast in every spoonful. It’s a nutty adventure!
- Chocolate Drizzle: Don’t forget the fun of a warm chocolate drizzle right before serving. The combination of chocolate and bubblegum is a surprisingly delicious pairing.
If you’re looking for more tasty adventures in the kitchen, check out my delicious Apple Cinnamon Frosting to pair with your bubblegum ice cream, or indulge in a savory treat like Creamy Spinach and Mushroom Orzo that complements your dessert perfectly!
Expert Tips for Bubblegum Ice Cream
Temperature Control: Avoid boiling the milk mixture to prevent graininess; maintain a gentle simmer for the best results.
Straining Skills: Ensure you strain the mixture thoroughly through cheesecloth to eliminate any chewy gum bits, ensuring a silky final product.
Cooling Composure: Don’t rush the cooling process; allow the mixture to chill completely before churning for a creamy bubblegum ice cream consistency.
Churning Timing: Pay attention to your ice cream maker’s guidelines; churning too long can lead to a harder-than-desired texture.
Scoop Success: Before serving, let the ice cream sit at room temperature for a few minutes. This will make scooping easier and prevent ice crystals from forming.
Make Ahead Options
Making homemade bubblegum ice cream is a fantastic way to save time for busy families! You can prepare the base mixture up to 24 hours in advance by blending the ingredients and heating them as instructed. Once you’ve cooled and strained the mixture, store it in an airtight container in the refrigerator. When you’re ready to indulge, simply pour the cold mixture into your ice cream maker and churn away. For the best results, ensure the mixture is thoroughly chilled before churning to maintain that delightful creamy texture of your bubblegum ice cream. This way, you’ll always have a nostalgic treat ready at your fingertips, just as delicious as when freshly made!
How to Store and Freeze Bubblegum Ice Cream
Fridge: Once made, keep bubblegum ice cream in the refrigerator for up to 3 days. However, it’s best enjoyed fresh after the initial freeze to savor its creamy texture.
Freezer: For longer storage, transfer any leftover bubblegum ice cream to an airtight container. It can be frozen for up to 2 months without losing its delightful flavor and creaminess.
Reheating: To reintroduce a soft texture, take the ice cream out of the freezer and let it sit at room temperature for about 10 minutes before scooping. This ensures you enjoy each scoop with the perfect consistency.
What to Serve with Homemade Bubblegum Ice Cream?
There’s something truly magical about creating a delightful meal that pairs perfectly with your favorite ice cream treat.
-
Warm Chocolate Brownies: The rich, fudgy texture of freshly baked brownies complements the creamy bubblegum ice cream beautifully, creating a dessert nirvana.
-
Marshmallow Topping: Whip up a quick marshmallow fluff to drizzle over your ice cream; the soft sweetness adds an extra layer of indulgence that perfectly matches bubblegum’s playful profile.
-
Fresh Fruit Salad: A medley of juicy strawberries, ripe bananas, and zesty citrus balances the sweetness of the ice cream, adding vibrant freshness to every spoonful.
-
Waffle Cones: Serve the bubblegum ice cream in crunchy waffle cones for added texture. The sweet, toasted flavor elevates the experience into a full-blown nostalgic celebration.
-
Soda Float: Combine scoops of bubblegum ice cream with fizzy soda for a refreshing float. The carbonation adds a delightful effervescence and fun!
-
Peanut Butter Drizzle: Drizzling some warm peanut butter over your bowl creates a sweet-salty contrast that enhances the ice cream’s playful flavor, making each bite irresistible.
-
Chilled Lemonade: A glass of refreshing lemonade served alongside your dessert offers a zesty counterpoint that cleanses the palate, making every sip and scoop even more enjoyable.
-
Mini Cupcakes: Light vanilla or funfetti cupcakes serve as delightful accompaniments. Their subtle sweetness lets the bubblegum ice cream shine as the star of the dessert spread.
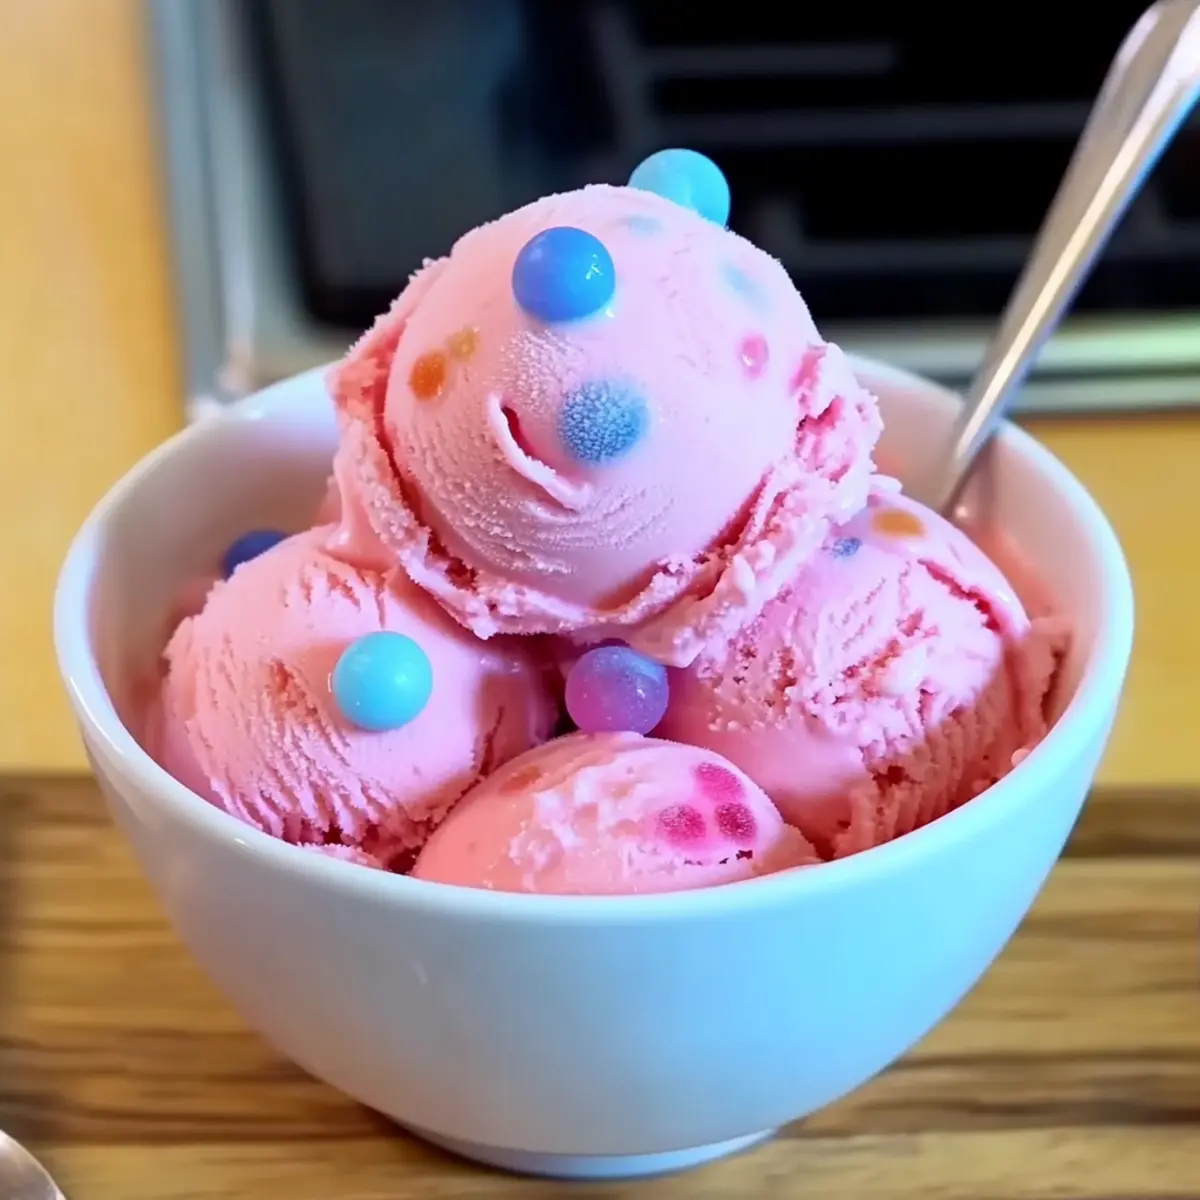
Bubblegum Ice Cream Recipe FAQs
What type of Bazooka bubblegum should I use?
Absolutely! For the best flavor in your homemade bubblegum ice cream, choose a high-quality, dissolvable Bazooka bubblegum. The classic flavor sticks perfectly in this recipe, giving that nostalgic taste we all love. Be sure to check for any pieces with dark spots, which indicate they might not mix well.
How should I store leftover bubblegum ice cream?
You can store your delicious bubblegum ice cream in the freezer in an airtight container for up to 2 months. Make sure the lid is tightly sealed to prevent freezer burn. If you find ice crystals forming, don’t worry! Just leave it out for 10 minutes before scooping to restore its creamy texture.
Can I freeze the ice cream mixture before churning?
I wouldn’t recommend freezing the mixture before churning, as it needs to be chilled rather than frozen solid for proper churning. Instead, cool it thoroughly in an ice bath, as described in the recipe, before pouring it into the ice cream maker. This helps create a smooth, creamy treat.
What should I do if my ice cream becomes too hard when frozen?
Not to worry! If your bubblegum ice cream ends up freezing too hard, let it sit out at room temperature for about 10 minutes before attempting to scoop. This will allow it to soften slightly, making it easier to serve. Always keep your ice cream stored at a consistent freezing temperature to avoid this issue.
Is this bubblegum ice cream suitable for kids with allergies?
While the ingredients in this recipe—such as milk, cornstarch, and bubblegum—are generally safe, it’s important to check any allergies your child might have. If you’re substituting with non-dairy options or different types of gums, make sure they don’t contain allergens. If you’re unsure, consult with a pediatrician or allergist.
Can I make this recipe vegan?
Definitely! To make bubblegum ice cream vegan, replace whole milk with full-fat coconut milk and heavy cream with cashew cream or another non-dairy cream. Ensure the Bazooka bubblegum you choose is free of any animal-derived ingredients. With these modifications, you can still relish the dreamy and creamy experience of homemade bubblegum ice cream!
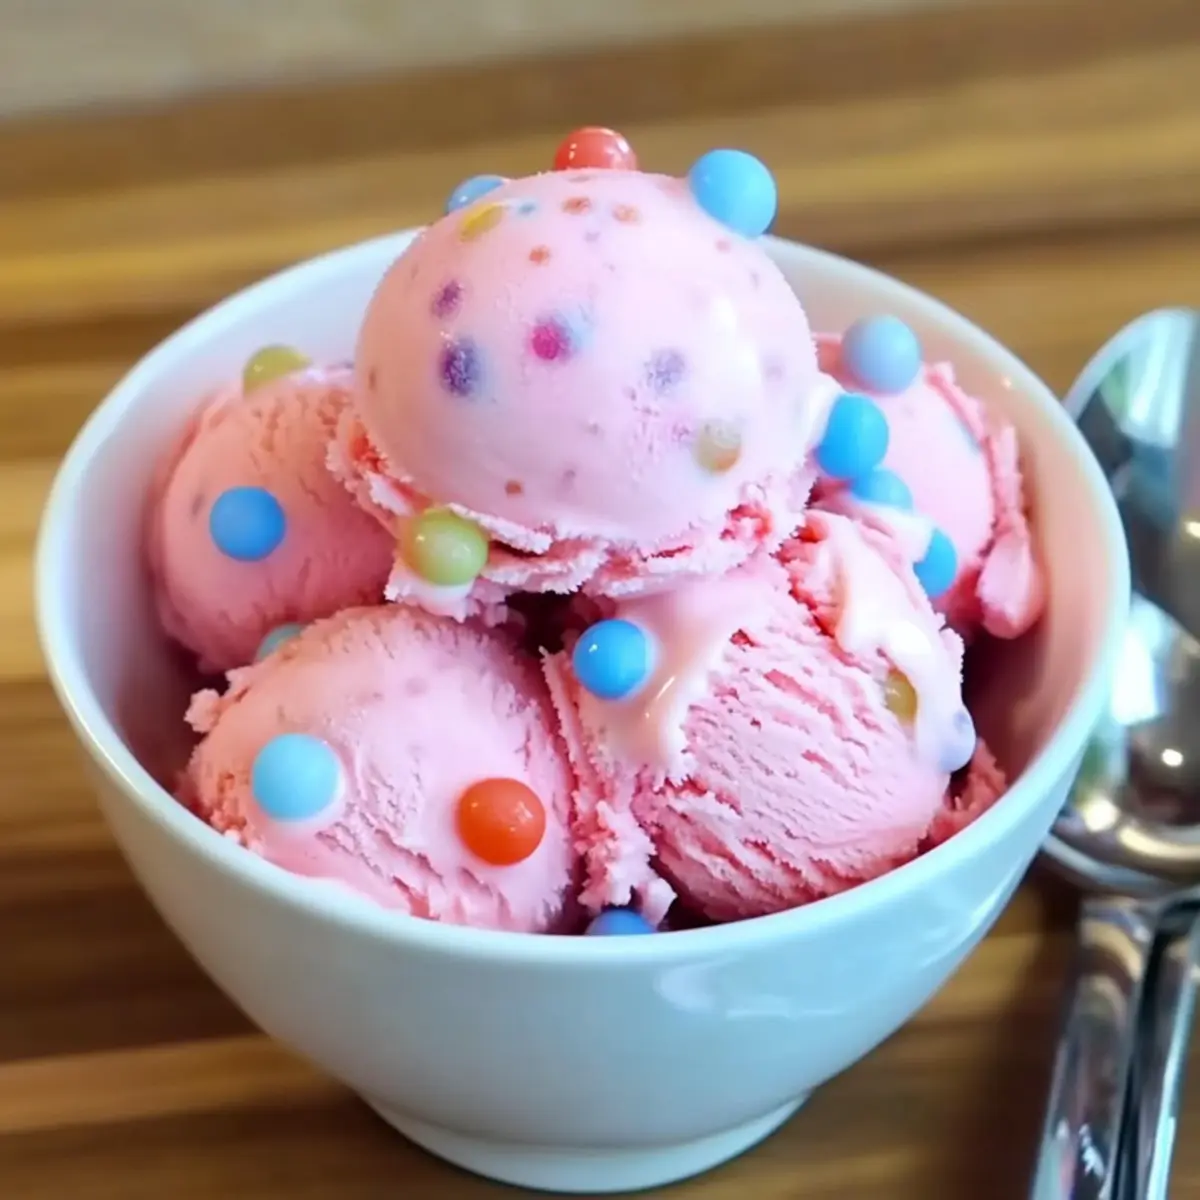
Bubblegum Ice Cream: A Nostalgic Summer Delight You’ll Love
Ingredients
Equipment
Method
- Prepare Cornstarch Slurry: Mix 2 tablespoons of cornstarch with 2 tablespoons of whole milk in a small bowl until smooth.
- Blend Ingredients: Combine 45 pieces of Bazooka bubblegum, 2 cups of whole milk, and 1 cup of heavy cream in a blender. Blend on high until smooth.
- Heat Mixture: Pour mixture into a saucepan, add 2 tablespoons of sugar and a pinch of salt. Heat over medium-high, stirring gently until it simmers.
- Thicken: Lower heat and whisk in the cornstarch slurry. Continue whisking until slightly thickened, about 3-5 minutes.
- Cool Mixture: Remove from heat, pour into a Ziploc bag and immerse it in ice water to cool completely for 15-20 minutes.
- Strain: Strain mixture through cheesecloth or fine sieve to remove gum pieces.
- Churn Ice Cream: Pour the strained mixture into an ice cream maker and churn for about 20-25 minutes.
- Freeze: Transfer churned ice cream to an airtight container, smooth the top, and freeze for at least 4 hours.
Leave a Reply