
As I stood in my kitchen, the crisp scent of autumn seeped through the open window, teasing my senses with memories of falling leaves and family gatherings. That’s when I knew it was time to whip up a batch of my simple, 3-Ingredient Homemade Apple Jam. This delightful recipe not only captures the essence of the season but also transforms ordinary apples into a chunky, mouth-watering spread that’s both healthy and versatile. Rich in antioxidants and fiber, it’s ideal for those cozy breakfasts or as a surprising glaze for savory dishes. Plus, whipping it up is a breeze—perfect for your next weekend project. Curious about how to preserve that autumn magic in your pantry? Let’s dive in!
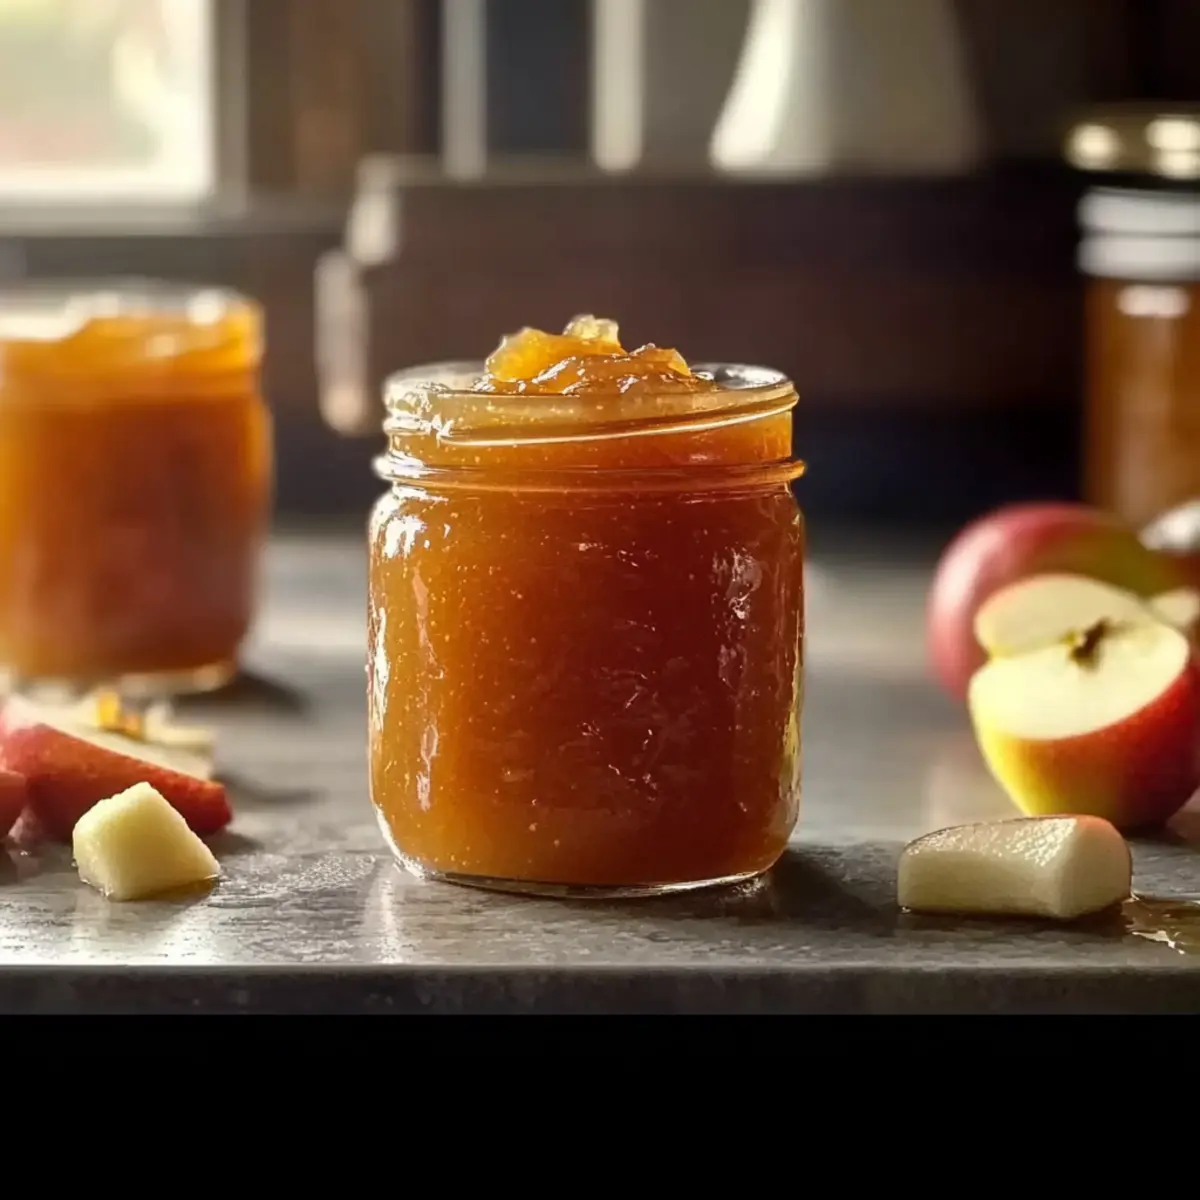
Why Make Homemade Apple Jam?
Simplicity at Its Best: With only three ingredients, this recipe is effortless, inviting both novice and experienced home cooks.
Rich Flavors: The blend of tart apples with sweet sugar and zesty lemon juice creates a vibrant flavor that’s pure autumn bliss.
Versatile Use: Spread it on toast, stir into yogurt, or even use it as a glaze for savory dishes—its versatility is unmatched!
Healthier Option: Packed with antioxidants and fiber, this apple jam offers a guilt-free alternative to store-bought spreads.
Time-Saving Delight: Perfect for weekend meal prep, you can easily whip up a batch in just a couple of hours, including cooling time.
This delightful apple jam is not just a recipe; it’s a taste of home that resonates with the cozy fall vibes. If you’re eager to explore more seasonal delights, you might also enjoy whipping up Apple Cider Cupcakes or a comforting Apple Chai Latte.
Apple Jam Ingredients
• Discover the essential components for Apple Jam.
For the Jam Base
- Chopped Apples – They provide flavor and texture; opt for tart varieties for a well-balanced taste.
- Granulated Sugar – Sweetens and preserves; try substituting with honey or agave syrup if you want a unique sweetness.
- Lemon Juice – Enhances flavor while aiding preservation; lime juice can be used for a delightful twist.
Step‑by‑Step Instructions for Apple Jam
Step 1: Prepare Apples
In a large mixing bowl, combine 4 lbs of diced tart apples, 4 cups of granulated sugar, and ½ cup of lemon juice. Stir gently to ensure the apples are well-coated with sugar and juice, then cover the bowl with plastic wrap. Refrigerate the mixture for at least 4 hours or overnight to allow the flavors to meld and the sugar to draw out the juices, which will create a syrupy base for your apple jam.
Step 2: Prepare for Cooking
While the apples macerate, place a small plate in the freezer. This will be used later to test the gel consistency of your apple jam. Gather your equipment, including a large pot, wooden spoon, and sterilized jars, ensuring everything is clean and ready for the cooking process.
Step 3: Cook Jam
After the resting period, strain the macerated apples, reserving the delicious liquid that has formed. Pour this liquid into a large pot and bring it to a boil over medium-high heat. Once boiling, add the strained apple pieces, stirring to combine. Allow the mixture to cook for 20-30 minutes, stirring occasionally, until the jam thickens and reaches your desired consistency, which should be thick and syrupy yet still chunky.
Step 4: Test Gel Consistency
To determine if your apple jam has reached the perfect texture, take the plate from the freezer and drop a spoonful of the jam onto it. After a minute, push the edge of the jam with your finger; it should wrinkle slightly, indicating that it’s ready to jar. If it remains runny, continue cooking for a few more minutes, testing every few minutes until it achieves the right gel-like consistency.
Step 5: Jar the Jam
Once the apple jam is ready, carefully fill your sterilized jars with the hot jam, leaving about ¼-inch of headspace at the top. Wipe the rims of the jars with a clean, damp cloth to ensure no jam residue interferes with sealing. Immediately process the filled jars in a boiling water bath for 10 minutes to ensure they are preserved properly, followed by an additional 5 minutes resting in the hot water.
Step 6: Cool and Seal
After processing, carefully remove the jars from the water bath and set them upright on a kitchen towel or cooling rack. Allow the jars to cool completely at room temperature. As they cool, listen for the satisfying “pop” of the seals forming. Once cooled, check that each lid has sealed properly by pressing the center—if it doesn’t spring back, your homemade apple jam is ready to be stored and enjoyed.
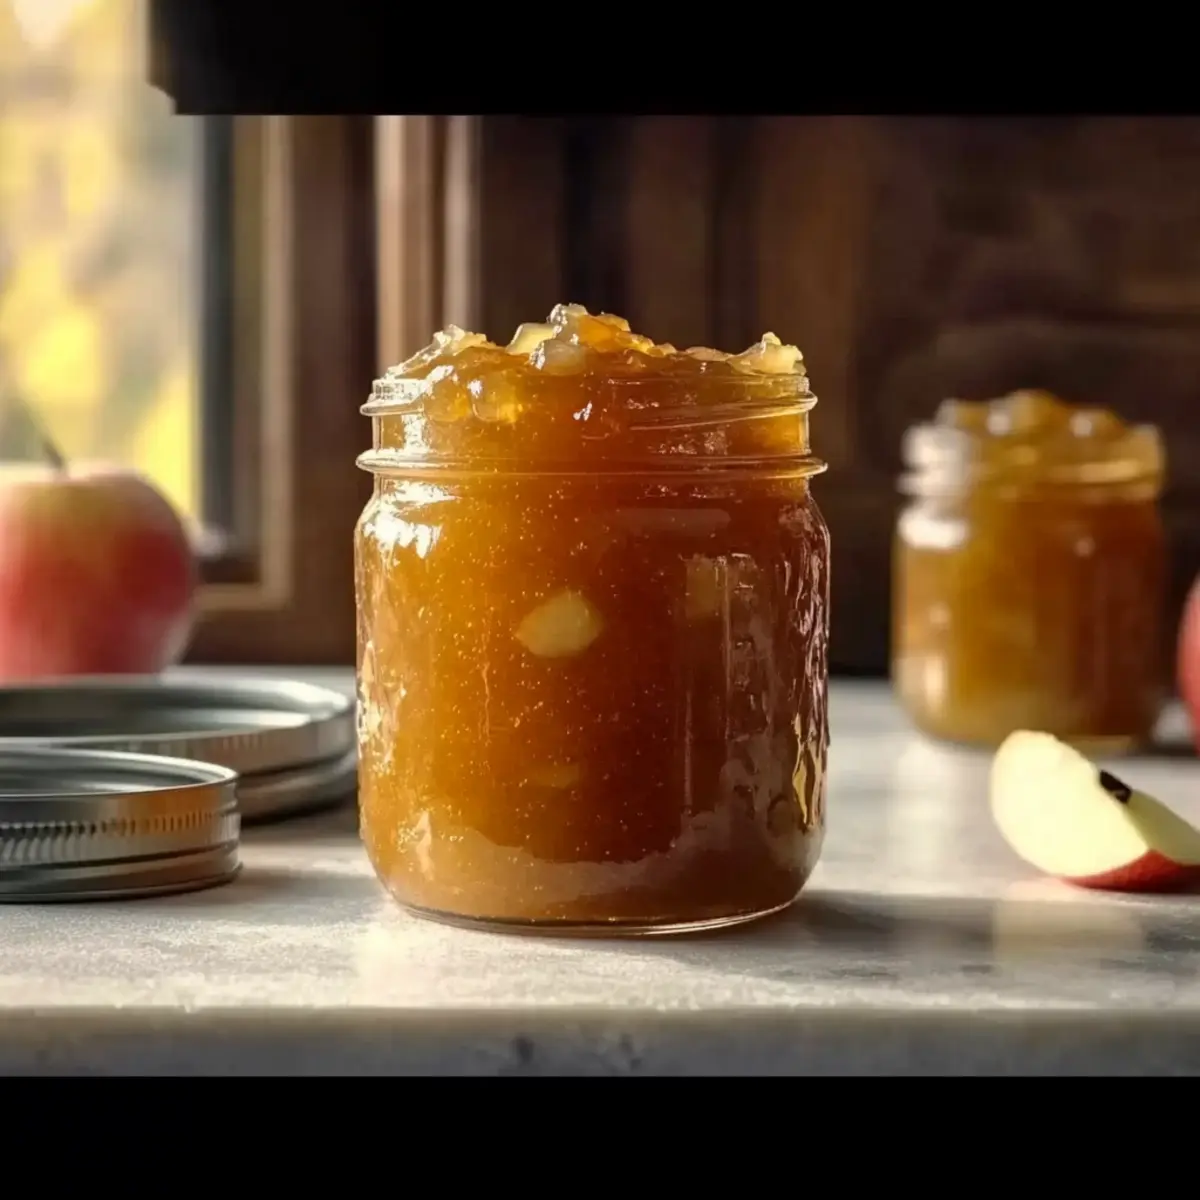
Storage Tips for Apple Jam
-
Room Temperature: Unopened jars of apple jam can be stored in a cool, dark place for up to 1 year. Ensure they’re kept away from direct sunlight and heat sources for optimal preservation.
-
Fridge: After opening, refrigerate the apple jam and consume it within 2-4 weeks for the best flavor and freshness. Keep the lid tightly sealed to maintain quality.
-
Freezer: For long-term storage, freeze apple jam in airtight containers or freezer bags, where it will last up to a year. Make sure to leave space for expansion as the jam freezes.
-
Reheating: If you prefer a warm spread, simply microwave the desired amount in short intervals, stirring in between, until warmed through for a delightful treat.
Make Ahead Options
These 3-Ingredient Homemade Apple Jam preparations are perfect for busy home cooks looking to save time during the week! You can macerate the chopped apples with sugar and lemon juice up to 24 hours in advance. Simply combine the ingredients in a large bowl, cover, and refrigerate overnight. When you’re ready to make the jam, just strain the apple mixture, boil the reserved liquid, add the strained apples, and cook until thickened. To maintain quality, ensure that all jars are properly sterilized and sealed after processing; this will keep your apple jam just as delicious for weeks to come. With these prep instructions, you can enjoy a delightful homemade spread with minimal effort!
Expert Tips for Homemade Apple Jam
-
Choose the Right Apples: Tart apples like Granny Smith provide a balance of sweetness and acidity, essential for a delicious apple jam.
-
Don’t Rush the Gel Test: Use the frozen plate method to test gel consistency; this ensures your jam won’t end up too runny or overcooked.
-
Sterilize Jars Properly: Ensure jars are thoroughly sterilized before filling to prevent spoilage and ensure a perfect seal.
-
Adjust Sweetness Wisely: If using honey or agave syrup, be ready to modify cooking time, as these sweeteners behave differently than granulated sugar.
-
Watch for Overcooking: Stir the jam frequently in the last stages of cooking to maintain the chunky texture and avoid burning.
Apple Jam Variations & Substitutions
Get ready to make this delightful recipe your own with some fun twists and swaps that will broaden your jam horizons!
-
Pineapple Addition: Add 1 cup of chopped pineapple for a tropical kick that brightens up the flavor profile beautifully. The sweet and tangy combination will take you on a mini vacation right from your kitchen!
-
Spicy Kick: Introduce a pinch of cayenne pepper or red pepper flakes for a surprising heat that contrasts beautifully with the sweetness of apples. Just a little goes a long way to awaken your taste buds!
-
Maple Syrup Swap: Substitute granulated sugar with maple syrup for a rich, earthy sweetness that’s perfect for cozy mornings. The depth of flavor adds a unique touch to your apple jam that’s simply irresistible.
-
Autumn Spice: Mix in 1 teaspoon of cinnamon or ½ teaspoon of nutmeg to evoke those warm, fall aromas. This gives your jam a comforting vibe, perfect for spreading on warm toast as the days get cooler.
-
Ginger Zing: Add 1 tablespoon of freshly grated ginger for a zesty twist. This invigorating addition can elevate your jam to new heights, making every bite tantalizingly crisp!
-
Citrus Burst: Swap lemon juice with fresh orange juice to create a vibrant, citrus-infused jam. It’s a refreshing alternative that adds delightful brightness and a splash of sunshine to your pantry.
-
Mixed Fruit Magic: Combine chopped apples with pears or berries for a delicious fruit fusion. This not only enhances the texture but also introduces new flavors that make every spoonful a little surprise!
-
Sweet Vermouth Infusion: For an adults-only twist, stir in a splash of sweet vermouth during the cooking process. This sophisticated addition provides a complex taste that pairs beautifully with cheeses or savory dishes, just like a favorite glaze from a Brown Sugar Pineapple chicken recipe!
Feel free to experiment and let your creativity run wild while making this apple jam. It’s all about personal touches and new flavors that reflect your tastes.
What to Serve with 3-Ingredient Homemade Apple Jam
Indulging in a spoonful of homemade apple jam is just the beginning—let’s explore delightful pairings that elevate your meal!
-
Crunchy Toast: The perfect canvas for your apple jam, freshly toasted bread adds a satisfying crunch that complements the jam’s sweetness.
-
Creamy Yogurt: Swirl it into plain yogurt for a delicious breakfast that combines rich creaminess with fruitiness, making every spoonful a treat.
-
Oatmeal Delight: Stir into a warm bowl of oatmeal for a cozy, comforting breakfast that will energize your morning and awaken your taste buds.
-
Cheese Platter: Pair with sharp cheddar or goat cheese for a harmonious blend of sweet and savory. This unexpected combination delights the senses!
-
Savory Glaze: Use as a glaze on roasted pork or chicken; its sweet-tart profile adds a mouthwatering finish that brings dishes to life.
-
Ice Cream Topping: Drizzle over vanilla or cinnamon ice cream for a fall-inspired sundae that captures autumn’s essence with every bite.
Let your creativity shine as you explore these delicious pairings, making the most out of your apple jam experience!
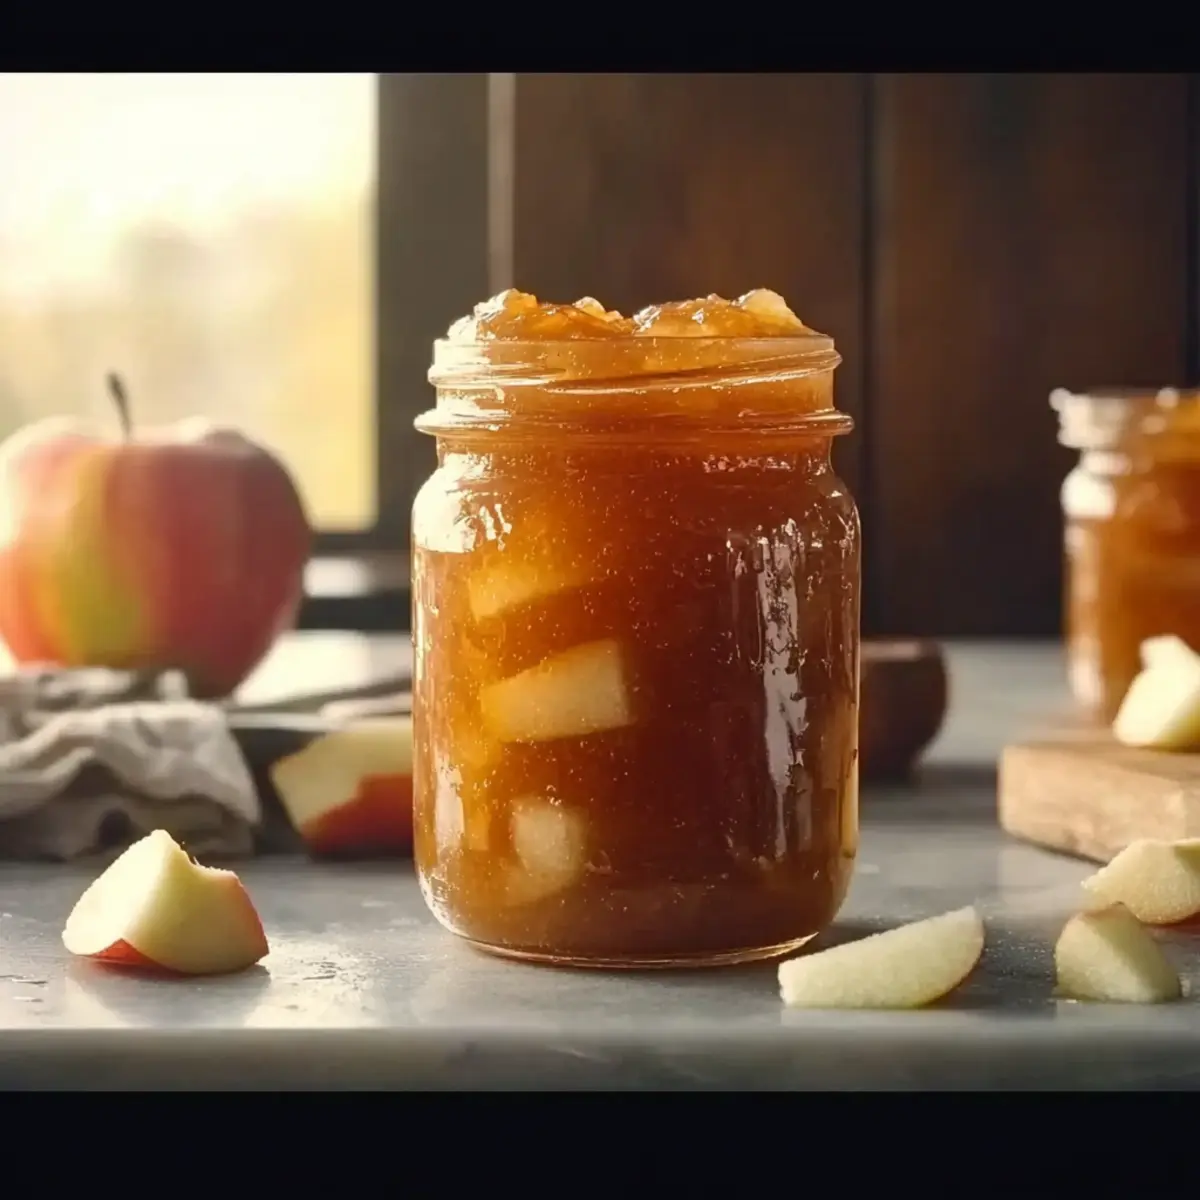
Apple Jam Recipe FAQs
What type of apples should I use for the best Apple Jam?
Absolutely! For the perfect apple jam, I recommend using tart varieties like Granny Smith or Macintosh. These apples are naturally high in pectin, which helps the jam set beautifully and adds that essential sweet-tart balance you’ll love.
How can I store my homemade Apple Jam?
Great question! Unopened jars of your homemade apple jam can be stored in a cool, dark place for up to 1 year. Once opened, be sure to refrigerate it and enjoy within 2-4 weeks for optimal flavor and freshness. Keeping the lid tightly sealed will help maintain its quality and extend its life!
Can I freeze Apple Jam for later use?
Yes, you can! To freeze your apple jam, transfer it into airtight containers or freezer bags, making sure to leave some space for expansion as it freezes. It will last up to a year in the freezer. When you’re ready to enjoy it, simply thaw it in the refrigerator overnight before using.
What should I do if my Apple Jam didn’t set properly?
No worries—it happens to the best of us! If your jam is too runny, you can re-cook it by straining the liquid and adding a little extra pectin or more diced apples back into the mix. Bring the mixture to a boil and cook it down for an additional 10-15 minutes, testing for consistency again using the plate test. Good luck, and don’t give up!
Is Apple Jam safe for my pets?
While apple jam is not directly harmful to pets in small quantities, it’s best to avoid giving it to them due to the high sugar content and any added preservatives in some recipes. Stick to plain apples as a healthier treat for your furry friends!
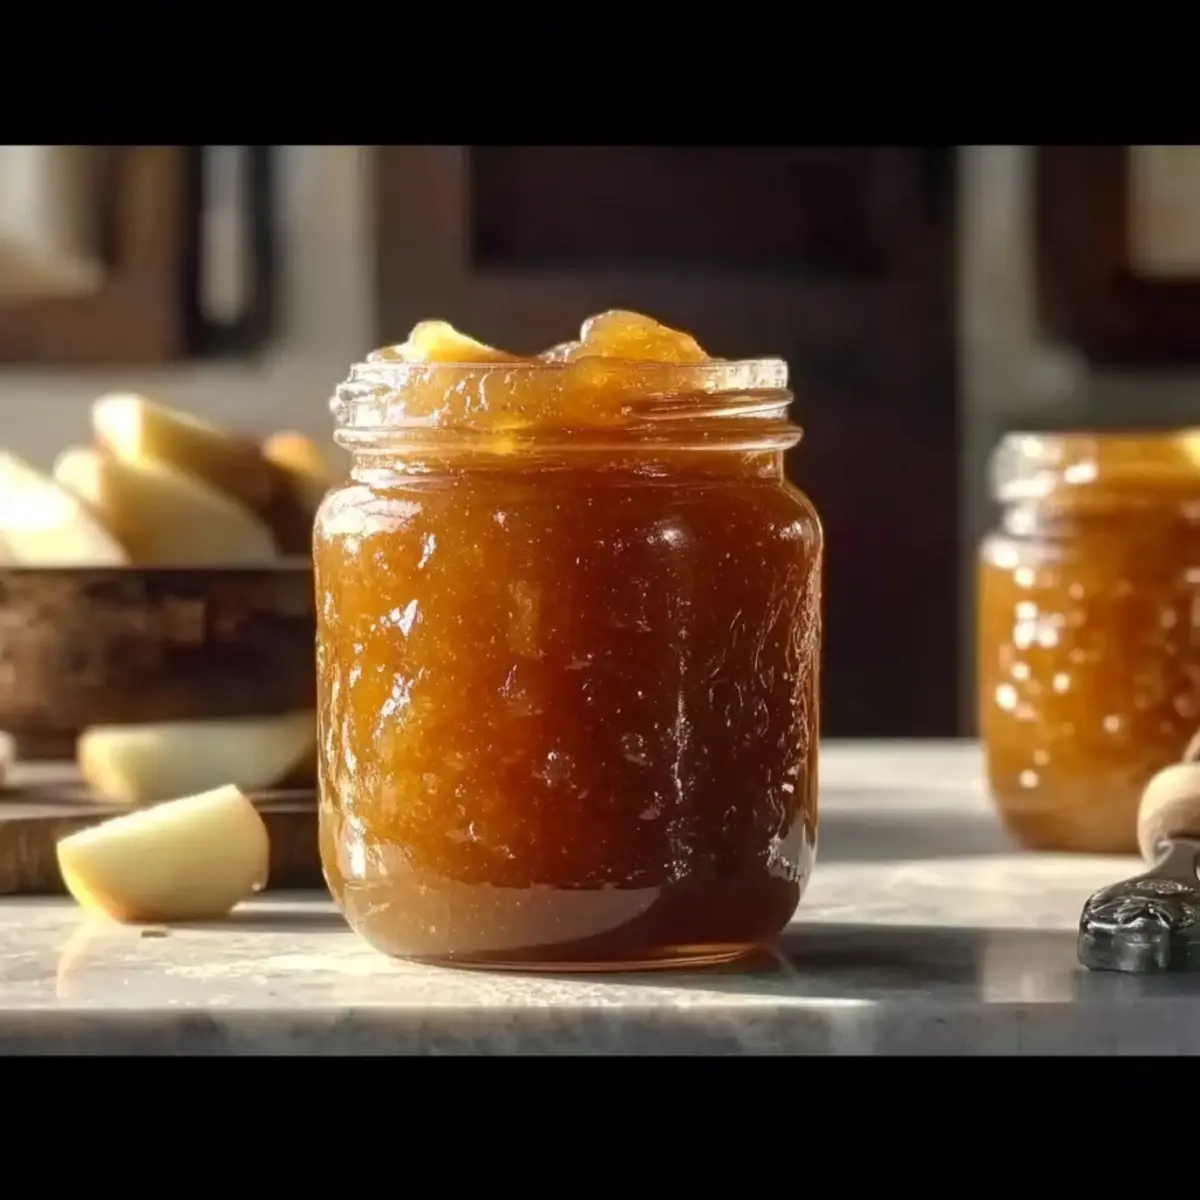
Sweet and Tangy Apple Jam for a Cozy Homemade Treat
Ingredients
Equipment
Method
- In a large mixing bowl, combine 4 lbs of diced tart apples, 4 cups of granulated sugar, and ½ cup of lemon juice. Stir gently and refrigerate for at least 4 hours or overnight.
- While the apples macerate, place a small plate in the freezer for the gel test. Gather equipment including a large pot, wooden spoon, and sterilized jars.
- After resting, strain the macerated apples, reserving the liquid. Bring the liquid to a boil in a pot, add the strained apple pieces, and cook for 20-30 minutes.
- To test the texture, drop a spoonful of jam onto the frozen plate. If it wrinkles when pushed, it’s ready; if not, cook longer.
- Carefully fill sterilized jars with hot jam, leaving ¼-inch headspace. Wipe the rims clean and process in a boiling water bath for 10 minutes.
- Remove jars from water bath and let cool completely. Check seals before storing.
Leave a Reply