
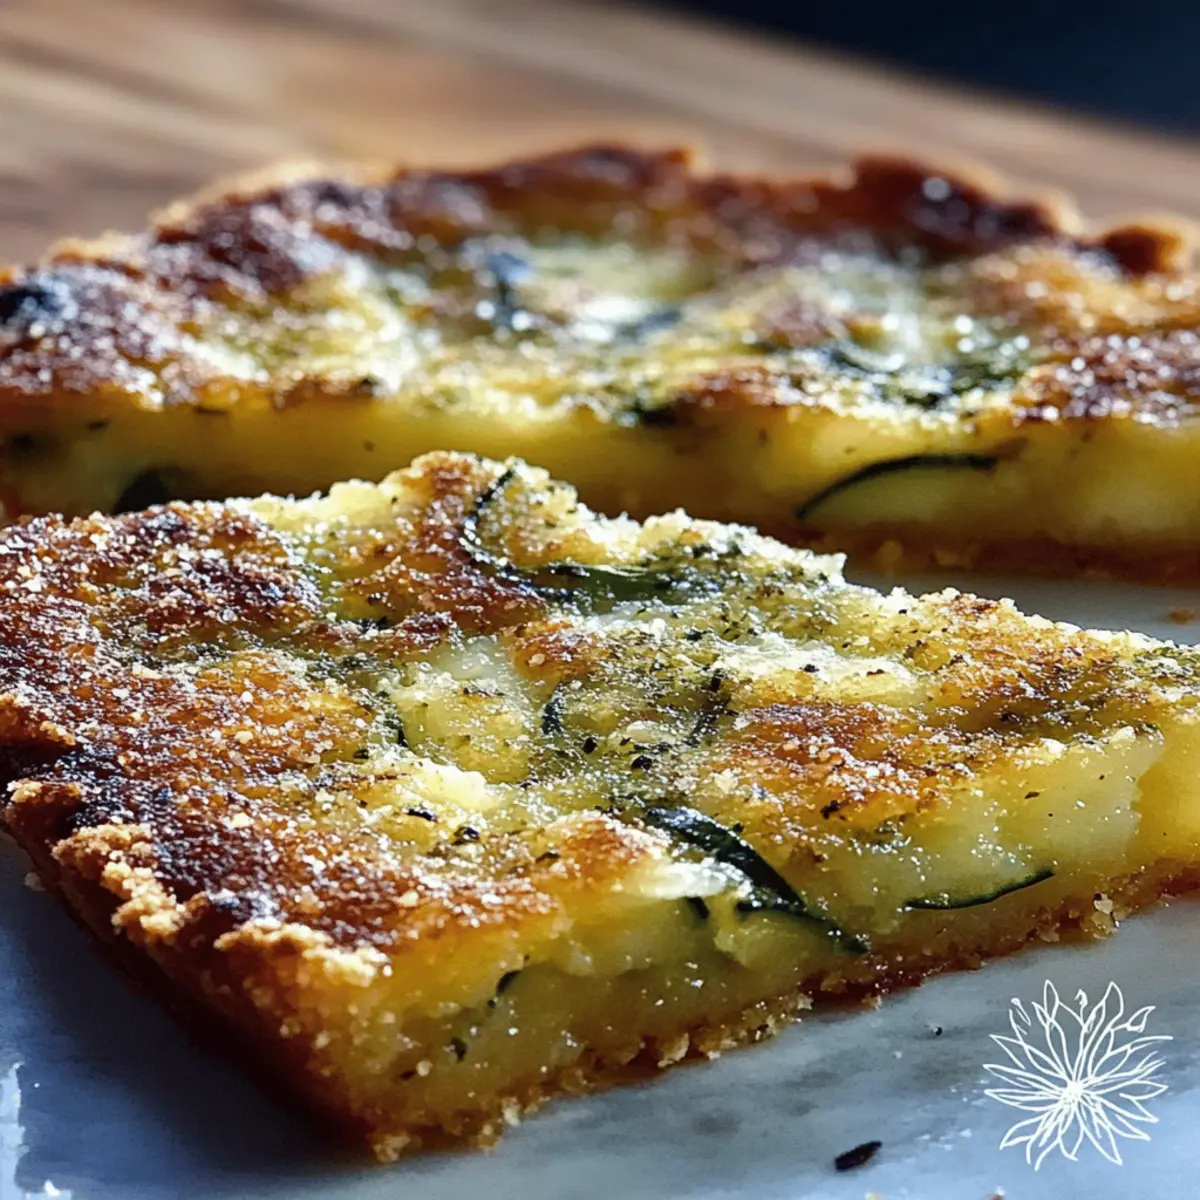
The aroma of baking zucchini fills the kitchen, whisking me away to a sun-soaked Tuscan terrace where flavors dance in harmony. Today, I’m excited to share my Crispy Tuscan Zucchini Tart – Scarpaccia, a miraculous dish that shines as an appetizer or a light meal. With barely any fuss, this vegetarian delight features fresh zucchini and onions enveloped in mouthwatering polenta, creating a tantalizingly crunchy exterior that will have your guests asking for seconds. Not only is it a crowd-pleaser, but it’s also a fantastic way to enjoy summer’s bounty without the heat of a full oven. Ready to whip up something simple yet impressive? Let’s dive into this delightful recipe that embodies heartwarming Italian tradition!
Why is Scarpaccia a must-try recipe?
Deliciously unique: This Scarpaccia combines zucchini and onions in a comforting way, making every bite a savory joy.
Versatile dish: Serve it warm as an appetizer or cool as a light meal; its adaptability impresses guests at any gathering.
No-bake simplicity: With minimal preparation, you’ll be in and out of the kitchen quickly, leaving more time to enjoy with loved ones.
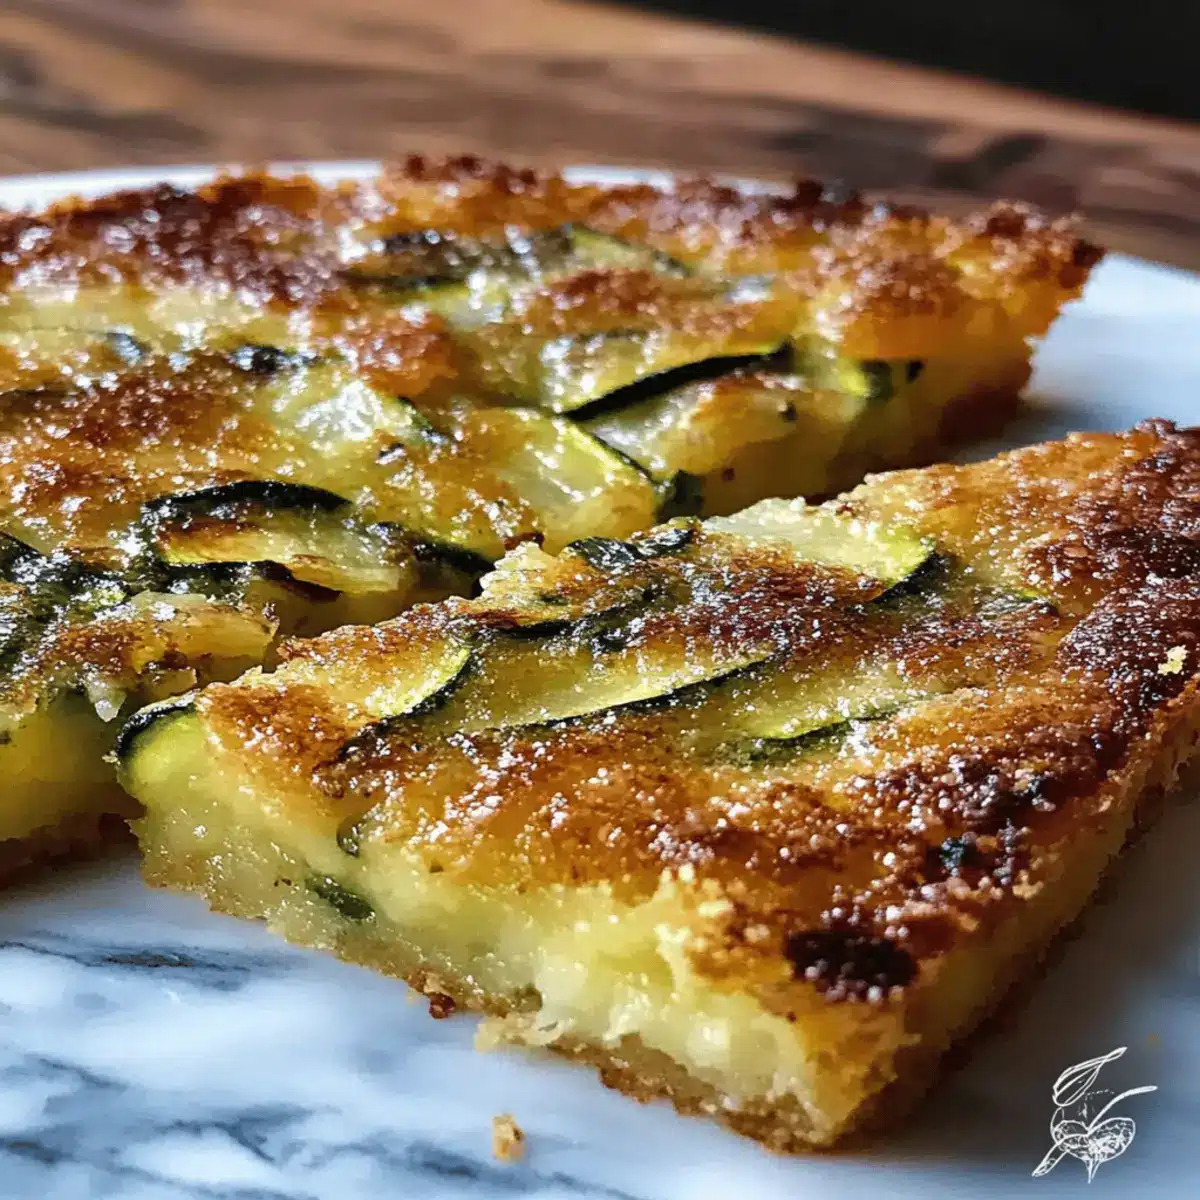
Crowd-pleaser: The crispy texture and vibrant flavors make it a hit for both vegetarians and those looking to indulge in something wholesome.
Healthy indulgence: Fresh, seasonal ingredients shine, giving you a guilt-free treat that aligns perfectly with summer vibes.
Explore even more delicious variations like incorporating cheese or different herbs for added excitement!
Scarpaccia – Tuscan Zucchini Tart Ingredients
For the Tart
• Zucchini – Adds moisture and a mild flavor; opt for fresh, firm zucchinis for the best result.
• Onion – Contributes sweetness and depth; shallots can be used for a milder taste.
• Salt – Draws out moisture from the zucchini and onion, enhancing overall flavor.
• Flour – Provides structure to the tart; consider almond flour as a gluten-free alternative.
• Polenta – Imparts texture and a slightly nutty flavor, essential for that crispiness; cornmeal works as a substitute.
• Olive Oil – Ensures a crispy finish while adding richness; melted butter can be used if preferred.
• Pepper – Season to taste with fresh cracked pepper for a robust flavor.
• Basil – Fresh herb garnish that elevates the flavor; if unavailable, parsley or oregano works well too.
Step‑by‑Step Instructions for Scarpaccia – Tuscan Zucchini Tart
Step 1: Prepare the Vegetables
Start by washing the zucchini thoroughly and peeling the onion. Slice both into thin rounds, aiming for even thickness to ensure uniform cooking. The freshness of these ingredients will shine in your Scarpaccia. Set them aside in a medium bowl for the next step.
Step 2: Extract Moisture
Combine the zucchini and onion slices in the bowl, sprinkling them generously with salt. Allow this mixture to sit for about 15 minutes; the salt will draw out moisture, intensifying the flavors. You should see some liquid pooling at the bottom of the bowl as the vegetables release water.
Step 3: Drain Excess Liquid
After the 15 minutes are up, transfer the salted vegetables to a colander placed over the sink or a bowl. Press gently using the back of a spoon to extract excess moisture. This step is crucial to avoid a soggy Scarpaccia, so ensure you’ve removed as much liquid as possible before moving on.
Step 4: Prepare the Batter
In a separate mixing bowl, whisk together the flour and polenta until well combined. Gradually stir in the liquid extracted from the vegetables, mixing until smooth. If the batter seems too thick, you can add a small amount of water until it reaches a pourable consistency, ensuring it’s suitable for holding the zucchini.
Step 5: Combine Ingredients
Gently fold the drained zucchini and onion into the batter, making sure they are well coated. Season the mixture with freshly cracked pepper and additional salt if necessary. The Scarpaccia batter should have a vibrant, cohesive look, with the vegetables evenly distributed throughout.
Step 6: Preheat the Oven
Preheat your oven to 200°C (400°F) and prepare a baking sheet by lining it with parchment paper. Drizzle a generous amount of olive oil over the parchment to promote that delightful crispy texture you desire from your Scarpaccia once it’s done baking.
Step 7: Assemble the Tart
Using a spoon, drop dollops of the zucchini batter onto the prepared baking sheet, allowing some space between each. Drizzle more olive oil over the tops and, if you fancy, sprinkle a little extra polenta for added crunch. The tart should have a rustic, appealing appearance as it comes together.
Step 8: Bake to Perfection
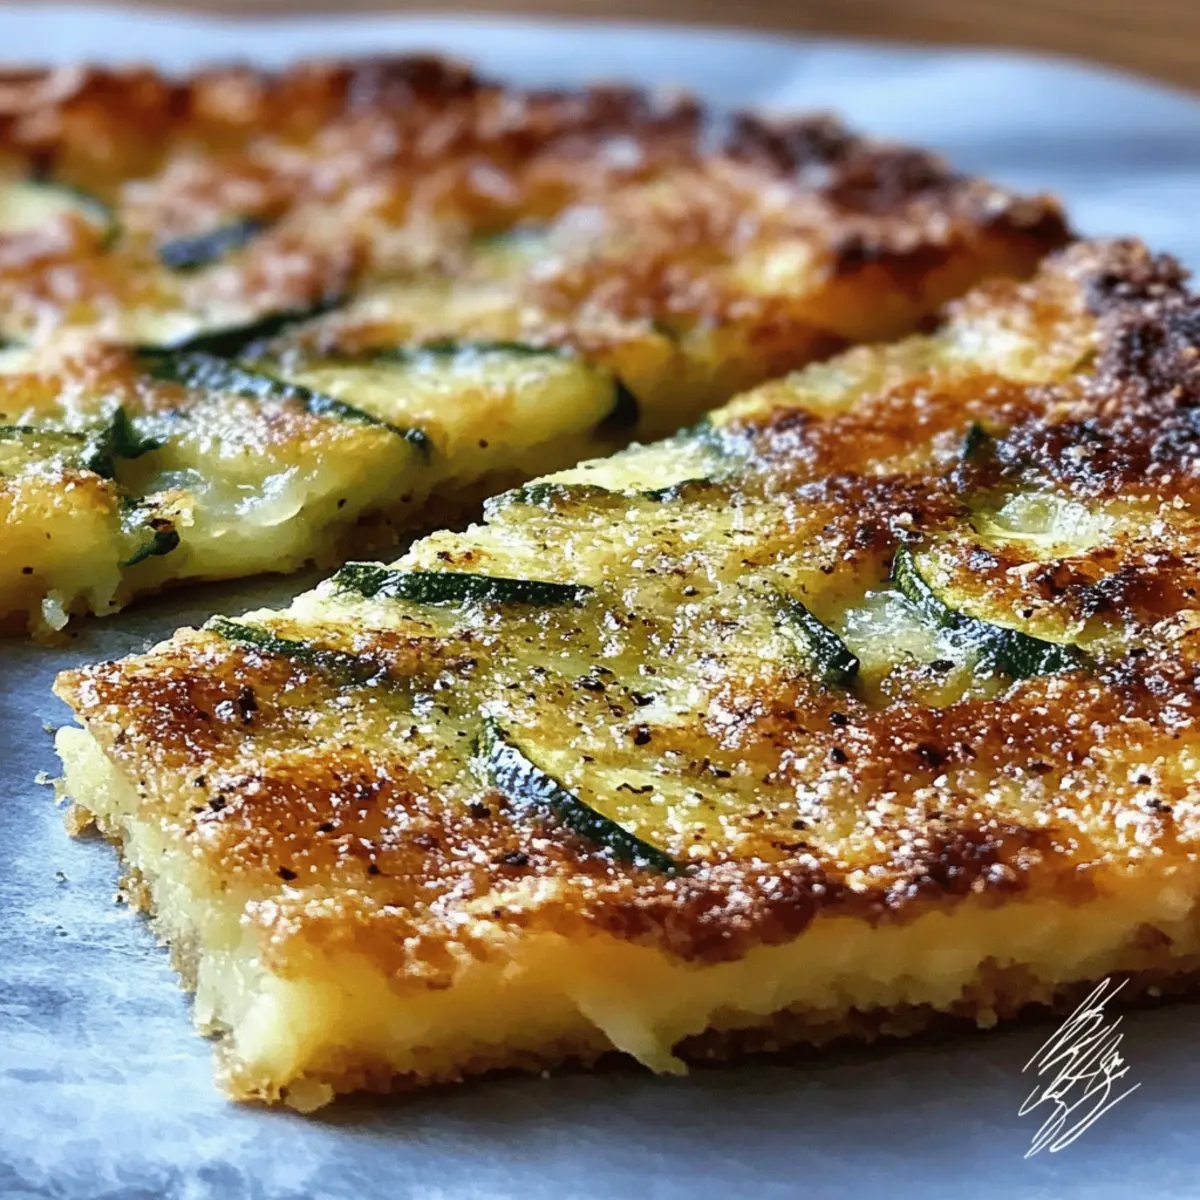
Place the baking sheet in the preheated oven and bake the Scarpaccia for 35-45 minutes. Watch closely until the tart turns golden brown and forms a crispy crust. A gentle poke should reveal a firm texture; this indicates it’s ready to be enjoyed as a delightful side or light meal.
Step 9: Cool and Serve
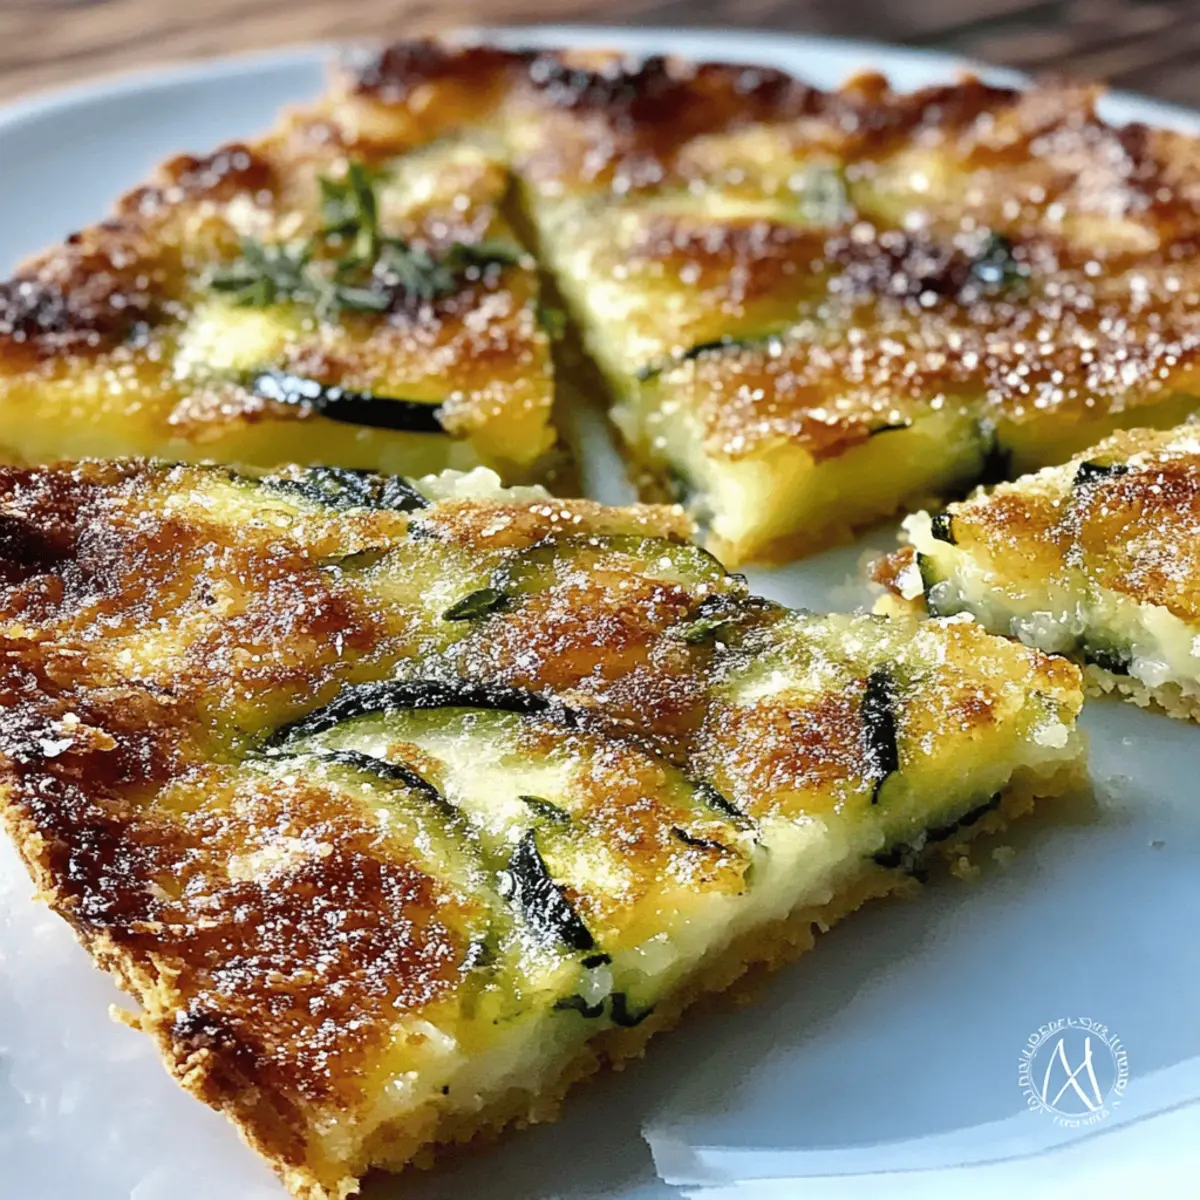
Once your Scarpaccia is beautifully golden, remove it from the oven and let it cool slightly on the baking sheet. Top with fresh basil before cutting into squares. Serve warm or at room temperature, embracing a dish that is sure to impress family and friends with its Tuscan charm.
Expert Tips for Scarpaccia – Tuscan Zucchini Tart
• Press Vegetables Thoroughly: Make sure to drain as much moisture as possible from the zucchini and onion. This prevents a soggy tart that lacks structure.
• Use Fresh Ingredients: Opt for fresh, firm zucchinis and sweet onions to enhance the Scarpaccia’s overall flavor and texture. Dull or past-their-prime vegetables can lead to disappointing results.
• Drizzle Generously: Don’t skimp on olive oil when preparing the baking sheet. This helps achieve that desirable crispy finish that makes this dish unforgettable.
• Monitor the Bake: Keep a close eye on your tart as it bakes; aim for a golden-brown color and a firm texture. Taking it out too early may result in a soggy center.
• Explore Variations: Don’t hesitate to get creative! Incorporating cheese or other veggies can elevate your Scarpaccia and give it your personal twist.
Make Ahead Options
These Scarpaccia – Tuscan Zucchini Tarts are perfect for meal prep enthusiasts! You can slice the zucchini and onion and prepare the batter up to 24 hours in advance. Simply store the sliced vegetables in an airtight container in the refrigerator to maintain their freshness. Mix the batter and fold in the vegetables just before you’re ready to bake, ensuring your tart remains crispy and flavorful. Additionally, you can bake the Scarpaccia in advance, allowing it to cool and then refrigerate for up to 3 days. When ready to serve, simply reheat in the oven to retain that delightful crunch. This way, you’ll enjoy deliciously warm Scarpaccia without the fuss on busy weeknights!
What to Serve with Scarpaccia – Tuscan Zucchini Tart
Elevate your Scarpaccia experience with delightful pairings that complement its vibrant flavors and crispy texture.
- Mixed Green Salad: A fresh salad with tangy dressing adds brightness, balancing the savory tart beautifully.
- Crusty Italian Bread: Serve with warm, crusty bread for a satisfying bite that captures every morsel of flavor.
- Chilled White Wine: A crisp, chilled white like Pinot Grigio enhances the dish, perfectly complementing its Italian roots.
- Oven-Roasted Vegetables: Roasted seasonal vegetables provide a colorful, nutritious side, enriching the meal’s texture and taste.
- Creamy Ricotta Dip: Pair with a stunning ricotta dip for a luxurious contrast, adding creaminess to each crunchy bite.
- Fruit Sorbet: A refreshing fruit sorbet offers a light, sweet finish, cleansing the palate after a savory experience.
These pairings will surely delight your guests and create a memorable dining experience!
Scarpaccia – Tuscan Zucchini Tart Variations
Feel free to get creative with your Scarpaccia, enhancing it to suit your taste buds and pantry!
-
Cheesy Delight: Add crumbled feta or goat cheese to give a wonderful creaminess and tang. Each bite becomes a savory explosion!
-
Herb Infusion: Experiment with fresh herbs like thyme or rosemary for a fragrant twist. These aromatic additions will elevate the dish splendidly.
-
Veggie Medley: Incorporate thinly sliced bell peppers or fresh spinach for vibrant color and nutrients. Your tart becomes a beautiful garden of flavors.
-
Zesty Upgrade: Sprinkle some red pepper flakes for a touch of heat. It’s a simple way to awaken your senses and make the dish pop!
-
Nutty Crunch: Toss in some toasted pine nuts or walnuts for added texture and a hint of nuttiness. They provide a pleasing contrast to the soft zucchini.
-
Gluten-Free Option: Swap regular flour with almond flour for a gluten-free Scarpaccia while keeping delicious flavor intact. It’s inclusivity without compromise!
-
Spicy Kick: Add diced jalapeños for a spicy layer of flavor. This twist is perfect for those who crave a bit more excitement in their bites.
-
Savoury Sweetness: Mix in some caramelized onions or roasted garlic to the batter. This twist makes for a delightful depth of flavor in every mouthful.
For even more ideas, why not check out how to incorporate cheese or experiment with flavor through different herbs? Let your Scarpaccia experience be as delightful as it is delicious!
How to Store and Freeze Scarpaccia
Fridge: Store leftover Scarpaccia in an airtight container for up to 2-3 days. It can be enjoyed cold or reheated in the oven for a few minutes to regain its crispiness.
Freezer: If you need to store it longer, wrap it tightly in plastic wrap or aluminum foil and freeze for up to 2 months. To reheat, let it thaw in the fridge overnight and bake at 180°C (350°F) until warmed through.
Reheating: For the best texture, reheat slices in a preheated oven or toaster oven rather than the microwave, as this helps maintain that delightful crispy exterior.
Serving Options: Enjoy warmed Scarpaccia with a sprinkle of fresh basil. You can also serve it as a side dish or an appetizer at your next gathering!
Scarpaccia – Tuscan Zucchini Tart Recipe FAQs
What kind of zucchini should I use for Scarpaccia?
Absolutely, you’ll want to choose fresh, firm zucchinis without dark spots or blemishes. These qualities ensure that the zucchini retains moisture and flavor during cooking, giving your Scarpaccia its delightful texture.
How should I store leftover Scarpaccia?
Store any leftover Scarpaccia in an airtight container in the refrigerator for up to 2-3 days. It can be enjoyed cold straight from the fridge or reheated in a preheated oven at 180°C (350°F) for a few minutes to regain its crispy finish.
Can I freeze Scarpaccia?
Yes! For freezing, wrap the Scarpaccia tightly in plastic wrap or aluminum foil and freeze it for up to 2 months. When you’re ready to enjoy, let it thaw in the fridge overnight, then bake at 180°C (350°F) until warmed through, ensuring that crispy texture stays intact.
What should I do if my Scarpaccia turns out soggy?
If your tart is soggy, the likely culprit is excess moisture from the zucchini and onion. To avoid this, make sure to press the vegetables thoroughly in the colander to drain as much liquid as possible before combining them with the batter. Another tip is to bake it a bit longer; this helps firm it up and enhance the crust.
Is there a gluten-free option for Scarpaccia?
Very! Simply substitute the regular flour with almond flour or a gluten-free all-purpose blend. This variation still provides delicious flavor and texture while accommodating those with gluten sensitivities.
Can I add different vegetables or ingredients to Scarpaccia?
Yes, you can absolutely get creative! Try adding bell peppers or spinach for extra color and nutrition. You can also include herbs like thyme or rosemary for an aromatic twist, or sprinkle in some feta or goat cheese for added creaminess and richness. The more the merrier in this versatile dish!
Savory Scarpaccia – Tuscan Zucchini Tart for Easy Entertaining
Ingredients
Equipment
Method
- Wash the zucchini and peel the onion. Slice both into thin rounds and set them aside.
- Combine zucchini and onion in a bowl, sprinkle with salt, and let sit for about 15 minutes.
- Drain the salted vegetables using a colander, pressing to extract excess moisture.
- In a mixing bowl, whisk together flour and polenta. Stir in the extracted liquid until smooth.
- Fold in the drained vegetables and season with pepper and additional salt if needed.
- Preheat your oven to 200°C (400°F) and prepare a baking sheet with parchment paper and olive oil.
- Drop dollops of the batter on the baking sheet, drizzle with more olive oil, and add extra polenta if desired.
- Bake for 35-45 minutes until golden brown and crispy.
- Let cool slightly, top with basil, cut into squares, and serve warm or at room temperature.
Leave a Reply