
The smell of cinnamon wafting through your kitchen can instantly transport you to cozy autumn days spent with loved ones. Today, I’m excited to share my Easy One-Pan Apple Fritter Cake, a bakeshop-worthy dessert that brings all the delicious flavors of traditional apple fritters without the fuss of deep frying. This one-pan wonder simplifies fall baking into a quick and mess-free experience, making it a go-to for any home chef looking to impress. With tender chunks of tart apples and a sweet glaze that just begs for a scoop of vanilla ice cream, this cake is a guaranteed crowd-pleaser. Are you ready to fill your home with sweet scents and create a sweet centerpiece for your next gathering? Let’s dive in!
Why is this Apple Fritter Cake special?
Delightfully Easy: This one-pan wonder takes minimal effort, perfect for both novice bakers and seasoned chefs.
Flavor Explosion: The harmonious blend of tart apples and warm cinnamon creates an irresistible aroma that fills your kitchen.
Versatile Variations: Customize with different apple types or add nuts for a delightful crunch, catering to everyone’s preferences.
No Frying Required: Enjoy all the goodness of apple fritters without the guilt or mess of deep frying.
Sweet Comfort: Glazed to perfection, this apple fritter cake is a cozy treat, ideal for fall gatherings or casual afternoon snacks.
Serve with Style: Pair it warm with a scoop of vanilla ice cream or alongside coffee for an irresistible brunch experience.
Apple Fritter Cake Ingredients
• Here’s everything you need to create this delightful dessert!
For the Cake
- Granny Smith Apples – These provide tartness and texture; feel free to substitute with Honeycrisp or Braeburn for a sweeter twist.
- Granulated Sugar – This sweetens the cake and is essential for the structure; no substitutions needed.
- Ground Cinnamon – Adds warmth and depth; adjust to taste based on your preference for spice.
- Cornstarch – A must-have to prevent apple moisture from making the cake soggy; keep it in!
- Unsalted Butter – Offers richness and flavor; margarine or vegan butter can work for dairy-free versions.
- Dark Brown Sugar – Enhances the caramel notes; light brown sugar is a perfect substitute if you have it on hand.
- All-Purpose Flour – The backbone of the cake’s structure; gluten-free flour can be swapped out for a gluten-free version.
- Baking Powder & Baking Soda – Vital leavening agents for the cake rise; do not substitute these.
- Kosher Salt – Balances the flavors; regular salt can be used in a pinch.
- Greek Yogurt/Sour Cream – Keeps the cake moist; you can replace it with unsweetened applesauce for a lighter option.
- Large Eggs – Binds everything together; use flaxseed meal or applesauce for an egg-free version.
For the Glaze
- Powdered Sugar – Sweetens the glaze; no direct replacements but adjust sweetness to your liking.
- Milk – Used to thin the glaze; consider almond milk or full-fat coconut milk as alternatives.
Remember, this Apple Fritter Cake is not just easy – it’s a heartfelt dessert that beckons everyone to gather and share a slice!
Step‑by‑Step Instructions for Apple Fritter Cake
Step 1: Prepare the Apple Mixture
In a saucepan over medium heat, combine diced Granny Smith apples, granulated sugar, ground cinnamon, cornstarch, and a splash of water. Stir gently and cook for about 5–7 minutes until the apples are softened and slightly caramelized, releasing their juices. Remove from heat and let this fragrant apple mixture cool while you preheat the oven.
Step 2: Mix the Topping
In a small bowl, mix together dark brown sugar and a sprinkle of ground cinnamon for the topping. Set it aside so it’s ready to add later. This simple step enhances the flavor profile of your Apple Fritter Cake and ensures the topping achieves that irresistible sweetness and warmth.
Step 3: Preheat the Oven and Prep the Pan
Preheat your oven to 350°F (175°C). While it’s heating, generously spray a 9×13-inch baking pan with nonstick cooking spray. This will prevent any sticking and make it easier to serve your finished apple fritter cake. A well-prepped pan helps ensure your cake comes out perfectly.
Step 4: Cream the Butter and Sugar
In a large mixing bowl, beat together unsalted butter and granulated sugar using an electric mixer on medium speed until light and fluffy, about 3–4 minutes. Add in Greek yogurt, a splash of vanilla extract, and large eggs, mixing well after each addition. This creates a rich batter that forms the foundation of your apple fritter cake.
Step 5: Combine the Dry Ingredients
In a separate bowl, whisk together all-purpose flour, baking powder, baking soda, kosher salt, and ground cinnamon. This step ensures that the leavening agents are evenly distributed, which is crucial for a perfectly risen apple fritter cake. Gradually fold these dry ingredients into the wet mixture, alternating with a splash of additional yogurt until just combined—avoid overmixing!
Step 6: Layer the Batter and Apple Mixture
Spread half of the batter in the prepared pan, smoothing it out with a spatula. Next, layer the cooled apple mixture evenly over the batter, followed by sprinkling two-thirds of your prepped brown sugar-cinnamon mix on top. These layers create a delightful texture and ensure that every bite of your apple fritter cake is full of flavor.
Step 7: Add Remaining Batter and Topping
Carefully spoon the remaining cake batter over the apple layer, ensuring coverage. Then, sprinkle the rest of the brown sugar-cinnamon mix atop the batter, allowing the flavors to meld beautifully during baking. This will give your apple fritter cake a gorgeous sweet crust once it’s baked.
Step 8: Bake the Cake
Place your cake in the preheated oven and bake for 35–40 minutes. Keep an eye out for the top turning golden brown and check for doneness by inserting a toothpick into the center; it should come out clean. This visual cue ensures your apple fritter cake is perfectly baked and bready.
Step 9: Prepare the Glaze
While the cake is cooling in the pan, prepare the glaze by whisking together powdered sugar and milk in a small bowl until smooth and pourable. This sweet glaze is the finishing touch that gives a delightful shine and sweetness to your apple fritter cake, enhancing its overall flavor profile.
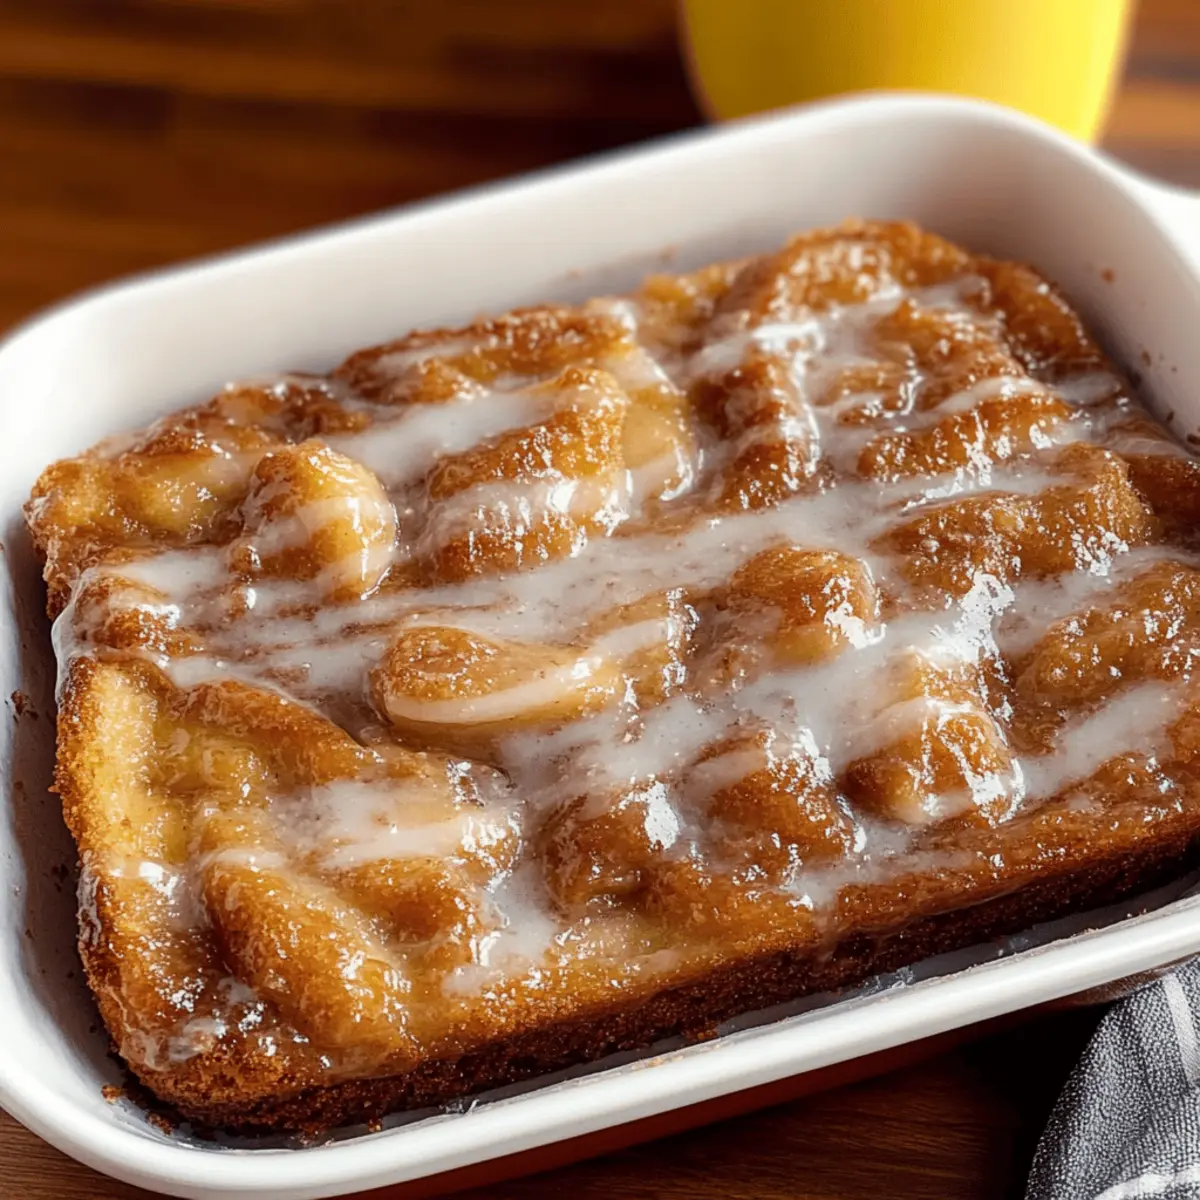
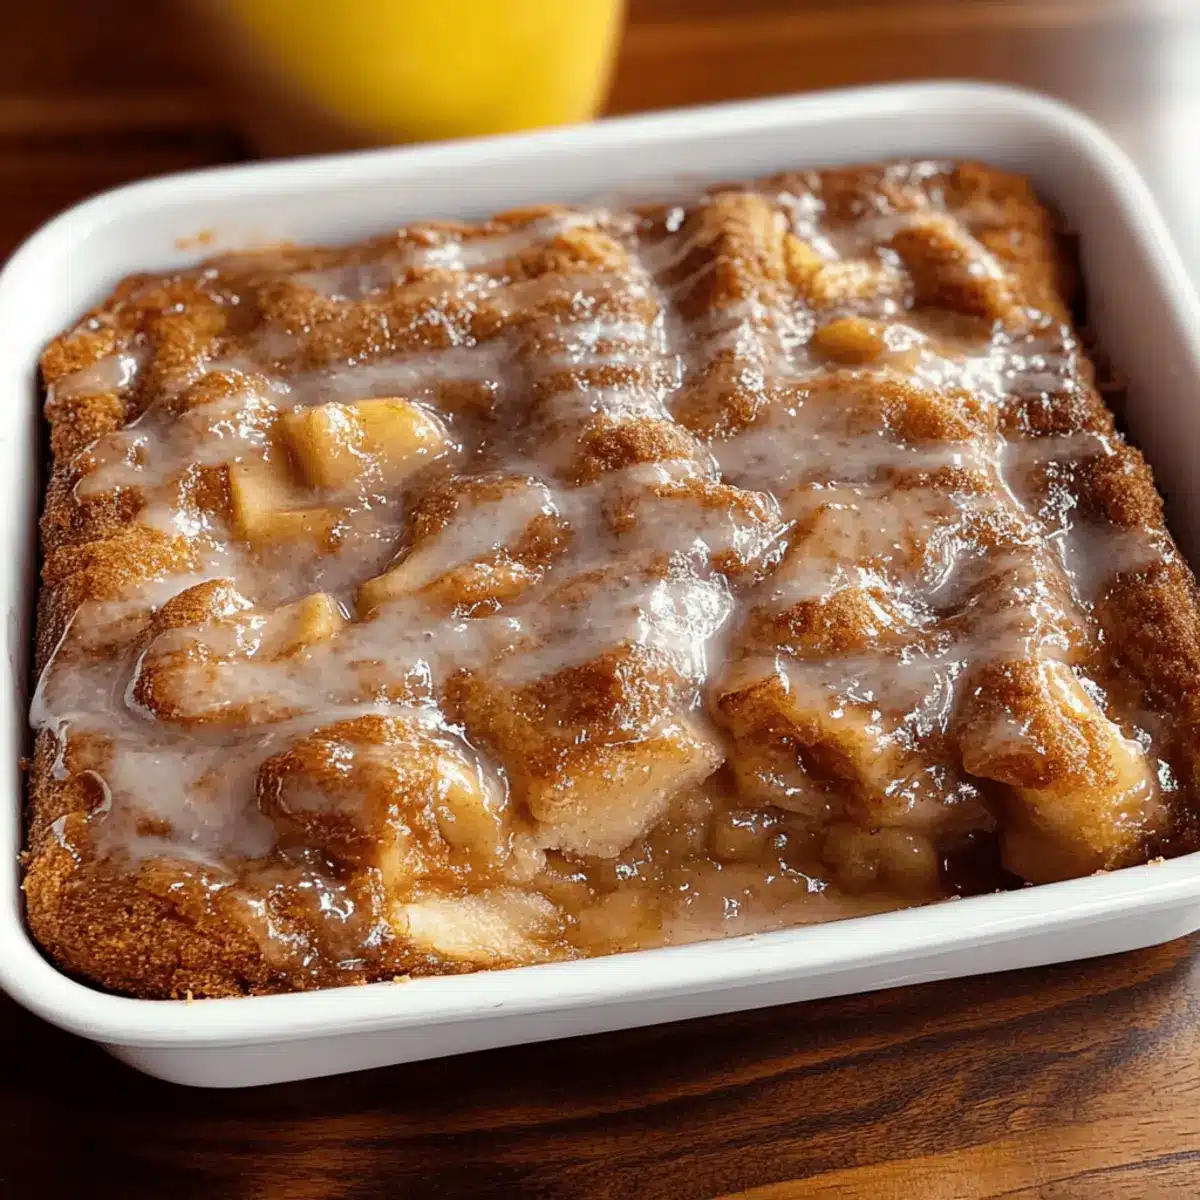
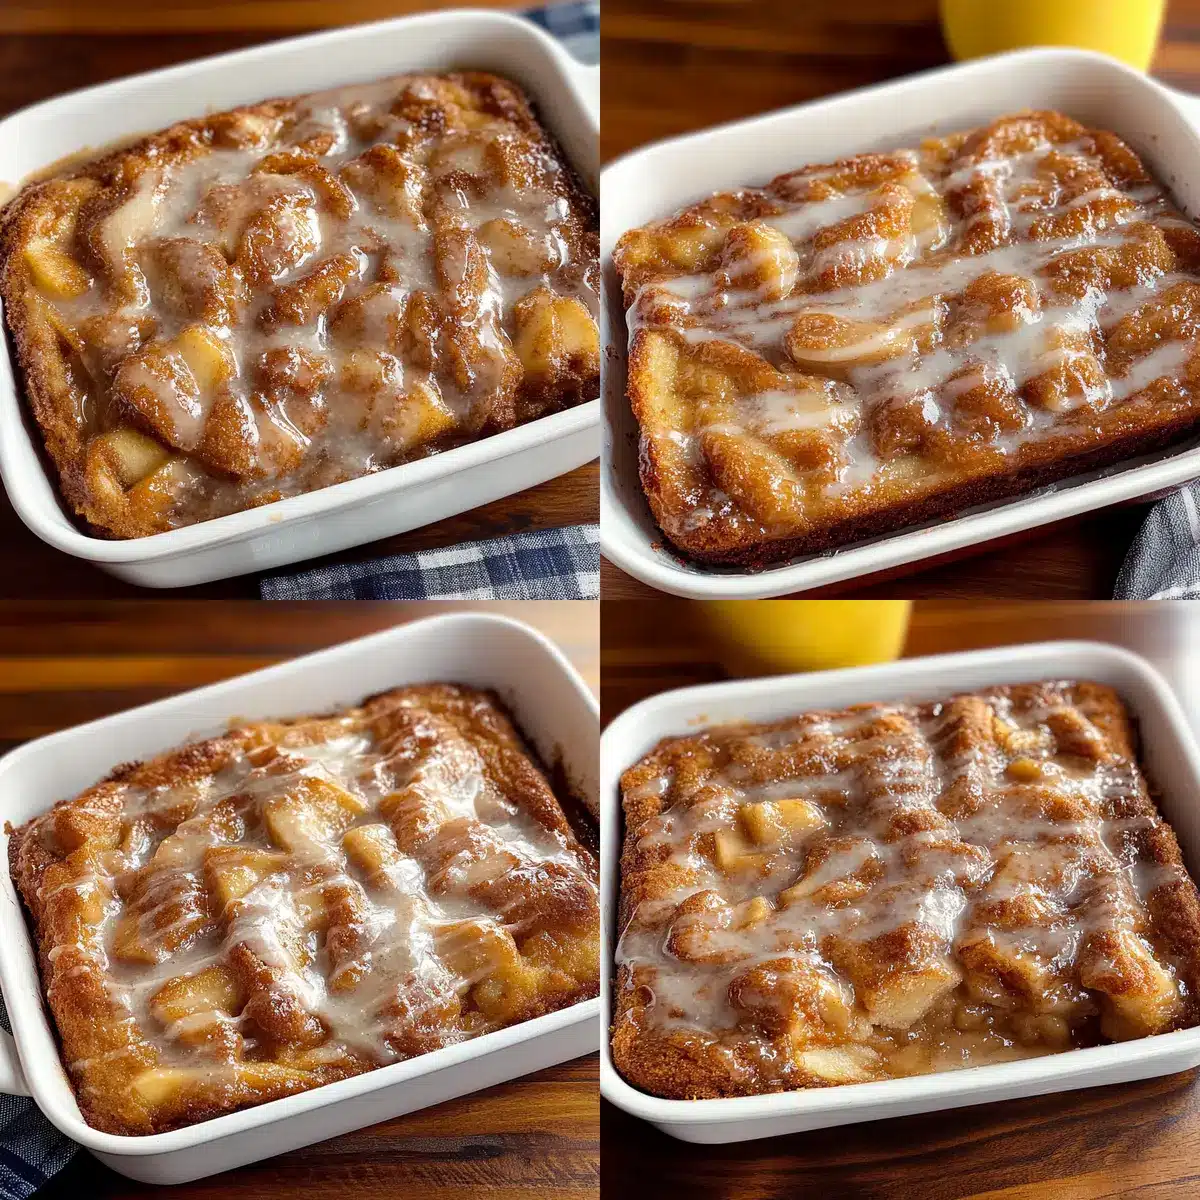
Step 10: Glaze the Cake
Once the cake has cooled for about 10 minutes, pour the glaze evenly over the warm apple fritter cake. Allow it to set slightly before slicing, which lets the glaze soak into the cake and adds to that irresistible presentation. This final touch makes for a deliciously sweet experience that everyone will love!

Storage Tips for Apple Fritter Cake
Room Temperature: Store the apple fritter cake covered at room temperature for up to 3 days to maintain its freshness and flavor.
Fridge: If you need it to last longer, refrigerate the cake for up to 1 week. Make sure it’s wrapped tightly to prevent it from drying out.
Freezer: For longer storage, freeze individual slices of the apple fritter cake without glaze for up to 3 months. This way, you can enjoy a slice whenever the craving hits!
Thawing: To enjoy frozen slices, thaw them at room temperature for a few hours, or warm individual slices in the microwave for a comforting treat.
Helpful Tricks for Apple Fritter Cake
Avoid Soggy Cake: Always toss the diced apples with cornstarch to absorb moisture, preventing the apple fritter cake from becoming soggy.
Don’t Overmix: Mix the batter only until just combined. Overmixing can lead to a tough texture instead of the light, tender crumb you want for the cake.
Layer Carefully: When layering, ensure the apple mixture is evenly distributed and not submerged, allowing flavors to meld without drowning in batter.
Check for Doneness: Start checking the cake a few minutes early. Insert a toothpick into the center; it’s done when it comes out clean, avoiding bits of apple.
Glaze Timing: Pour the glaze over the warm cake for the best absorption and flavor integration. It’s this final touch that truly elevates your apple fritter cake!
Apple Fritter Cake Variations & Substitutions
Feel free to unleash your creativity with this delightful apple fritter cake, transforming it into something uniquely yours!
-
Apple Variety: Try using Honeycrisp or Braeburn apples for a sweeter profile. Each type brings a different flavor, allowing for endless enjoyment!
-
Dairy-Free: Substitute unsalted butter with margarine or vegan butter to make this cake completely dairy-free while retaining its rich flavor.
-
Flour Option: Use a 1:1 gluten-free flour blend in place of all-purpose flour for a gluten-free delight, ensuring everyone gets to savor this treat.
-
Extra Flavor: Swap half of the milk used in the glaze for apple cider. This will give your glaze a delightful twist, enhancing the overall flavor of the cake wonderfully.
-
Nutty Crunch: Add chopped walnuts or pecans to the apple mixture for an added layer of texture and flavor that makes each bite more exciting.
-
Spice It Up: Consider adding a pinch of nutmeg or allspice to the batter for extra warmth and a unique flavor twist during those chilly fall evenings.
-
Fruit Medley: Mix in a handful of dried cranberries or blueberries with the apple filling for a burst of color and an additional fruity flavor.
-
Sweetness Adjustment: For the glaze, feel free to reduce the powdered sugar if you prefer a less sweet topping that tastes just as scrumptious.
Remember, this Apple Fritter Cake can evolve based on your preferences and what you have in your pantry; for tips on creating the ultimate cake experience, you might also enjoy exploring my “Serving Suggestions” or checking out my “Storage Tips” for keeping your desserts fresh!
Make Ahead Options
These Apple Fritter Cakes are a fantastic option for meal prep, allowing you to enjoy homemade goodness even on the busiest days! You can prepare the apple mixture and store it in the refrigerator for up to 3 days; just make sure to drizzle a bit of lemon juice over the apples to prevent browning. The batter can also be mixed and stored for up to 24 hours in the refrigerator. When you’re ready to bake, simply layer the cooled apple mixture over the batter and follow the baking instructions. This way, you’ll have a scrumptious dessert that tastes just as delicious as if it were made fresh!
What to Serve with Easy One-Pan Apple Fritter Cake
There’s nothing quite like a warm slice of cake, and pairing it with complementary flavors can transform your dessert experience into something truly special.
- Vanilla Ice Cream: The creamy, coolness of vanilla ice cream perfectly contrasts the warm spice of the cake, creating a delightful sensory experience. A scoop on the side feels like a cozy hug in every bite!
- Fresh Whipped Cream: Light and airy, whipped cream adds a luxurious touch that balances the sweetness of the glaze. It adds a beautiful aesthetic when dolloped on top of each slice.
- Caramel Sauce: Drizzling warm caramel sauce over each slice enhances the sweet flavors and adds a beautiful depth. This pairing is for those who appreciate a touch of decadence!
- Hot Coffee: The robust aroma of freshly brewed coffee complements the cake’s cinnamon notes, adding a comforting warmth. Enjoying a slice with a steaming mug makes for an ideal afternoon break.
- Spiced Apple Cider: This drink mirrors the flavors in the cake while offering a playful twist. Serve it warm for a comforting touch that enhances your fall-inspired gathering.
- Chopped Nuts: Sprinkle some toasted walnuts or pecans on top for crunch, balancing the cake’s soft texture. It adds an extra layer of flavor that will keep everyone coming back for more!
- Pumpkin Spice Muffins: For a delightful brunch option, serve alongside pumpkin spice muffins for a fall-themed feast. This combo is bound to impress your guests at any gathering!
Explore these delicious pairings to elevate your dessert experience with the Easy One-Pan Apple Fritter Cake, making every bite even more memorable.
Apple Fritter Cake Recipe FAQs
What type of apples should I use for the best flavor?
Absolutely! Granny Smith apples are perfect for this cake because they offer a nice tartness that contrasts beautifully with the sweetness of the cake. If you prefer a sweeter flavor, Honeycrisp or Braeburn apples make excellent substitutes. Just remember, the key is to choose apples that hold their shape when baked!
How should I store any leftover cake?
For optimal freshness, store the apple fritter cake covered at room temperature for up to 3 days. If you plan to keep it longer, refrigeration is your best bet—just wrap it tightly, and it will last up to a week. This way, you can enjoy that delightful flavor a bit longer!
Can I freeze the apple fritter cake?
Definitely! I often freeze individual slices of this apple fritter cake without the glaze for up to 3 months. To freeze, simply wrap each slice in plastic wrap and place them in an airtight container. When the craving strikes, thaw them at room temperature or pop them in the microwave for a quick, comforting treat!
What should I do if my batter seems too thick?
If you find your batter is too thick, you can add a splash of milk or yogurt to loosen it up; just do this gradually until you achieve your desired consistency. Keep in mind that overmixing can lead to a denser cake, so mix carefully after adding liquid!
Is this cake safe for pets or people with allergies?
Be cautious! This apple fritter cake contains ingredients that may not be suitable for certain pets or those with allergies. For example, the cake uses eggs and dairy products, which can be allergens for some individuals. If you or your guests have specific dietary restrictions, consider using egg substitutes and dairy-free alternatives to cater to those needs.
Can I make this cake gluten-free?
Yes, you can! To make a gluten-free version of the apple fritter cake, simply substitute the all-purpose flour with a gluten-free flour blend. Be sure to check the packaging for the right ratios, as some blends may require different amounts. Enjoy the same deliciousness tailored to your dietary needs!
Irresistible Apple Fritter Cake for Cozy Fall Evenings
Ingredients
Equipment
Method
- In a saucepan over medium heat, combine diced Granny Smith apples, granulated sugar, ground cinnamon, cornstarch, and a splash of water. Stir gently and cook for about 5-7 minutes until the apples are softened and slightly caramelized, then remove from heat and let cool.
- In a small bowl, mix dark brown sugar and a sprinkle of ground cinnamon for the topping. Set aside.
- Preheat your oven to 350°F (175°C) and spray a 9x13-inch baking pan with nonstick cooking spray.
- In a large mixing bowl, beat together unsalted butter and granulated sugar until light and fluffy, about 3-4 minutes. Add Greek yogurt and eggs, mixing well after each addition.
- In a separate bowl, whisk together all-purpose flour, baking powder, baking soda, kosher salt, and ground cinnamon. Gradually fold these dry ingredients into the wet mixture, alternating with a splash of additional yogurt until just combined.
- Spread half of the batter in the prepared pan, layer the cooled apple mixture over the batter, and sprinkle two-thirds of the brown sugar-cinnamon mix on top.
- Spoon the remaining batter over the apple layer and sprinkle the rest of the brown sugar-cinnamon mix on top.
- Bake for 35-40 minutes, checking for doneness with a toothpick.
- While the cake cools, prepare the glaze by whisking together powdered sugar and milk until smooth and pourable.
- Once cooled for about 10 minutes, pour the glaze evenly over the cake and let set slightly before slicing.
Leave a Reply