
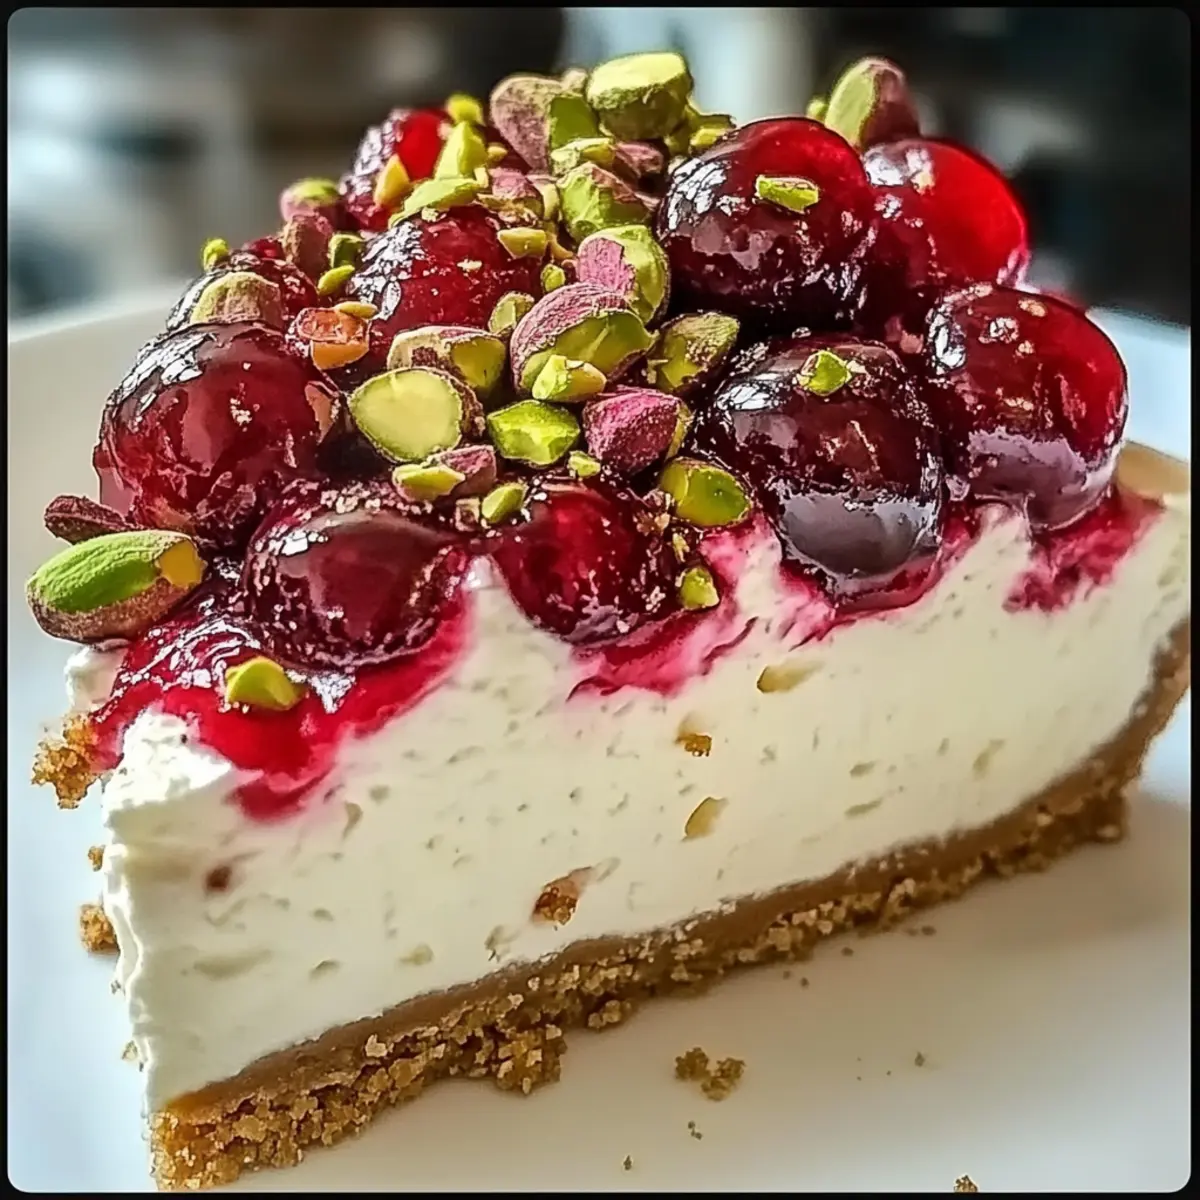
As I set the stage for a gathering of friends, the air filled with laughter and the sweet scent of nostalgia, I couldn’t help but think of my go-to dessert: Cherry Pistachio Cheesecake. This delightful creation is not just any dessert; it’s a show-stopper with a luscious, creamy filling and a buttery graham cracker crust. The irresistible combination of juicy maraschino cherries and crunchy pistachios, coupled with a hint of citrus, makes it a refreshing treat that brightens any occasion. Best of all, it’s surprisingly easy to whip up, offering a crowd-pleasing indulgence that leaves everyone asking for seconds. So, are you ready to impress your loved ones with this creamy masterpiece? Let’s dive into the recipe!
Why is Cherry Pistachio Cheesecake a Must-Try?
Irresistible Flavor Fusion: The marriage of sweet maraschino cherries and nutty pistachios creates a flavor profile that’s truly unique.
Effortless Preparation: You’ll be amazed at how simple it is to make this cheesecake, using straightforward steps that allow even novice bakers to shine.
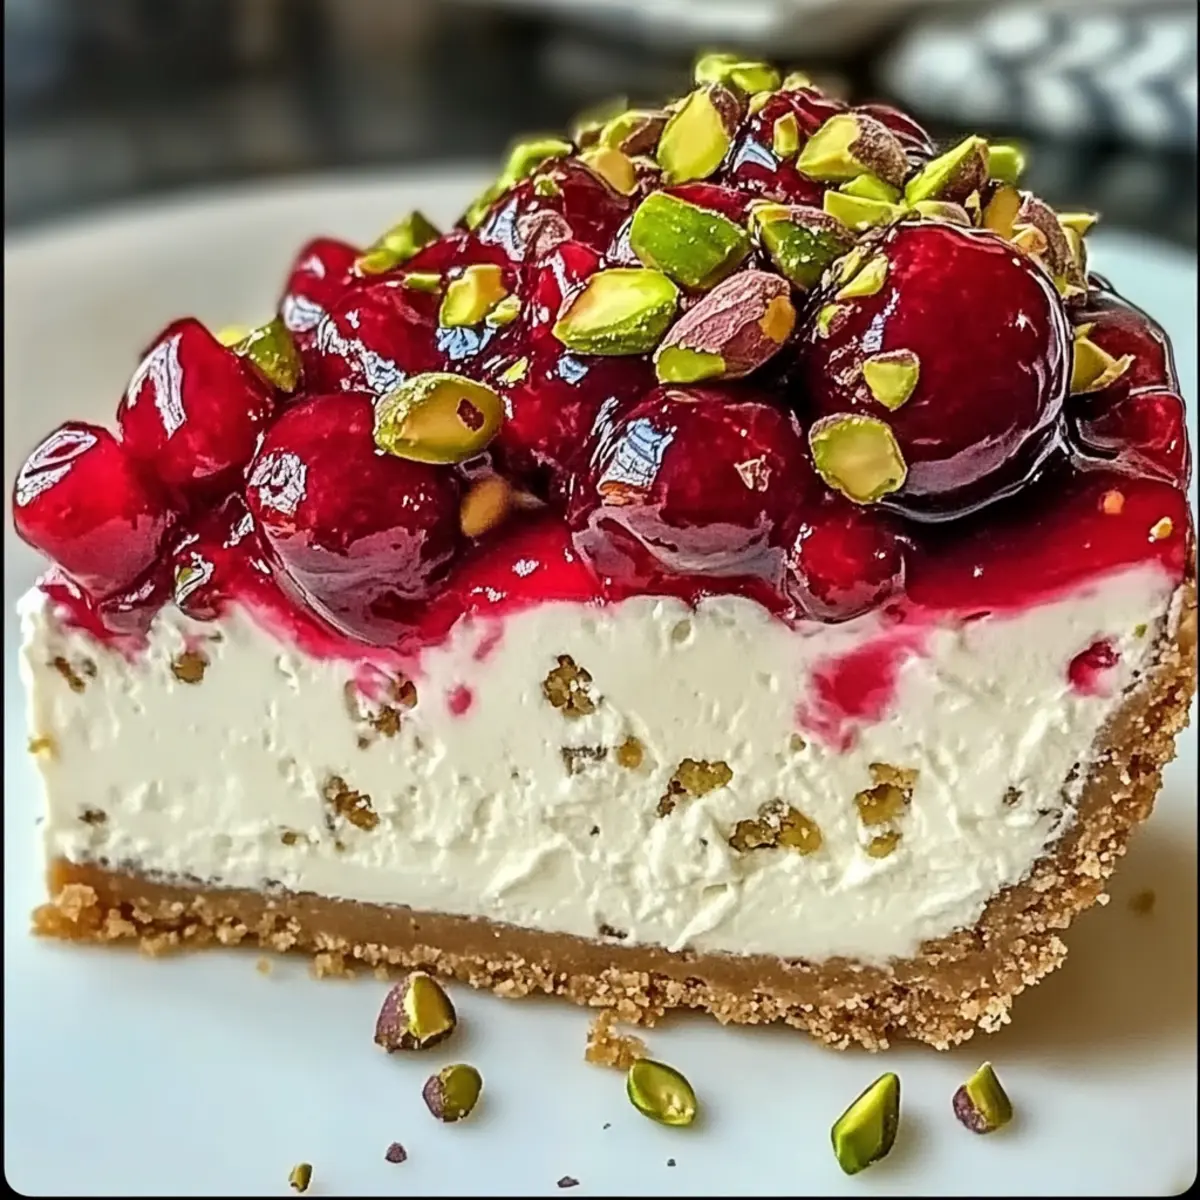
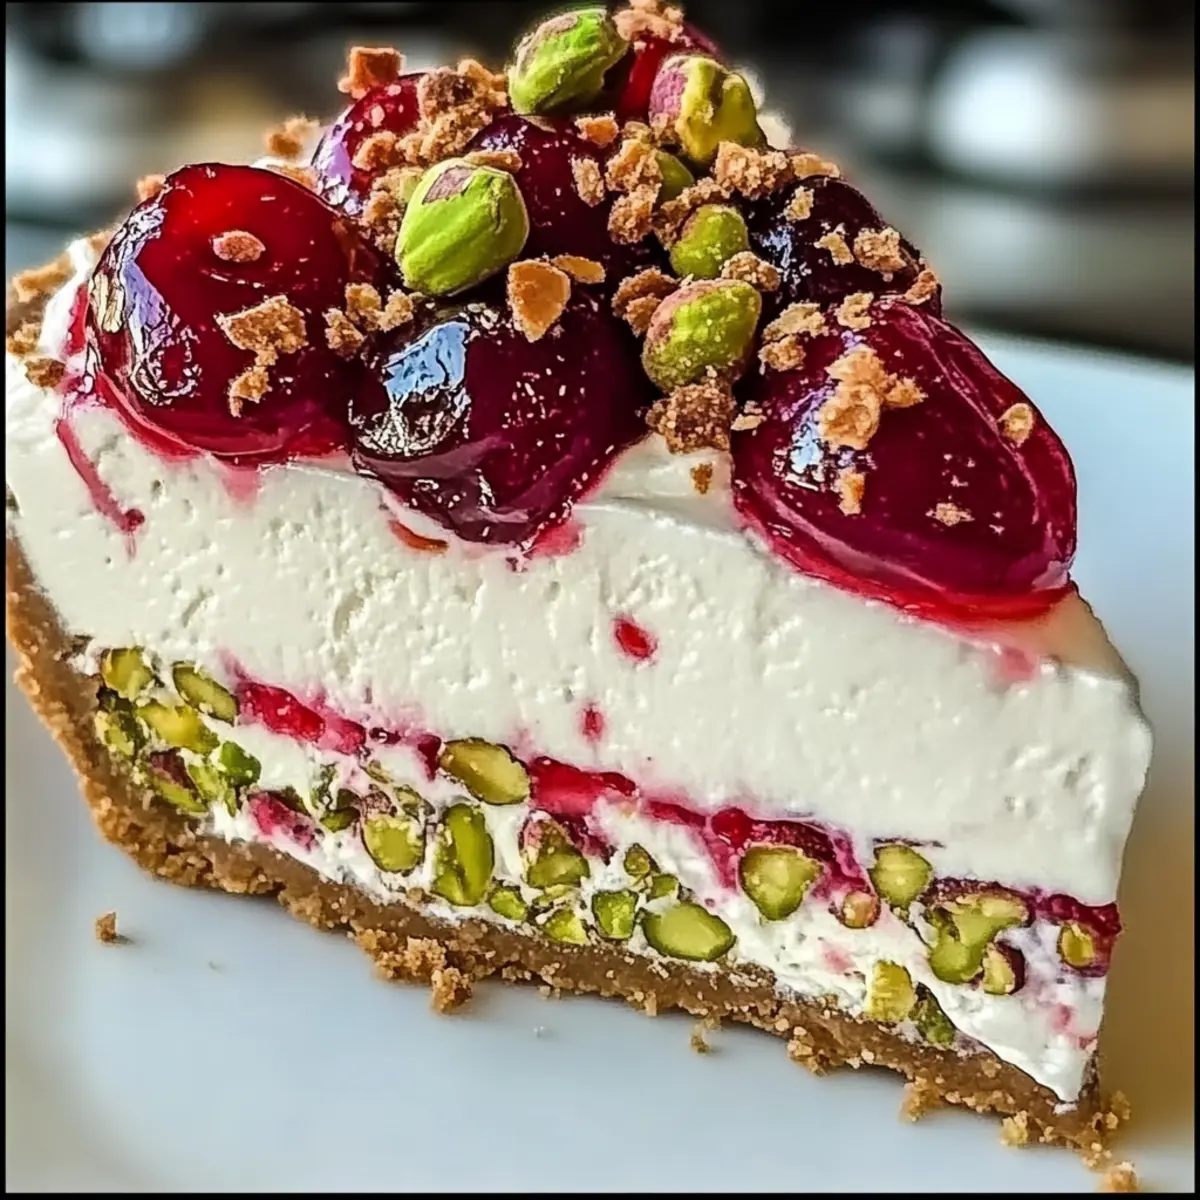
Show-Stopping Presentation: With a stunning layer of cherry topping and a sprinkle of crunchy pistachios, this dessert never fails to impress at gatherings.
Versatile and Fun: Feel free to experiment by swapping out toppings or using cookie crumbs for the crust. Every variation is equally delightful!
Perfect for Any Occasion: Whether it’s a birthday party, holiday feast, or a casual weeknight treat, this cheesecake always fits right in. It’s a sweet hug for your taste buds! Don’t forget to check out our tips on serving suggestions for even more delicious ideas!
Cherry Pistachio Cheesecake Ingredients
Here’s everything you need to create this delightful dessert!
For the Crust
• Graham Cracker Crumbs – Acts as the base of the crust, providing sweetness and structure.
• Ground Pistachios – Adds nutty flavor and enhances the texture of the crust; ground almonds or walnuts can also be used as a substitution.
• Sugar – Sweetens the crust, balancing the flavors of the cheesecake filling; for a deeper flavor, brown sugar can substitute.
• Melted Butter – Binds the crust ingredients together, ensuring it holds shape; coconut oil or margarine are great dairy-free alternatives.
For the Filling
• Cream Cheese – The main ingredient for the filling, providing richness and creaminess; make sure it’s well softened to avoid lumps.
• Granulated Sugar – Sweetens the filling to balance the tanginess of the cream cheese; consider a sugar substitute if desired.
• Large Eggs – Provides structure and stability to the cheesecake; if you’re going vegan, opt for flaxseed eggs or aquafaba instead.
• Sour Cream – Adds creaminess and a slight tang, enhancing flavor balance; Greek yogurt can serve as a similar substitute.
• Pistachio Pudding Mix – Contributes color and enhances the pistachio flavor in the filling; feel free to omit or use vanilla pudding mix instead.
• Vanilla Extract – Adds depth of flavor to the filling; almond extract can give a different nuance.
For the Topping
• Cherry Pie Filling – Offers a sweet-tart contrast to the creamy filling; fresh or frozen cherries can be used as an alternative.
• Optional Chopped Pistachios – Adds texture and visual appeal; for the best flavor, use roasted, unsalted pistachios.
Let these ingredients guide you in making your own Cherry Pistachio Cheesecake—a delightful dessert that will surely become a family favorite!
Step‑by‑Step Instructions for Cherry Pistachio Cheesecake
Step 1: Preheat and Prepare Pan
Begin by preheating your oven to 325°F (165°C). While it warms, grease a 9-inch springform pan or line the bottom with parchment paper. This ensures easy removal later, allowing your Cherry Pistachio Cheesecake to maintain its beautiful shape.
Step 2: Make the Crust
In a mixing bowl, combine the graham cracker crumbs, ground pistachios, sugar, and melted butter. Mix until the mixture resembles wet sand, then firmly press it into the bottom of your prepared pan. Bake the crust for 8 minutes, or until lightly golden, then allow it to cool completely before adding the filling.
Step 3: Prepare the Filling
In a large mixing bowl, beat the softened cream cheese and granulated sugar together until smooth and creamy. Gradually add the eggs one at a time, mixing well after each addition to ensure a silky texture. Then stir in the sour cream, pistachio pudding mix, and vanilla extract until just incorporated, making sure not to overmix.
Step 4: Bake Cheesecake
Carefully pour the filling over the cooled crust, smoothing the top with a spatula. Place the cheesecake in the preheated oven and bake for 45-50 minutes. The edges should be set while the center remains slightly jiggly. Once done, turn off the oven and crack the door open, letting the cheesecake cool gently inside for 1 hour.
Step 5: Chill
After the cheesecake has cooled in the oven, remove it and let it come to room temperature on a wire rack. Cover it with plastic wrap and refrigerate for at least 4 hours or ideally overnight. This chilling step is crucial for the flavors to meld together beautifully in your Cherry Pistachio Cheesecake.
Step 6: Top and Serve
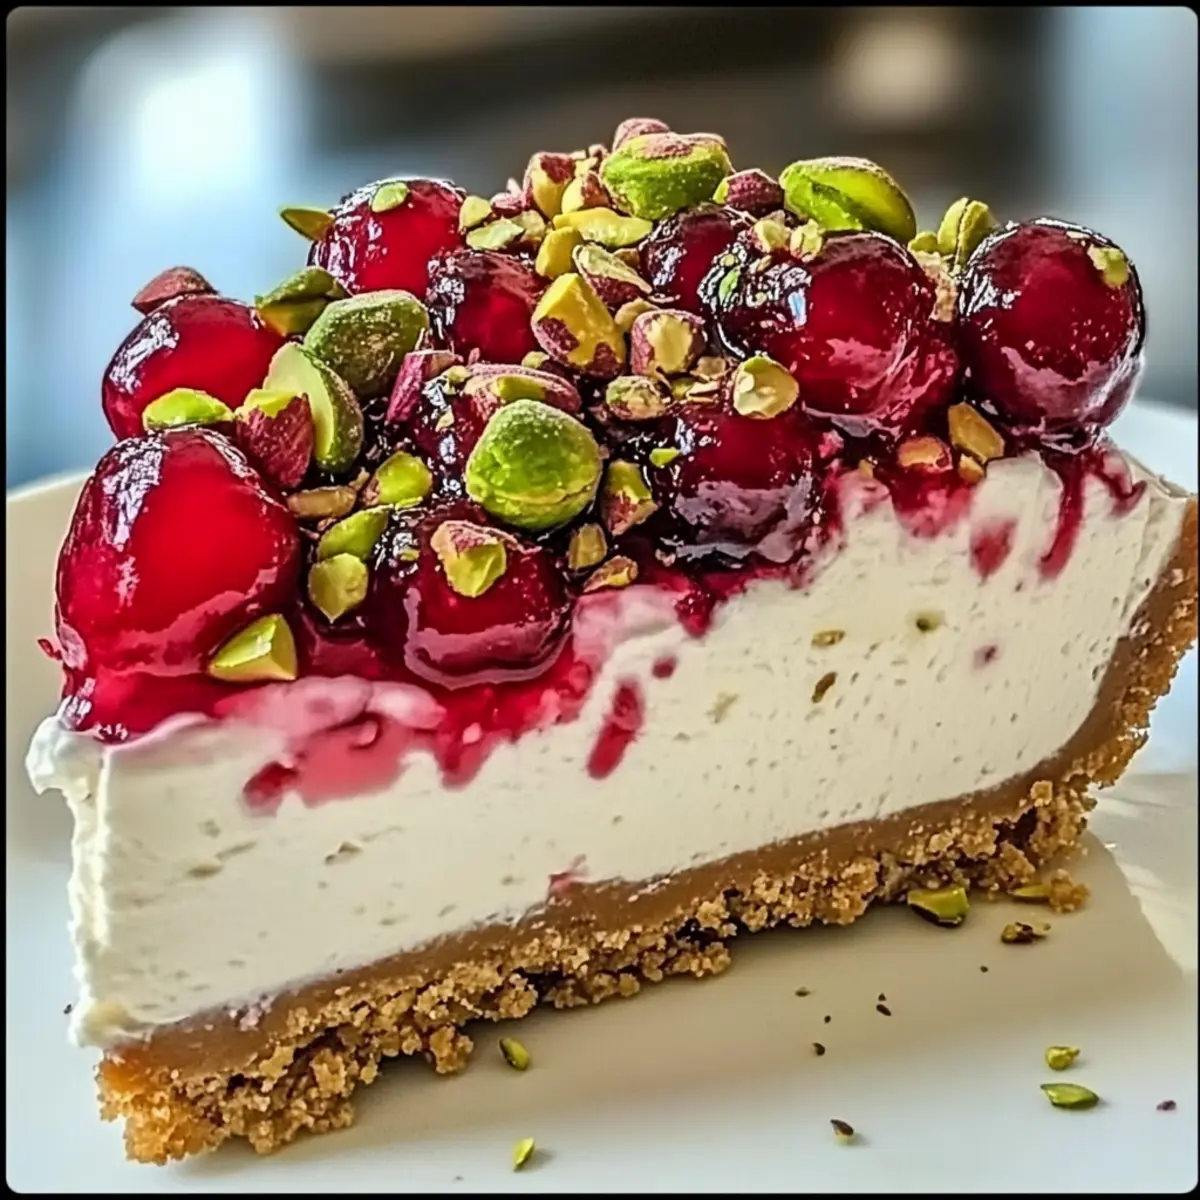
When ready to serve, spread cherry pie filling generously over the top of the chilled cheesecake. If desired, sprinkle with optional chopped pistachios for an added crunch and visual appeal. Slice and enjoy this luscious Cherry Pistachio Cheesecake with family and friends!
What to Serve with Cherry Pistachio Cheesecake
Prepare for a delightful dining experience that perfectly complements every creamy bite of your cheesecakes.
-
Whipped Cream: A dollop adds an airy texture that contrasts beautifully with the rich cheesecake, enhancing its sweetness.
-
Fresh Berries: Juicy berries like raspberries or blueberries introduce a tart freshness that lightens each decadent bite and adds color.
-
Chocolate Drizzle: A rich chocolate sauce drizzled atop provides a luxurious finish, balancing the sweetness with deep, dark flavor notes.
-
Coffee: A steaming cup of robust coffee pairs perfectly with cheesecake, cutting through its creaminess and bringing out the flavor of the pistachios.
-
Mint Tea: The coolness of mint tea refreshes the palate after rich bites, keeping the experience light and enjoyable.
-
Almond Biscotti: Crunchy almond biscotti adds texture and a nutty flavor, enhancing the pistachio elements of the cheesecake. Enjoy with a side of tea or coffee for a cozy touch.
Make Ahead Options
These Cherry Pistachio Cheesecake preparations are perfect for busy home cooks looking to save time! You can make the crust up to 24 hours in advance; simply prepare and pre-bake the crust, then store it in an airtight container at room temperature. Additionally, the cheesecake filling can be mixed and refrigerated for up to 3 days before baking. To maintain its creamy texture, ensure all ingredients are at room temperature before combining, and avoid overmixing. When you’re ready to serve, pour the filling over the chilled crust and bake as instructed. Top with cherry pie filling just before serving for a fresh, delectable finish!
How to Store and Freeze Cherry Pistachio Cheesecake
Fridge: Store leftover Cherry Pistachio Cheesecake covered in the refrigerator for up to 5 days. This will keep it fresh and delicious, ready for a sweet treat anytime.
Freezer: If you want to enjoy this dessert later, freeze the cheesecake for up to 2 months. Wrap it tightly in plastic wrap, then in aluminum foil to prevent freezer burn.
Thawing: When you’re ready to indulge again, simply transfer the cheesecake to the fridge to thaw overnight. This gentle thawing process helps maintain its creamy texture.
Reheating: There’s no need to heat this cheesecake; it’s best enjoyed cold! Just slice and serve directly from the fridge for the ideal experience.
Cherry Pistachio Cheesecake Variations & Substitutions
Feel free to unleash your creativity with this Cherry Pistachio Cheesecake and make it uniquely yours!
-
Fresh Cherry Swap: Replace maraschino cherries with fresh or frozen cherries for a more natural flavor. You’ll get a delightful burst of freshness.
-
Nutty Change-Up: Swap out pistachios for ground almonds or hazelnuts to create a different nutty profile in your cheesecake. Each nut brings its own character to this creamy treat.
-
Flavored Pudding Mix: Instead of pistachio pudding, use vanilla or even chocolate pudding mix to shift the cheesecake’s flavor balance. This simple switch can provide an exciting new taste adventure.
-
Dairy-Free Option: For a dairy-free cheesecake, substitute cream cheese with a plant-based cream cheese alternative and coconut yogurt in place of sour cream. You’ll still enjoy the rich and creamy texture!
-
Mini Cheesecakes: Transform this dessert into individual servings by baking it in a muffin tin. Just adjust the baking time to 18-22 minutes for perfectly portioned bites of deliciousness.
-
Citrus Twist: Add a dash of lemon or orange zest to the filling for a bright, citrusy kick that complements the other flavors beautifully. It’s a little zing that makes a big difference!
-
Sweeteners with a Twist: Try using honey or maple syrup instead of sugar for a natural sweetener. This brings a warm flavor that pairs well with the creaminess of the cheesecake.
-
Spicy Accent: If you’re in the mood for something different, a pinch of cinnamon or cardamom can add a warm, comforting spice note to the filling. It’s a surprising twist that can enchant your guests!
Embrace these variations, and don’t hesitate to experiment further! For more great ideas on serving suggestions, check out our tips on creative toppings that can elevate this cheesecake even more!
Expert Tips for Cherry Pistachio Cheesecake
-
Room Temperature Ingredients: Ensure all dairy ingredients are at room temperature for easy mixing, leading to a smoother filling and preventing lumps in your Cherry Pistachio Cheesecake.
-
Avoid Overmixing: After adding eggs, mix gently just until combined. Overmixing can introduce air and lead to cracks during baking, so be careful!
-
Gradual Cooling: Allow the cheesecake to cool gradually in the oven by cracking the door open. This method prevents sudden temperature changes that can cause unsightly cracks.
-
Chill Overnight: For the best flavor and texture, let your Cherry Pistachio Cheesecake chill overnight. The flavors develop beautifully, making each bite even more delicious.
-
Personal Touch: Don’t hesitate to customize your toppings. Fresh cherries or a chocolate drizzle can elevate your cheesecakes, giving them a personal twist!
Cherry Pistachio Cheesecake Recipe FAQs
How do I choose ripe ingredients for my Cherry Pistachio Cheesecake?
Absolutely! For the best flavor, make sure your maraschino cherries are bright and well-drained, avoiding any that are dull or overly soft. If you’re opting for fresh cherries, look for ones that are plump and firm with a vibrant color. For the cream cheese, ensure it’s well-softened to room temperature, which helps in achieving a smooth filling and prevents lumps.
What’s the best way to store leftover Cherry Pistachio Cheesecake?
Very! Simply cover your leftover cheesecake with plastic wrap or aluminum foil, and store it in the refrigerator for up to 5 days. This will keep it fresh and delicious, making it perfect for a sweet treat anytime you crave it.
Can I freeze Cherry Pistachio Cheesecake, and how should I do it?
Absolutely! To freeze your cheesecake, first, let it cool completely. Then wrap it tightly in plastic wrap, followed by a layer of aluminum foil to avoid freezer burn. It can be frozen for up to 2 months. When you’re ready to enjoy it again, simply transfer it to the refrigerator to thaw overnight. This slow thawing helps maintain its creamy texture.
What should I do if my cheesecake cracks while baking?
Very! If you notice cracks, don’t worry; it happens even to the best of us. Here are some tips to prevent this in the future: ensure all your dairy ingredients are at room temperature, mix gently after adding eggs, and allow the cheesecake to cool gradually in the oven by cracking the door open after baking. This helps manage temperature changes and minimizes the risk of cracks.
Are there any dietary considerations I should keep in mind?
Absolutely! If you or your guests have dietary restrictions, you can easily modify the recipe. For a dairy-free version, substitute cream cheese with dairy-free cream cheese and use coconut oil instead of butter. If nut allergies are a concern, you can skip the pistachios and use cookie crumbs for the crust instead. Additionally, for a vegan option, consider using flaxseed eggs or aquafaba in place of regular eggs.
How long should I chill the Cherry Pistachio Cheesecake before serving?
Very! For optimal texture and flavor, let your cheesecake chill in the refrigerator for at least 4 hours, though overnight is ideal. This time allows the flavors to meld beautifully, providing an even richer taste when served.
Decadent Cherry Pistachio Cheesecake You’ll Love to Share
Ingredients
Equipment
Method
- Preheat your oven to 325°F (165°C) and prepare a 9-inch springform pan by greasing or lining it with parchment paper.
- In a mixing bowl, combine graham cracker crumbs, ground pistachios, sugar, and melted butter. Press into the bottom of the pan and bake for 8 minutes. Cool completely.
- Beat softened cream cheese and granulated sugar until smooth. Add eggs one at a time, mixing well. Stir in sour cream, pistachio pudding mix, and vanilla until just combined.
- Pour the filling over the cooled crust. Bake for 45-50 minutes until edges are set and center is slightly jiggly. Turn off the oven and let cool inside for 1 hour.
- After cooling, remove from oven and let come to room temperature. Cover and refrigerate for at least 4 hours or overnight.
- Spread cherry pie filling on top and sprinkle with chopped pistachios if desired. Slice and serve.
Leave a Reply