
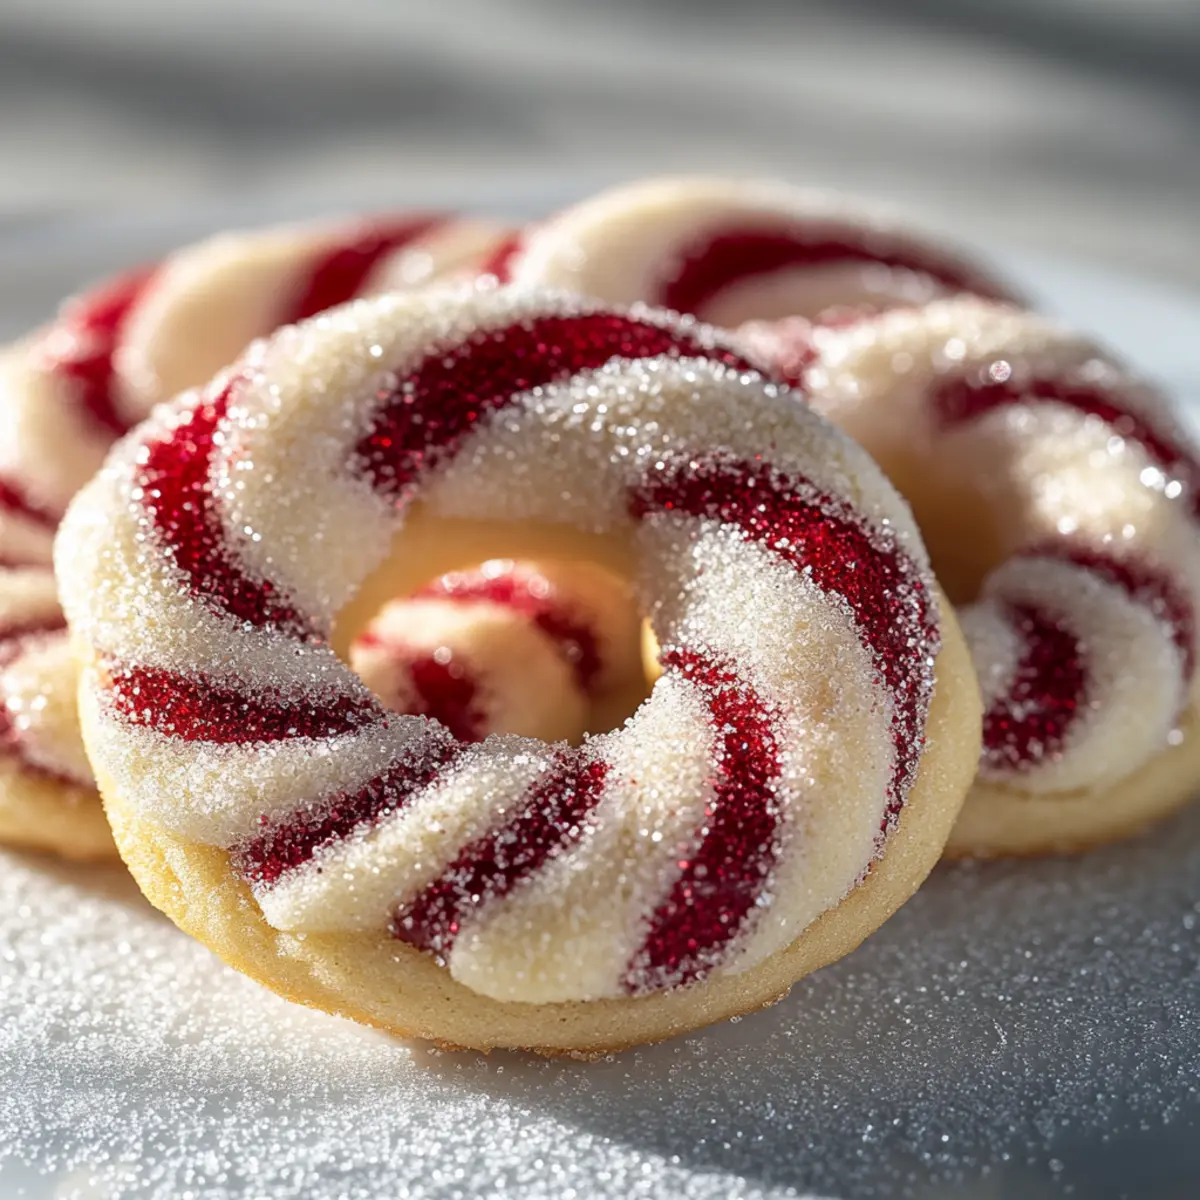
The aroma of freshly baked cookies fills the air, instantly transporting me to a cozy holiday kitchen. These Candy Cane Cookies are the ultimate festive treat, marrying a tender, buttery texture with a delightful peppermint twist. Not only do they brighten up your dessert table with their vibrant red and white swirls, but they’re also a quick, crowd-pleasing option for any holiday gathering. Imagine friends and family reaching for these beautiful cookies, their eyes lighting up at the sight! Each bite melts beautifully in your mouth, making them a memorable addition to your Christmas cookie collection. Curious how to create these charming treats and perhaps even experiment with some fun variations? Let’s dive in!
Why Are Candy Cane Cookies So Irresistible?
Melt-in-Your-Mouth Delight: These cookies are crafted for a tender, buttery experience that literally melts on your tongue.
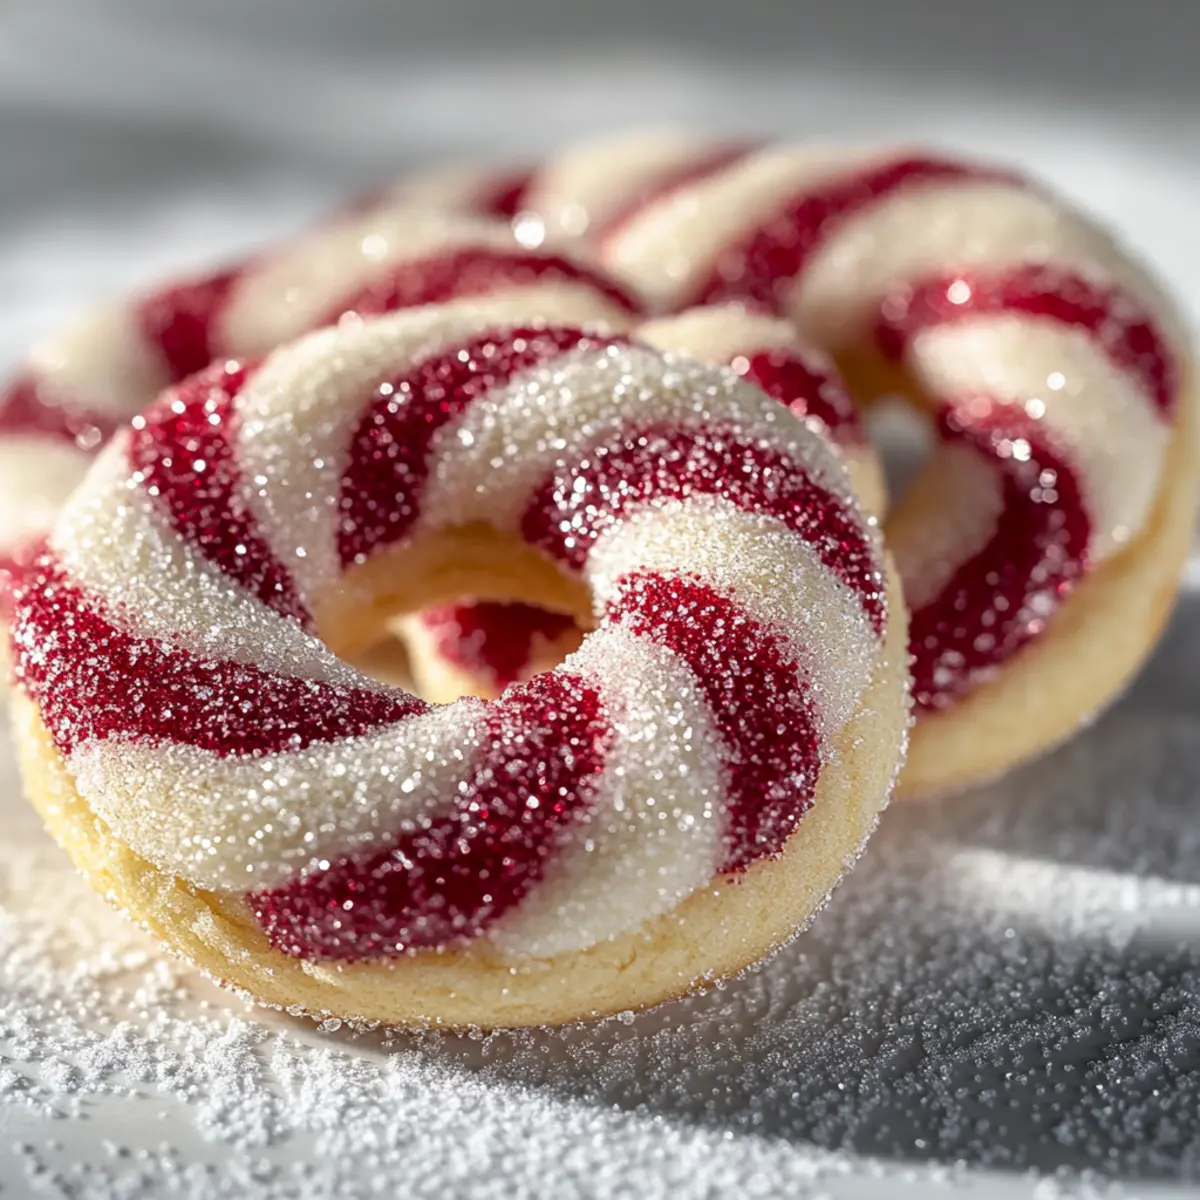
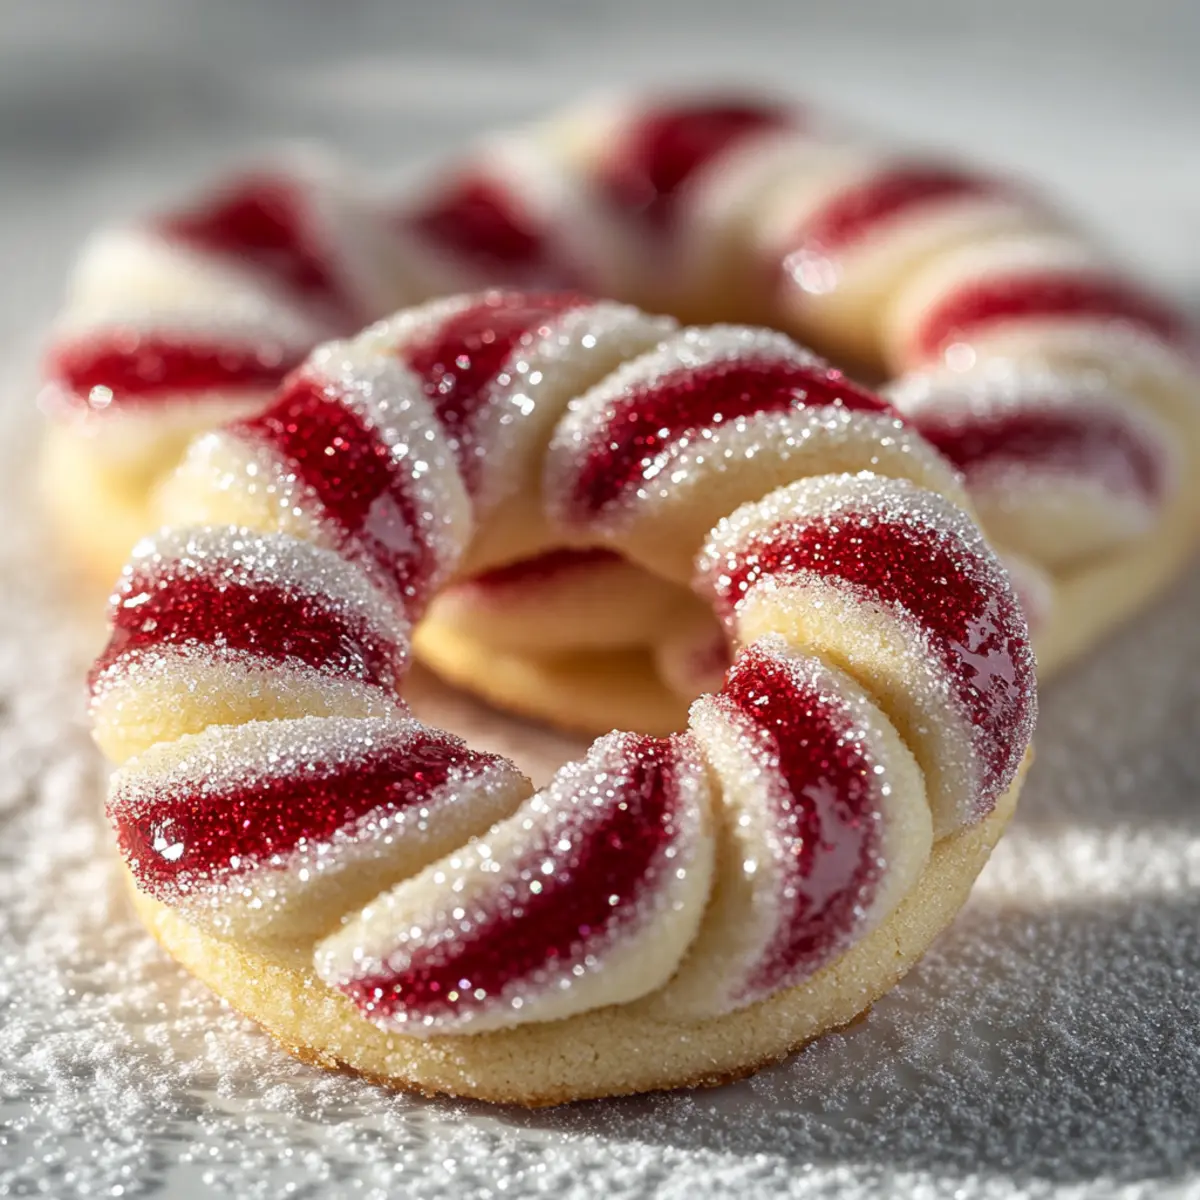
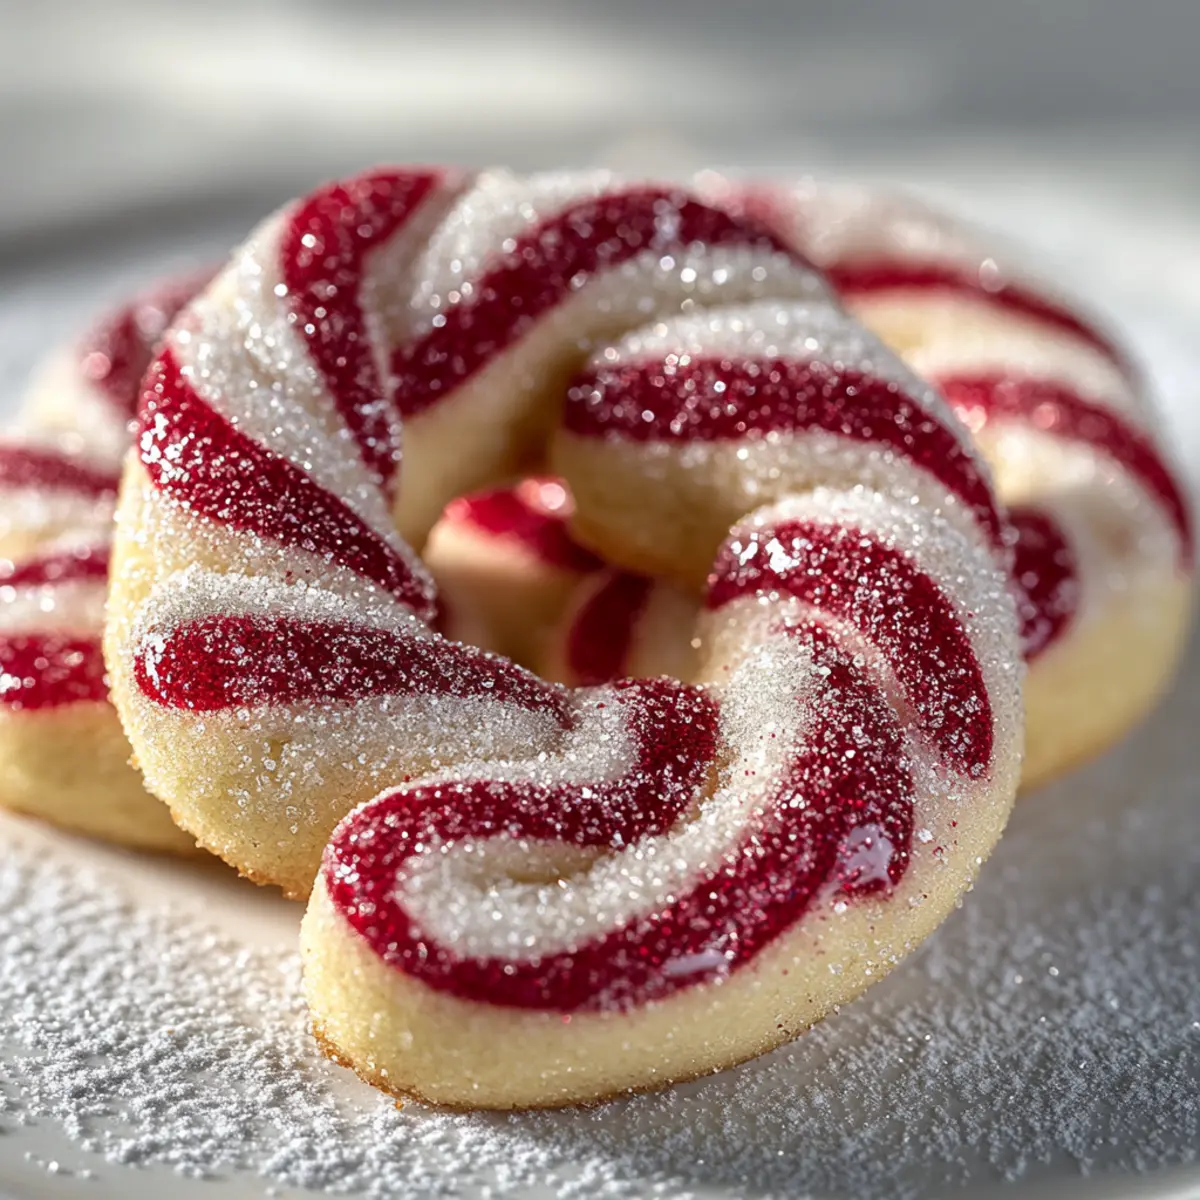
Festive Aesthetics: The striking red and white swirls make them a perfect addition to any holiday dessert table.
Customizable Variations: You can easily switch up the flavor or shape, whether you want chocolate-dipped goodness or bite-sized versions!
Quick and Easy: With simple instructions, this recipe is a time-saver, ideal for those busy holiday days.
Crowd-Pleasing Appeal: Watch as family and friends can’t resist reaching for these charming treats; they’re sure to become a holiday favorite!
Perfect Pairing Options: Enjoy them with hot chocolate or peppermint tea for a delightful holiday experience.
Candy Cane Cookies Ingredients
These delightful cookies are not just eye-catching; they’re incredibly easy to bake too!
For the Dough
- Butter – Adds richness and tenderness; use unsalted for better control.
- Powdered Sugar – Contributes sweetness and a soft texture; it’s perfect for cookie recipes.
- Egg – Provides structure and moisture; ensure it’s at room temperature for smooth incorporation.
- Peppermint Extract – Infuses the essential minty flavor; opt for pure extract for the best taste.
- Vanilla Extract – Enhances the overall flavor; a must-have for delicious cookies.
- All-Purpose Flour – The main structure-building ingredient; sift for better mixing.
- Salt – Balances sweetness and enhances flavor; essential for any baked good.
For the Coloring
- Red Gel Food Coloring – Gives vibrant color without altering dough consistency; avoid liquid coloring.
For the Finish
- Sanding Sugar – Adds a sparkling finish and delightful crunch; visually appealing on your holiday cookies.
Embrace the holiday spirit with these Candy Cane Cookies, where each bite brings a melt-in-your-mouth experience sure to charm your loved ones!
Step‑by‑Step Instructions for Candy Cane Cookies
Step 1: Cream Together Butter and Sugar
Begin by preheating your oven to 350°F (175°C). In a large mixing bowl, combine softened unsalted butter and powdered sugar. Using an electric mixer, blend the mixture on medium speed for about 3 minutes until it becomes light, fluffy, and pale in color, signifying that your Candy Cane Cookies will have a tender texture.
Step 2: Combine Wet Ingredients
Next, integrate the egg, pure peppermint extract, and vanilla extract into the airy butter-sugar mixture. Continue to mix on low speed for about 1 minute, ensuring all the wet ingredients are fully incorporated and the batter looks smooth and creamy, which sets the foundation for the delightful flavor of your cookies.
Step 3: Prepare Dry Mixture
In a separate bowl, whisk together all-purpose flour and salt until well combined. Gradually add this dry mixture to your wet ingredients while mixing on low speed. Combine until just incorporated, about 1-2 minutes; be cautious not to overmix, as it could lead to tougher Candy Cane Cookies.
Step 4: Divide and Color Dough
Once the dough is well-blended, divide it in half. Color one half with red gel food coloring by kneading it into the dough until evenly distributed, resembling vibrant candy cane hues. The other half will remain white. This step ensures that when you shape your cookies, they’ll have striking red and white swirls.
Step 5: Chill Dough
Wrap each portion of dough in plastic wrap and refrigerate for at least 30 minutes. Chilling the dough makes it firmer and easier to handle when shaping your Candy Cane Cookies. This step is crucial for achieving the perfect texture and shape, so don’t skip it!
Step 6: Shape Cookies
After chilling, lightly flour your work surface and preheat the oven again if needed. Pinch off equal portions of the colored and white dough, rolling each into ropes roughly 6 inches long. Twist them together to form candy cane shapes, ensuring they resemble the festive treat beautifully before placing them on a lined baking sheet.
Step 7: Add Sugar and Bake
Before placing the shaped cookies in the oven, sprinkle a bit of sanding sugar on top to create a sparkling finish. Bake in your preheated oven for 9-11 minutes, or until the edges start to set and the cookies look slightly underbaked for the best melt-in-your-mouth experience of Candy Cane Cookies.
Step 8: Cool
Once baked, remove the cookies from the oven and allow them to cool on the baking sheet for 5 minutes. After this, carefully transfer them to a wire rack to cool completely. This final step is essential for achieving the perfect texture, ensuring they’re ready for sharing and savoring!
Make Ahead Options
These Candy Cane Cookies are perfect for meal prep enthusiasts! You can prepare the cookie dough up to 3 days in advance by wrapping it tightly in plastic wrap and refrigerating it to maintain its freshness and prevent drying. Additionally, you can shape the cookies and freeze them on a baking sheet before transferring them to a freezer bag for up to 3 months. When you’re ready to bake, just place the frozen cookie shapes directly into the oven, adding a couple of extra minutes to the baking time. This way, you’ll have homemade cookies ready with minimal effort, allowing you to enjoy the delightful aroma and festive flavors of Candy Cane Cookies during the busy holiday season.
What to Serve with Candy Cane Cookies
These delightful treats are perfect for creating a festive and inviting holiday atmosphere!
- Rich Hot Chocolate: The creamy sweetness of hot chocolate perfectly balances the minty freshness of the cookies, making every sip a cozy delight.
- Peppermint Tea: A warm cup of peppermint tea enhances the cookies’ flavor, offering a soothing end to holiday meals.
- Spiced Apple Cider: The comforting spices of apple cider bring warmth to your holiday gatherings, pairing wonderfully with the cookie’s sweetness.
- Cheesecake: A velvety slice of cheesecake provides a rich, creamy texture that contrasts beautifully with the festive crunch of the cookies.
- Festive Cheeseboard: Include a variety of cheeses and fruits alongside your cookies for a beautiful and interactive dessert spread. The combination of flavors will intrigue guests!
- Vanilla Ice Cream: Creamy vanilla ice cream pairs beautifully with the candy cane flavor, creating a delightful contrast in temperature and texture.
- Chocolate-Dipped Strawberries: The juicy sweetness of fresh strawberries, encased in minimal-tasting dark chocolate, pairs beautifully with sugary confections.
- Gingerbread Man Cookies: The warm spices of gingerbread complement the peppermint perfectly, making them a cohesive pairing on your dessert table.
- Sparkling Water: A refreshing glass of sparkling water or a festive mocktail enhances flavors without overwhelming the palate, allowing the cookies to shine!
How to Store and Freeze Candy Cane Cookies
Airtight Container: Keep your baked cookies in an airtight container at room temperature for up to 1 week to maintain their freshness and flavor.
Refrigeration: If you prefer, you can store the cookies in the fridge for up to 2 weeks; just remember to let them come to room temperature before serving!
Freezing: For long-term storage, freeze your Candy Cane Cookies in a single layer on a baking sheet, then transfer to a freezer-safe bag or container for up to 3 months.
Dough Storage: Unbaked dough can be refrigerated for up to 3 days; wrap it tightly in plastic wrap. For best results, chill before shaping!
Expert Tips for Candy Cane Cookies
- Use Pure Extract: Opt for pure peppermint extract for an authentic flavor; imitation can lead to an artificial taste.
- Avoid Overmixing: Mix just until combined to keep your cookies tender; overmixing can develop gluten and result in tough cookies.
- Proper Chilling: Don’t skip chilling the dough—this step is key to easier shaping and a better final texture for your Candy Cane Cookies.
- Baking Time Awareness: Keep an eye on the baking time; take them out when edges are set but centers look slightly underbaked for the best melting effect.
- Temperature Management: Work in smaller batches with the dough to maintain a cooler temperature, making it easier to handle and shape.
Candy Cane Cookies: Creative Twists
Feel free to get imaginative with these candy cane cookies; your holiday baking can be as unique as your festive spirit!
-
Chocolate Dipped: Dip cookies in melted dark or white chocolate and sprinkle with crushed candy canes for an extra layer of sweetness. The chocolate adds a delightful richness that pairs well with peppermint.
-
Mini Versions: Craft bite-sized cookies by rolling smaller amounts of dough. These tiny treats are perfect for those who love to sample a variety of holiday goodies.
-
Sandwich Cookies: Fill two cookies with peppermint buttercream or white chocolate ganache for an indulgent treat. The creamy center takes these cookies to a whole new level of deliciousness!
-
Different Extracts: Switch up the flavor using almond extract for a unique twist or leave out the mint entirely for a classic vanilla flavor. The versatility of extracts can create a fun surprise for your guests!
-
Decorative Shapes: Mold the dough into festive wreaths, spirals, or traditional circular cookies. Each shape adds its own charm to your holiday spread.
Consider pairing your cookies with a delicious cup of hot chocolate or a splash of peppermint tea for the perfect treat! If you’re ever in the mood for more fun holiday ideas, check out my recipes for Peppermint Bark or Gingerbread Cookies to make your holiday baking even sweeter.
Candy Cane Cookies Recipe FAQs
How do I select the best peppermint extract for my cookies?
Absolutely! For the best flavor, look for pure peppermint extract rather than imitation. Pure extracts have a richer, more authentic taste that enhances your Candy Cane Cookies beautifully. I often recommend brands that are specifically made for baking, as they can truly make a difference in the final product.
How should I store my Candy Cane Cookies to keep them fresh?
Store your baked cookies in an airtight container at room temperature for up to 1 week. If you prefer to keep them longer, you can refrigerate them for up to 2 weeks. Just remember to let them sit at room temperature before serving to bring back that delightful melt-in-the-mouth quality!
Can I freeze my Candy Cane Cookies for later use?
Definitely! To freeze your cookies, lay them in a single layer on a baking sheet and place them in the freezer for 2 hours. Once they’re solid, transfer them to a freezer-safe bag or container. They’ll keep well for up to 3 months. Just thaw them at room temperature before enjoying.
What should I do if my cookie dough is too sticky to handle?
If you find that your dough is too sticky, don’t worry! Chill it in the refrigerator for an additional 15-30 minutes. This allows the butter to firm up, making it much easier to roll and shape. If it’s still sticky after chilling, dust your work surface and hands with a bit of flour while shaping!
Are Candy Cane Cookies suitable for people with certain allergies?
Yes, they can be adapted for certain dietary needs. If you have individuals with egg allergies, you can substitute the egg with a flax egg (1 tablespoon of ground flaxseed mixed with 2.5 tablespoons of water, let sit for 5 minutes). Remember to check your ingredient labels for any additional allergens, like gluten in flour or dairy in butter!
Candy Cane Cookies That Melt in Your Mouth This Holiday Season
Ingredients
Equipment
Method
- Preheat your oven to 350°F (175°C). In a large mixing bowl, cream together the softened unsalted butter and powdered sugar until light and fluffy.
- Add in the egg, peppermint extract, and vanilla extract, and mix on low speed for about 1 minute until combined.
- In a separate bowl, whisk together flour and salt. Gradually add this to the wet mixture on low speed until just combined.
- Divide the dough in half. Color one half with red gel food coloring and leave the other half plain.
- Wrap each half in plastic wrap and refrigerate for at least 30 minutes.
- After chilling, shape the dough into ropes and twist them together to form candy cane shapes.
- Before baking, sprinkle sanding sugar on top of the shaped cookies. Bake for 9-11 minutes or until edges are set.
- Cool the cookies on the baking sheet for 5 minutes before transferring to a wire rack to cool completely.
Leave a Reply