
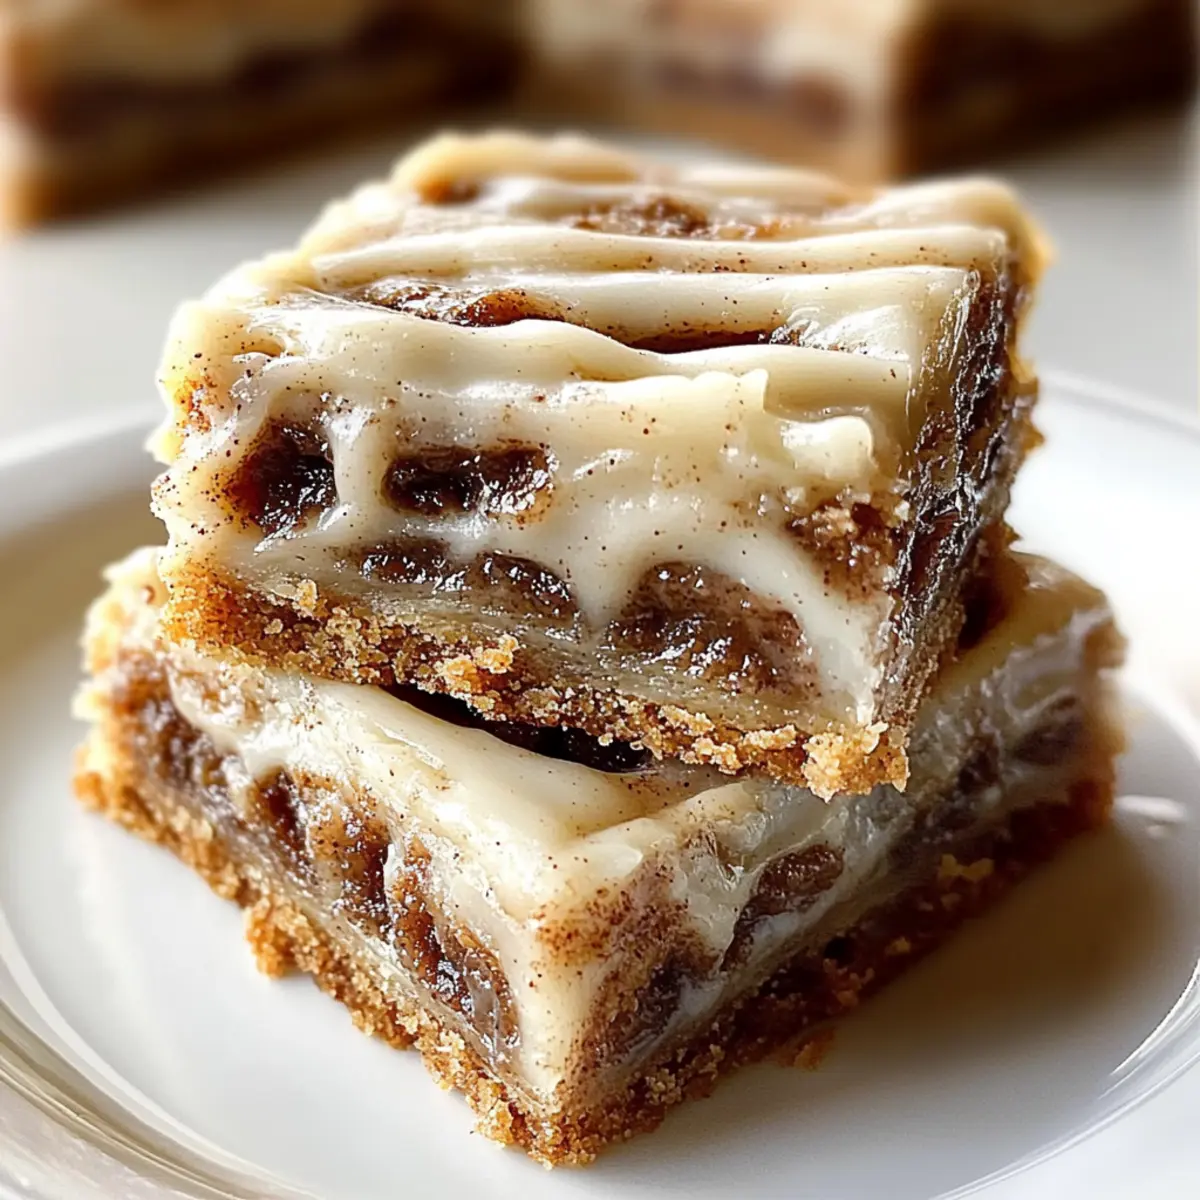
Standing in my kitchen, I couldn’t help but feel a wave of nostalgia as the warm scent of cinnamon drew me back to my childhood. Those cozy mornings spent indulging in gooey cinnamon rolls inspired my latest creation: Cinnamon Roll Bliss Bars. These delightful bars capture the essence of traditional rolls without the fuss of yeast or lengthy rising times. They’re the perfect solution for a quick weeknight dessert or a relaxed brunch gathering, allowing you to whip up something delicious in no time. Plus, their no-yeast recipe means you can enjoy these sweet treats anytime the craving hits. Are you ready to dive into a world of cinnamon and cardamom goodness? Let’s get started!
Why are Cinnamon Roll Bliss Bars irresistible?
Irresistible Comfort: These bars encapsulate the cozy warmth of cinnamon rolls, bringing that delightful experience into a convenient format.
Quick and Easy: With no yeast involved, you can whip them up in just 30 minutes, making them perfect for spontaneous cravings.
Unique Flavor Twist: The addition of cardamom adds an intriguing depth, elevating the classic flavor profile to something memorable.
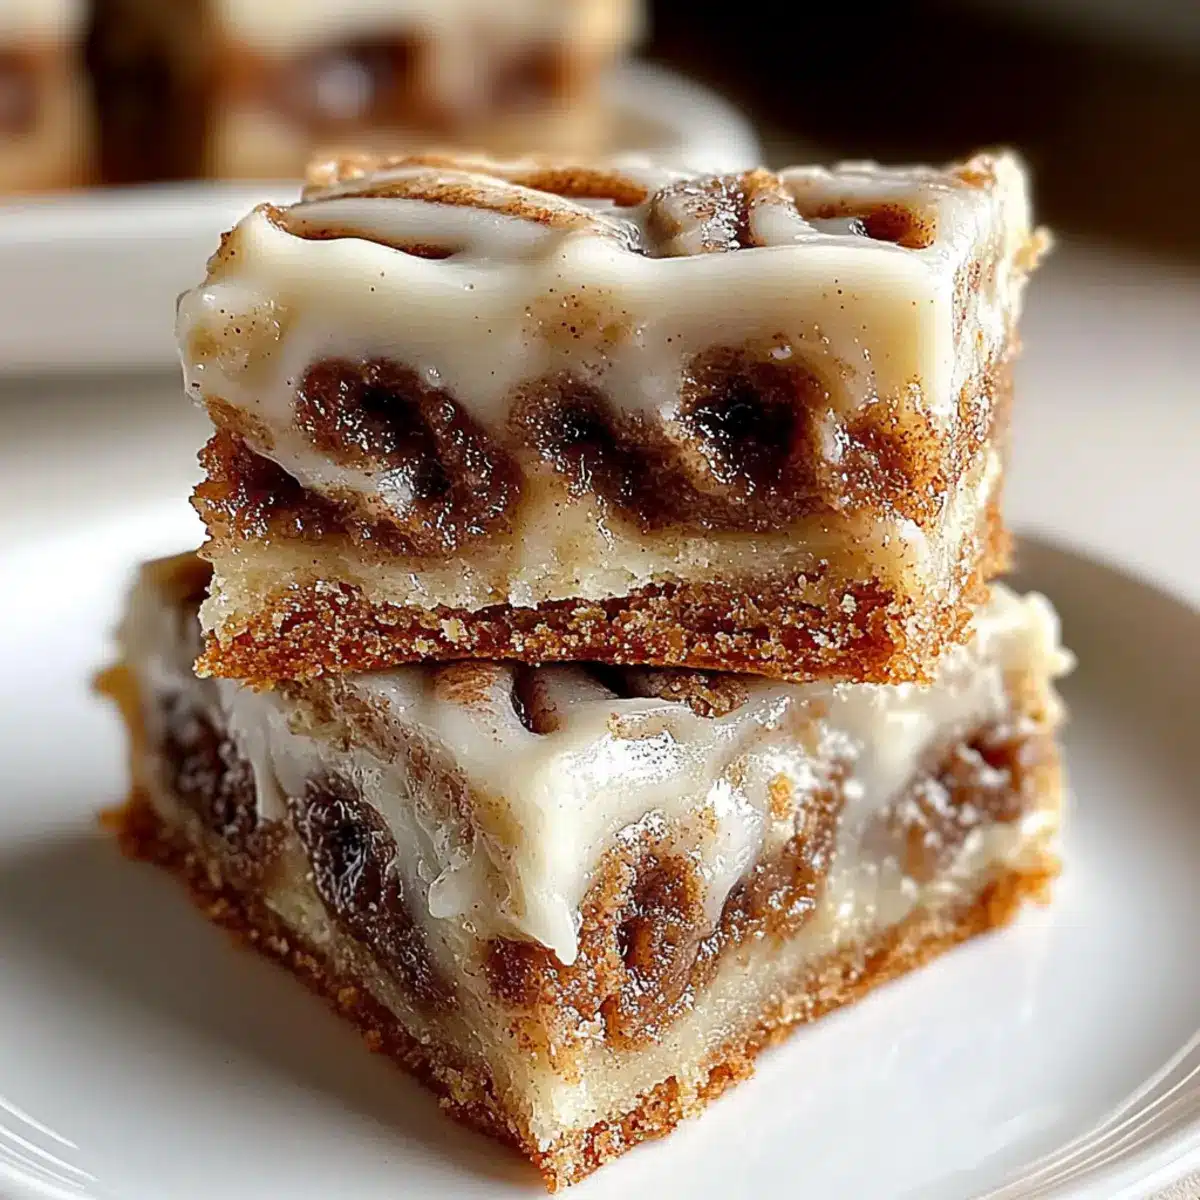
Crowd-Pleasing Delight: Ideal for sharing at gatherings, they’re sure to impress friends and family alike. Serve warm with a cup of coffee or over ice cream for an indulgent treat!
For more easy dessert ideas, check out our quick recipe for chewy chocolate brownies or explore how to make fantastic homemade ice cream.
Cinnamon Roll Bliss Bars Ingredients
• Whip up your own delicious batch with these must-have ingredients!
For the Base
- Flour – Provides structure for the bars; substitute with gluten-free flour blend to make gluten-free.
- Butter – Adds richness and moisture; ensure it is softened for easy mixing, not melted.
- Granulated Sugar – Sweetens the base and contributes to texture; adjust according to taste if less sweetness is desired.
- Brown Sugar – Enhances flavor depth and creates a chewy filling; use dark brown sugar for a richer taste.
- Eggs – Bind ingredients together while helping with leavening; can be replaced with silken tofu for a vegan option.
- Baking Powder – Acts as the leavening agent instead of yeast.
- Salt – Balances sweetness and enhances overall flavors.
For the Filling
- Cinnamon – The primary spice for flavor; adjust the amount to your taste or experiment with a mix of spices.
- Cardamom – Adds unique depth to the filling; never skip this for best flavor!
For the Frosting
- Cream Cheese – Provides a tangy frosting base; dairy-free cream cheese can be substituted if needed.
- Powdered Sugar – Sweetens and thickens the frosting; adjust for desired consistency.
- Vanilla Extract – Adds flavor depth to both the batter and frosting; swap it for almond extract for a unique twist.
- Heavy Cream – Adds richness to the filling; substitute with milk for a lighter option.
Indulge in your own Cinnamon Roll Bliss Bars today and savor their sweet simplicity!
Step‑by‑Step Instructions for Cinnamon Roll Bliss Bars
Step 1: Preheat the Oven
Begin by preheating your oven to 350°F (175°C). While the oven warms up, prepare a 9×13 inch baking pan by lining it with parchment paper, ensuring to leave some overhang for easy removal later. This initial step sets the foundation for your delightful Cinnamon Roll Bliss Bars!
Step 2: Cream the Butters and Sugars
In a large mixing bowl, combine the softened butter with both granulated and brown sugars. Use a hand mixer to cream the mixture on medium speed for about 3 minutes, or until it becomes fluffy and light in color. This process helps incorporate air, creating a tender texture for your bars.
Step 3: Incorporate the Eggs and Vanilla
Next, beat in the eggs one at a time, ensuring each is well mixed before adding the next. Pour in the vanilla extract and mix until fully combined, creating a rich and smooth batter. This velvety mixture is the heart of your Cinnamon Roll Bliss Bars, adding flavor and moisture.
Step 4: Mix Dry Ingredients
In a separate bowl, whisk together the flour, baking powder, and salt. Gradually add this dry mixture to the wet ingredients, stirring gently until just combined. Be careful not to over-mix, as you want to maintain the light texture of the dough. Remember, your reserved dough for topping comes from this mixture!
Step 5: Press the Dough into the Pan
Take the majority of your dough and evenly press it into the prepared pan, creating a smooth layer across the bottom. Aim for a slight edge along the sides to keep the filling contained. This forms the base for your luscious Cinnamon Roll Bliss Bars, ready for delicious filling!
Step 6: Prepare the Filling
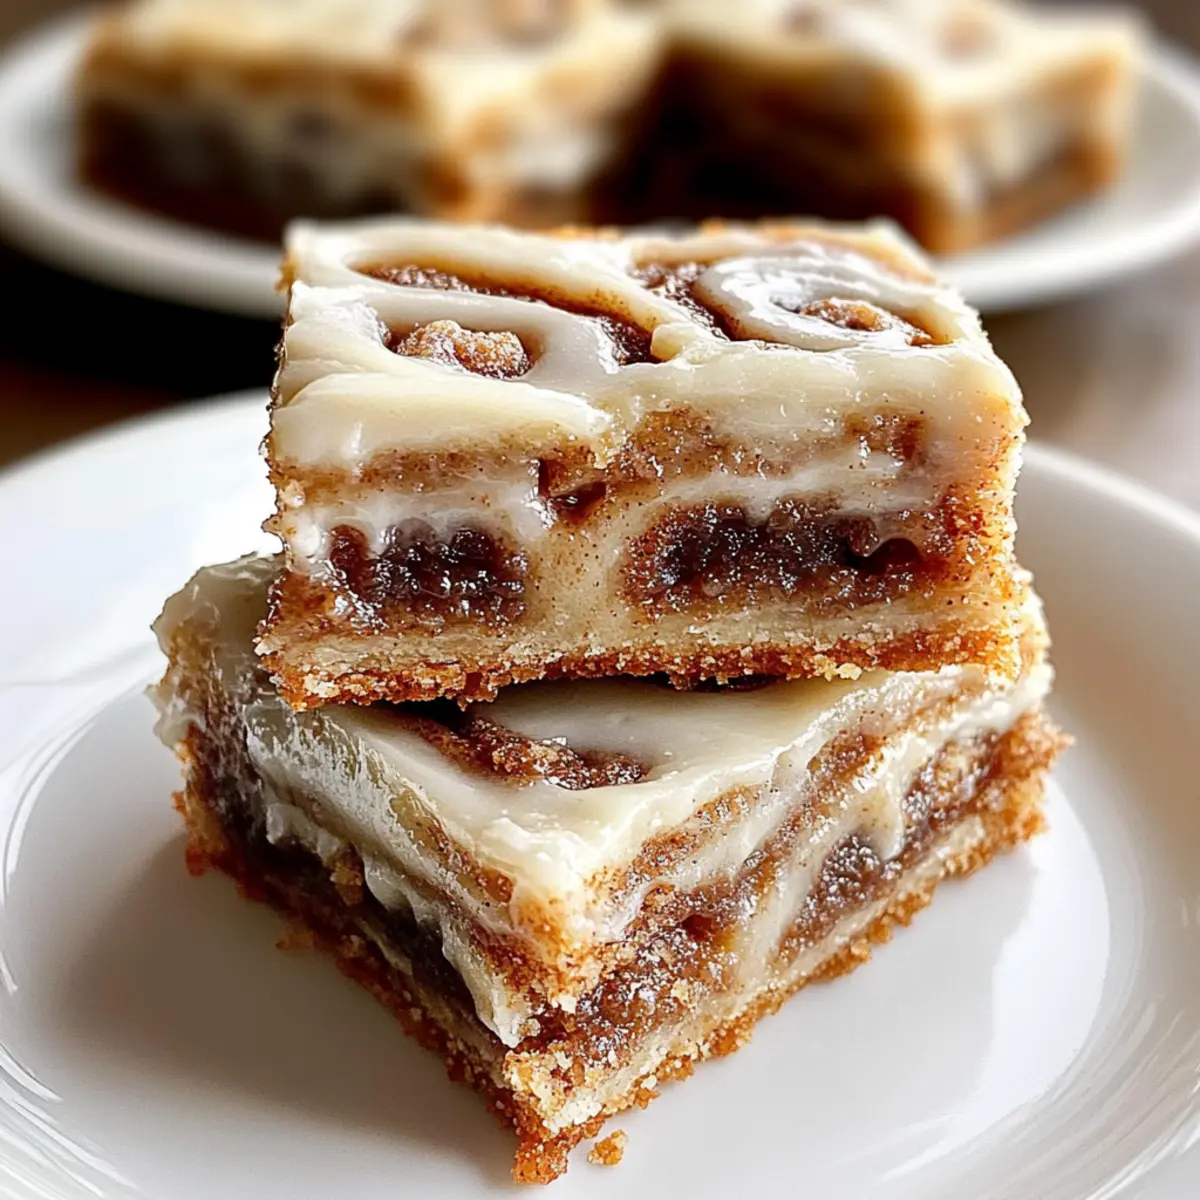
In a separate bowl, mix the melted butter, brown sugar, cinnamon, and cardamom until well combined. This mixture should be thick and spreadable but still soft. Evenly spread the filling over the base layer, being cautious to leave a small border around the edges which keeps everything neat and tasty.
Step 7: Swirl the Reserved Dough
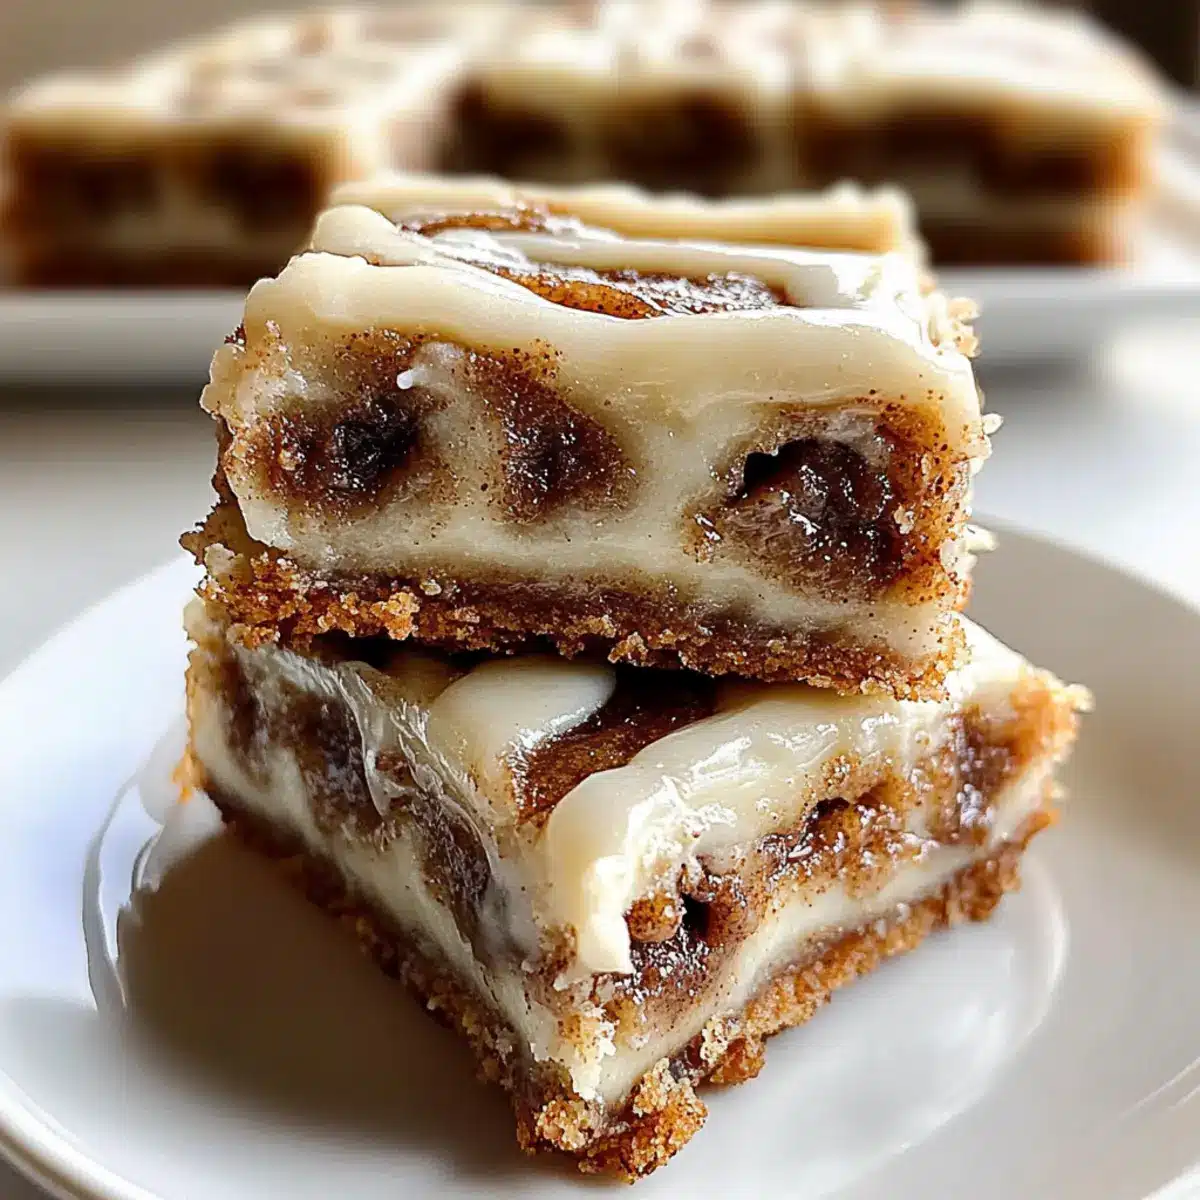
Dollop the reserved dough over the filling in small mounds, creating a beautiful, textured topping. Use a knife or a toothpick to gently swirl through the dollops, crafting a marbled look that enhances the appearance and flavor of your Cinnamon Roll Bliss Bars.
Step 8: Bake to Perfection
Place the pan into the preheated oven and bake for 28 to 32 minutes. Keep an eye on the edges, which should be golden brown, while the center remains slightly soft. This balance achieves the ideal gooey texture that makes Cinnamon Roll Bliss Bars so irresistible!
Step 9: Cool Completely
Once baked, carefully remove the pan from the oven and let it cool completely on a wire rack. This cooling period is crucial as it allows the bars to set properly, making them easier to frost and slice once they reach room temperature.
Step 10: Make the Frosting
In a mixing bowl, beat the cream cheese and softened butter together until smooth and creamy. Gradually add in the powdered sugar, continuing to mix until combined, then stir in the vanilla extract. Adjust the consistency with a splash of heavy cream if needed, ensuring it’s spreadable for your frosted delight.
Step 11: Frost and Slice
Once your Cinnamon Roll Bliss Bars are completely cool, spread the cream cheese frosting uniformly over the top. Use a knife to cut them into squares, creating bite-sized pieces perfect for sharing. Each square is a sweet reminder of the warmth and comfort you’ve created!
Storage Tips for Cinnamon Roll Bliss Bars
Room Temperature: Store frosted bars in an airtight container at room temperature for up to 3 days for optimal freshness.
Fridge: If you have leftovers, keep them in the fridge for up to 1 week. Make sure they are covered to maintain moisture.
Freezer: For longer storage, unfrosted bars can be frozen for up to 2 months. Thaw overnight in the fridge before serving for best results.
Reheating: Enjoy warm by microwaving individual squares for about 10-15 seconds; this will bring back their gooey goodness, perfect for those cozy cravings!
Make Ahead Options
These Cinnamon Roll Bliss Bars are ideal for busy home cooks who want to enjoy a homemade treat without the last-minute rush! You can prepare the dough up to 24 hours in advance and store it in the refrigerator. Simply follow the initial steps up to pressing the dough into the pan; then, wrap it tightly in plastic wrap to prevent drying. You can also make the frosting ahead of time—store it in an airtight container in the fridge for up to 3 days. When it’s time to bake, simply remove the dough from the fridge and proceed with the filling and baking steps as usual. This way, you’ll have delicious Cinnamon Roll Bliss Bars ready to enjoy, hassle-free!
Expert Tips for Cinnamon Roll Bliss Bars
-
Softened Butter is Key: Ensure your butter is softened, not melted, for the perfect creaming texture that leads to deliciously tender bars.
-
Don’t Overmix: When combining the dough, mix just until incorporated. Overmixing can lead to dense bars instead of soft, gooey Cinnamon Roll Bliss Bars.
-
Check Baking Time: Keep an eye on the baking time. The center should be slightly soft; remember, the residual heat will continue to cook them after removing from the oven.
-
Use a Sharp Knife: For evenly cut squares, use a sharp knife to slice through your bars. This ensures clean edges and a beautiful presentation!
-
Cool Before Frosting: Allow the bars to cool completely before adding frosting. This prevents the frosting from melting and making a gooey mess.
What to Serve with Cinnamon Roll Bliss Bars?
Pairing these sweet bars with delightful accompaniments will take your dessert experience to new heights.
- Fresh Berries: Juicy strawberries or raspberries add a refreshing contrast that balances the sweetness of the bars.
- Vanilla Ice Cream: A scoop of creamy vanilla ice cream melting over the warm bars creates a decadent treat that’s hard to resist.
- Coffee: Warm, rich coffee enhances the comforting essence of cinnamon, making every bite even more enjoyable.
- Milk: A glass of cold milk complements the gooey texture, creating a classic indulgence reminiscent of childhood snacks.
Feeling adventurous? Drizzle a bit of warm caramel sauce over the bars for an indulgent twist, or serve with a dollop of whipped cream for an extra layer of richness. These pairings not only elevate the experience but also inspire you to savor every moment of this delicious treat!
Cinnamon Roll Bliss Bars Variations
Feel free to let your creativity shine by making these Cinnamon Roll Bliss Bars uniquely yours with these delightful twists!
-
Nutty Addition: Toss in chopped pecans or walnuts into the filling for a delicious crunchy texture that balances the gooey sweetness.
-
Flavor Swap: Replace the vanilla extract with almond extract for a refreshing nutty flavor that will surprise your taste buds. This subtle change adds an exciting twist to the classic recipe.
-
Added Spice: Boost the warmth by adding a dash of ginger or nutmeg along with the cinnamon for an extra depth of flavor. This way, you can create your own spice blend and make each batch distinct.
-
Caramel Drizzle: Top your frosted bars with a caramel drizzle for an indulgent touch that takes them to a whole new level of sweetness. The silky richness pairs perfectly with the cream cheese frosting!
-
Gluten-Free: To make a gluten-free version, simply substitute regular flour with your favorite gluten-free flour blend. Enjoy the bars without losing any of their delightful flavor and texture!
-
Coconut Twist: Add a handful of shredded coconut into the filling for a tropical flair that contrasts beautifully with the spices. It’s fun, unusual, and oh-so-tasty!
-
Fruitful Addition: Mix in some dried cranberries or raisins for a fruity burst of flavor. The sweetness complements the cinnamon perfectly, creating a more complex taste here.
-
Spicy Kick: For those who like more heat, sprinkle in some cayenne pepper or chili powder in the filling for a surprising spicy kick. Just a pinch will do – it’s an adventurous way to rev up the flavor!
These Cinnamon Roll Bliss Bars are versatile enough to embrace your culinary inspirations. Don’t forget, for even more dessert inspirations, check out our delightful recipe for chewy chocolate brownies or learn how to whip up amazing homemade ice cream. Get experimenting and enjoy!
Cinnamon Roll Bliss Bars Recipe FAQs
What is the best way to choose ripe ingredients for this recipe?
Absolutely! For the best flavor, ensure your eggs are fresh and at room temperature, which helps them blend better into the batter. As for the butter, it should be softened – think creamy, not melted. This combination brings a delightful texture to your Cinnamon Roll Bliss Bars!
How should I store Cinnamon Roll Bliss Bars?
You can store frosted bars in an airtight container at room temperature for up to 3 days. If you want to keep them for longer, refrigerate them for up to 1 week. Just make sure they’re covered to maintain that moisture and flavor!
Can I freeze the Cinnamon Roll Bliss Bars?
Yes, you can! To freeze, simply wrap unfrosted bars tightly in plastic wrap or aluminum foil and place them in a freezer-safe container. They can last for up to 2 months in the freezer. When you’re ready to enjoy, thaw overnight in the fridge before serving, and you’ll have delicious bars ready to go!
What should I do if my bars are too dry or crumbly?
If your Cinnamon Roll Bliss Bars turn out too dry, it’s likely from overbaking or using too much flour. Make sure to measure your flour correctly and check the bars a minute or two before the recommended baking time. For extra moisture, try drizzling some heavy cream over the top before serving!
Are there any dietary considerations for pets or allergies?
Absolutely! Keep in mind that these bars contain ingredients like eggs and dairy, which can be harmful to pets, so always keep them out of reach. If you or someone else has allergies, consider substituting eggs with silken tofu for a vegan option, and use dairy-free cream cheese for the frosting to cater to different dietary needs.
How can I adjust the flavor if I want something different?
The beauty of these bars is in their versatility! If you want to experiment, consider adding some chopped nuts like pecans or walnuts into the filling for a crunchy twist. You could also try swapping the vanilla extract with almond extract for a unique flavor profile that complements the cinnamon and cardamom perfectly!
Cinnamon Roll Bliss Bars: Your New Favorite Easy Dessert!
Ingredients
Equipment
Method
- Preheat your oven to 350°F (175°C). Line a 9x13 inch baking pan with parchment paper.
- In a large mixing bowl, cream the softened butter with both granulated and brown sugars on medium speed until fluffy, about 3 minutes.
- Beat in the eggs one at a time, then mix in the vanilla extract until fully combined.
- Whisk together the flour, baking powder, and salt in a separate bowl. Gradually add the dry ingredients to the wet ingredients until just combined.
- Press the majority of the dough evenly into the prepared pan, creating a smooth base.
- Mix the melted butter, brown sugar, cinnamon, and cardamom in a separate bowl until well combined. Spread the filling over the base layer.
- Dollop the reserved dough over the filling and swirl gently with a knife or toothpick to create a marbled effect.
- Bake for 28 to 32 minutes until the edges are golden brown and the center is slightly soft. Let cool completely on a wire rack.
- Beat cream cheese and softened butter until smooth. Gradually add powdered sugar and vanilla. Adjust consistency with heavy cream if needed.
- Spread the frosting evenly over the completely cooled bars and slice into squares for serving.
Leave a Reply