
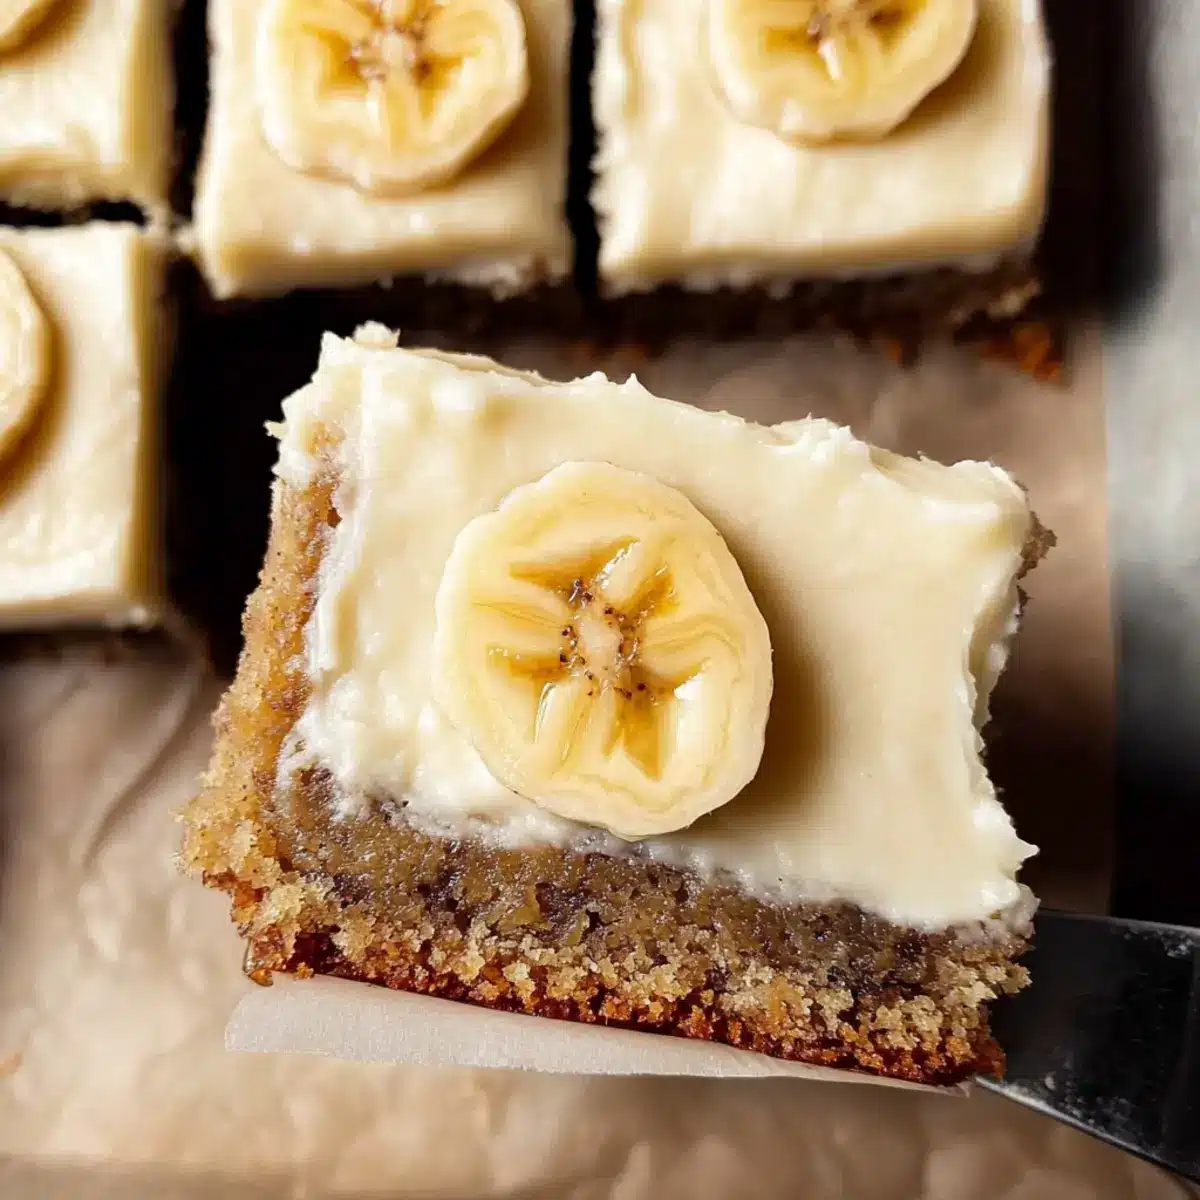
As I stood in my kitchen, the warm scent of ripe bananas wafting through the air instantly transported me back to my childhood. Those carefree moments spent baking with family always bring a smile to my face. Today, I’m excited to share my recipe for Gluten Free Banana Bars with Cream Cheese Frosting. These delightfully soft bars are not only a cozy comfort but also incredibly easy to make, requiring just a mixing bowl and a whisk. You’ll love how they can serve as a quick snack or an indulgent dessert—perfect for any time of the day! Trust me, these bars are bound to become a cherished favorite in your home. Will you join me in creating this sweet memory?
Why are these Banana Bars a must-try?
Simplicity at its finest: These Gluten Free Banana Bars require no advanced baking skills—just a mixing bowl and a whisk make this an accessible recipe for everyone.
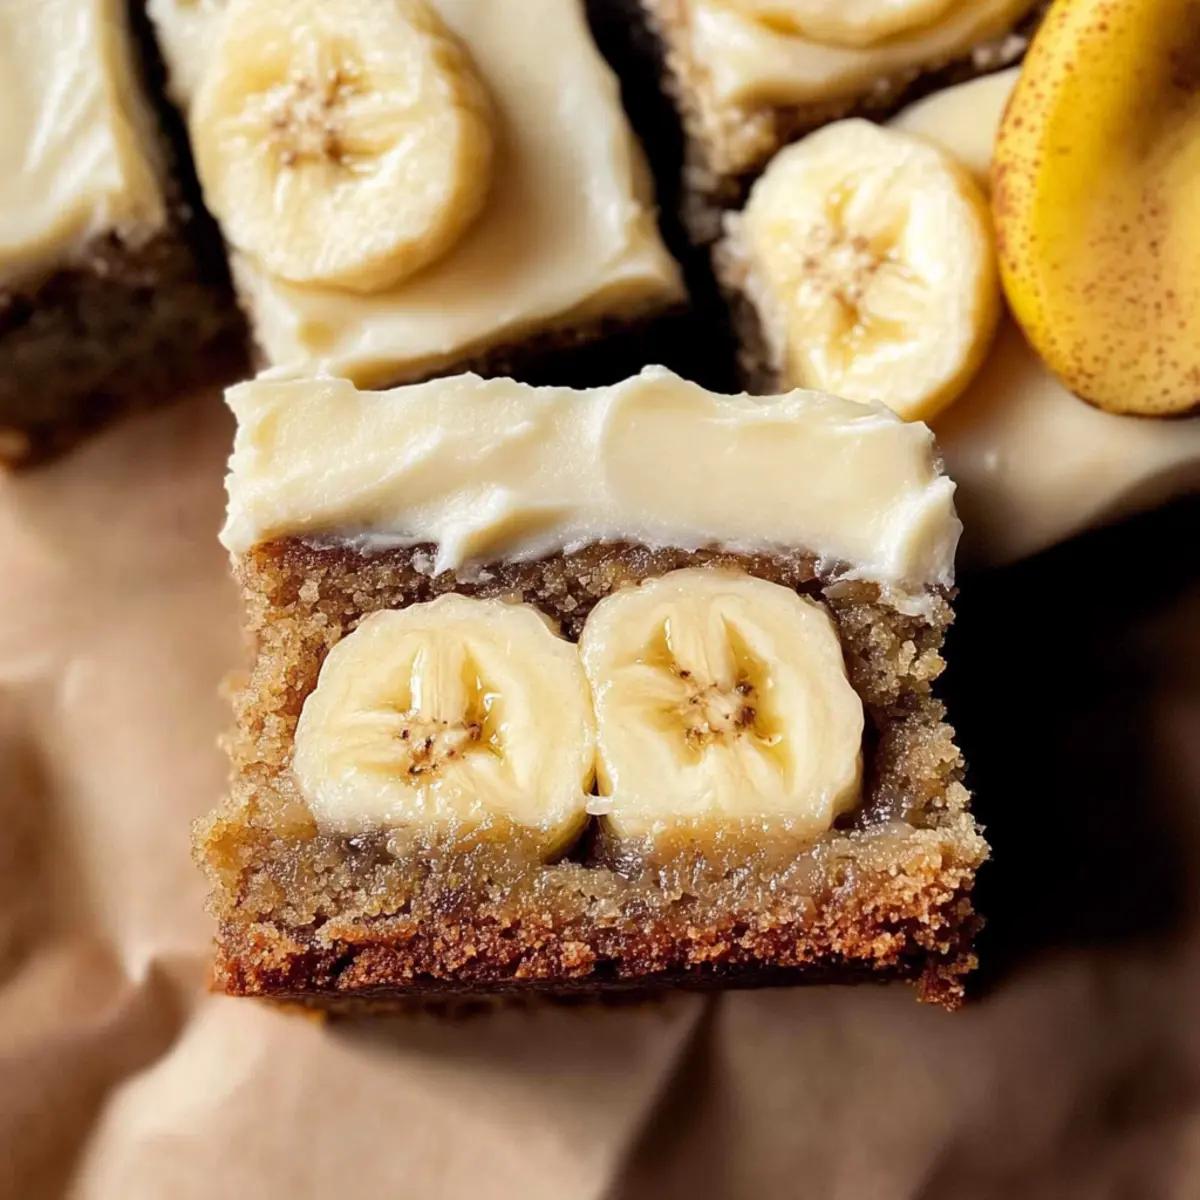
Incredibly Soft: With ripe bananas at their core, each bite is like a warm hug, making them a delightful treat regardless of the occasion.
Versatile Delight: Whether enjoyed with a morning coffee, as an afternoon snack, or a star dessert for dinner, they fit seamlessly into your day.
Irresistible Frosting: Topped with luscious cream cheese frosting, these bars become a deliciously rich treat that even non-gluten-free eaters will adore.
Healthy Comfort: Loaded with natural sweetness from bananas, they offer a healthier indulgence that won’t compromise your taste buds.
Crowd-Pleaser: Perfect for gatherings or family events, you’ll find everyone reaching for another piece of this delicious joy! For more easy dessert ideas, don’t miss my post on Chocolate Chip Cookies.
Gluten Free Banana Bars Ingredients
• Get ready to create a delightful treat!
For the Bars
- Gluten Free Multi-Purpose Flour – Provides the structure for the bars; opt for a blend that includes xanthan gum for the best results.
- Baking Powder – Acts as a leavening agent that helps the batter rise, giving your bars that appealing loft.
- Baking Soda – Enhances browning and helps the bars rise nicely during baking.
- Ground Cinnamon – Adds a warm, cozy flavor; feel free to switch it up with nutmeg for a unique twist.
- Kosher Salt – Balances sweetness and enhances the overall flavor of the bars.
- Eggs – Provide moisture and richness; make sure they’re at room temperature for better mixing.
- Vegetable Oil (such as canola) – Keeps the bars moist; melted coconut oil or butter can also work as substitutes.
- Granulated Sugar – Sweetens the bars perfectly; you can increase brown sugar for added depth of flavor.
- Light Brown Sugar – Contributes moisture and a hint of molasses for richness.
- Mashed Ripe Bananas – The star of the show; go for very ripe bananas to achieve maximum sweetness and moisture.
- Vanilla Extract – Introduces a touch of sweetness; using pure vanilla will give the best flavor.
For the Cream Cheese Frosting
- Cream Cheese – The key to a rich, creamy frosting; full-fat block cream cheese is the best choice for consistency.
- Unsalted Butter – Adds extra richness to the frosting; ensure it’s at room temperature for smooth blending.
- Powdered Sugar – Sweetens the frosting; adjust to your preferred sweetness level.
- Milk – Optional for adjusting frosting consistency; any type of milk will do nicely.
Now, gather your ingredients and let’s bring these Gluten Free Banana Bars to life!
Step‑by‑Step Instructions for Gluten Free Banana Bars
Step 1: Preheat the Oven
Begin by preheating your oven to 350°F (175°C). While the oven is warming up, prepare an 8-inch square baking pan by lining it with parchment paper, letting the edges hang over for easy removal later. This setup ensures that your Gluten Free Banana Bars will bake evenly and won’t stick to the pan.
Step 2: Combine the Dry Ingredients
In a medium mixing bowl, sift together the gluten-free multi-purpose flour, baking powder, baking soda, ground cinnamon, and kosher salt. This sifting process aerates the ingredients and helps eliminate clumps, which is essential for creating a smooth batter. Set the bowl aside while you focus on the wet ingredients.
Step 3: Mash the Bananas
In a large mixing bowl, take your ripe bananas and mash them with a fork or potato masher until smooth. Aim for a creamy consistency, as this will help infuse the flavor throughout your batter. The mashed bananas are the hero of these Gluten Free Banana Bars, adding natural sweetness and moisture.
Step 4: Mix the Wet Ingredients
To the bowl with mashed bananas, mix in the light brown sugar and granulated sugar, followed by the eggs, vegetable oil, and vanilla extract. Whisk everything together until well combined and smooth, creating a rich mixture that becomes the base for your delightful bars. This step should only take about 2-3 minutes.
Step 5: Fold in the Dry Ingredients
Gradually add the dry ingredient mixture to the wet mixture, using a spatula to gently fold them together. Be cautious not to over-mix; combine until just blended without any visible flour. You want a thick batter that will create the perfect texture for your Gluten Free Banana Bars.
Step 6: Pour the Batter into the Pan
Carefully pour your prepared batter into the lined baking pan, using a spatula to spread the mixture evenly across the surface. Make sure the top is smooth and level for even baking. This will help achieve that lovely golden brown color as your bars bake.
Step 7: Bake Until Golden
Place the pan in your preheated oven and bake for 35-40 minutes. Keep an eye on the bars, and when the top turns golden brown and a toothpick inserted in the center comes out clean, they are ready to come out. The aroma will fill your kitchen, hinting at the delicious treat you are about to enjoy.
Step 8: Cool Before Serving
Once baked, allow the bars to cool in the pan for 10 minutes. After that, carefully lift them out using the parchment paper, transferring them to a wire rack to cool completely. This step is crucial for ensuring the bars maintain their soft texture while you prepare the frosting.
Step 9: Prepare the Frosting
In a bowl, beat together the softened cream cheese, unsalted butter, salt, and vanilla extract until fluffy and smooth. This rich cream cheese frosting will perfectly complement your Gluten Free Banana Bars, providing a delightful contrast to their sweetness. Allow a minute for the ingredients to blend well, making the frosting airy.
Step 10: Mix the Powdered Sugar
Gradually add in the powdered sugar, continuing to beat the mixture until fully combined and smooth. If the frosting feels too thick, drizzle in a little milk to achieve your desired consistency. This will create a luscious topping that enhances every bite.
Step 11: Frost the Banana Bars
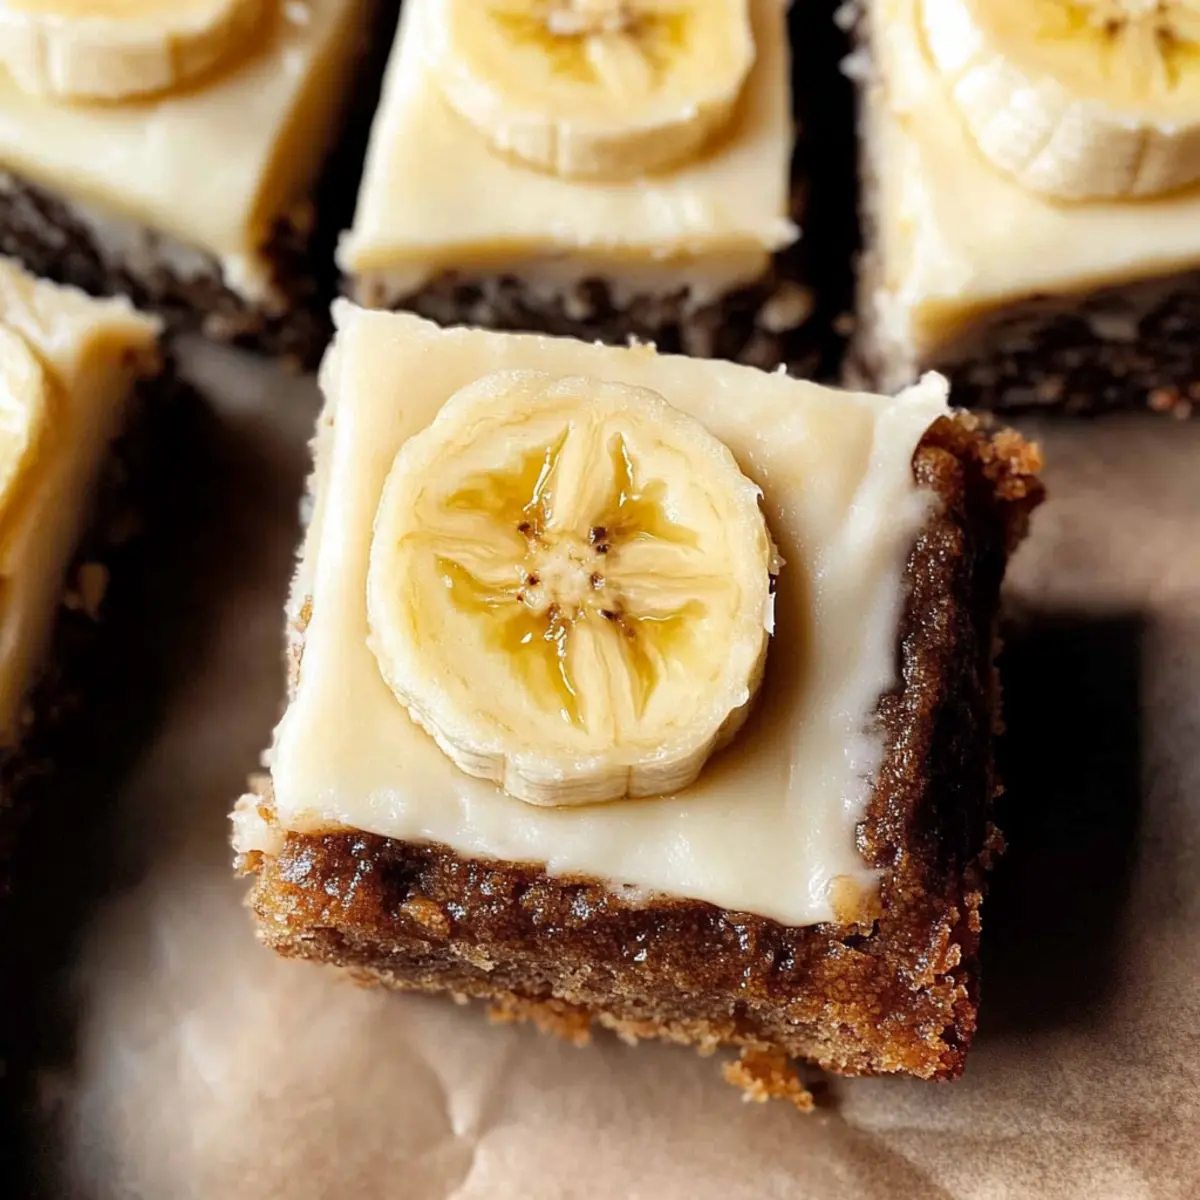
Once your Gluten Free Banana Bars have cooled completely, generously spread the cream cheese frosting over the top. Use an offset spatula to ensure even coverage. The frosting should be both rich and tangy, perfectly balancing out the sweetness of the bars.
Step 12: Chill for Easy Slicing
For cleaner slices, chill the frosted banana bars in the refrigerator for 15-30 minutes before cutting. This will help the frosting firm up, making it easier to serve. After chilling, slice the bars into squares, and enjoy this comforting treat!
Gluten Free Banana Bars Variations
Feel free to get creative with these Gluten Free Banana Bars, making them your own with delightful twists!
-
Nutty Variation: Substitute half of the gluten-free flour with almond flour for a fragrant nutty flavor that pairs perfectly with bananas.
-
Chocolate Chip Boost: Fold in a generous handful of chocolate chips for a decadent treat. The melty chocolate will enhance the sweetness of the bananas, creating a lovely contrast with the cream cheese frosting.
-
Fruity Twist: Swap a portion of the mashed bananas with applesauce for a fruity blend. This will add moisture while providing a light, refreshing taste.
-
Spiced Upgrade: Elevate the flavor by mixing in a pinch of nutmeg or ginger alongside your cinnamon. It adds a warm kick that’s especially wonderful during the fall!
-
Extra Fluffy Frosting: Whip a bit of heavy cream into your cream cheese frosting to lighten it up. This airy variation creates an indulgent topping that feels extra luxurious.
-
Coconut Delight: Add shredded coconut to the batter or use it as a topping for an exotic twist. It brings a unique, chewy texture that complements the softness of the bars.
-
Low-Sugar Option: Replace granulated sugar with a sugar substitute or applesauce to cut down on sweetness while keeping that delicious banana flavor intact. It’s a perfect way to enjoy a healthier version.
-
Spicy Heat: For a kick, mix in some finely chopped jalapeños or a sprinkle of cayenne in the batter—contrasting the creamy frosting with spicy warmth for an adventurous twist.
Adding your personal touch to these Gluten Free Banana Bars can be an enjoyable way to express creativity in the kitchen! Plus, if you’re looking for more inspirations, check out my take on Chocolate Chip Cookies or explore scrumptious possibilities in my collection of easy dessert ideas.
Expert Tips
-
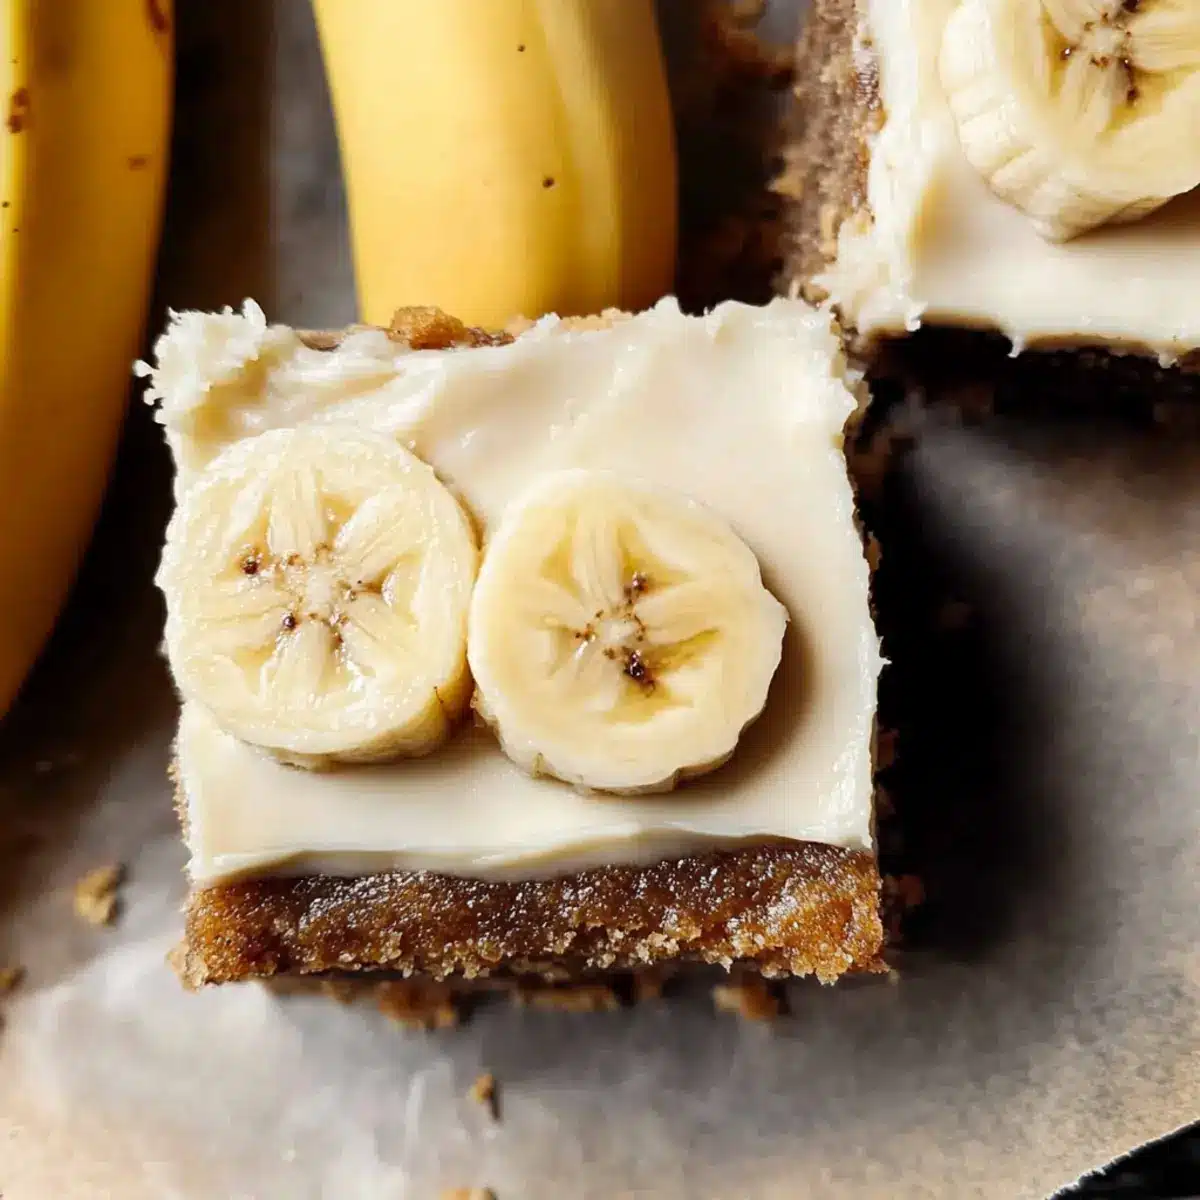
Use Ripe Bananas: Ensure your bananas are very ripe with plenty of brown spots for maximum sweetness and moisture in your gluten-free banana bars.
-
Check Your Flour: Gluten-free multi-purpose flour may vary; ensure you choose a blend that includes xanthan gum for the best structure and texture.
-
Watch the Oven Time: Baking times may vary based on your oven and pan size. Use a toothpick to check for doneness, as thinner bars will bake faster.
-
Avoid Over-Mixing: Gently fold in the dry ingredients until just combined to prevent dense, gummy bars. Over-mixing can lead to a tough texture.
-
Cool Before Frosting: Allow your gluten-free banana bars to cool completely before frosting. This helps the cream cheese frosting set nicely on top.
How to Store and Freeze Gluten Free Banana Bars
Room Temperature: Store unfrosted banana bars in an airtight container at room temperature for up to 2 days to maintain their softness.
Fridge: If frosted, keep the Gluten Free Banana Bars in the refrigerator for up to 4 days. The cool temperature helps preserve the creamy frosting and fresh flavor.
Freezer: For longer storage, freeze either frosted or unfrosted banana bars in an airtight container or freezer bag for up to 1 month. Thaw in the refrigerator before serving to rejuvenate their lovely texture.
Reheating: For a warm treat, microwave the bars for about 10-15 seconds. This brings back their soft, melt-in-your-mouth goodness!
What to Serve with Gluten Free Banana Bars with Cream Cheese Frosting
There’s nothing quite like pairing these sweet, soft delights with the perfect accompaniments for a memorable experience.
-
Fresh Fruit Salad: A colorful mix of seasonal fruits adds brightness and balances the sweetness of the bars. The vibrant flavors and crunchy textures make every bite refreshing.
-
Vanilla Ice Cream: A scoop of creamy vanilla ice cream contrasts beautifully with the tangy frosting, creating a luscious duo that will have everyone coming back for more.
-
Coffee or Tea: A warm cup of coffee or herbal tea pairs seamlessly with these banana bars, making them a perfect snack for afternoon breaks or brunch gatherings. Each sip complements the bar’s comforting flavors.
-
Whipped Cream: Light, airy whipped cream can elevate your dessert experience, adding a fluffy texture and making each bite feel extra indulgent.
-
Chocolate Sauce Drizzle: A rich chocolate sauce drizzled over the frosted bars introduces a decadent twist that chocolate lovers will adore. It’s a sweet surprise that enhances the flavor profile.
-
Nutty Granola: Crumble some nutty granola on top for a crunchy texture contrast that adds depth to the soft banana bars and makes for a delightful bite.
-
Coconut Milk: Serve with a small glass of chilled coconut milk for a tropical twist that harmonizes with the banana flavors beautifully. The creaminess enhances the treat!
-
Spiced Chai Latte: This aromatic beverage brings warmth and spice that perfectly complements the banana’s natural sweetness, creating a cozy vibe perfect for any gathering.
-
Almonds or Walnuts: A handful of roasted almonds or walnuts on the side adds a crunchy texture and nutty flavor that pairs wonderfully with the soft bars.
Make Ahead Options
These Gluten Free Banana Bars are perfect for meal prep enthusiasts! You can mix the batter up to 24 hours in advance and store it covered in the refrigerator; this will keep the flavors fresh and ready to bake when you’re set to enjoy them. Additionally, you can prepare the frosting and refrigerate it in an airtight container for up to 3 days—just give it a quick stir before spreading it on your cooled bars. Once the bars are baked and frosted, they can be chilled for 15-30 minutes for easier slicing and served throughout the week. Just remember to store leftovers in the fridge for optimal taste and texture, and they’ll be just as delicious as when freshly made!
Gluten Free Banana Bars with Cream Cheese Frosting Recipe FAQs
What kind of bananas should I use?
Absolutely! For the best results, choose very ripe bananas with plenty of brown spots. The riper they are, the sweeter and more flavorful your Gluten Free Banana Bars will be. If you have frozen bananas, simply thaw them before mashing; they work wonderfully too!
How should I store leftover banana bars?
If you have any leftovers (which is rare!), store your frosted banana bars in an airtight container in the refrigerator for up to 4 days. This helps maintain the delicious flavor and texture of both the bars and the cream cheese frosting.
Can I freeze Gluten Free Banana Bars?
Very! You can freeze either frosted or unfrosted Gluten Free Banana Bars. Just wrap them tightly in plastic wrap or store them in an airtight container, and they’ll stay fresh for up to 1 month. When you’re ready to enjoy, simply thaw them in the refrigerator overnight for the best texture.
What if my banana bars turn out dense?
If your bars come out dense, it’s likely due to over-mixing the batter. Be sure to gently fold the dry ingredients in until just combined. This will preserve the light and tender crumb you want! If you’re using a different size pan, remember that baking times may vary, so keep an eye on them.
Are these banana bars suitable for pets?
Very! While bananas are safe for dogs in moderation, keep in mind that the cream cheese frosting contains ingredients that may not be suitable for pets, such as sugar and butter. It’s best to keep these delicious bars to yourself and treat your furry friends with fresh bananas instead!
Can I modify the recipe for different dietary needs?
Absolutely! You can adjust the recipe with various gluten-free flour blends or substitute the sugar with a sugar alternative. If you’re looking for a nut-free option, just eliminate nuts if using, and make sure to check the labels of all ingredients to avoid any allergens. Enjoy making this treat your own!
Gluten Free Banana Bars – Soft, Creamy, and Irresistibly Delicious
Ingredients
Equipment
Method
- Preheat your oven to 350°F (175°C) and prepare an 8-inch square baking pan with parchment paper.
- In a medium bowl, sift together gluten-free flour, baking powder, baking soda, cinnamon, and salt.
- In a large bowl, mash the ripe bananas until smooth.
- Mix in light brown sugar, granulated sugar, eggs, vegetable oil, and vanilla extract until smooth.
- Fold in the dry ingredients gradually until just combined.
- Pour the batter into the prepared pan, smoothing the top evenly.
- Bake for 35-40 minutes until golden and a toothpick comes out clean.
- Cool in the pan for 10 minutes before transferring to a wire rack.
- Beat together cream cheese, butter, salt, and vanilla until fluffy.
- Gradually mix in powdered sugar and milk until smooth.
- Frost the cooled banana bars with the cream cheese frosting.
- Chill in the refrigerator for 15-30 minutes before slicing.
Leave a Reply