
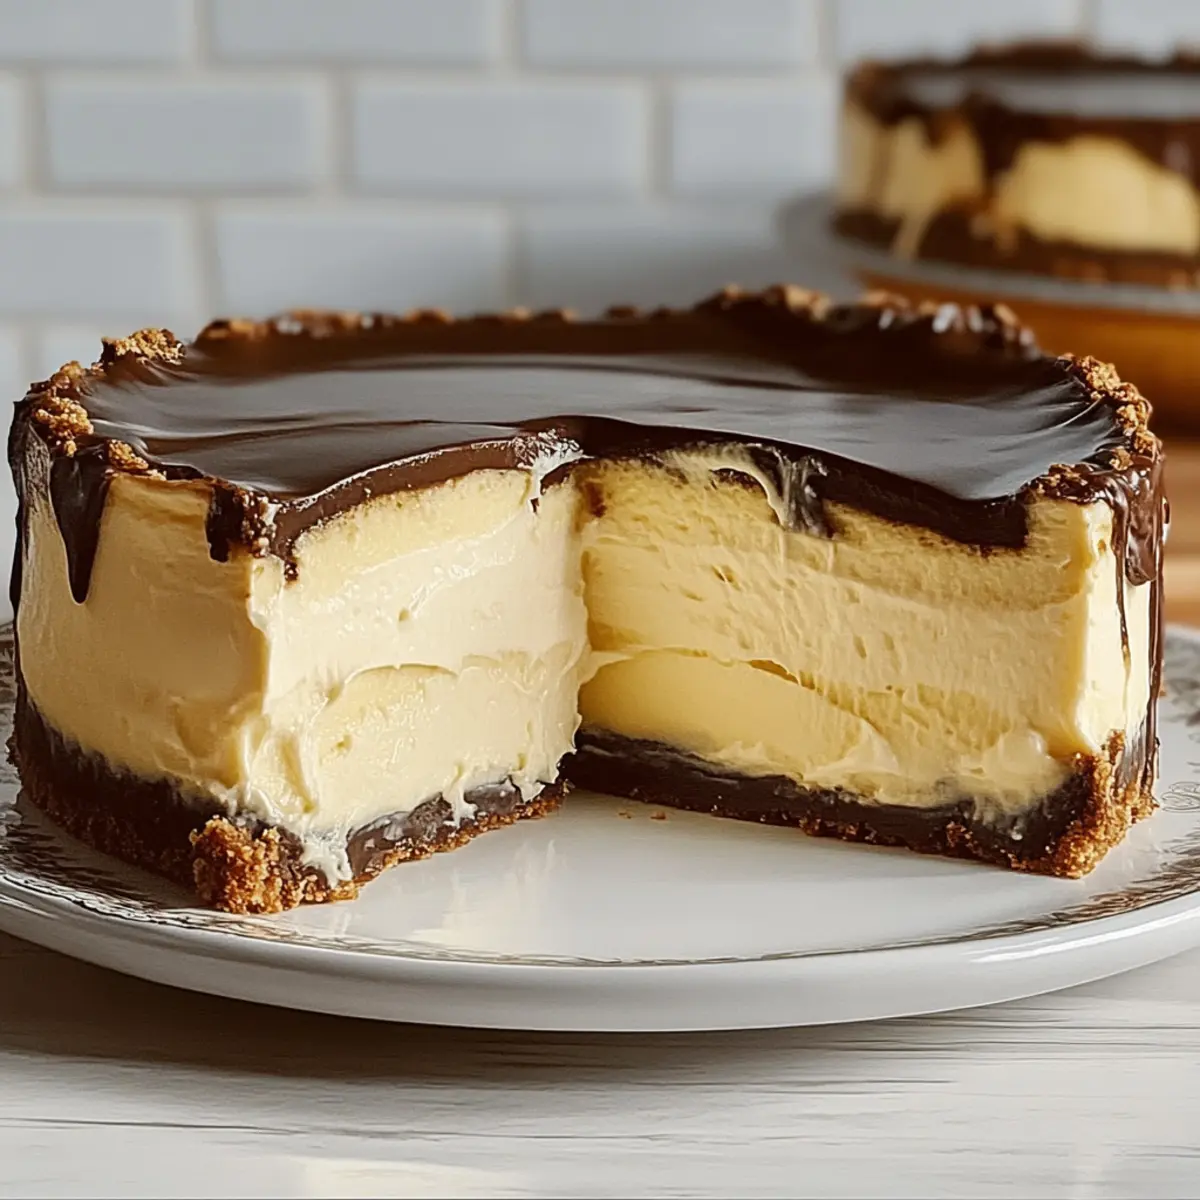
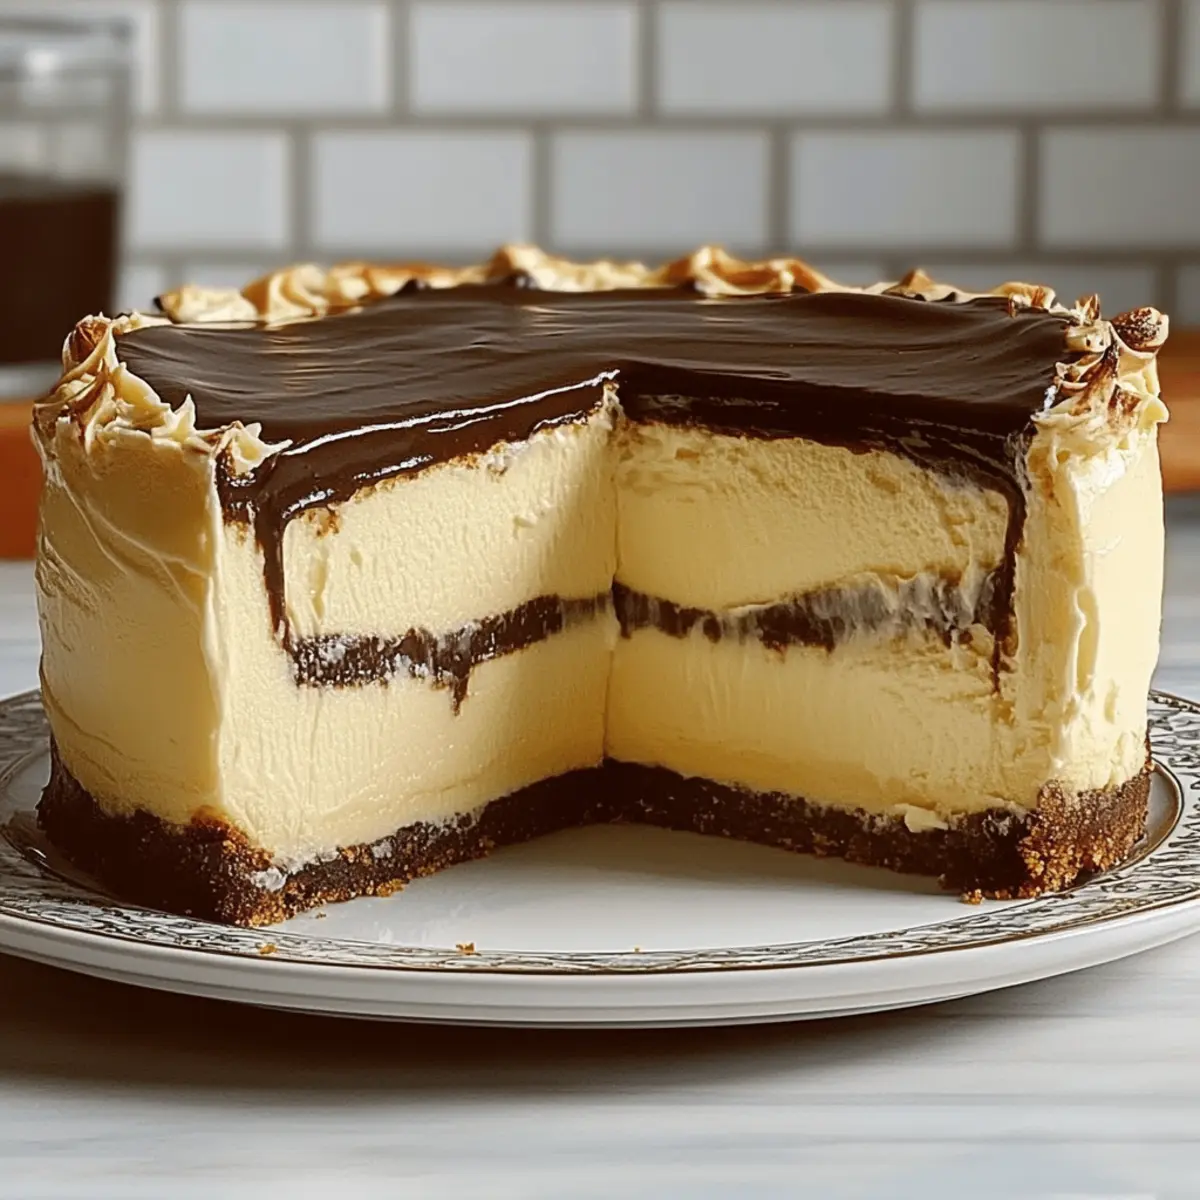
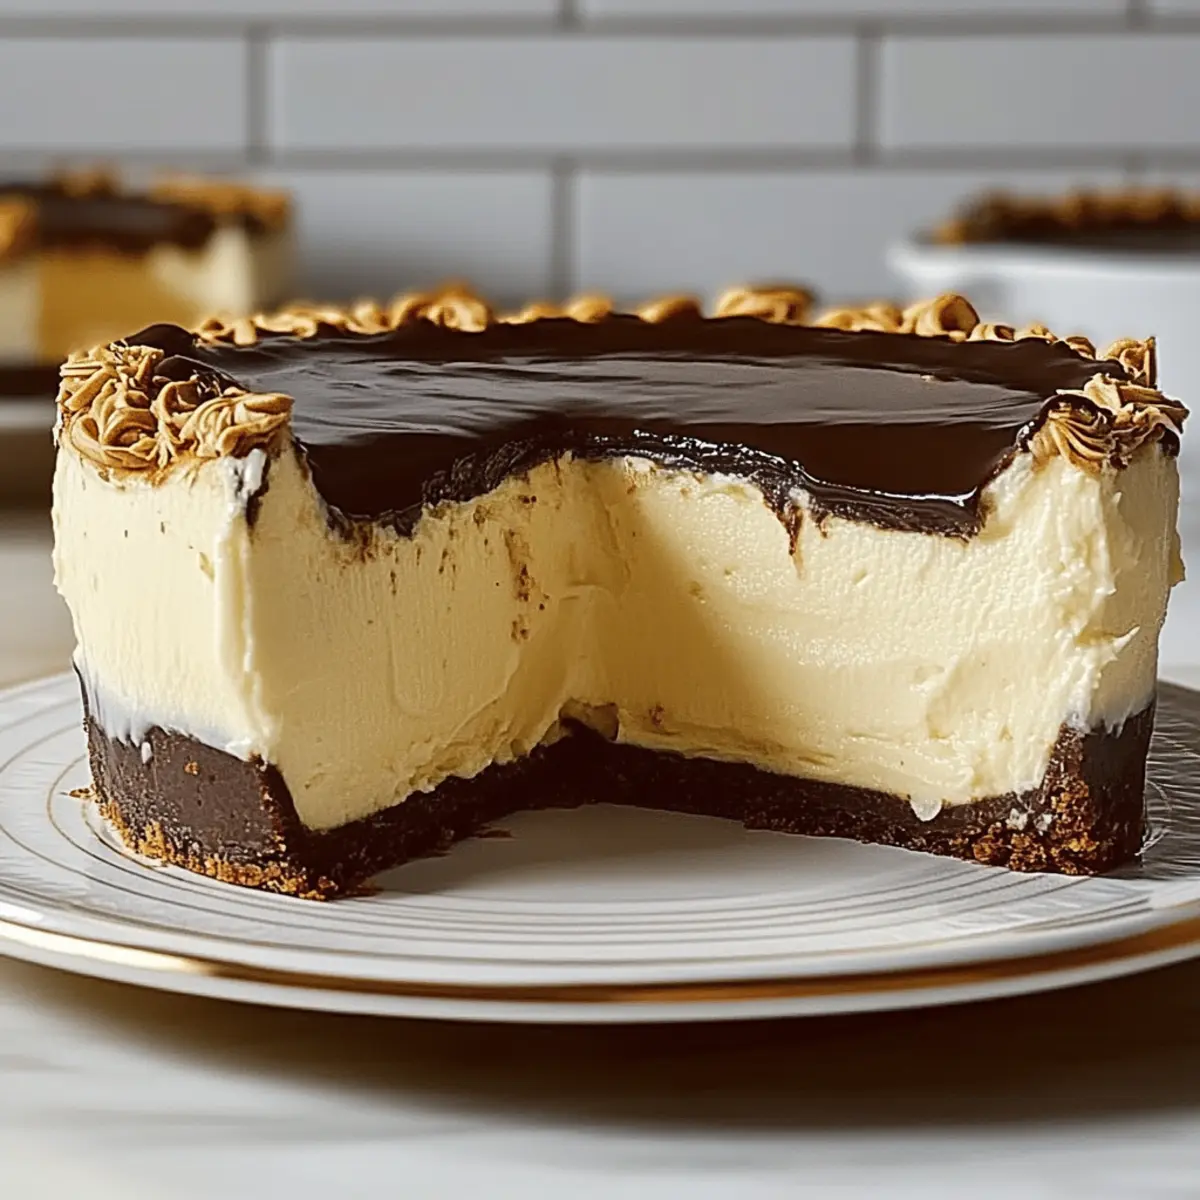
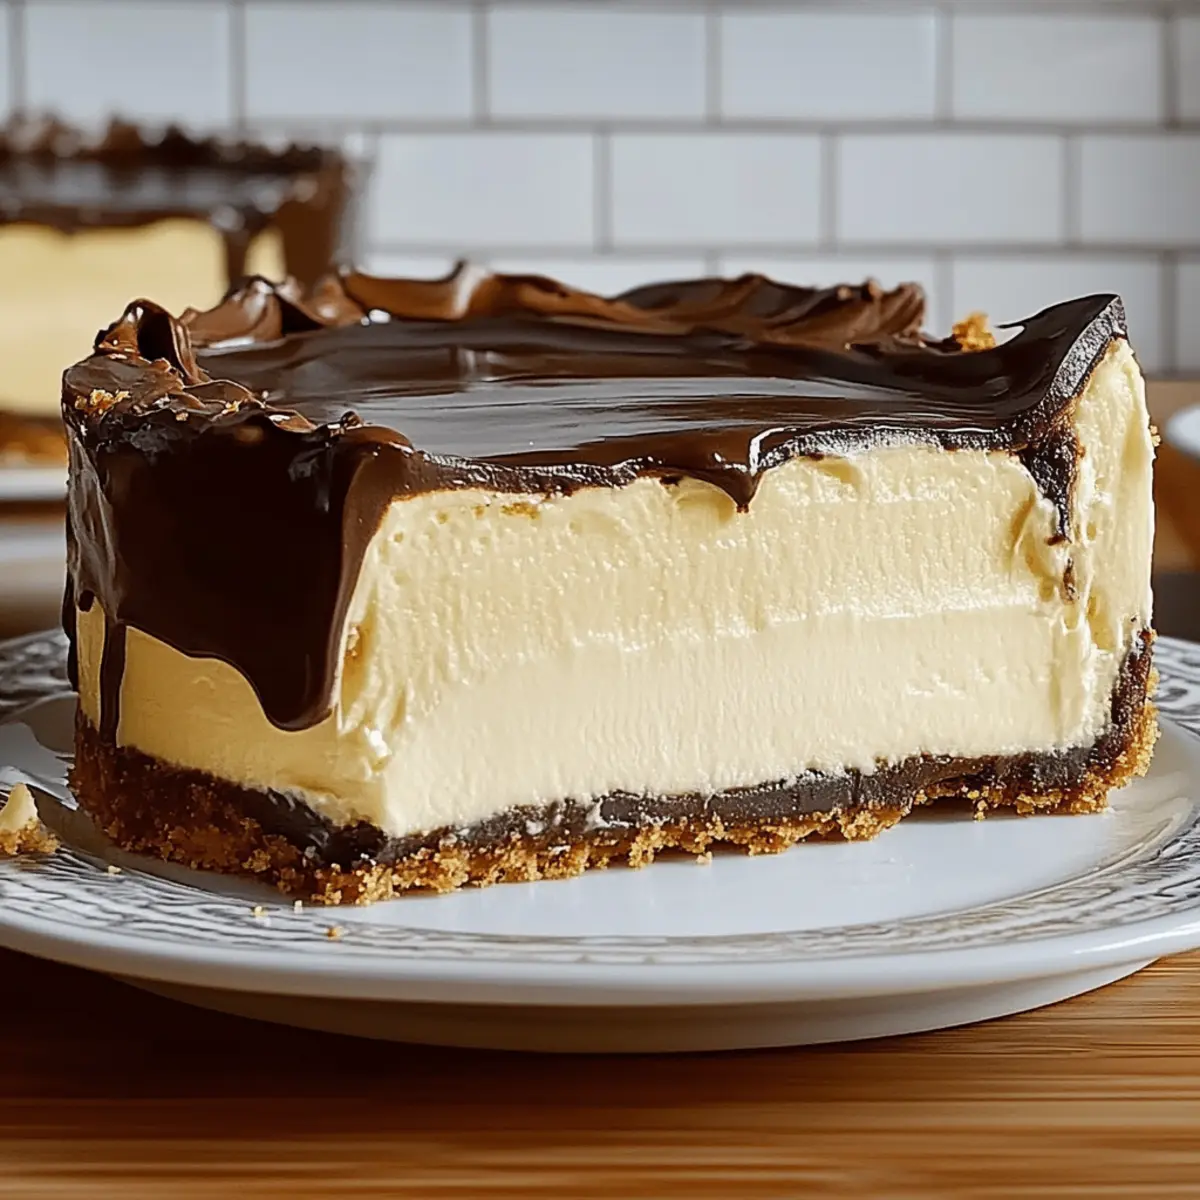
As I sat in my kitchen watching the rain dance against the window, a craving for something nostalgic and sweet began to take hold. It was the perfect moment to whip up an Irresistibly Indulgent Boston Cream Pie! This classic American dessert combines fluffy cake layers filled with velvety vanilla custard and draped in a glossy chocolate ganache, making it the ultimate crowd-pleaser. What I love about this recipe is its delightful charm and how easy it is to make from scratch; you can impress guests without spending all day in the kitchen. Each slice is a ticket back to family gatherings and celebrations, evoking warm memories with every bite. Ready to dive into this delicious journey? Let’s get baking and see how you can put your spin on this timeless favorite!
Why is Boston Cream Pie so beloved?
Irresistible layers of fluffy cake, creamy custard, and rich ganache create a dessert that captivates all. Versatile enough to adapt with chocolate or fruit flavors, you can tailor this classic to your taste. Simple preparation makes it perfect for both novice bakers and seasoned chefs. Nostalgic memories accompany every bite, making it a true crowd-pleaser. For an extra treat, consider pairing it with a dollop of whipped cream or adding festive berries on top—just like you would with our Sweet Potato Pie. Indulge in this delightful dessert without the fuss, and revive family gathering traditions!
Boston Cream Pie Ingredients
This classic dessert is easier to make from scratch than you might think!
For the Cake
- All-Purpose Flour – Provides structure and tenderness; choose high-quality flour for the best results.
- Granulated Sugar – Adds sweetness to both the cake and custard; feel free to adjust to your taste.
- Baking Powder – Essential for rising; make sure it’s fresh for optimal fluffiness.
- Salt – A pinch balances sweetness and enhances flavors in both components.
- Eggs – Contributes to structure and richness; use room temperature eggs for better emulsification.
- Whole Milk – Ensures a moist cake; stick to whole milk for creaminess.
- Vanilla Extract – Provides a lovely aromatic flavor; opt for pure vanilla for a rich taste.
For the Custard
- Milk – Essential for a silky custard texture; maintain creaminess with whole milk.
- Egg Yolks – Creates a rich custard; whisk with sugar for the smoothest result.
- Granulated Sugar – Sweetens the custard; adjust according to your preference.
- Cornstarch – Necessary for thickening the custard; it helps achieve that perfect consistency.
For the Ganache
- Heavy Cream – Adds richness and contributes to a decadent ganache texture.
- Semisweet Chocolate – Chosen for its balanced flavor; darker chocolate can intensify the taste if you prefer a bolder option.
This Boston Cream Pie is a perfect blend of flavors and textures that will delight your taste buds!
Step‑by‑Step Instructions for Boston Cream Pie
Step 1: Prepare Cake Batter
In a mixing bowl, whisk together 2 cups of all-purpose flour, 2 teaspoons of baking powder, and a pinch of salt until well combined. In a separate bowl, mix 4 room temperature eggs, 1 cup of whole milk, 1 cup of granulated sugar, and 2 teaspoons of vanilla extract until smooth. Gently fold the wet mixture into the dry ingredients until no lumps remain, creating a velvety batter ready for baking.
Step 2: Bake Cake
Preheat your oven to 350°F (175°C) and grease two 9-inch round cake pans. Pour the prepared cake batter evenly into the pans and bake for 25–30 minutes, or until the cakes are golden brown and a toothpick inserted in the center comes out clean. Once baked, remove from the oven and allow the layers to cool in the pans for 10 minutes before transferring them to wire racks to cool completely.
Step 3: Make Custard
In a medium saucepan, heat 2 cups of whole milk over medium heat until it just begins to simmer. While the milk heats, whisk together 4 egg yolks and 1/2 cup of granulated sugar in a mixing bowl until pale and fluffy. Gradually pour the hot milk into the egg mixture while whisking continuously to temper the eggs, then return the mixture to the saucepan. Cook on low heat, stirring constantly until thickened, about 5 minutes, then set aside to cool.
Step 4: Prepare Ganache
In a small saucepan, heat 1 cup of heavy cream over medium heat until it bubbles around the edges. Remove from heat and add 8 ounces of semisweet chocolate, letting it sit for 5 minutes to soften. Stir the mixture gently until smooth and glossy, creating a rich chocolate ganache that will beautifully top your Boston Cream Pie.
Step 5: Assemble Pie
On a serving plate, place one cooled cake layer and spread a generous amount of custard on top, smoothing it out evenly. Gently place the second cake layer on top of the custard and press down slightly. Finally, pour the warm ganache over the top of the cake, allowing it to drip down the sides. Refrigerate the assembled Boston Cream Pie for at least 30 minutes to set, ensuring a delightful slice when served.
Expert Tips for Boston Cream Pie
- Cooling Time: Ensure cake layers are completely cooled before adding custard. If they’re warm, the custard can melt and slide off.
- Consistent Whisking: To prevent curdling, whisk continuously while heating the custard. This will ensure it thickens perfectly and has a silky texture.
- Storage Advice: Store leftovers covered in the refrigerator for 2-3 days. For longer storage, tightly wrap individual slices and freeze them for up to 2 months.
- Flavor Variations: Feel free to experiment with the cake flavor! Consider using chocolate cake or adding fruit to the custard for a unique twist on this classic Boston Cream Pie.
- Perfecting Ganache: If your ganache is too thick, add a splash of warm cream to loosen it up. This will help you achieve that lustrous finish on your pie.
Make Ahead Options
Preparing Boston Cream Pie in advance is a fantastic way to save time and reduce stress, especially for busy weeknights or special occasions! You can bake the cake layers up to 24 hours in advance; just make sure to wrap them tightly in plastic wrap to prevent drying out. The custard can be made up to 3 days before serving—store it in an airtight container in the refrigerator to keep it fresh and creamy. When you’re ready to assemble, simply layer the custard between the cake, top with the ganache, and let it set in the fridge for at least 30 minutes for that perfect slice. This way, your Boston Cream Pie will be just as delicious with minimal last-minute effort!
How to Store and Freeze Boston Cream Pie
Fridge: Store leftover Boston Cream Pie covered in the refrigerator for up to 2-3 days. This will help maintain its creamy custard and luscious ganache.
Freezer: For longer-term storage, wrap individual slices tightly in plastic wrap and foil. You can freeze them for up to 2 months, preserving the delicious layers.
Reheating: To enjoy frozen slices, thaw in the fridge overnight before serving. For a warm treat, you can gently microwave for about 10-15 seconds.
Assembly Tip: When storing assembled cake, always ensure it’s completely cooled before covering to prevent condensation, keeping your pie perfect and flavorful!
What to Serve with Irresistibly Indulgent Boston Cream Pie
Savoring a slice of Boston Cream Pie is truly a delightful experience, and pairing it with the right accompaniments elevates your dessert moment to a whole new level.
- Fresh Berries: Their natural sweetness and tartness complement the rich custard and chocolate, adding a refreshing contrast.
- Whipped Cream: A dollop of fluffy whipped cream adds an airy texture, making each bite even more luxurious and indulgent.
- Coffee: Whether you prefer a rich espresso or a velvety latte, the warmth and slight bitterness of coffee balance the sweetness of the pie perfectly.
- Chocolate Drizzle: For chocolate lovers, an extra drizzle on your plate amplifies the ganache and brings a touch of elegance to your serving.
- Vanilla Ice Cream: A scoop of creamy vanilla ice cream melts delightfully against the warm ganache, creating a heavenly flavor combination.
- Mint Sprigs: A few fresh mint leaves elevate the presentation and provide a hint of freshness that counterbalances the dessert’s richness.
- Coconut Macarons: These chewy and sweet treats offer a delightful contrast in texture and playfully complement the flavors of the pie.
- Hazelnut Liqueur: A splash of Frangelico or your favorite nutty liqueur brings warmth to your dessert evening, enhancing flavors in each bite.
- Ginger Tea: The soft spice of ginger tea aids digestion and pairs nicely with the pie’s indulgent attributes, creating a cozy finish to your meal.
- Cheesecake Bites: These decadent mini desserts echo the creamy textures of the Boston Cream Pie and can entice guests with an array of flavors.
Boston Cream Pie Variations
Feel free to put your own twist on this classic dessert to suit your taste and impress your loved ones!
-
Chocolate Cake: Swap the vanilla cake for rich chocolate cake layers for a decadent fusion.
-
Flavored Custard: Experiment with different custard flavors, like coffee or mocha, to enhance the experience.
-
Fruit Add-Ins: Add fresh fruits, such as strawberries or bananas, between layers for a delightful surprise.
-
Nutty Crunch: Incorporate crushed nuts, like almonds or hazelnuts, into the custard for a delightful texture twist.
-
Dairy-Free Option: Use almond or coconut milk and dairy-free chocolate for a delicious vegan version.
-
Citrus Zest: Add orange or lemon zest to the custard for a bright, refreshing flavor contrast.
-
Spiced Touch: Try a dash of cinnamon or nutmeg in the cake batter to warm up the flavor profile.
-
Serve Warm: For a cozy touch, serve slices slightly warmed in the microwave, paired with a scoop of vanilla ice cream.
These variations not only keep things exciting but also allow you to personalize your Boston Cream Pie! If you’re in the mood for more delightful desserts, check out our Hot Honey Cream for a savory dip or the comforting Cinnamon Blondies Maple to sweeten the deal. Happy baking!
Boston Cream Pie Recipe FAQs
What ingredients should I choose for the best Boston Cream Pie?
Absolutely! For the cake, high-quality all-purpose flour is crucial for structure, and using room temperature eggs helps with emulsification. When it comes to milk and cream, whole milk and heavy cream keep your cake moist and your ganache rich. For the best flavor, opt for pure vanilla extract instead of imitation.
How should I store leftovers of my Boston Cream Pie?
Very simple! Cover your Boston Cream Pie with plastic wrap or aluminum foil and store it in the refrigerator for up to 2-3 days. This helps maintain the creamy custard and ganache so every bite is just as delightful as the first!
Can I freeze Boston Cream Pie, and if so, how?
Absolutely! To freeze slices of your Boston Cream Pie, wrap each piece tightly in plastic wrap, followed by a layer of aluminum foil. This prevents freezer burn and keeps them delicious. You can freeze them for up to 2 months! When you’re ready to enjoy a slice, simply place it in the fridge to thaw overnight, and it’ll be ready to enjoy.
What if my custard doesn’t thicken properly?
Don’t worry, it happens! Ensure you’re whisking continuously while heating the custard; this is key to preventing curdling and achieving that silky texture. If you find your custard is still too runny, return it to the heat, and add an additional tablespoon of cornstarch mixed with a little cold milk to help thicken it further. Remember, patience is a virtue in custard-making!
Are there any dietary considerations I should keep in mind when making Boston Cream Pie?
Definitely! If you or your guests have allergies, be cautious with the eggs and dairy used in this recipe. For a dairy-free version, you might try plant-based milk alternatives and dairy-free chocolate for the ganache. Also, always check your chocolate and other ingredients for potential allergens.
Can I make variations on the flavors of my Boston Cream Pie?
Absolutely! Feel free to substitute chocolate cake for the vanilla base or experiment with flavored custards like chocolate, coffee, or even fruit-infused custards. Adding fresh fruits such as strawberries or bananas provides an extra pop of flavor and makes this classic dessert your own!
Delicious Homemade Boston Cream Pie: A Crowd-Pleaser Recipe
Ingredients
Equipment
Method
- In a mixing bowl, whisk together 2 cups of all-purpose flour, 2 teaspoons of baking powder, and a pinch of salt until well combined.
- In a separate bowl, mix 4 room temperature eggs, 1 cup of whole milk, 1 cup of granulated sugar, and 2 teaspoons of vanilla extract until smooth.
- Gently fold the wet mixture into the dry ingredients until no lumps remain, creating a velvety batter ready for baking.
- Preheat your oven to 350°F (175°C) and grease two 9-inch round cake pans.
- Pour the prepared cake batter evenly into the pans and bake for 25–30 minutes, or until the cakes are golden brown and a toothpick inserted in the center comes out clean.
- Once baked, remove from the oven and allow the layers to cool in the pans for 10 minutes before transferring them to wire racks to cool completely.
- In a medium saucepan, heat 2 cups of whole milk over medium heat until it just begins to simmer.
- While the milk heats, whisk together 4 egg yolks and 1/2 cup of granulated sugar in a mixing bowl until pale and fluffy.
- Gradually pour the hot milk into the egg mixture while whisking continuously to temper the eggs, then return the mixture to the saucepan.
- Cook on low heat, stirring constantly until thickened, about 5 minutes, then set aside to cool.
- In a small saucepan, heat 1 cup of heavy cream over medium heat until it bubbles around the edges.
- Remove from heat and add 8 ounces of semisweet chocolate, letting it sit for 5 minutes to soften.
- Stir the mixture gently until smooth and glossy, creating a rich chocolate ganache.
- On a serving plate, place one cooled cake layer and spread a generous amount of custard on top, smoothing it out evenly.
- Gently place the second cake layer on top of the custard and press down slightly.
- Finally, pour the warm ganache over the top of the cake, allowing it to drip down the sides.
- Refrigerate the assembled Boston Cream Pie for at least 30 minutes to set.
Leave a Reply