
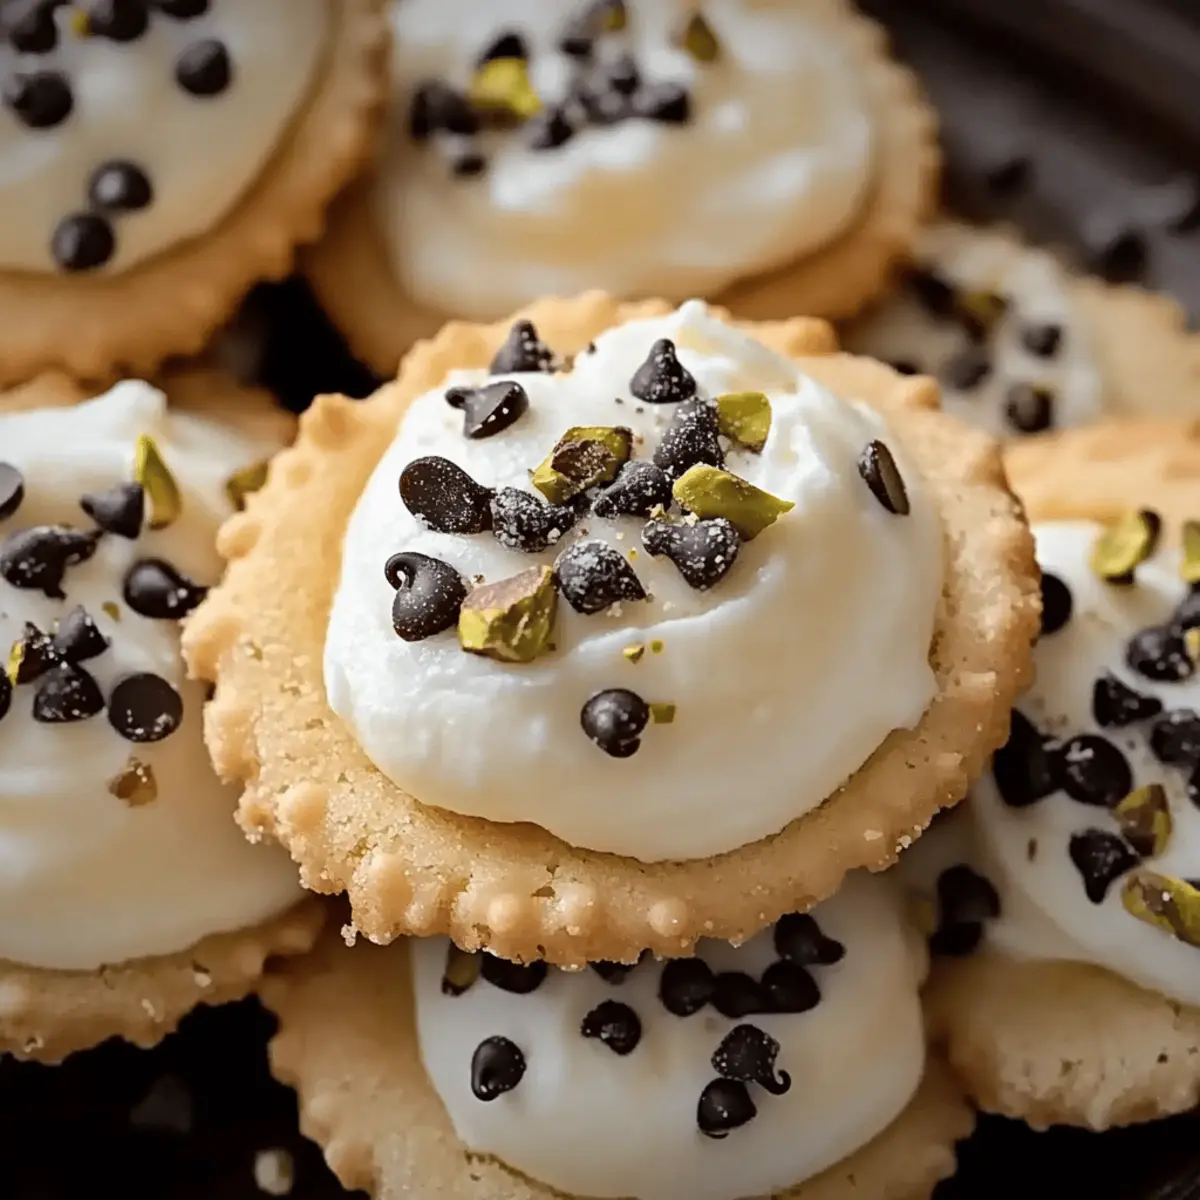
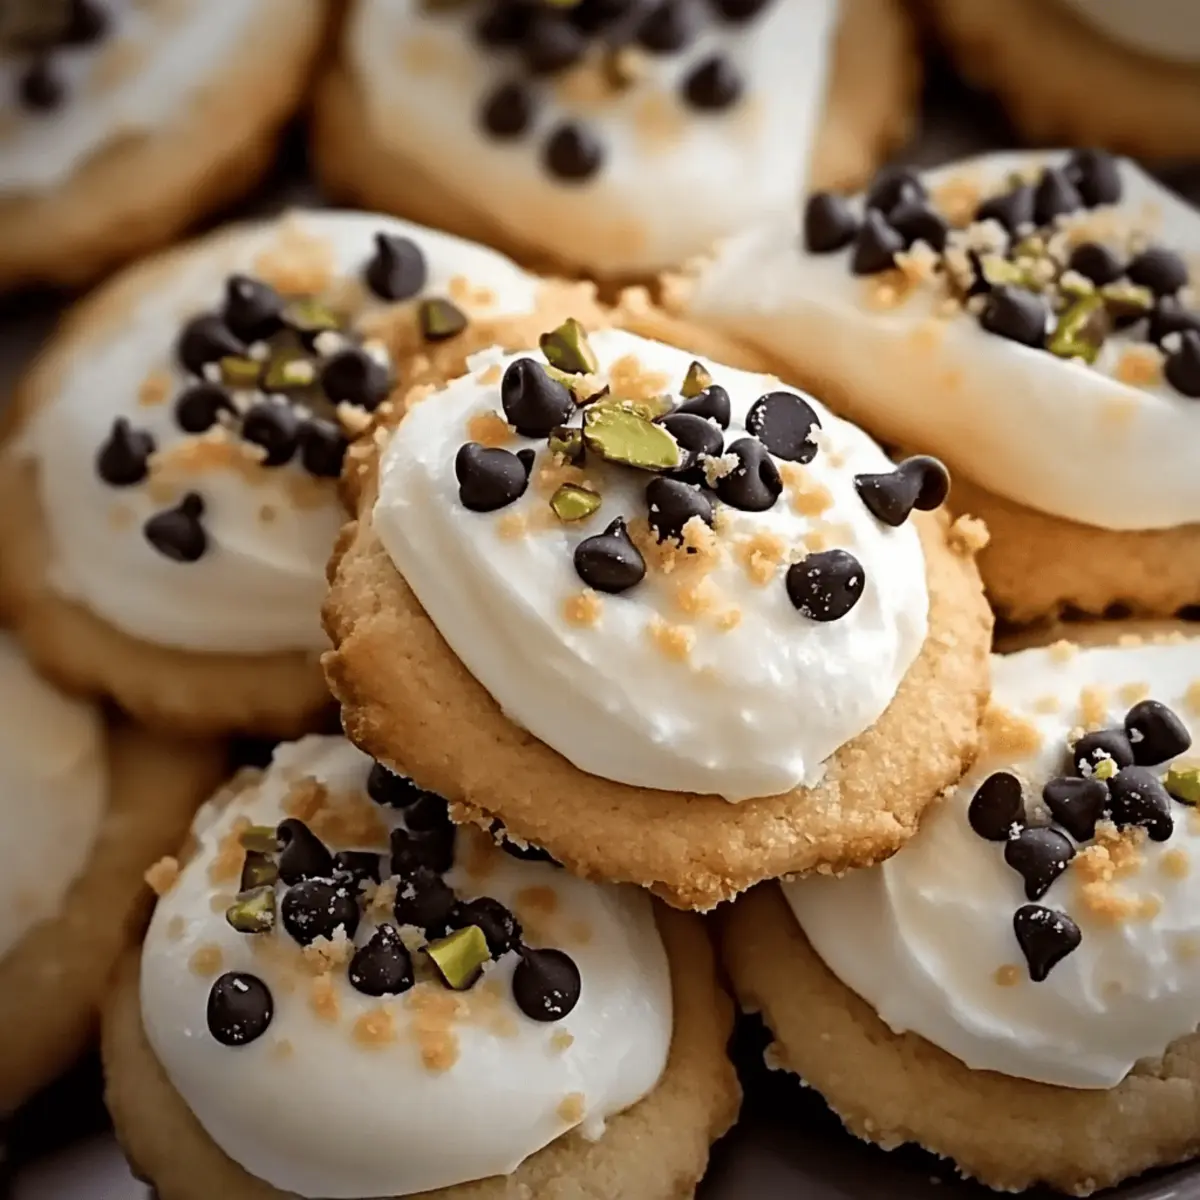
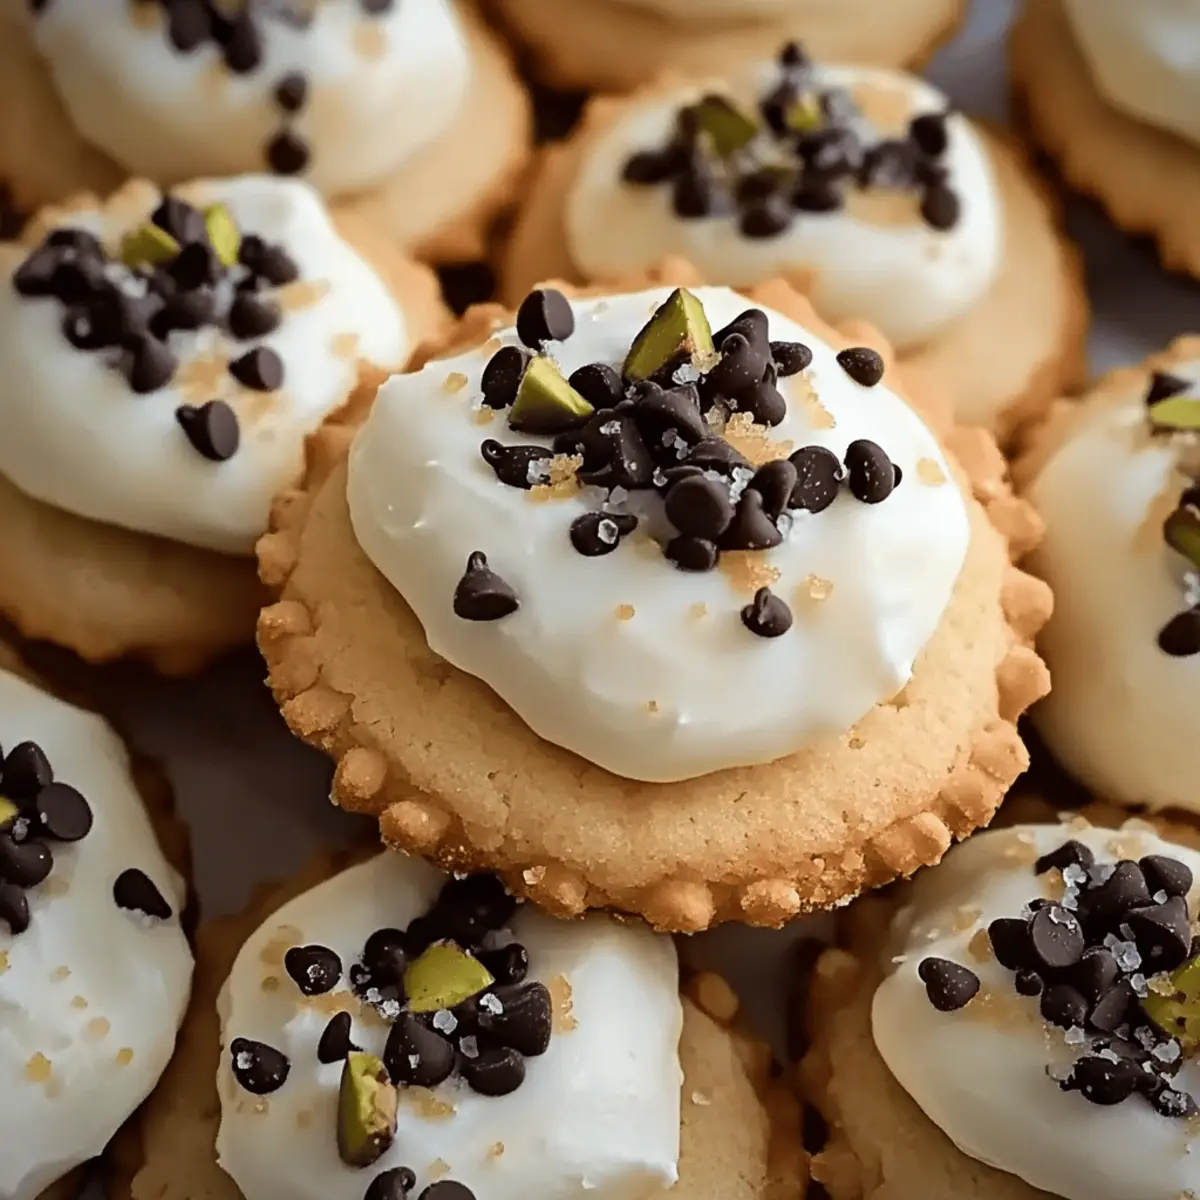
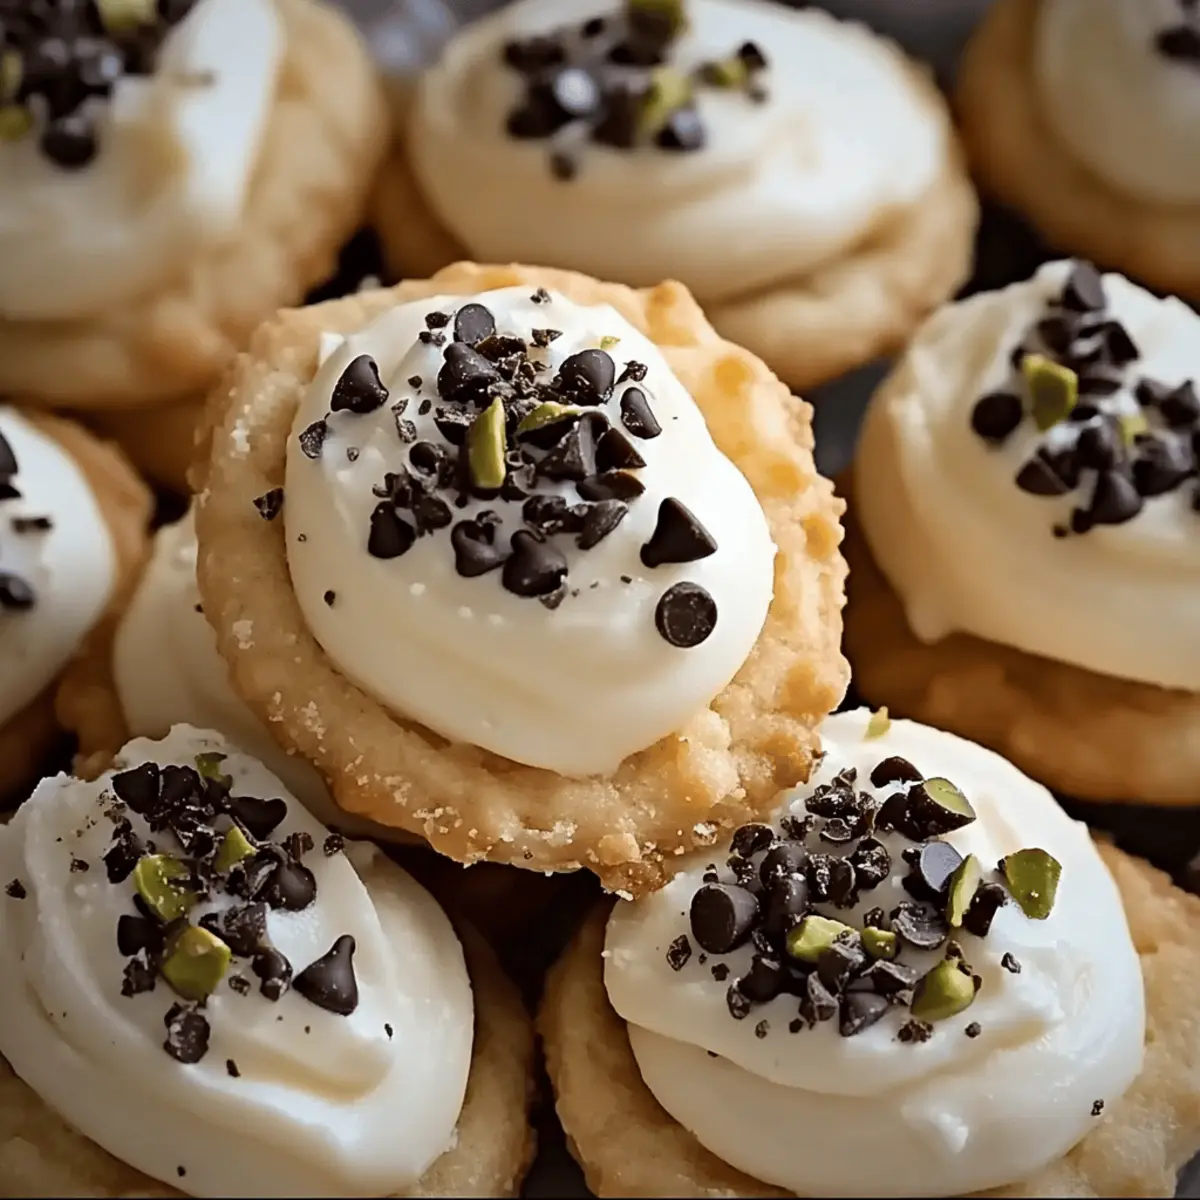
As I stood by the kitchen counter, the warm, sweet aroma of freshly baked Cannoli Cookies wafted through the air, transporting me straight to an Italian pastry shop. These delightful treats combine the beloved flavors of classic cannoli into perfectly bite-sized cookies, featuring a crisp exterior and a rich, creamy ricotta filling that’s simply irresistible. What I love most about these Cannoli Cookies is how easy they are to whip up, making them a fantastic choice for any gathering or a cozy night in. Plus, with endless customization options—from swapping in different nuts to experimenting with spices—you can make them your own. Ready to indulge in these sweet Italian delights that are sure to please your dessert-loving crowd? Let’s get baking!
Why Are Cannoli Cookies So Irresistible?
Unforgettable Flavor: Every bite bursts with cheesy sweetness from the ricotta and the crunch of pistachios, perfectly reminiscent of your favorite cannoli.
Easy to Make: With a straightforward process, you’ll be baking like a pro in no time—ideal for both novice cooks and seasoned chefs.
Customizable Treat: Feel free to experiment with flavors! Add white chocolate, citrus zest, or even spices to put your unique spin on these delightful cookies.
Crowd-Pleasing Dessert: These bite-sized treats are perfect for sharing at gatherings, making you the star of any event. Everyone loves a sweet that combines nostalgia and convenience!
Delight in Every Bite: Whether enjoyed with coffee or as a sweet ending to a meal, these Cannoli Cookies will transport your taste buds to Italy with each melt-in-your-mouth moment.
Cannoli Cookies Ingredients
For the Cookie Dough
- All-Purpose Flour – Provides structure; substitute with gluten-free flour for a gluten-free version.
- Baking Powder – Helps cookies rise and become fluffy.
- Salt – Enhances flavor and balances out the sweetness.
- Unsalted Butter – Adds richness and moisture; for a dairy-free option, use coconut oil.
- Granulated Sugar – Sweetens the dough, creating a delicious base.
- Large Eggs – Binds the ingredients and contributes to the cookies’ texture.
- Vanilla Extract – Introduces aromatic flavor; swap for almond extract for a different twist.
For the Ricotta Filling
- Ricotta Cheese – Offers the unique cannoli flavor and creamy texture that makes these cookies special.
- Mini Chocolate Chips – Adds a sweet contrast in texture; opt for dried fruits or nuts for a twist.
For the Topping
- Chopped Pistachios – Gives a delightful crunch and enhances presentation; can substitute with chopped almonds or walnuts.
- Powdered Sugar for Dusting – Adds aesthetics and a touch of sweetness to finish these Cannoli Cookies perfectly.
Step‑by‑Step Instructions for Cannoli Cookies
Step 1: Preheat and Prepare
Begin by preheating your oven to 375°F (190°C). Meanwhile, line two baking sheets with parchment paper to prevent sticking. This initial prep ensures your Cannoli Cookies will bake evenly and come off the sheets with ease once they’re done.
Step 2: Combine Dry Ingredients
In a mixing bowl, whisk together 2 cups of all-purpose flour, 1 teaspoon of baking powder, and a pinch of salt until well blended. This mixture will act as the foundation of your Cannoli Cookies, providing structure and helping them rise beautifully as they bake.
Step 3: Cream Butter and Sugar
In a separate large bowl, cream together 1 stick of softened unsalted butter and 1 cup of granulated sugar. Beat them with an electric mixer on medium speed for about 2-3 minutes until the mixture becomes light and fluffy, ensuring a rich texture in your cookies.
Step 4: Incorporate Eggs and Vanilla
Add 2 large eggs, one at a time, to the butter and sugar mixture, beating well after each addition. Then, mix in 1 teaspoon of vanilla extract. Continue blending until the mixture is smooth, allowing the flavors to meld before moving on to the next step.
Step 5: Mix in Ricotta Cheese
Now, gently fold in 1 cup of ricotta cheese until it’s fully incorporated into the wet mixture. The ricotta will impart a creamy sweetness to your Cannoli Cookies, enhancing their signature flavor and making them incredibly delightful.
Step 6: Combine Wet and Dry Ingredients
Gradually add the dry ingredients from Step 2 into the wet mixture, stirring until just combined. Avoid overmixing, as this prevents your cookies from becoming tough. The dough should be slightly sticky but well-formed, ready for the next delicious additions.
Step 7: Add Chocolate Chips and Pistachios
Carefully fold in ½ cup of mini chocolate chips and ½ cup of chopped pistachios into the dough. These ingredients add texture and richness, making each bite of your Cannoli Cookies a delightful surprise of flavors.
Step 8: Shape the Cookies
Using a tablespoon, drop spoonfuls of dough onto the prepared baking sheets, ensuring they are spaced about 2 inches apart. This spacing allows the cookies to spread without merging into each other as they bake, creating those perfect cannoli-inspired shapes.
Step 9: Bake to Perfection
Place the baking sheets in the preheated oven and bake for 12-15 minutes or until the edges of the Cannoli Cookies are lightly golden. Keep an eye out for a slight puffing – this indicates they’re beautifully baked and ready to come out.
Step 10: Cool and Dust
Once baked, allow the cookies to cool on the baking sheets for 5 minutes before transferring them to wire racks. Once fully cooled, dust the tops of your Cannoli Cookies with powdered sugar for a touch of sweetness and a gorgeous finish, making them irresistible!
Expert Tips for Cannoli Cookies
• Softened Butter: Ensure your butter is truly softened for optimal creaming. This step is key to achieving light, fluffy Cannoli Cookies.
• Avoid Overmixing: Gently mix the dough—overmixing can lead to cookies that are tough instead of tender.
• Experiment with Flavors: Don’t hesitate to customize your Cannoli Cookies with different extracts or mix-ins to find your perfect flavor combination!
• Proper Cooling: Always cool the cookies slightly on the baking sheets first; this helps prevent breakage when transferring them to wire racks.
• Store Fresh: Keep your cookies in an airtight container at room temperature for a week or freeze for long-lasting enjoyment.
How to Store and Freeze Cannoli Cookies
Room Temperature: Store baked Cannoli Cookies in an airtight container at room temperature for up to 7 days to maintain freshness and flavor.
Fridge: For slightly longer storage, you can refrigerate the cookies for up to 10 days; ensure they are well-sealed to prevent drying out.
Freezer: Freeze Cannoli Cookies by placing them in a single layer in an airtight container or freezer bag for up to 3 months. Thaw at room temperature before serving.
Reheating: If you prefer warm cookies, reheat individually in the microwave for about 10-15 seconds. This will refresh their creamy texture and delightful flavor!
Cannoli Cookies: Get Creative Here!
Feel free to play around and make these Cannoli Cookies uniquely yours, elevating their flavors and textures!
-
Gluten-Free: Swap all-purpose flour with gluten-free flour for an equally delightful treat that everyone can enjoy.
Experimenting with different gluten-free blends creates fun new tastes while maintaining that essential cookie structure. -
Dairy-Free: Use coconut oil in place of unsalted butter for a rich, dairy-free option.
The slight coconut essence will be a delightful surprise, adding a tropical twist to the traditional flavors. -
Citrusy Delight: Add grated lemon or orange zest to the dough for a refreshing burst of flavor.
The citrus notes brighten the cookies, making them not only delicious but also vibrant and aromatic. -
Nutty Variations: Replace chopped pistachios with almonds or walnuts for a deliciously crunchy alternative.
This small switch can change the flavor profile while still keeping that delightful crunch factor. -
Spicy Kick: Incorporate a touch of cinnamon or nutmeg into the dough for warmth and a hint of spice.
It brings a delightful aromatic essence that can remind you of cozy, baked holiday treats! -
Sweet Swap: Try substituting mini chocolate chips with white chocolate for a sweeter note.
This variation offers a delightful contrast against the creaminess of the ricotta, providing a delicious twist! -
Alternative Fillings: Incorporate a mix of dried fruits or nuts instead of chocolate chips to explore new textures.
This twist not only makes your cookies unique but also adds bursts of sweetness from the fruits themselves.
For even more inspiration, consider pairing your Cannoli Cookies with a steaming cup of coffee or tea, or showcase them as a centerpiece at your next gathering for that wow factor! With these variations, each batch becomes a new creation to share and savor.
What to Serve with Cannoli Cookies?
These delightful cookies are the perfect way to end any meal, inviting you to combine flavors and textures for a memorable dessert experience.
-
Rich Gelato: Indulge in a scoop of your favorite gelato to create a creamy contrast with the crispy Cannoli Cookies.
-
Espresso or Coffee: The robust notes of coffee elevate the cookies and enhance their sweet flavors, making for a classic Italian pairing.
-
Fresh Berries: Serve a side of mixed berries for a refreshing and vibrant balance, adding a burst of color and a hint of tartness.
-
Sweet Wine: A glass of dessert wine, like Moscato, complements the sweetness of the cookies, making for a refined treat.
-
Chocolate Fondue: Dip half of the Cannoli Cookies into warm chocolate for an indulgent and interactive dessert experience that’ll wow your guests.
-
Whipped Cream: A dollop of fresh whipped cream adds a light and airy texture that perfectly offsets the richness of the cookies.
-
Coconut Macaroons: Pair these cookies with chewy coconut macaroons for a creative dessert platter, offering lovely contrast in flavors and textures.
-
Almond Biscotti: The crunchy, nutty flavors of biscotti make for a perfect match alongside your soft Cannoli Cookies during coffee time.
Make Ahead Options
These Cannoli Cookies are perfect for busy cooks looking to save time during the week! You can prepare the dough up to 24 hours in advance; simply follow the first six steps, then wrap the dough tightly in plastic wrap and refrigerate. To maintain the cookies’ delightful texture, be sure to let the dough come to room temperature before shaping and baking. The cookies can be baked and stored in an airtight container for up to 3 days, still tasting just as delicious. When ready to enjoy, simply dust with powdered sugar just before serving, and you’ll have these sweet treats ready to impress with minimal effort!
Cannoli Cookies Recipe FAQs
What is the best way to select ricotta cheese for my Cannoli Cookies?
Absolutely! When choosing ricotta cheese, look for a fresh product with a creamy texture and no excess moisture. Opt for whole milk ricotta for the richest flavor, or if you prefer a lighter option, you can use part-skim ricotta, although it may slightly alter the creaminess.
How should I store Cannoli Cookies after baking?
To keep your Cannoli Cookies fresh, store them in an airtight container at room temperature for up to 7 days. If you’d like them to last longer, consider refrigerating for up to 10 days in a properly sealed container to prevent them from drying out.
Can I freeze Cannoli Cookies, and how should I do it?
Very! Freezing Cannoli Cookies is a great way to enjoy them later. To freeze, place your cookies in a single layer in an airtight container or a freezer bag. They can remain in the freezer for up to 3 months. When you’re ready to enjoy, simply thaw them at room temperature, and if you wish, warm them slightly in the microwave for 10-15 seconds to refresh their delightful flavors.
What can I do if my cookie dough seems too dry?
Don’t worry! If your dough feels too dry, it could benefit from a touch of moisture. Add a tablespoon of milk or cream to the dough and mix just until incorporated. This should help achieve the ideal cookie dough consistency, ensuring your Cannoli Cookies turn out tender and delicious.
Are Cannoli Cookies safe for pets or individuals with allergies?
It’s essential to be cautious! Cannoli Cookies contain ingredients like butter, sugar, and chocolate, which are not suitable for pets. For individuals with dietary restrictions like lactose intolerance or nut allergies, consider substitutions such as dairy-free ricotta or skipping the chocolate chips. Always be sure to check labels for allergens specific to the ingredients you’re using.
Can I customize the flavor of my Cannoli Cookies?
Absolutely! There are countless ways to add your personal twist to Cannoli Cookies. You can experiment with citrus zest, swap in white chocolate for the mini chocolate chips, or even sprinkle in spices like cinnamon or nutmeg. The more you explore, the more delightful discoveries you’ll make!
Cannoli Cookies: Irresistibly Creamy and Crisp Delights
Ingredients
Equipment
Method
- Begin by preheating your oven to 375°F (190°C). Line two baking sheets with parchment paper.
- In a mixing bowl, whisk together 2 cups of all-purpose flour, 1 teaspoon of baking powder, and a pinch of salt.
- In a large bowl, cream together 1 stick of softened unsalted butter and 1 cup of granulated sugar until light and fluffy.
- Add 2 large eggs, one at a time, and mix in 1 teaspoon of vanilla extract until smooth.
- Fold in 1 cup of ricotta cheese until fully incorporated.
- Gradually add the dry ingredients into the wet mixture, stirring until just combined.
- Carefully fold in ½ cup of mini chocolate chips and ½ cup of chopped pistachios.
- Drop spoonfuls of dough onto prepared baking sheets, spacing them about 2 inches apart.
- Bake for 12-15 minutes or until the edges are lightly golden.
- Allow the cookies to cool on the baking sheets for 5 minutes before transferring to wire racks. Dust with powdered sugar.
Leave a Reply