
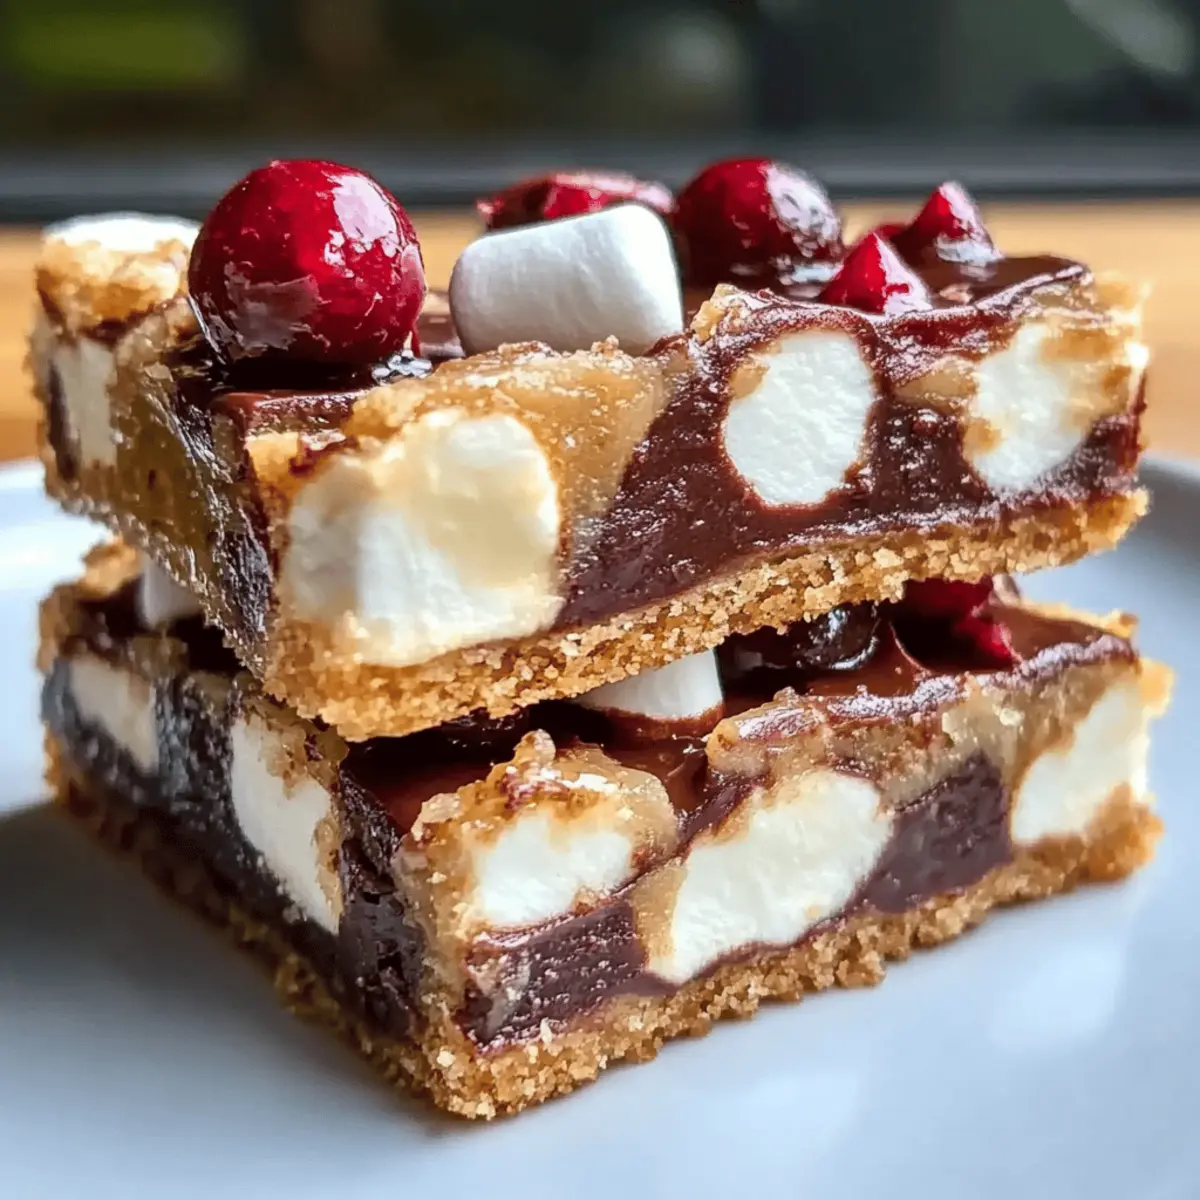
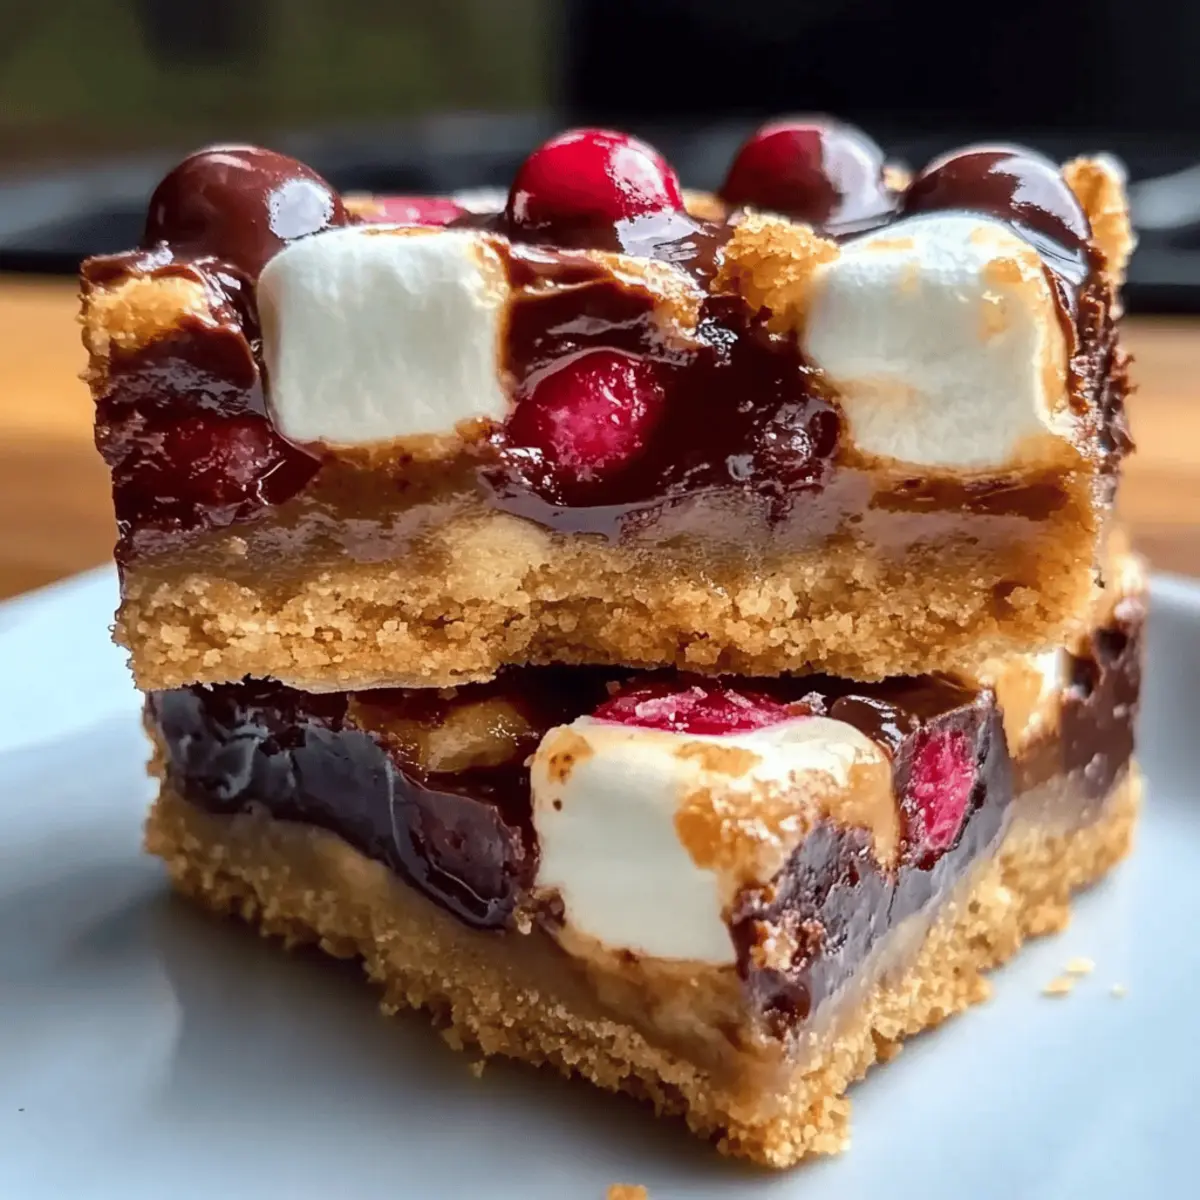
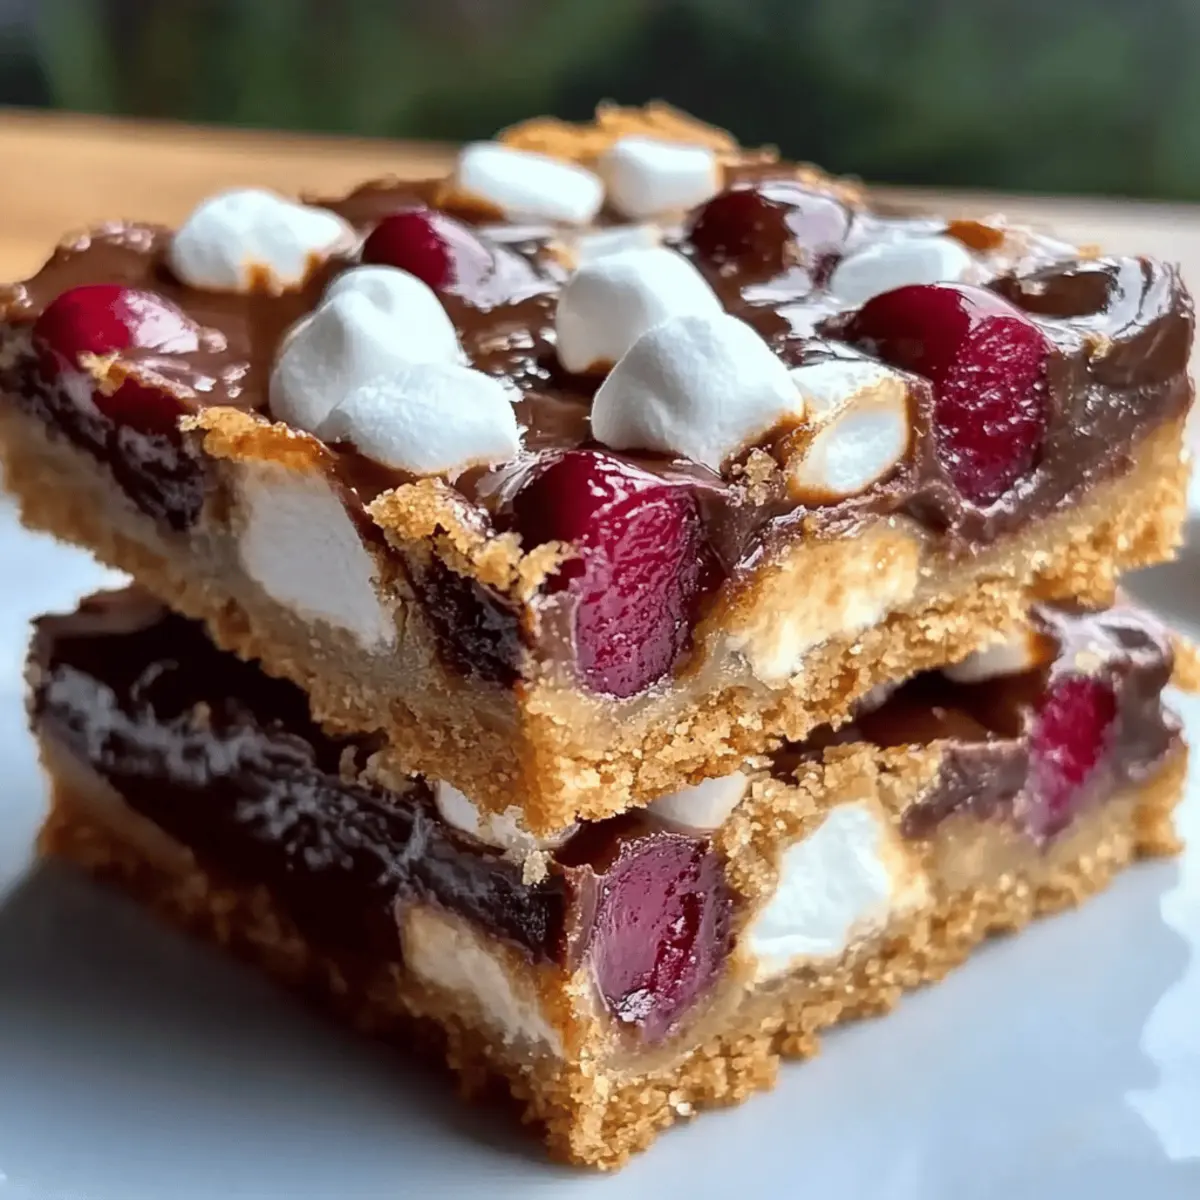
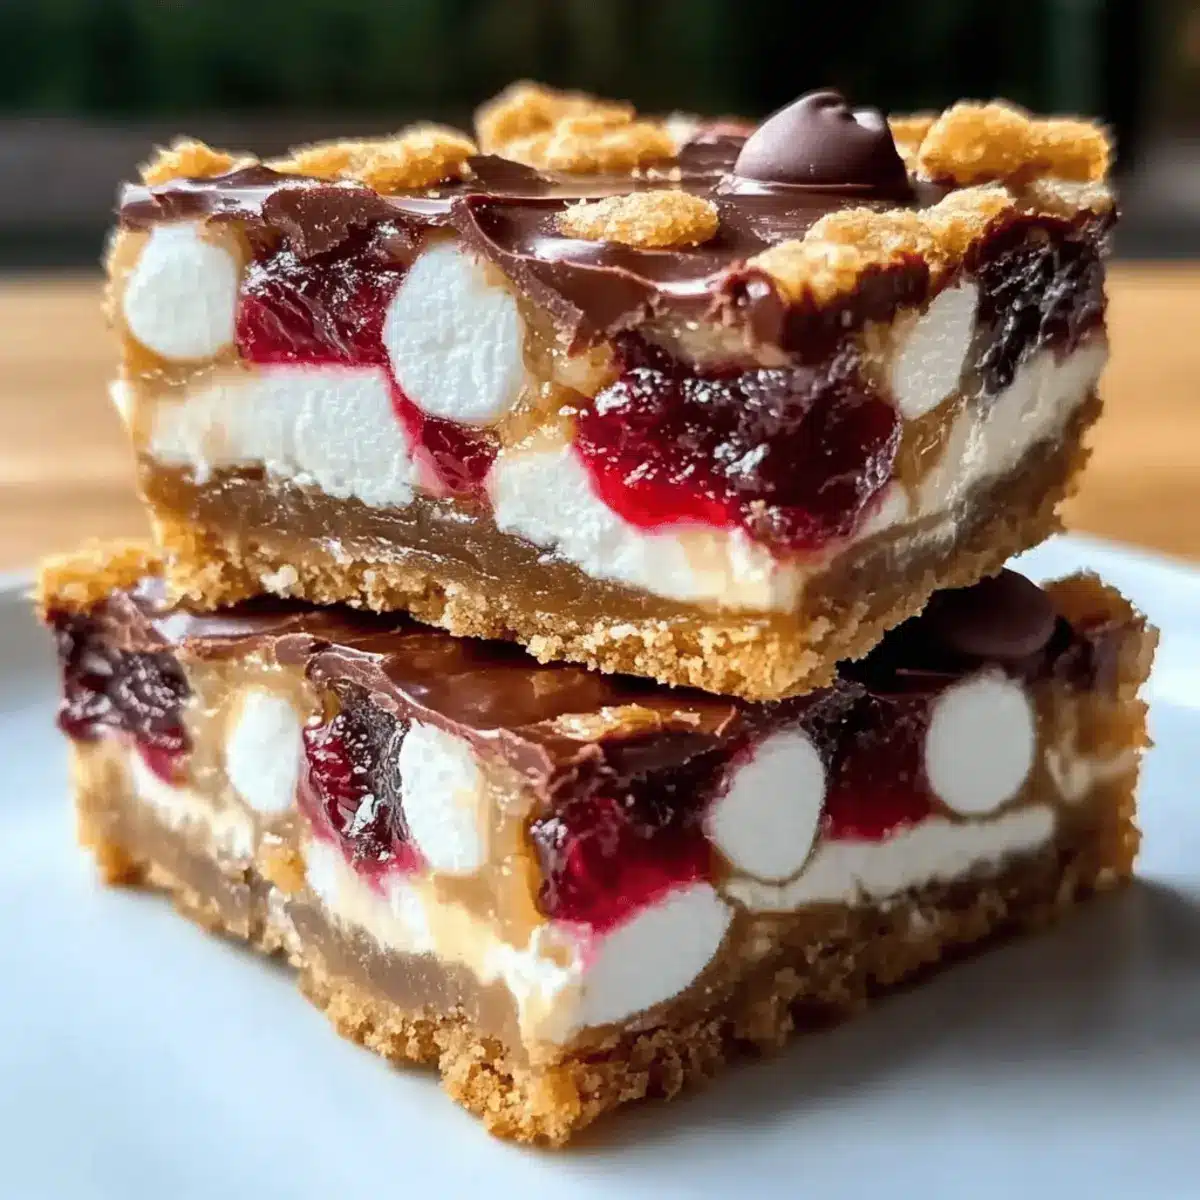
“Christmas is a time for warmth, love, and delightful treats that make memories come alive. That’s why I’m excited to share my recipe for Christmas Bars—an incredibly easy festive dessert that you can whip up in just 45 minutes. These bars combine rich chocolate, fluffy marshmallows, and a hint of crunch, offering not just a quick sugary fix, but also a customizable treat perfect for everyone, whether you need nut-free, gluten-free, or even vegan options. Picture serving these at your holiday gathering, delighting friends and family with their inviting aroma and cheerful presentation. So, are you ready to create a dessert that will have everyone coming back for seconds?”
Why Are Christmas Bars So Irresistible?
Uniquely Festive: These Christmas Bars effortlessly embody the spirit of the holidays with their warm, inviting flavors.
Quick and Easy: In just 45 minutes, you can present a stunning dessert that requires minimal effort—perfect for busy hosts!
Customizable Delight: With options for nut-free, gluten-free, or vegan adaptations, there’s a variation to match everyone’s dietary needs.
Texture Extravaganza: The blend of chewy marshmallows, rich chocolate, and a hint of crunch make every bite a treat to remember.
Crowd-Pleaser: Your friends and family will be raving about these bars, ensuring they’ll be a staple at all your festive gatherings.
Consider pairing them with a warm drink or serving them on a decorative platter for a festive touch!
Christmas Bars Ingredients
Get ready to create these festive treats!
For the Base
- Graham Cracker Crumbs – Provides a sweet, crunchy base; substitute with crushed gluten-free graham crackers for a gluten-free option.
- Unsweetened Cocoa Powder – Adds rich chocolate flavor; opt for high-quality cocoa for best results.
- Powdered Sugar – Sweetens the bars and gives a smooth texture, essential for that melt-in-your-mouth Christmas bars quality.
- Unsalted Butter – Binds the mixture and adds richness; substitute with coconut oil for a dairy-free version.
For the Chewy Mix
- Sweetened Condensed Milk – Adds moisture and sweetness for a chewy texture; can be replaced with homemade vegan condensed milk.
- Mini Marshmallows – Contributes a fun, chewy element; regular marshmallows can be used, but mini ones distribute better.
- Chocolate Chips – Enhances the chocolate flavor; use dark, milk, or white chocolate chips based on personal preference.
- Chopped Nuts (Optional) – Adds crunch; omit if catering to nut allergies or increase chocolate chips for extra texture.
Step‑by‑Step Instructions for Christmas Bars
Step 1: Preheat the Oven
Begin by preheating your oven to 350°F (175°C). This ensures a perfect baking environment for your Christmas bars. While the oven warms, prepare a 9×13 inch baking pan by greasing it with non-stick spray or lining it with parchment paper for easy removal later.
Step 2: Mix Dry Ingredients
In a large mixing bowl, combine graham cracker crumbs, unsweetened cocoa powder, and powdered sugar. Use a whisk to blend these dry ingredients thoroughly, ensuring there are no lumps. This mixture will form the base of your Christmas bars, so make sure it looks smooth and even before moving to the next step.
Step 3: Add Wet Ingredients
Melt your unsalted butter in a microwave-safe bowl—this should take about 30-40 seconds. Once melted, add the butter along with the sweetened condensed milk to the dry ingredients. Stir these together until the mixture is well combined, forming a thick and sticky dough that invites a taste test along the way.
Step 4: Incorporate Mix-Ins
Carefully fold in the mini marshmallows, chocolate chips, and any chopped nuts if you’re using them. Use a spatula to combine just until the ingredients are evenly distributed, taking care not to overmix. You want those delightful pockets of chocolate and fluffy marshmallow to shine throughout your Christmas bars.
Step 5: Spread into Pan
Transfer the mixture to your prepared baking pan and spread it out evenly with a spatula. Press down gently to create a smooth top, ensuring the mixture reaches the edges of the pan. This layering of flavors and textures is what makes your Christmas bars irresistible once baked.
Step 6: Bake
Place the pan in your preheated oven and bake for 25-30 minutes. You’ll know your Christmas bars are ready when the edges have set and the center is slightly firm to the touch. A little jiggle in the center is okay; it will set up as they cool.
Step 7: Cool and Cut
Remove the baking pan from the oven and set it on a wire rack to cool completely, which may take about 30 minutes. Cooling is essential to allow the bars to firm up. Once cooled, cut the bars into squares using a sharp knife, making sure to clean the knife between cuts for neat edges.
Expert Tips for Christmas Bars
-
Melted Butter Check: Ensure the butter is fully melted before mixing; this helps create a smooth batter and prevents lumps.
-
Pan Prep: For easy removal, use non-stick spray or line the baking pan with parchment paper. This step is crucial to avoid crumbling your delightful Christmas bars.
-
Cooling Matters: Allow the bars to cool completely before cutting to ensure they hold their shape, preventing messy edges.
-
Mix-In Magic: Don’t hesitate to experiment with mix-ins like dried fruit or shredded coconut for unique flavor variations that everyone will enjoy.
-
Storage Savvy: Store leftovers in an airtight container at room temperature for up to a week, or freeze for up to three months to enjoy later.
Make Ahead Options
These Christmas Bars are perfect for meal prep, allowing you to enjoy festive flavors without the last-minute rush! You can prepare the mixture up to 24 hours in advance by combining the dry ingredients and storing them in an airtight container. Additionally, mix the wet ingredients and refrigerate them separately for maximum freshness. When you’re ready to bake, simply combine the two mixtures, add your mix-ins, and follow the usual baking steps. To maintain their delicious texture, ensure they cool completely before storing in an airtight container. With these make-ahead tips, you’ll have delectable Christmas Bars that feel just as fresh and tasty as if you’d made them that day!
Christmas Bars: Your Customizable Delight
Feel free to express your creativity and make these Christmas Bars truly yours with some tasty twists and substitutions!
- Nut-Free: Omit the chopped nuts and replace them with extra chocolate chips for a delightful treat that everyone can enjoy, regardless of nut allergies.
- Gluten-Free: Swap regular graham cracker crumbs for gluten-free graham crackers or almond flour to please those avoiding gluten while still enjoying the festive flavors.
- Vegan Adaptation: For a plant-based option, use coconut oil instead of butter and homemade vegan sweetened condensed milk—delicious and guilt-free!
- Mint Chocolate Twist: If you fancy a refreshing change, add a dash of peppermint extract to the mixture. It’ll transform your bars into minty delights that scream holidays!
- Fruit and Nut Medley: Mix in dried cranberries or cherries along with nuts for a burst of color and flavor, creating a beautiful balance that elevates the bars to new heights.
- Spiced Variation: Sprinkle in some cinnamon or nutmeg for a warm flavor profile that will have everyone reminiscing about the holiday spices they love.
- Chewy Sugar Boost: For an extra chewy texture, consider adding sweetened shredded coconut. It contributes a tropical flair while enhancing the overall chewiness!
- Increased Chocolate Indulgence: Boost the chocolate flavor even more by mixing in chocolate chunks or swapping some of the cocoa powder with melted chocolate for an ultra-rich treat.
Don’t forget to serve your delightful Christmas Bars alongside a warm cup of hot cocoa or a festive spiced cider for that perfect holiday touch, creating moments full of joy and togetherness!
What to Serve with Easy Festive Christmas Bars
Picture a cozy holiday gathering where sweet aromas fill the air, and delightful treats beckon to be shared with loved ones.
- Hot Cocoa: Enjoying a rich, creamy cup of hot cocoa alongside your Christmas Bars enhances the chocolate experience while warming your soul.
- Spiced Cider: The fragrant blend of spices in warm apple cider creates a festive drink that complements the sweetness of the bars beautifully.
- Vanilla Ice Cream: A scoop of velvety vanilla ice cream offers a delightful contrast to the chewy texture, making each bite even more indulgent.
- Powdered Sugar Dusting: Lightly dusting your bars with powdered sugar adds an elegant touch while enhancing both flavor and visual appeal.
- Festive Fruit Platter: A vibrant assortment of fresh berries or citrus fruits brings a refreshing contrast, balancing the rich flavors of the Christmas Bars.
- Chocolate Drizzle: A drizzle of melted chocolate over the top not only amps up the chocolate goodness but also adds an artistic flair for presentation.
- Peppermint Tea: The refreshing notes of peppermint tea create a cozy pairing, perfect for winding down after indulging in sweet treats.
- Gingerbread Cookies: For an extra festive touch, serve alongside classic gingerbread cookies, offering a delicious combination of flavors and textures.
How to Store and Freeze Christmas Bars
-
Room Temperature: Store in an airtight container for up to 1 week to keep the bars fresh and chewy. Place a piece of parchment paper between layers to prevent sticking.
-
Fridge: If you prefer a firmer texture, store Christmas Bars in the refrigerator for up to 2 weeks. Just be sure they’re well-covered to avoid drying out.
-
Freezer: Wrap bars tightly in plastic wrap and place them in a freezer-safe bag for up to 3 months. Thaw at room temperature before enjoying for the best flavor and texture.
-
Reheating: For a delightful warm treat, microwave individual bars for about 10-15 seconds. This brings back the gooey texture and revives the delicious chocolate flavor!
Christmas Bars Recipe FAQs
How do I select the right graham cracker crumbs for Christmas Bars?
Absolutely! When choosing graham cracker crumbs, look for a finely crushed product without added sugars or unnecessary ingredients for the best flavor and texture. If you’re making these bars gluten-free, make sure to pick a gluten-free graham cracker alternative, which is widely available in grocery stores.
How should I store leftover Christmas Bars?
To keep your Christmas Bars fresh, store them in an airtight container at room temperature for up to 1 week. For optimal taste, I recommend placing a piece of parchment paper between the layers to prevent them from sticking together. If you prefer them a bit firmer, you can also refrigerate them for up to 2 weeks!
Can I freeze Christmas Bars for later enjoyment?
Yes, you can! Wrap the cut bars tightly in plastic wrap and place them in a freezer-safe bag. They can be stored in the freezer for up to 3 months. When you’re ready to enjoy, simply thaw them at room temperature. To revive that gooey texture, microwave individual bars for about 10-15 seconds.
What should I do if my Christmas Bars fall apart when cutting?
Very! If your bars crumble while cutting, it’s likely due to not allowing them to cool completely. Cooling for at least 30 minutes is crucial for setting up the bars. Next time, ensure they’re fully cooled before using a sharp knife to slice. Clean the knife between cuts to maintain neat edges.
Are there any dietary considerations for making Christmas Bars?
Absolutely! For nut allergies, simply omit the chopped nuts and add in extra chocolate chips. If you’re looking for gluten-free options, substitute graham cracker crumbs with crushed gluten-free cookies. For a vegan version, use coconut oil in place of butter and prepare homemade vegan sweetened condensed milk. There’s truly something for everyone!
Delicious Christmas Bars – Your New Favorite Holiday Treat
Ingredients
Equipment
Method
- Preheat your oven to 350°F (175°C) and prepare a 9x13 inch baking pan.
- In a large mixing bowl, combine graham cracker crumbs, cocoa powder, and powdered sugar.
- Melt the butter in a microwave-safe bowl for about 30-40 seconds and add to the dry ingredients along with the sweetened condensed milk.
- Fold in the mini marshmallows, chocolate chips, and any chopped nuts until evenly distributed.
- Transfer the mixture to the baking pan and spread it evenly, pressing down gently.
- Bake for 25-30 minutes or until the edges are set and the center is slightly firm.
- Cool completely on a wire rack for about 30 minutes before cutting into squares.
Leave a Reply