
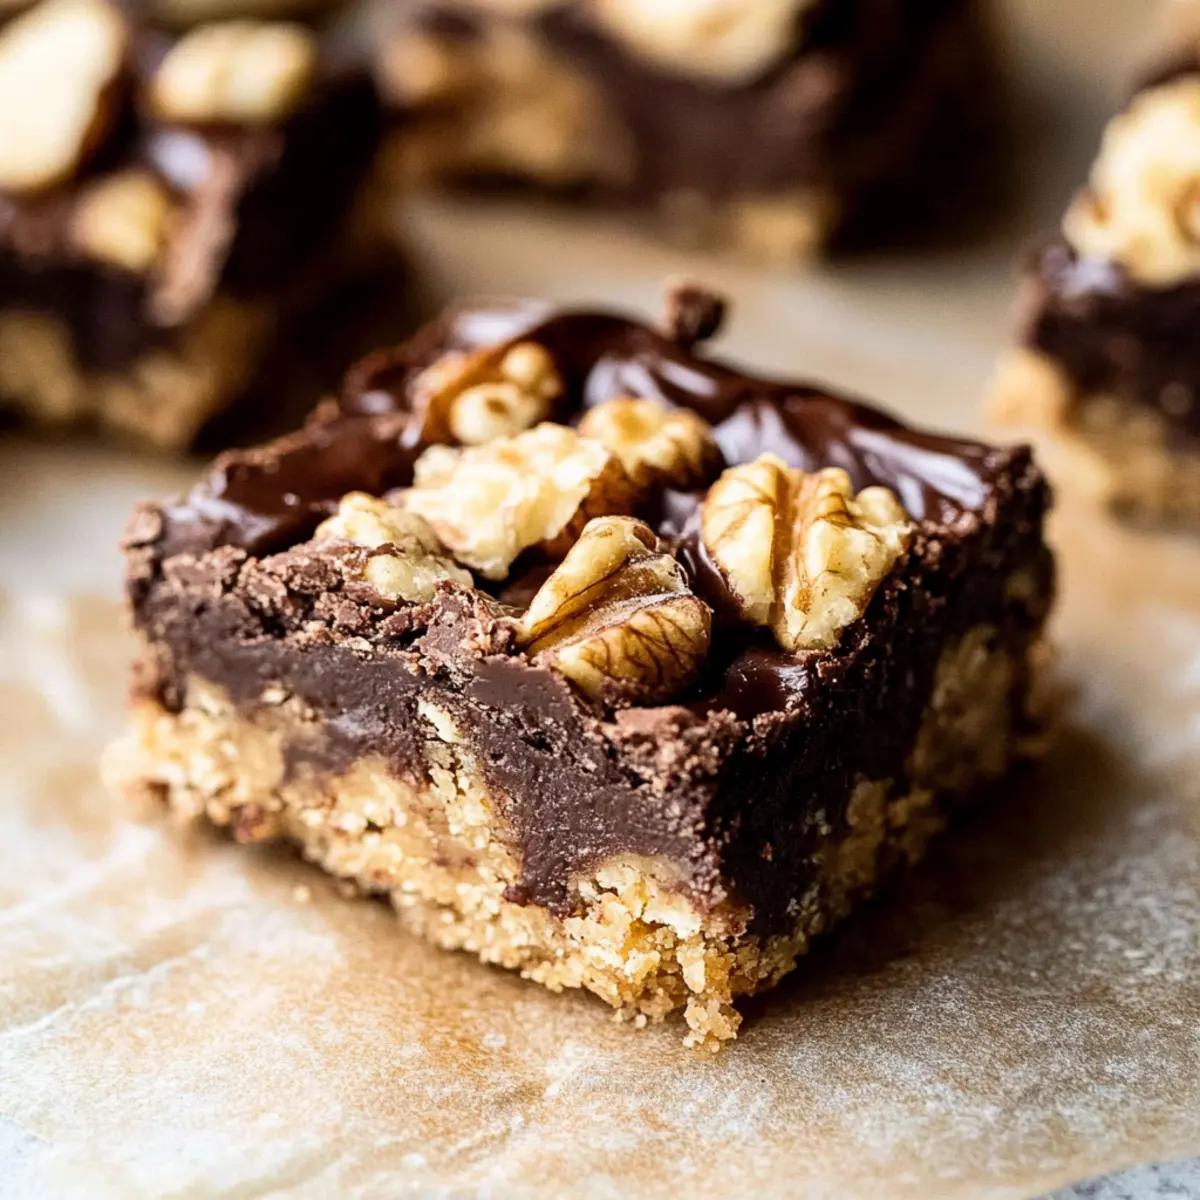
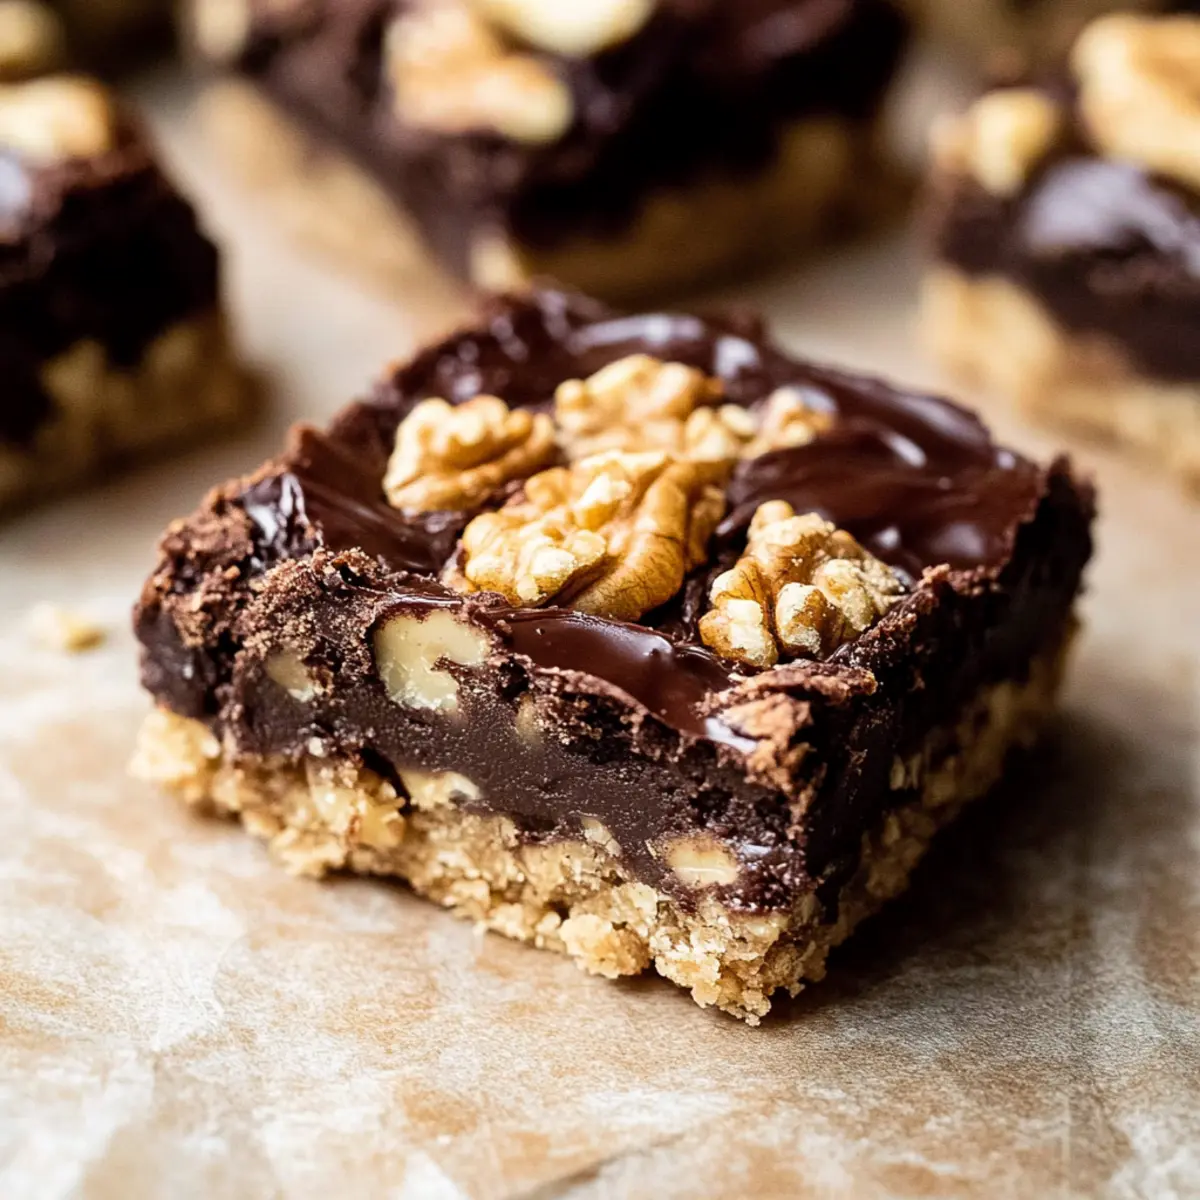
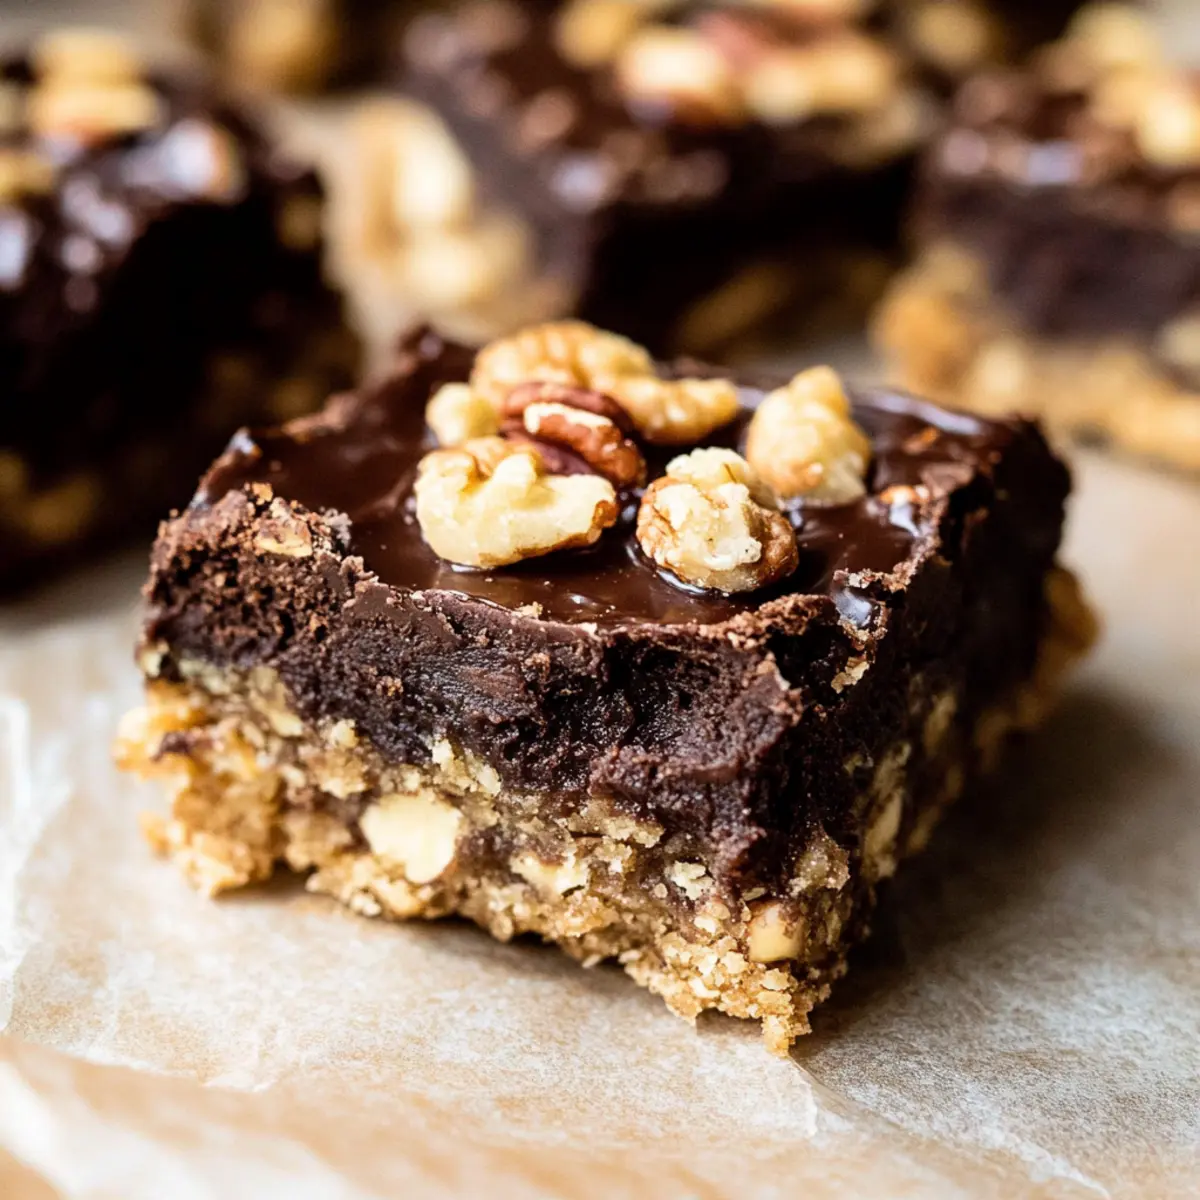
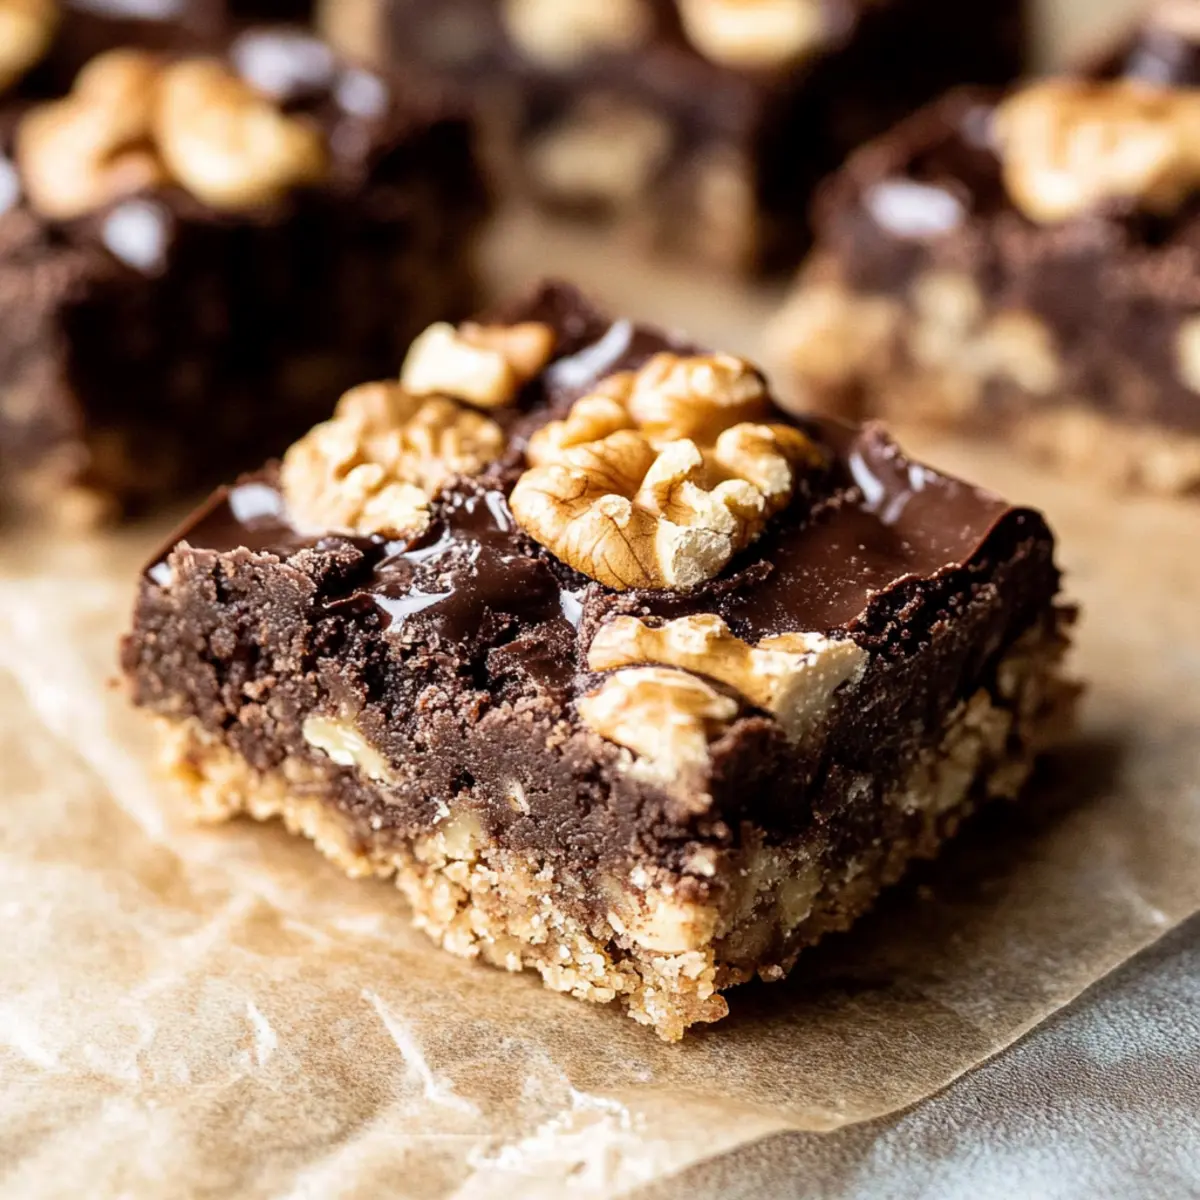
As I rummaged through my pantry one rainy afternoon, I stumbled upon an old family recipe that instantly transported me back to cozy kitchen moments of my childhood. The recipe for Classic Fudge Nut Bars caught my eye, promising a delightful harmony of a chewy oatmeal cookie base and a luscious chocolate fudge layer, sprinkled with crunchy pecans. It only takes 25 minutes to whip up this indulgent treat, making it the perfect answer to those pesky cravings for homemade desserts. Not only are these bars quick to prepare, but they also become a crowd-pleaser at every gathering, bringing smiles all around. Curiosity piqued? Let’s dive into this sweet nostalgia and learn how to create these irresistible bars together!
Why Are These Fudge Nut Bars Irresistible?
Chewy, Delightful Layers: The combination of a soft oatmeal cookie base and a rich chocolate fudge layer delivers an explosion of flavors that makes every bite a delight.
Quick to Prepare: With just 25 minutes of prep time, these bars are perfect for busy days when you crave homemade goodness without the wait.
Crowd-Pleasing Appeal: Whether it’s a family gathering or a casual get-together, these Classic Fudge Nut Bars are sure to impress everyone, like my favorite Cinnamon Roll Bars.
Versatile Ingredient Options: Feel free to swap pecans for walnuts or try adding dried fruits for a unique twist, ensuring you can customize them to suit your taste.
Warm & Inviting: Serve warm with a scoop of vanilla ice cream, making for an irresistible dessert that everyone will love. Dive into the nostalgia with this comforting treat!
Classic Fudge Nut Bars Ingredients
Dive into the delicious ingredients that make up these classic fudge nut bars!
For the Cookie Base
- All-Purpose Flour – Provides structure to the cookie base; can substitute with gluten-free flour for a gluten-free version.
- Baking Soda – Acts as a leavening agent to help cookies rise; ensure it is fresh for best results.
- Salt – Enhances flavor and balances sweetness.
- Unsalted Butter – Adds richness and moisture to the cookie base; should be at room temperature for easy mixing.
- Light Brown Sugar – Contributes sweetness and a hint of caramel flavor.
- Large Eggs – Provides moisture and helps bind the ingredients; always use room temperature eggs for better incorporation.
- Vanilla Extract – Adds fragrant flavor to the dough.
- Quick Oats – Contributes chewiness and texture to the bars.
For the Fudge Layer
- Semi-Sweet Chocolate Chips – Adds sweetness and richness; nothing beats chocolate in classic fudge nut bars!
- Sweetened Condensed Milk – Acts as a binder and adds creaminess to the fudge layer.
- Chopped Pecans – Provides crunch and nuttiness; can substitute with walnuts or almonds as preferred.
Step‑by‑Step Instructions for Classic Fudge Nut Bars
Step 1: Prepare Baking Pan
Generously spray a 13-inch x 9-inch baking pan with non-stick cooking spray and set it aside. This will ensure your Classic Fudge Nut Bars release easily once baked. To keep everything neat, you might also consider lining the bottom with parchment paper, but the spray is typically sufficient for a hassle-free bake.
Step 2: Mix Dry Ingredients
In a medium bowl, whisk together 1 ½ cups all-purpose flour, ½ teaspoon baking soda, and ½ teaspoon salt. This process helps to evenly distribute the leavening agent and seasoning throughout the flour, creating a balanced flavor in the bars. Set this mixture aside as we move on to the wet ingredients.
Step 3: Cream Wet Ingredients
Using an electric mixer, beat together ½ cup of softened unsalted butter and 1 cup of light brown sugar in a large bowl until creamy, about 2-3 minutes. Add in 2 large eggs and 1 teaspoon of vanilla extract, continuing to mix until well combined. Scrape down the sides of the bowl as necessary to ensure everything is blended thoroughly.
Step 4: Combine Mixtures
Gradually add the dry ingredient mixture to the wet ingredients, mixing on low speed until just incorporated. Once combined, fold in 2 cups of quick oats with a spatula. This creates the chewy base of your Classic Fudge Nut Bars, adding texture and heartiness to the final product.
Step 5: Spread Base
Press about 2/3 of the oatmeal mixture evenly into the prepared baking pan, creating a solid layer that will serve as the base for the fudge. Use your fingers or a spatula to ensure an even surface across the pan for consistent baking. This layer should be about ½ inch thick to hold the fudge well.
Step 6: Make Fudge Layer
In a medium saucepan over medium heat, combine 1 cup of semi-sweet chocolate chips, 1 can of sweetened condensed milk, 2 tablespoons of unsalted butter, and ½ teaspoon of vanilla extract. Stir continuously until smooth and melted, about 5–7 minutes. Remove from heat and gently fold in 1 cup of chopped pecans until evenly distributed.
Step 7: Layer Fudge
Pour the smooth fudge mixture over the pressed oatmeal cookie base in the baking pan. Use a spatula to spread it evenly, ensuring the fudge layer is well-distributed. Admire the contrasting layers being formed; this rich fudge will add a decadent touch to your Classic Fudge Nut Bars.
Step 8: Top with Remaining Dough
Crumble the remaining 1/3 of the oatmeal mixture over the fudge layer in clumps. This will create a delightful texture on top of your bars. Ensure the fudge is partially covered, so it remains gooey beneath the crumbles when baked, adding to the overall indulgence of these Classic Fudge Nut Bars.
Step 9: Bake
Preheat your oven to 350°F (175°C). Bake the assembled Classic Fudge Nut Bars for 25–30 minutes, or until the top is golden brown and the fudge layer appears shiny. Check for doneness by inserting a toothpick; it should come out with a few moist crumbs for the perfect chewy finish.
Step 10: Cool & Cut
Allow the bars to cool in the pan for at least 30 minutes before transferring them to a wire rack. Once cooled completely, use a sharp knife to cut them into squares. This step is vital for achieving clean edges and ensuring your Classic Fudge Nut Bars hold their shape when served.
Make Ahead Options
These Classic Fudge Nut Bars are perfect for meal prep, allowing you to enjoy a homemade treat with minimal fuss! You can prepare the oatmeal cookie base and fudge layer up to 24 hours in advance; simply store them separately in the refrigerator. To maintain quality, refrigerate the uncooked layers in airtight containers to prevent drying out. When you’re ready to bake, spread the fudge layer over the cookie base, crumble the remaining dough on top, and bake as instructed. These steps ensure that your bars come out just as delicious, making them ideal for busy weeknights or surprise gatherings!
Classic Fudge Nut Bars Variations & Substitutions
Feel free to put your creative spin on these Classic Fudge Nut Bars for a personalized touch!
-
Nut-Free: Swap out the nuts entirely or substitute with seeds like sunflower or pumpkin seeds for a crunchy alternative.
-
Gluten-Free: Use a gluten-free flour blend instead of all-purpose flour to accommodate dietary restrictions while retaining the delightful texture.
-
Sweetness Tweaks: Replace light brown sugar with coconut sugar for a deeper flavor and lower glycemic index option, perfect for health-conscious bakers.
-
Flavor Boost: Enhance the chocolate flavor by adding a tablespoon of espresso powder to the fudge mixture; it intensifies the richness beautifully.
-
Fruit-filled: Incorporate dried cranberries or cherries into the fudge layer for a burst of fruity sweetness that contrasts nicely with the chocolate.
-
Chocolate Variations: Go for dark chocolate chips or even white chocolate for a unique twist that caters to all chocolate preferences!
-
Spicy Kick: Sprinkle in a pinch of cayenne pepper or chili powder in the fudge to tantalize your taste buds with a subtle, warm heat.
-
Chocolate Lovers: For those who can’t get enough, drizzle melted chocolate over the top once cooled for an extra layer of indulgence; gorgeous and decadent!
If you’re enjoying this recipe, you might also love our delightful Coconut Toffee Bars or classic Beef Bourguignon Comforting for a full menu of scrumptious family meals.
Expert Tips for Classic Fudge Nut Bars
-
Fresh Ingredients: Ensure all ingredients, especially baking soda and eggs, are fresh and at room temperature to achieve a smooth and well-risen batter.
-
Grease Well: Generously spray your baking pan to prevent sticking. For easier removal, you can also line it with parchment paper.
-
Cool Completely: Allow your Classic Fudge Nut Bars to cool completely in the pan before cutting; this helps maintain their shape and provides clean edges.
-
Even Melting: Use a heavy-bottom saucepan for melting the fudge layer. This reduces the risk of burning and ensures even consistency.
-
Storing Wisely: Keep any leftover bars in a well-sealed container at room temperature or in the refrigerator to maintain freshness.
What to Serve with Classic Fudge Nut Bars
Indulging in a bite of these delightful treats opens up a world of flavors that begs for the perfect pairings to elevate your dessert experience.
-
Vanilla Ice Cream: A scoop of creamy vanilla ice cream melts perfectly over the warm fudge nut bars, creating a classic combination of flavors and textures.
-
Fresh Berries: Bright, tart berries like raspberries or strawberries cut through the richness of the fudge, offering a refreshing balance that dazzles the palate.
-
Chocolate Drizzle: A drizzle of warm, dark chocolate over these fudge nut bars intensifies the chocolatey goodness, making every bite just a bit more decadent.
-
Coffee or Espresso: The boldness of coffee complements the sweet, chewy bars beautifully, making for a cozy pairing great for afternoon treats or dessert after dinner.
-
Whipped Cream: A dollop of fluffy, lightly sweetened whipped cream adds a lovely creaminess that contrasts the chewy texture of the bars, enhancing every mouthful.
-
Salted Caramel Sauce: Drizzling some salted caramel on top adds a rich, buttery flavor that rounds out the sweetness of the fudge layers, creating an irresistible dessert experience.
How to Store and Freeze Classic Fudge Nut Bars
Room Temperature: Keep uncut Classic Fudge Nut Bars in a well-sealed container at room temperature for up to 3 days. This helps retain their chewiness and freshness.
Fridge: For longer storage, refrigerate cut bars in an airtight container for up to 1 week. This keeps them soft while enhancing the fudgy texture.
Freezer: Freeze individual squares on a baking sheet until solid, then wrap them closely in plastic wrap and store in a freezer bag for up to 3 months. Let thaw at room temperature before serving.
Reheating: To enjoy warm, microwave individual bars for about 10-15 seconds. This will revive their gooey goodness, making them even more delightful!
Classic Fudge Nut Bars Recipe FAQs
How do I select the right ingredients for my Classic Fudge Nut Bars?
Absolutely! When selecting your ingredients, opt for fresh, high-quality items. For the best results, use room-temperature eggs and butter, as they incorporate more easily into the batter. If you’re looking for a chewy texture, ensure your oats are quick-cooking, and for a nutty crunch, go with chopped pecans, walnuts, or almonds based on your preference.
How should I store my Classic Fudge Nut Bars?
Very! Store your uncut Classic Fudge Nut Bars in a well-sealed container at room temperature for up to 3 days to keep them fresh. If you’ve already cut them, place them in an airtight container in the refrigerator, where they will stay soft and delicious for up to 1 week.
Can I freeze my Classic Fudge Nut Bars?
Absolutely! To freeze, first cut the bars into squares, then spread them on a baking sheet in a single layer and place them in the freezer until solid. Once frozen, wrap each piece tightly in plastic wrap and store them in a freezer bag for up to 3 months. When you’re ready to enjoy, simply let them thaw at room temperature or pop them in the microwave for 10-15 seconds for a warm treat!
What should I do if my fudge layer isn’t setting properly?
If your fudge layer isn’t setting, it might be due to the temperatures during preparation. Ensure that you melt the chocolate mixture over medium heat and stir continuously to avoid burning. Make sure all ingredients are combined evenly and allow the bars to cool completely before cutting—they will firm up as they cool, making for a perfect chewy texture.
Are there any dietary considerations for Classic Fudge Nut Bars?
Yes! If you’re accommodating dietary restrictions, consider substituting all-purpose flour with gluten-free flour for a gluten-free version. When it comes to nuts, opt for nut-free ingredients if allergy concerns are present, and always check for labels on chocolate chips and condensed milk if you’re avoiding certain additives.
How long will my Classic Fudge Nut Bars last?
Your bars will stay fresh for about 3 days at room temperature and up to 1 week in the refrigerator. If frozen, they can last up to 3 months! Just make sure they are properly wrapped to preserve freshness.
Classic Fudge Nut Bars That Will Melt in Your Mouth
Ingredients
Equipment
Method
- Generously spray a 13-inch x 9-inch baking pan with non-stick cooking spray and set it aside.
- In a medium bowl, whisk together 1 ½ cups all-purpose flour, ½ teaspoon baking soda, and ½ teaspoon salt. Set aside.
- Using an electric mixer, beat together ½ cup of softened unsalted butter and 1 cup of light brown sugar in a large bowl until creamy.
- Add in 2 large eggs and 1 teaspoon of vanilla extract, continuing to mix until well combined.
- Gradually add the dry ingredient mixture to the wet ingredients and mix on low speed until just incorporated. Fold in 2 cups of quick oats.
- Press about 2/3 of the oatmeal mixture evenly into the prepared baking pan, creating a solid layer.
- In a medium saucepan over medium heat, combine 1 cup of semi-sweet chocolate chips, 1 can of sweetened condensed milk, 2 tablespoons of unsalted butter, and ½ teaspoon vanilla extract. Stir continuously until smooth and melted.
- Pour the fudge mixture over the pressed oatmeal cookie base in the baking pan and spread it evenly.
- Crumble the remaining 1/3 of the oatmeal mixture over the fudge layer in clumps.
- Preheat your oven to 350°F (175°C) and bake for 25–30 minutes, or until the top is golden brown.
- Allow the bars to cool in the pan for at least 30 minutes before transferring them to a wire rack.
Leave a Reply