
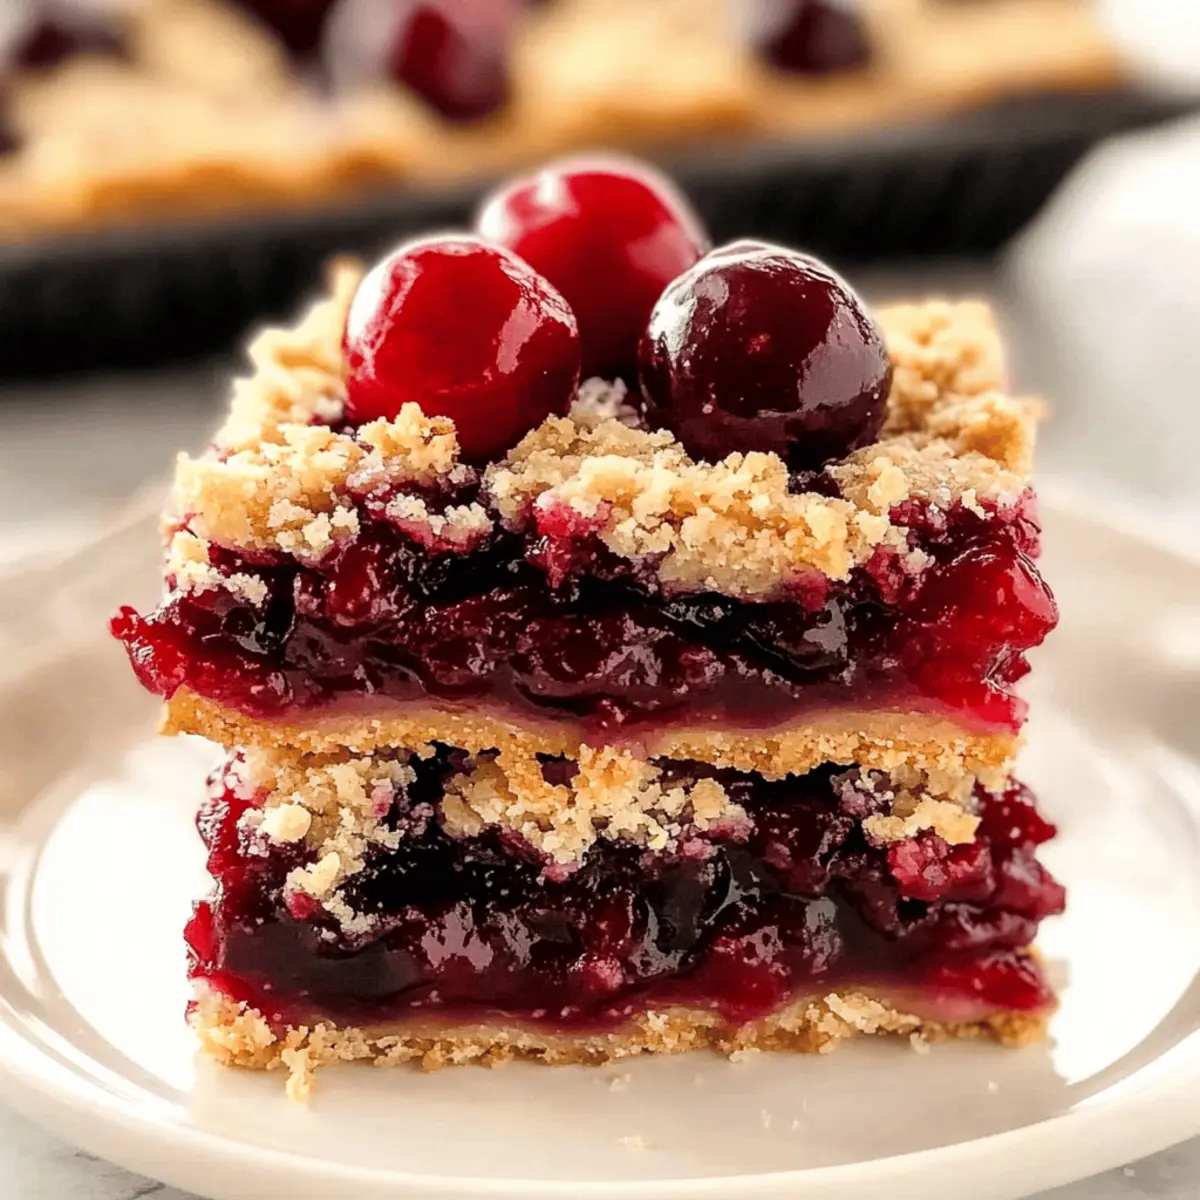
As I stood in my kitchen, the sweet aroma of cherries made its way through the air, instantly transporting me back to summer picnics filled with laughter and nostalgia. These Delightful Cherry Pie Bars are a simplified homage to the classic cherry pie, blending a buttery base with a juicy, vibrant cherry filling. What I love most about this recipe is how quick and easy it is to whip up—perfect for those last-minute potluck invitations or cozy weeknight dessert cravings. Plus, there’s no fancy rolling of dough required! With just a few simple steps, you can enjoy a homemade treat that evokes cherished memories. Curious how to bake these scrumptious bars that will surely impress your friends and family? Let’s dive in!
Why are these Cherry Pie Bars a must-try?
Comforting Nostalgia: These Delightful Cherry Pie Bars bring back the sweet memories of lazy summer days filled with homemade desserts.
Simple to Make: With only a few ingredients and straightforward steps, you’ll have a delicious treat ready in no time—perfect for busy weeknights or surprise guests!
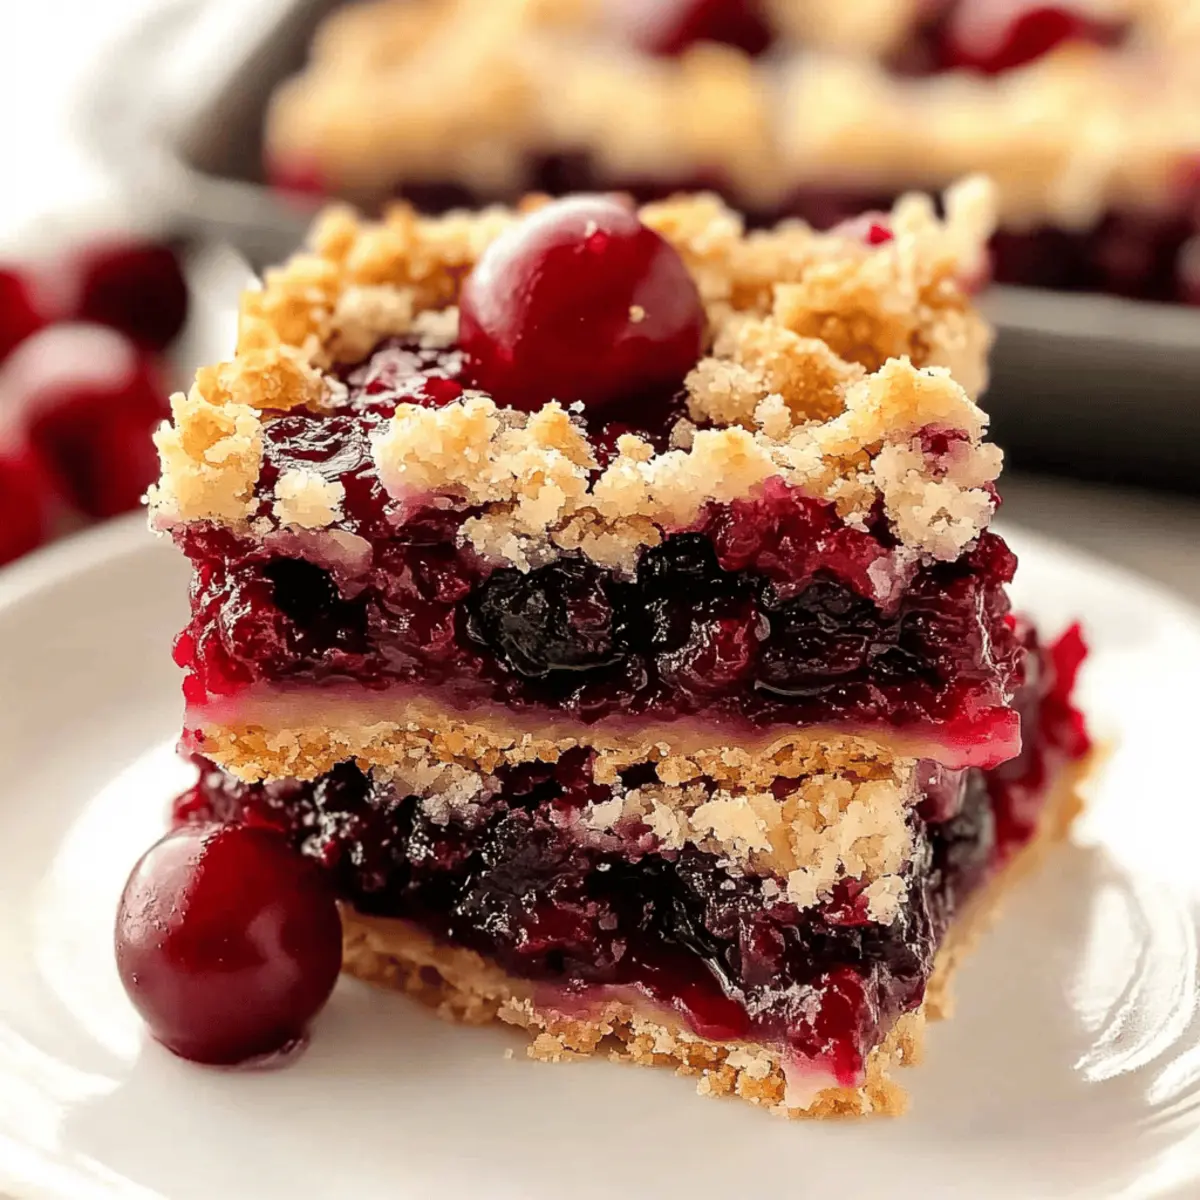
Crowd-Pleasing Snack: No one can resist the combination of butter, cherries, and crumbly goodness, making these bars an instant hit at parties or potlucks.
Versatile Delight: Feel free to swap the cherry filling for blueberries, apples, or whatever fruit you love; the possibilities are endless!
Make-Ahead Friendly: You can bake these a day in advance to enhance the flavors, making it easy to serve a delicious dessert without the last-minute rush.
Get ready to impress with a delightful dish that everyone will be talking about!
Delightful Cherry Pie Bars Ingredients
For the Batter
- Unsalted Butter – Adds richness and moisture; ensure it’s softened for easy mixing.
- Granulated Sugar – Provides sweetness and helps create a light texture.
- Large Eggs – Binds the ingredients and adds moisture; use room temperature for best results.
- Vanilla Extract – Enhances flavor; can substitute with almond extract for an extra depth.
- Almond Extract – Provides a subtle, nutty flavor; extra vanilla can be used if preferred.
- All-Purpose Flour – Gives structure to the bars; no substitutions needed for proper texture.
- Salt – Balances sweetness and enhances flavors; it’s essential for overall taste.
For the Filling
- Cherry Pie Filling (canned) – Provides juicy fruit flavor; fresh or frozen cherries can be used, but adjust sugar accordingly.
Step‑by‑Step Instructions for Delightful Cherry Pie Bars
Step 1: Preheat the Oven and Prepare the Dish
Begin by preheating your oven to 350°F (175°C). While the oven heats up, take a 9×13 baking dish and grease it or line it with parchment paper for easy removal. This preparation will ensure your Delightful Cherry Pie Bars bake evenly and lift out effortlessly once they’re done.
Step 2: Cream the Butter and Sugar
In a large mixing bowl, beat together 1 cup of softened unsalted butter and 1 cup of granulated sugar until the mixture is light and fluffy, which should take about three minutes. You want to achieve a pale color and airy texture, which will add a rich, buttery flavor to your cherry pie bars.
Step 3: Incorporate the Eggs and Extracts
Add 2 large eggs to the butter and sugar mixture, one at a time, mixing well after each addition until fully incorporated. Next, stir in 1 teaspoon of vanilla extract and 1/2 teaspoon of almond extract. The combination of these extracts will enhance the flavor profile of your Delightful Cherry Pie Bars, making them irresistibly delicious.
Step 4: Combine Flour and Salt
Gradually mix in 2 cups of all-purpose flour and 1/4 teaspoon of salt until a thick, dough-like batter forms. Be careful not to overmix; you’re looking for a cohesive batter that holds together well. This will provide the soft base for your bars, giving them structure and a delightful texture.
Step 5: Create the Base Layer
Press approximately two-thirds of the batter into the prepared baking dish evenly, making sure it covers the entire bottom. Use your hands or a spatula to ensure it’s smooth and compact. This buttery base layer will form the foundation for your delicious cherry filling when you make your Delightful Cherry Pie Bars.
Step 6: Spoon Cherry Filling Over Base
With the base ready, take one can of cherry pie filling and spoon it evenly over the pressed batter. Be gentle to keep the layers separate, allowing the sweet cherry flavor to shine through in every bite of your charming bars. Spread it out carefully to cover the entire surface.
Step 7: Dot the Topping Layer
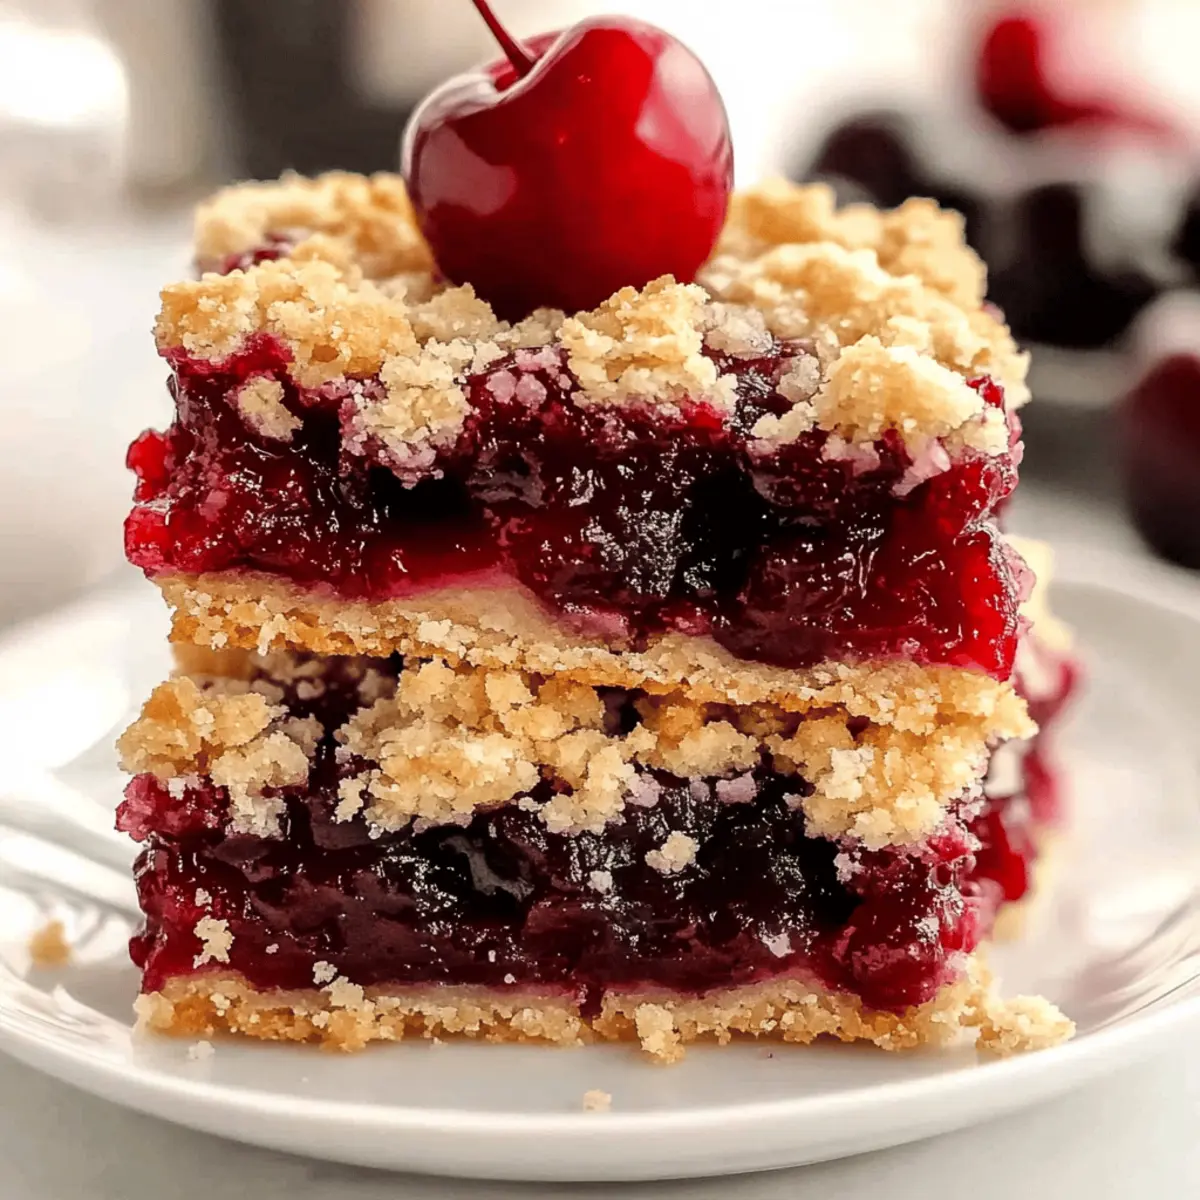
Using the remaining batter, scoop out small spoonfuls and dot them over the cherry filling. This rustic approach creates a lovely crumbly topping that contrasts beautifully with the juicy filling. It doesn’t have to be perfect—this allows the filling to peek through as your Delightful Cherry Pie Bars bake.
Step 8: Bake Until Golden
Place the baking dish in the preheated oven and bake for 35 to 40 minutes, or until the bars are golden brown and the edges are crisp. You’ll know they’re done when the cherry filling bubbles slightly and the top is invitingly golden. Enjoy the enticing aroma filling your kitchen as they bake!
Step 9: Cool and Slice
Once baked, remove the dish from the oven and let the bars cool completely in the pan. This cooling period will help the bars set up nicely, making it easier to cut them into squares. Once cooled, use a serrated knife to slice the Delightful Cherry Pie Bars into perfect portions for serving.

Storage Tips for Delightful Cherry Pie Bars
-
Room Temperature: Keep the bars at room temperature for up to 2 days, covered with plastic wrap or in a sealed container to maintain freshness.
-
Fridge: Store in an airtight container in the refrigerator for up to one week. This helps preserve the flavors and keeps the bars moist.
-
Freezer: Freeze wrapped portions tightly in plastic wrap and then in aluminum foil for up to 3 months. Thaw overnight in the fridge before enjoying your Delightful Cherry Pie Bars.
-
Reheating: To enjoy warm, place individual bars in the microwave for about 15-20 seconds. This brings back that fresh-baked feel!
Delightful Cherry Pie Bars Variations
Feel free to customize these bars to suit your tastes and dietary preferences; the sweet possibilities are endless!
-
Fruit Swap: Replace the cherry filling with blueberry, apple, or peach pie filling for a delightful twist. Each fruit brings its unique flavor, creating a whole new experience.
-
Nutty Crunch: Stir in chopped walnuts or pecans into the crumb topping for added texture. The nuts not only enhance the flavor but also add an enjoyable crunch to every bite.
-
Gluten-Free: Swap all-purpose flour with a gluten-free flour blend for a gluten-free version. This easy substitution will let everyone enjoy the treat without dietary concerns.
-
Spiced Up: Add a sprinkle of cinnamon or nutmeg to the batter for warm, comforting warmth. Just a hint can elevate the flavor profile, giving your bars a cozy aroma.
-
Lemon Zest: Incorporate some lemon zest into the batter for a bright and refreshing contrast. The citrus will enhance the cherry flavor, making it even more vibrant.
-
Oat Topping: Mix oats into the crumb topping for a heartier texture. The oats add a chewy element that complements the softness of the bars beautifully.
-
Chocolate Drizzle: Top the bars with a drizzle of melted chocolate for a decadent finish. This indulgent touch makes them a perfect treat for special occasions.
-
Chill and Serve: Serve your bars chilled, perhaps with whipped cream on the side. This doesn’t just provide a lovely contrast; it’s a great way to refresh during warm days!
Don’t hesitate to explore these variations. For more delicious ideas, check out my Dairy-Free Cherry Pie recipe or try out a classic Apple Crisp for those cozy evenings!
Make Ahead Options
These Delightful Cherry Pie Bars are perfect for those who love to meal prep! You can make the bars up to 24 hours in advance; simply follow the recipe through baking, then allow them to cool completely before covering and refrigerating. This prep-ahead option actually enhances the flavors as they settle overnight! When you’re ready to serve, just slice the bars into squares, and if you prefer, warm them gently in the microwave for a few seconds for that fresh-from-the-oven taste. Remember to keep them stored in an airtight container to maintain their delicious quality—this makes it easy to enjoy homemade treats without the last-minute rush!
Expert Tips for Delightful Cherry Pie Bars
-
Butter Matters: Ensure your butter is softened, not melted. This creates the perfect texture for a fluffy, buttery base in your Delightful Cherry Pie Bars.
-
Eggs at Room Temperature: Always use room temperature eggs for better incorporation and fluffiness. Cold eggs can lead to dense bars.
-
Gentle Spreading: When applying the cherry pie filling, spoon it gently to avoid disturbing the base. This ensures that the layers remain distinct and delicious.
-
Cooling is Key: Patience is crucial—allow the bars to cool completely before slicing. This prevents them from falling apart and maintains their lovely shape.
-
Variations are Fun: Experiment with different fillings like blueberries or peaches for a unique twist. This keeps the recipe versatile and exciting!
What to Serve with Delightful Cherry Pie Bars
Bring a smile to your face and flavor to your palate with these delectable pairings that create a delightful meal experience!
-
Vanilla Ice Cream: The creamy, cool contrast of vanilla ice cream enhances the warm, fruity goodness, making each bite heavenly.
-
Whipped Cream: Light and airy, whipped cream adds a touch of sweetness that beautifully complements the tart cherry filling.
-
Fresh Berries: A side of mixed fresh berries brings a burst of juicy freshness, cleaning the palate and adding vibrant color to your dessert table.
-
Coffee or Tea: A warm cup of coffee or herbal tea creates a cozy atmosphere, balancing the sweetness of the cherry bars with rich and soothing notes.
-
Powdered Sugar: A light dusting on top adds a beautiful finishing touch and a touch of sweetness—simple yet elegant!
-
Chocolate Sauce: Drizzle warm chocolate over the bars for a luxurious twist; the richness pairs perfectly with the tart cherries.
-
Yogurt Parfait: Layering some yogurt with granola and pieces of cherry bars creates a delightful textural contrast, perfect for brunch gatherings!
-
Almond Milk: For a refreshing drink option, almond milk provides a nutty flavor that complements the almond extract in the bars.
-
Peanut Butter Swirls: Adding a spoonful of peanut butter on the side takes these cherry bars to a whole new level of delicious indulgence.
Delightful Cherry Pie Bars Recipe FAQs
What type of cherries should I use in the recipe?
Absolutely, while the recipe calls for canned cherry pie filling for convenience, you can also use fresh or frozen cherries! If you choose fresh cherries, make sure to pit and slice them, and adjust the sugar to taste, as fresh cherries can be a tad tart. Aim for about 4 cups of pitted cherries for a lovely, juicy filling.
How do I store leftover Cherry Pie Bars?
You can store your Delightful Cherry Pie Bars in an airtight container at room temperature for up to 2 days. For longer storage, transfer them to the fridge, where they will stay fresh for up to a week. Just make sure they’re well-covered to maintain their moist texture!
Can I freeze the Cherry Pie Bars?
Yes! To freeze your Delightful Cherry Pie Bars, allow them to cool completely, then wrap them tightly in plastic wrap and a layer of aluminum foil to prevent freezer burn. They will keep well for up to 3 months. When you’re ready to enjoy them, simply thaw overnight in the fridge and reheat in the microwave for 15-20 seconds for that fresh-baked feel.
What should I do if the bars crumble when I cut them?
Very! If your bars crumble, it could be due to not allowing them to cool completely before slicing or being too warm when cut. To help maintain their shape, try letting them cool in the pan for at least 30 minutes at room temperature before transferring them to the fridge for a few more hours. If they’re too crumbly, consider pressing the base layer a little more firmly next time.
Are there any allergy considerations for these bars?
Absolutely! The primary allergens in Delightful Cherry Pie Bars are gluten (from the all-purpose flour) and dairy (from the butter). If gluten is a concern, you can experiment with a gluten-free flour blend designed for baking. For dairy-free options, substitute the butter with coconut oil or a dairy-free margarine, and ensure your extracts are compliant as well!
What variations can I try with this recipe?
Absolutely! While cherries are a classic choice, feel free to switch it up. You could use blueberry filling, apple pie filling, or even mixed berries for a delightful twist. You can also fold in some chopped nuts into the batter or sprinkle them on top for added crunch. The more the merrier when it comes to flavor experimentation with these versatile bars!
Delightful Cherry Pie Bars Perfect for Nostalgic Sweet Cravings
Ingredients
Equipment
Method
- Preheat your oven to 350°F (175°C). Grease or line a 9x13 baking dish with parchment paper.
- In a large mixing bowl, beat together softened unsalted butter and granulated sugar until light and fluffy, about three minutes.
- Add eggs one at a time, mixing well after each addition. Stir in vanilla extract and almond extract.
- Gradually mix in all-purpose flour and salt until a thick batter forms.
- Press two-thirds of the batter into the prepared baking dish evenly.
- Spoon cherry pie filling evenly over the pressed batter.
- Dot the remaining batter over the cherry filling.
- Bake in the preheated oven for 35 to 40 minutes, until golden brown.
- Let the bars cool completely in the pan, then slice into portions.
Leave a Reply