
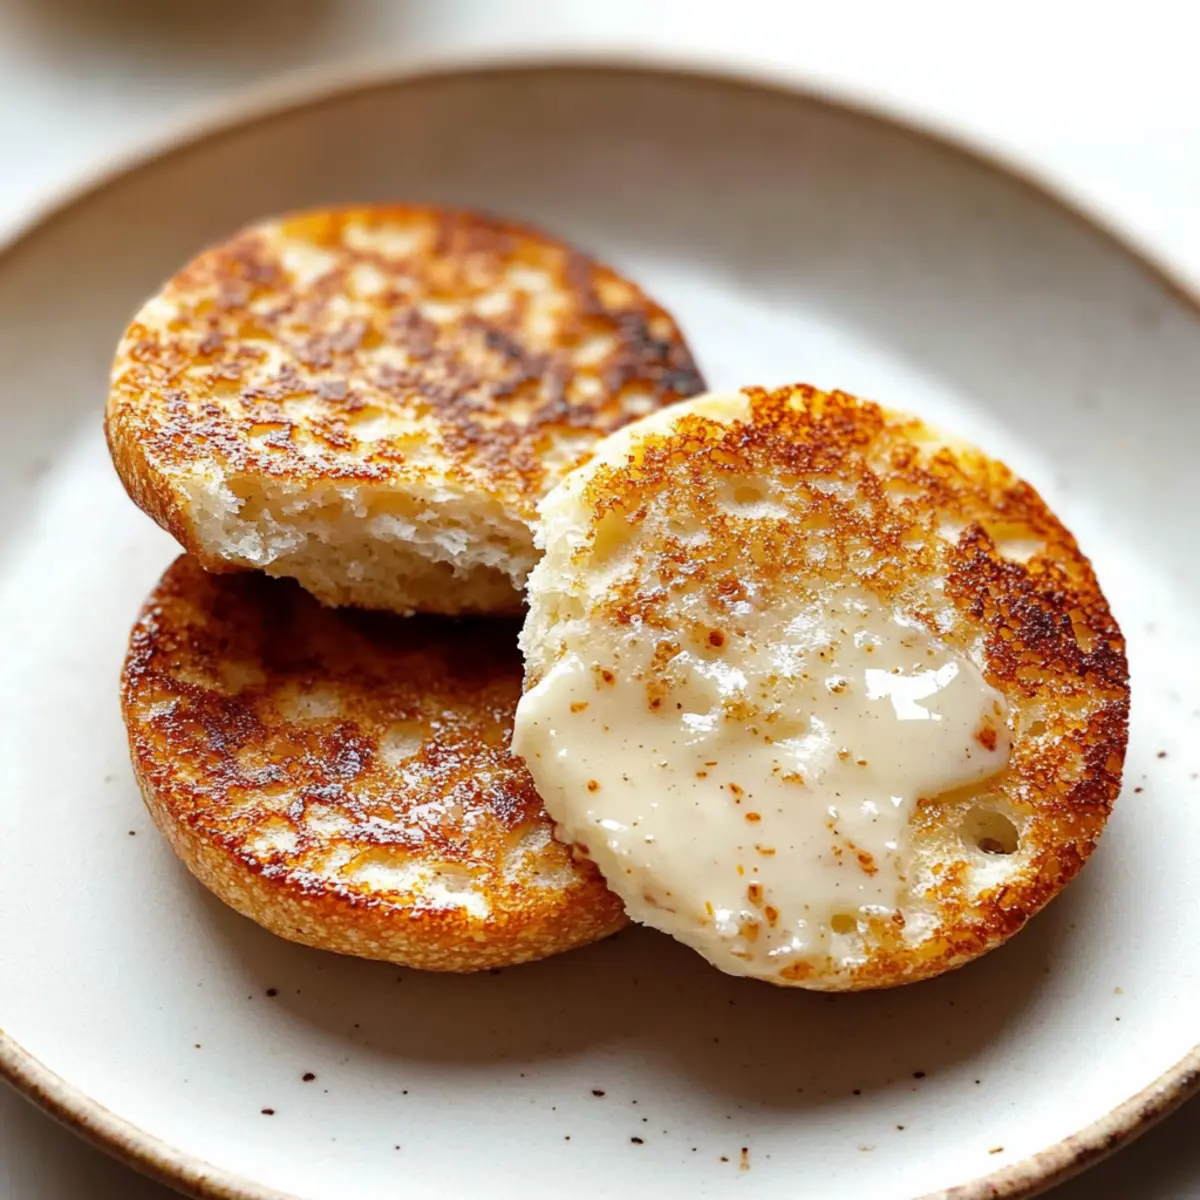
The delightful aroma of freshly baked bread can instantly transport you to a cozy café, right in your own kitchen. Say goodbye to store-bought products and hello to homemade bliss with these Gluten Free English Muffins! With their soft, chewy texture and those classic nooks and crannies, they make the perfect base for your breakfast toppings—whether it’s a slather of butter or a dollop of jam. What I love most is that this recipe is not only simple but also a true crowd-pleaser, making it an ideal solution for brunch gatherings or hearty weekday breakfasts. Plus, you can tweak the flavors to your heart’s desire by adding herbs or sweet spices. Ready to elevate your morning routine? Let’s dive into making these delightful muffins!
Why are these English Muffins special?
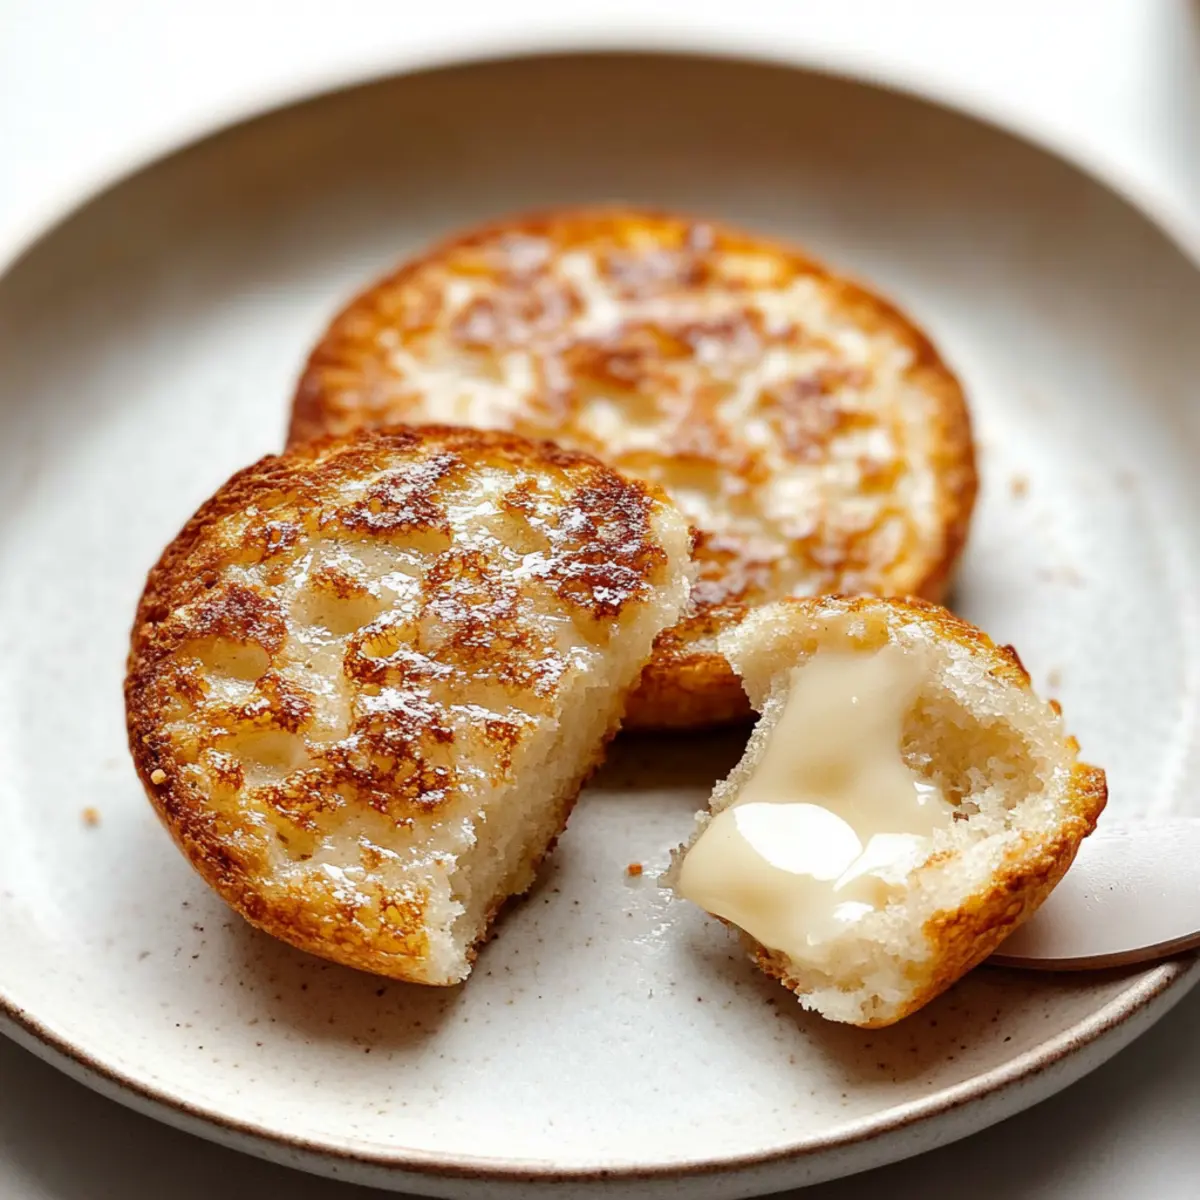
Soft, Chewy Texture: Each bite offers the perfect balance of softness and chewiness, creating a delightful experience for your taste buds.
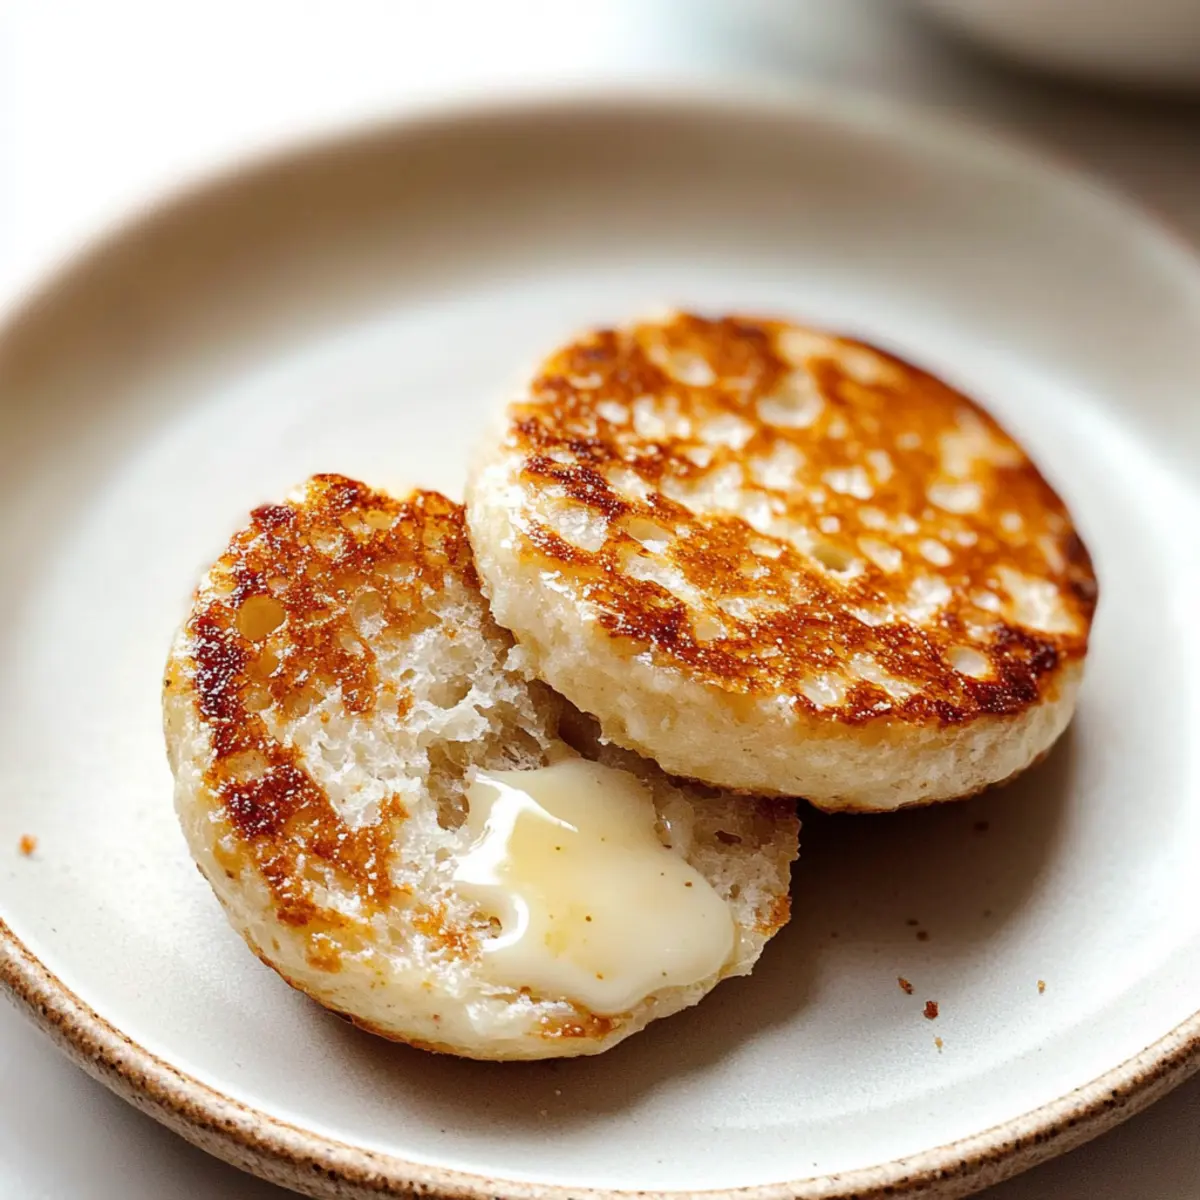
Iconic Nooks and Crannies: These muffins are designed to trap your favorite spreads, whether it’s butter or jam, allowing for maximum flavor enjoyment.
Versatile Recipe: Make them savory or sweet! Add herbs for a savory kick or cinnamon and raisins for a sweet breakfast treat.
Fast and Easy: This recipe can be whipped up in no time, leaving you with fresh muffins and extra time to enjoy your breakfast.
Crowd-Pleaser: Perfect for brunch gatherings or quick weekday breakfasts, everyone will love these homemade delights!
You’ll be proud to say these are homemade, especially when paired with your favorite toppings or even used to create delicious breakfast sandwiches.
Gluten Free English Muffin Ingredients
For the Dough
- Milk – Provides moisture and structure; whole milk is recommended for better texture, but dairy-free milk works too.
- Active Dry Yeast – Leavens the dough, ensuring those delightful muffins rise; always check for freshness!
- Superfine Brown Rice Flour – A key player in gluten-free baking, giving the muffins their structure; avoid regular brown rice flour to prevent grittiness.
- Potato Starch – Adds moisture and lightness to the muffins; tapioca starch can substitute for a chewier effect.
- Fine Cornmeal – Improves flavor and creates a lovely golden crust; if only coarse cornmeal is on hand, simply blend it until fine.
- Granulated Sugar – Sweetens your muffins and enhances browning; feel free to reduce the amount or use a sugar alternative.
- Whole Psyllium Husks – Enhances the dough’s texture and decreases crumbliness; avoid psyllium husk powder for best results.
- Xanthan Gum – Adds elasticity and structure to gluten-free recipes; chia seeds or flaxseed meal can be used, but results may vary.
- Kosher Salt – Elevates flavor; adjust if using different types of salt.
- Egg – Contributes richness and stability to the dough; substitute with a flax egg for an egg-free alternative.
- Neutral Oil – Provides necessary fat for moisture; melted coconut oil or butter can serve as excellent substitutes.
- Vinegar – Reacts with baking soda to enhance rise; lemon juice can be used in its place.
These Gluten Free English Muffin ingredients will lead you toward freshly baked perfection!
Step‑by‑Step Instructions for Gluten Free English Muffins
Step 1: Warm the Milk
Begin by gently heating 1 cup of whole milk to around 110°F (toasty but not scalding). Pour the warm milk into a mixing bowl, then sprinkle in 2 tablespoons of active dry yeast and a pinch of sugar. Stir gently to combine and let it sit for about 5-10 minutes, until it becomes frothy—this signals that your yeast is happy and ready to help your gluten free English muffins rise.
Step 2: Combine Dry Ingredients
In a separate bowl, whisk together 1 cup of superfine brown rice flour, 1/2 cup of potato starch, 1/4 cup of fine cornmeal, 2 tablespoons of granulated sugar, 1 tablespoon of whole psyllium husks, 1 teaspoon of xanthan gum, and 1 teaspoon of kosher salt. Mixing these dry ingredients thoroughly ensures an even distribution of the leavening agents. This blend will give your gluten free English muffins their structure and delightful texture.
Step 3: Mix Wet Ingredients
In another bowl, whisk together 1 large egg and 2 tablespoons of neutral oil until well combined. Carefully add this egg-oil mixture to the frothy yeast mixture, along with 1 teaspoon of vinegar. Stir gently until incorporated, ensuring everything melds together smoothly. This wet mix will add moisture and richness to your gluten free English muffins, enhancing their deliciousness.
Step 4: Combine Wet and Dry Mixtures
Now, pour the wet mixture into the bowl of dry ingredients. Stir vigorously using a wooden spoon or spatula until a cohesive yet slightly lumpy dough forms, about 1-2 minutes. The dough should be quite wet; this high hydration is key to achieving that desired soft, chewy texture in your gluten free English muffins.
Step 5: Rest the Dough
Cover the bowl with a clean kitchen towel and let the dough rest for at least 15 minutes. This resting phase allows the flour to hydrate fully, resulting in a better texture as you shape your gluten free English muffins. It also provides time for the psyllium to work its magic, which will enhance the overall structure.
Step 6: Shape the Muffins
After the resting period, flour your hands with cornstarch (to prevent sticking) and divide the dough into 6 equal pieces. Shape each piece into a round roll. Remember, these rolls are a bit sticky, so don’t fear the mess; just use the cornmeal to help with shaping, rolling them in it gently as needed to keep them from sticking.
Step 7: Second Rise
Line a baking tray with parchment paper and place the shaped rolls on it, leaving space between each for growth. Cover the tray with the kitchen towel and let them rise until they double in size for about 30-45 minutes. You’ll know they’re ready when they feel puffy and have increased significantly in volume—this is crucial for that airy texture in your gluten free English muffins.
Step 8: Preheat the Oven
While your gluten free English muffins are rising, preheat your oven to 350°F. This ensures that when your muffins are ready to bake, the oven is hot enough to create that perfect crust while keeping the inside soft and chewy.
Step 9: Cook the Muffins on Stovetop
Once the muffins have risen, heat a skillet over medium-low heat and pour in a bit of oil to coat the bottom. Carefully place the muffins in the skillet and cook for about 3-4 minutes on each side, until they are a beautiful golden brown. Keep an eye on them to prevent burning; they should develop a lovely crust while remaining soft within.
Step 10: Bake in the Oven
Transfer the browned muffins to the preheated oven (still on the baking tray) and bake for 10-12 minutes. You know they’re done when they have a delicious aroma and an internal temperature of around 200°F. This final baking ensures they’re cooked through and achieve that wonderful texture we love in gluten free English muffins.
Step 11: Cool Before Serving
Once baked, allow your gluten free English muffins to cool slightly on the baking tray for a few minutes. Then, transfer them to a wire rack to cool completely. This step is essential to avoid sogginess, allowing them to firm up just right, making them perfect for your favorite toppings.
How to Store and Freeze Gluten Free English Muffins
Room Temperature: Store cooled muffins in an airtight container at room temperature for up to 2 days. Enjoy them fresh for breakfast or snacks.
Freezer: For longer storage, freeze split muffins by wrapping them individually in plastic wrap, then placing them in a freezer-safe bag. They’ll keep well for up to 3 months.
Reheating: To enjoy, simply toast the frozen muffins or warm them in the oven at 350°F for about 10-15 minutes until heated through. This helps restore their delightful texture in your gluten free English muffins.
Gluten Free English Muffins Variations
Feel free to unleash your creativity and tailor these muffins to suit your taste buds! With endless possibilities, there’s something for everyone to enjoy.
-
Herbed Delight: Add garlic powder or Italian herbs like oregano or thyme for a savory twist that elevates breakfast sandwiches.
-
Cinnamon Raisin: Stir in ground cinnamon and a handful of raisins for a sweet breakfast option that’s perfect with a smear of cream cheese.
-
Cheesy Goodness: Mix in sharp cheddar or your favorite cheese for a cheesy muffin that’s delightful alongside soups or stews.
-
Nutty Crunch: Incorporate chopped nuts like walnuts or pecans for a delightful crunch that adds texture and flavor. When you bite into a muffin, the satisfying crunch can be a welcome surprise!
-
Spicy Kick: Add a pinch of cayenne or red pepper flakes for a spicy version that pairs wonderfully with avocado or eggs.
-
Bagel Style: Top with sesame or poppy seeds for a bagel-inspired flavor, making them perfect for a hearty breakfast sandwich. Encountering seeds with every bite adds a wonderful layer of taste!
-
Smoothie Boost: For added nutrition, blend in some ground chia seeds or flaxseed meal; they provide omega-3 fatty acids and fiber.
-
Lemon Zing: Grate some lemon zest into the dough for a refreshing hint of citrus that brightens the flavor, especially when teamed with blueberry jam.
Incorporating these variations will surely make your homemade gluten free English muffins even more delightful! Be sure to explore other recipes that can complement these muffins, like hearty vegetable soups or savory spreads to spread on your next batch—your breakfast table will thank you!
What to Serve with Gluten Free English Muffins
Start your morning with a delightful feast that complements your freshly baked muffins and turns breakfast into a cozy experience.
-
Creamy Scrambled Eggs: Fluffy scrambled eggs provide a rich and satisfying pairing, perfectly filling those nooks and crannies for a hearty breakfast.
-
Fresh Berries: A bowl of juicy strawberries, blueberries, or raspberries adds a refreshing burst of sweetness, balancing the richness of the muffins beautifully. The natural acidity of the berries brings a bright flavor contrast that elevates your breakfast spread.
-
Avocado Smash: Creamy, seasoned avocado on your muffin creates a velvety texture and a nutritious boost, transforming it into a satisfying brunch option that feels indulgent.
-
Maple Syrup Drizzle: A light drizzle of maple syrup provides a sweet complement that enhances the muffin’s flavor, making it a delightful way to enjoy your favorite breakfast treat.
-
Crispy Bacon or Sausage: The salty, savory goodness of crispy bacon or sausage pairs wonderfully with the sweet softness of the muffins, creating a well-rounded breakfast that everyone will love.
-
Homemade Jam: Slathering on your favorite homemade jam adds a personal touch while introducing unique flavors, making each bite an experience to savor. You could even make this a fun brunch activity—everyone creating their own breakfast masterpiece!
-
Herbal Tea or Fresh Coffee: Complement the meal with a warm cup of herbal tea or your favorite fresh coffee. The aromas and flavors will enhance your entire breakfast experience, rounding out a comforting start to your day.
Make Ahead Options
These Gluten Free English Muffins are a fantastic meal prep option for busy mornings! You can mix the wet and dry ingredients up to 24 hours in advance; just cover the bowl tightly and refrigerate. When you’re ready to bake, allow the mixture to come to room temperature before proceeding with the shaping and second rising. Additionally, you can shape the muffins and store them on a parchment-lined tray, covered with plastic wrap, for up to 3 days in the refrigerator. This way, your muffins will still rise beautifully once you’re ready to pan-fry and bake them. Just remember to gently bring the dough back to room temperature before cooking for optimal texture. Enjoy the convenience of freshly baked Gluten Free English Muffins with minimal effort!
Expert Tips for Gluten Free English Muffins
- Measure Accurately: Use a digital kitchen scale for precise measurements, as gluten-free baking requires exact ratios for the best results.
- Avoid Overflouring: Resist the urge to add extra flour during shaping; a wet dough ensures that soft, chewy texture essential to gluten free English muffins.
- Fresh Ingredients Matter: Make sure your yeast is fresh and active; expired yeast can lead to flat muffins.
- Proper Cooling: Allow your muffins to cool completely before storing to prevent sogginess and maintain their delightful texture.
- Experiment with Flavors: Feel free to personalize your gluten free English muffins with herbs or spices; think garlic powder or cinnamon for a delicious twist!
Gluten Free English Muffins Recipe FAQs
What type of milk should I use for Gluten Free English Muffins?
I recommend using whole milk for the best texture, but you can also substitute with dairy-free options like almond or coconut milk. Just keep in mind that dairy-free milk may result in a lighter color in your muffins.
How should I store Gluten Free English Muffins?
Store your cooled muffins in an airtight container at room temperature for up to 2 days. This way, you can enjoy that fresh-baked flavor. For longer storage, wrap the muffins individually in plastic wrap and keep them in a freezer-safe bag in the freezer for up to 3 months.
Can I freeze Gluten Free English Muffins?
Absolutely! To freeze, slice the muffins in half. Wrap each half in plastic wrap tightly and place them in a freezer-safe bag. When you’re ready to enjoy, toast the frozen halves or warm them in the oven at 350°F for about 10-15 minutes. This will revive their soft texture!
What can I do if my dough is too sticky?
A bit of stickiness is normal with gluten-free dough; just be sure not to add too much extra flour! Instead, sprinkle your hands with cornstarch or use cornmeal when shaping the rolls. If the dough feels excessively wet, let it rest for an additional 5–10 minutes, allowing the flour to absorb more moisture.
Can I make these muffins vegan or egg-free?
Yes! To make gluten free English muffins vegan, simply substitute the egg with a flax egg by mixing 1 tablespoon of ground flaxseed with 2.5 tablespoons of water and letting it sit for 5 minutes until it thickens. This works beautifully to bind your dough without using any animal products.
How long do Gluten Free English Muffins last?
When stored properly, these delightful muffins will stay fresh in your kitchen for about 2 days at room temperature. If you’re looking to make them in advance, freezing is the best option, allowing you to enjoy them for up to 3 months with maintained flavor and texture!

Homemade Gluten Free English Muffins: Soft, Chewy Delights
Ingredients
Equipment
Method
- Warm the milk by gently heating to around 110°F, then combine with yeast and sugar. Let sit for about 5-10 minutes until frothy.
- Whisk together the dry ingredients in a separate bowl: brown rice flour, potato starch, cornmeal, sugar, psyllium husks, xanthan gum, and salt.
- In another bowl, mix egg and oil, then add this mixture to the frothy yeast along with vinegar. Stir until combined.
- Pour the wet mixture into the dry ingredients and stir until a cohesive and slightly lumpy dough forms.
- Cover the bowl with a towel and let the dough rest for at least 15 minutes.
- Flour hands with cornstarch, divide dough into 6 pieces and shape into rolls, using cornmeal to prevent sticking.
- Place rolls on a lined baking tray, cover with towel, and let rise for 30-45 minutes until doubled in size.
- Preheat your oven to 350°F while the muffins are rising.
- Heat a skillet over medium-low heat and cook the muffins in oil for about 3-4 minutes on each side until golden brown.
- Transfer the muffins to the oven and bake for 10-12 minutes until they reach an internal temperature of about 200°F.
- Cool the muffins slightly on the tray, then transfer to a wire rack to cool completely.
Leave a Reply