
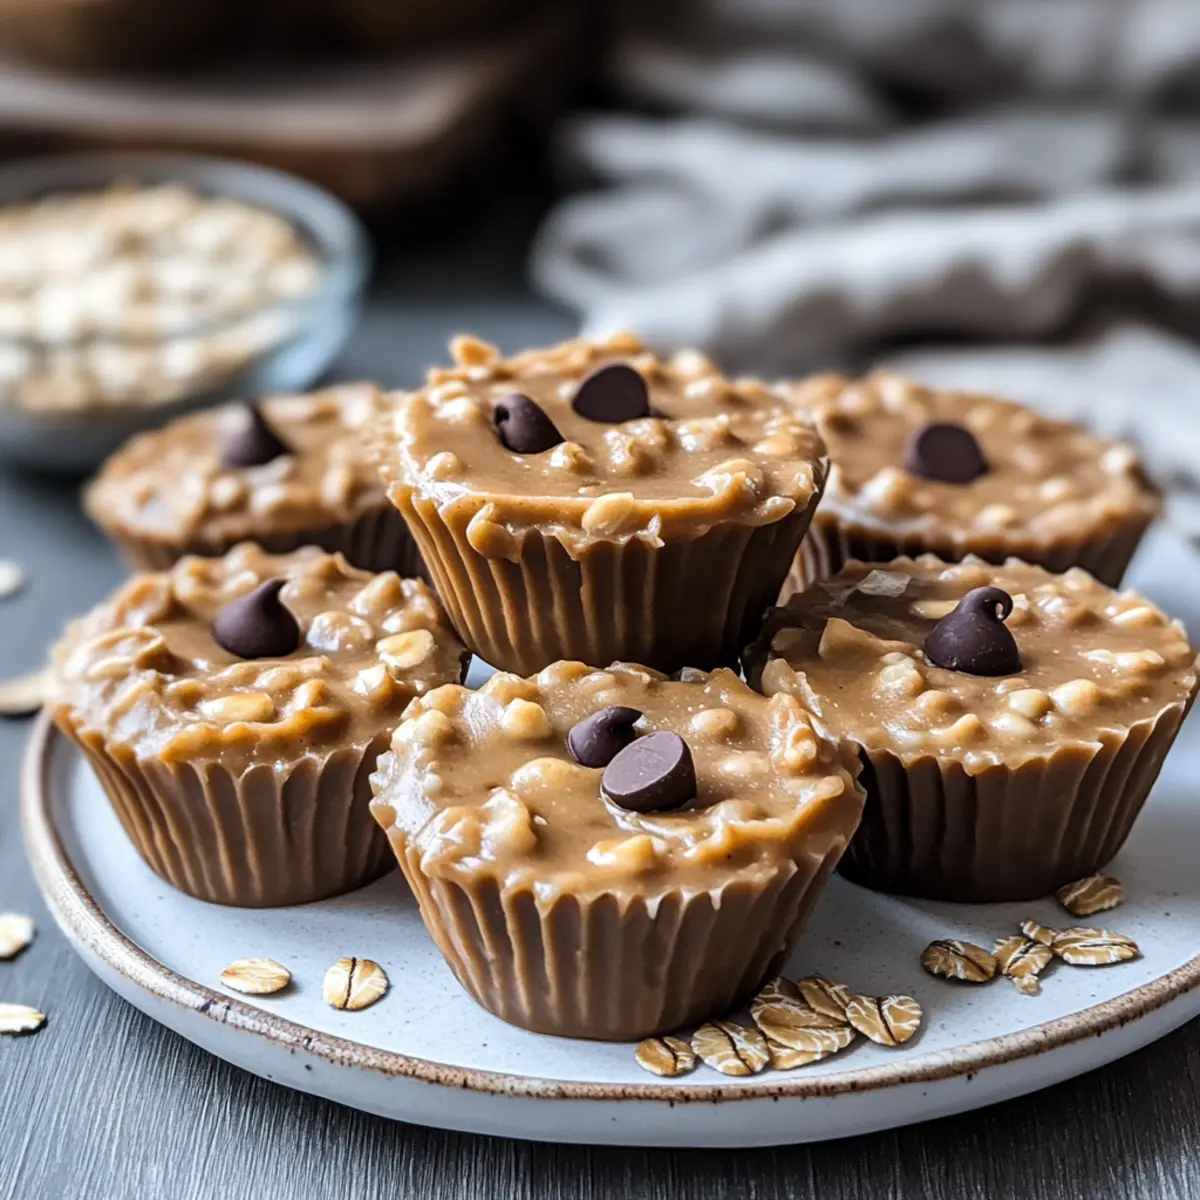
As I stood in my kitchen one busy afternoon, craving something sweet yet nutritious, I found myself struck by inspiration. The solution? These No-Bake Peanut Butter Oat Cups—an effortless treat that offers a delightful mix of creamy peanut butter and hearty oats! Not only are they a cinch to whip up, requiring no oven at all, but they also pack a punch of energy-boosting goodness. A touch of honey and optional dark chocolate chips elevate these chewy morsels into a perfect snack for anytime cravings. Whether you’re facing a hectic day or just need a quick, satisfying bite, these cups are here to become your new go-to. Curious to see how easy they are to make? Let’s dive into this deliciously simple recipe!
Why Are These Oat Cups So Amazing?
Simplicity at its Best: This no-bake recipe is incredibly easy to prepare, making it perfect for even the busiest of days.
Nutritious Snack Alternative: Packed with protein and healthy fats, they provide sustained energy for all your daily adventures, unlike those sugary snacks that leave you crashing.
Customization Galore: Feel free to swap peanut butter for almond or cashew butter, or even mix in your favorite dried fruits for added flair.
Quick Refrigeration: With just 30 minutes in the fridge, you can indulge in a delicious treat that’s ready when you are!
Crowd-Pleasing Delight: These oat cups are loved by both kids and adults alike, making them an excellent choice for family snacks or gatherings.
No-Bake Peanut Butter Oat Cups Ingredients
For the Base
• Rolled Oats – Provides structure and texture to the cups; avoid instant oats for this recipe.
• Natural Peanut Butter – Adds creaminess and flavor; substitute with almond butter or sunflower seed butter for a nut-free option.
• Honey or Maple Syrup – Serves as a natural sweetener; swap with agave syrup or coconut nectar for a different flavor.
• Vanilla Extract (Optional) – Enhances flavor; skip if you prefer a more straightforward taste profile.
• Pinch of Salt – Balances flavors, especially important if using unsalted peanut butter; a pinch of sea salt elevates the gourmet touch.
For Topping (Optional)
• Dark Chocolate Chips – Adds a touch of indulgence; choose dairy-free chips for a vegan option or simply omit for a healthier treat.
With these easy-to-find ingredients, your No-Bake Peanut Butter Oat Cups will come together in no time, combining flavor and nutrition seamlessly!
Step‑by‑Step Instructions for No-Bake Peanut Butter Oat Cups
Step 1: Mix the Ingredients
In a medium mixing bowl, combine 2 cups of rolled oats, 1 cup of natural peanut butter, and ⅓ cup of honey or maple syrup. Stir well until all ingredients are fully incorporated and form a thick mixture that holds together. If using, add 1 teaspoon of vanilla extract at this stage for an extra flavor boost.
Step 2: Add a Pinch of Salt
Taste your mixture and, if desired, stir in a pinch of salt to balance the sweetness. This minor addition is especially important if you’re using unsalted peanut butter. The mixture should be sticky yet pliable, resembling a thick dough that invites the next steps of your No-Bake Peanut Butter Oat Cups.
Step 3: Shape the Cups
Prepare a muffin tin or a lined dish by lightly greasing it with a bit of cooking spray. Press the oat mixture firmly into the bottom of the muffin tin or spread it evenly across the dish, using your fingers or a spatula to create an even layer. It’s crucial to press down hard enough so that they hold together once chilled.
Step 4: Add Chocolate Chips
If you’re using dark chocolate chips, now is the time to sprinkle them on top of the pressed oat mixture. Gently press the chocolate chips into the mixture, ensuring that they embed slightly, which will help keep them in place when you slice the cups. This step adds a delightful touch of indulgence to your No-Bake Peanut Butter Oat Cups.
Step 5: Refrigerate to Set
Place your muffin tin or dish in the refrigerator and let the mixture set for at least 30 minutes. This cooling period is essential as it helps the oats and peanut butter firm up, allowing you to easily cut or scoop out the cups later. After the cooling time, your delicious snack will be ready to enjoy!
Step 6: Slice and Serve
Once chilled, carefully remove the No-Bake Peanut Butter Oat Cups from the muffin tin or cut them into squares if using a dish. Use a sharp knife for clean edges. Feel free to garnish with extra chocolate chips or a drizzle of honey before serving for an appealing touch that makes these cups even more irresistible.
What to Serve with No-Bake Peanut Butter Oat Cups
Enjoying these delicious oat cups opens up a world of satisfying possibilities for a wholesome meal or snack experience.
-
Fresh Fruit Salad: Bright, juicy fruits add a refreshing contrast to the nutty flavors, perfect for a nutritious breakfast or snack plate. Combine seasonal favorites like berries, melons, or citrus for a vibrant mix that invigorates your palate.
-
Greek Yogurt Parfait: Creamy and tangy Greek yogurt pairs beautifully with the chewy oat cups. Layer this combination with granola and honey for a delightful breakfast or an afternoon pick-me-up. The yogurt’s protein complements the oats, creating a balanced energy boost.
-
Nutty Trail Mix: A crunchy trail mix combines wonderful textures with your No-Bake Peanut Butter Oat Cups. Toss together nuts, seeds, and dried fruits for an easy-to-make snack. This adds a wholesome crunch that will keep you satisfied through the day.
-
Chilled Almond Milk: Pair your oat cups with a glass of smooth, chilled almond milk for a delicious and dairy-free option. The nutty flavor accentuates the peanut butter while providing an energizing boost without any heaviness.
-
Chocolate-Dipped Bananas: Prepare chocolate-dipped banana bites for a sweet treat that harmonizes with the flavor of the oat cups. Their creamy sweetness balances out the nuttiness, making this combo an indulgent yet healthy dessert option.
-
Homemade Granola Bars: Serve your oat cups alongside homemade granola bars for an energizing, snack attack-prevention duo. The combination of flavors and textures enhances the experience, perfect for busy days.
-
Herbal Tea: A warm cup of herbal tea, like chamomile or mint, can complement the rich flavors of your oat cups beautifully. This cozy pairing provides a soothing touch to your snack time, perfect for winding down after a busy day.
-
Dark Chocolate Squares: If you’re craving something sweet, pair your oat cups with a few squares of dark chocolate. The bittersweet chocolate enhances the richness of the peanut butter, creating a satisfying, guilt-free treat.
-
Coconut Whipped Cream: For a creamy topper, serve your oat cups with a dollop of coconut whipped cream. This light, fluffy addition contrasts wonderfully with the hearty oats and brings a tropical flair to your snacking experience.
How to Store and Freeze No-Bake Peanut Butter Oat Cups
Fridge: Store your oat cups in an airtight container for up to 1 week. This keeps them fresh and ready for snacking whenever the cravings hit.
Freezer: For longer storage, freeze the cups layered between parchment paper in an airtight container for up to 3 months. This preserves their flavor and texture.
Thawing: To enjoy frozen cups, simply move them to the fridge overnight or let them sit at room temperature for about 20 minutes before serving.
Reheating: These No-Bake Peanut Butter Oat Cups are best enjoyed chilled and don’t require reheating; simply grab and go for a delicious treat!
Make Ahead Options
These No-Bake Peanut Butter Oat Cups are perfect for meal prep enthusiasts! You can mix the ingredients and press them into a dish up to 24 hours in advance, which frees up your busy schedule while still providing a delicious snack. Just remember to refrigerate the set mixture within this timeframe to maintain its chewy texture. When you’re ready to serve, simply cut or scoop them out—no additional prep needed! For the best quality, store these cups in an airtight container in the fridge, where they’ll stay fresh for up to 1 week. Enjoy the convenience of having a healthy, energy-boosting snack ready whenever you need it!
Expert Tips for No-Bake Peanut Butter Oat Cups
Mixing Consistency: Ensure the peanut butter is well-stirred before combining; this helps achieve a smooth blend with your oats and sweetener.
Firm Pressing: Press the mixture down firmly into your muffin tin or dish to create a solid base. This prevents the cups from crumbling when served.
Chill Time Matters: Refrigerate the cups for a full 30 minutes to allow them to set properly; this helps maintain their shape and texture.
Slicing Technique: For clean edges, use a sharp knife to cut your No-Bake Peanut Butter Oat Cups only after they’ve fully chilled; this makes serving easier.
Storage Tips: Keep your oat cups in an airtight container in the fridge for best freshness, and enjoy them within a week to savor their taste and texture.
No-Bake Peanut Butter Oat Cups Variations
Feel free to let your creativity shine and customize these delightful oat cups to match your taste buds!
- Nut-Free Delight: Substitute peanut butter with sunflower seed butter. This ensures a creamy texture without the nuts, perfect for school lunches.
- Extra Crunch: Fold in chopped nuts or seeds like almonds, walnuts, or pumpkin seeds. They add a delightful crunch that contrasts beautifully with the chewiness of the oats.
- Fruit Fusion: Mix in dried fruits such as raisins, cranberries, or apricots for added sweetness and texture. This fruity twist gives a refreshing lift to each bite!
- Protein Boost: Incorporate a scoop of your favorite protein powder into the mixture. This enhances the nutritional profile and makes these cups an even better energy snack.
- Spiced Up: Add a dash of cinnamon or nutmeg to the mixture for a warm, cozy flavor. This little spice twist transforms your snack into a comforting treat!
- Chocolate Lover’s Dream: Instead of dark chocolate chips, try using white chocolate or butterscotch chips for a delightful change. Each variation offers a unique sweetness to adore.
- Coconut Bliss: Stir in unsweetened shredded coconut into the mix. This exotic touch adds flavor and a chewy texture that can make these cups feel like a tropical escape.
- Savory Twist: Opt for a savory version by using tahini instead of peanut butter and add herbs or spices like cumin or smoked paprika. This unusual approach can create a fun and unique snack!
With so many options, you’re sure to find your perfect combination. Love the chocolatey goodness? Then be sure to check out these Yogurt Peanut Butter bites for more wholesome snacking ideas! And if you’re looking for a cozy dessert, why not try these Brown Butter Biscoff treats? The variation possibilities are endless, just like your snacking joy!
No-Bake Peanut Butter Oat Cups Recipe FAQs
What type of oats should I use for my No-Bake Peanut Butter Oat Cups?
Absolutely! It’s best to use rolled oats for this recipe, as they provide the ideal texture. I recommend avoiding instant oats, as they can become mushy and won’t hold the cups together well. For a finer texture, you can use quick oats, but rolled oats are my favorite for that chewy goodness!
How should I store my No-Bake Peanut Butter Oat Cups?
You’ll want to keep your oat cups in an airtight container in the fridge where they’ll stay fresh for up to 1 week. However, if you can’t finish them in that timeframe, simply layer them between parchment paper in an airtight container and freeze for up to 3 months. They’re perfect for meal prep!
Can I freeze my No-Bake Peanut Butter Oat Cups? How do I do it?
Yes, definitely! To freeze, place the oat cups in layers separated by parchment paper in an airtight container to prevent sticking, and store them in the freezer for up to 3 months. When you’re ready to enjoy them, just transfer them to the fridge overnight, or let them thaw at room temperature for about 20 minutes before munching!
How can I prevent my No-Bake Peanut Butter Oat Cups from crumbling?
Very important! To ensure they hold together, make sure to press the mixture firmly down into your muffin tin or dish—this creates a solid base. After refrigerating, slice the cups with a sharp knife for clean edges, which helps them maintain their shape. If they still feel too crumbly, try adding a bit more peanut butter or honey to bind the mixture better.
Are No-Bake Peanut Butter Oat Cups safe for those with allergies?
Great question! If you’re concerned about nut allergies, substitute the peanut butter with sunflower seed butter or soy nut butter to make them safe and nut-free. As for other allergies, always check the labels on your ingredients to ensure they are free from allergens. Enjoy making them versatile for everyone’s needs!
No-Bake Peanut Butter Oat Cups for Quick, Guilt-Free Snacking
Ingredients
Equipment
Method
- In a medium mixing bowl, combine 2 cups of rolled oats, 1 cup of natural peanut butter, and ⅓ cup of honey or maple syrup. Stir well until all ingredients are fully incorporated and form a thick mixture that holds together. If using, add 1 teaspoon of vanilla extract at this stage for an extra flavor boost.
- Taste your mixture and, if desired, stir in a pinch of salt to balance the sweetness.
- Prepare a muffin tin or a lined dish by lightly greasing it with a bit of cooking spray. Press the oat mixture firmly into the bottom of the muffin tin or spread it evenly across the dish, using your fingers or a spatula to create an even layer.
- If you're using dark chocolate chips, now is the time to sprinkle them on top of the pressed oat mixture. Gently press the chocolate chips into the mixture.
- Place your muffin tin or dish in the refrigerator and let the mixture set for at least 30 minutes.
- Once chilled, carefully remove the No-Bake Peanut Butter Oat Cups from the muffin tin or cut them into squares if using a dish.
Leave a Reply