
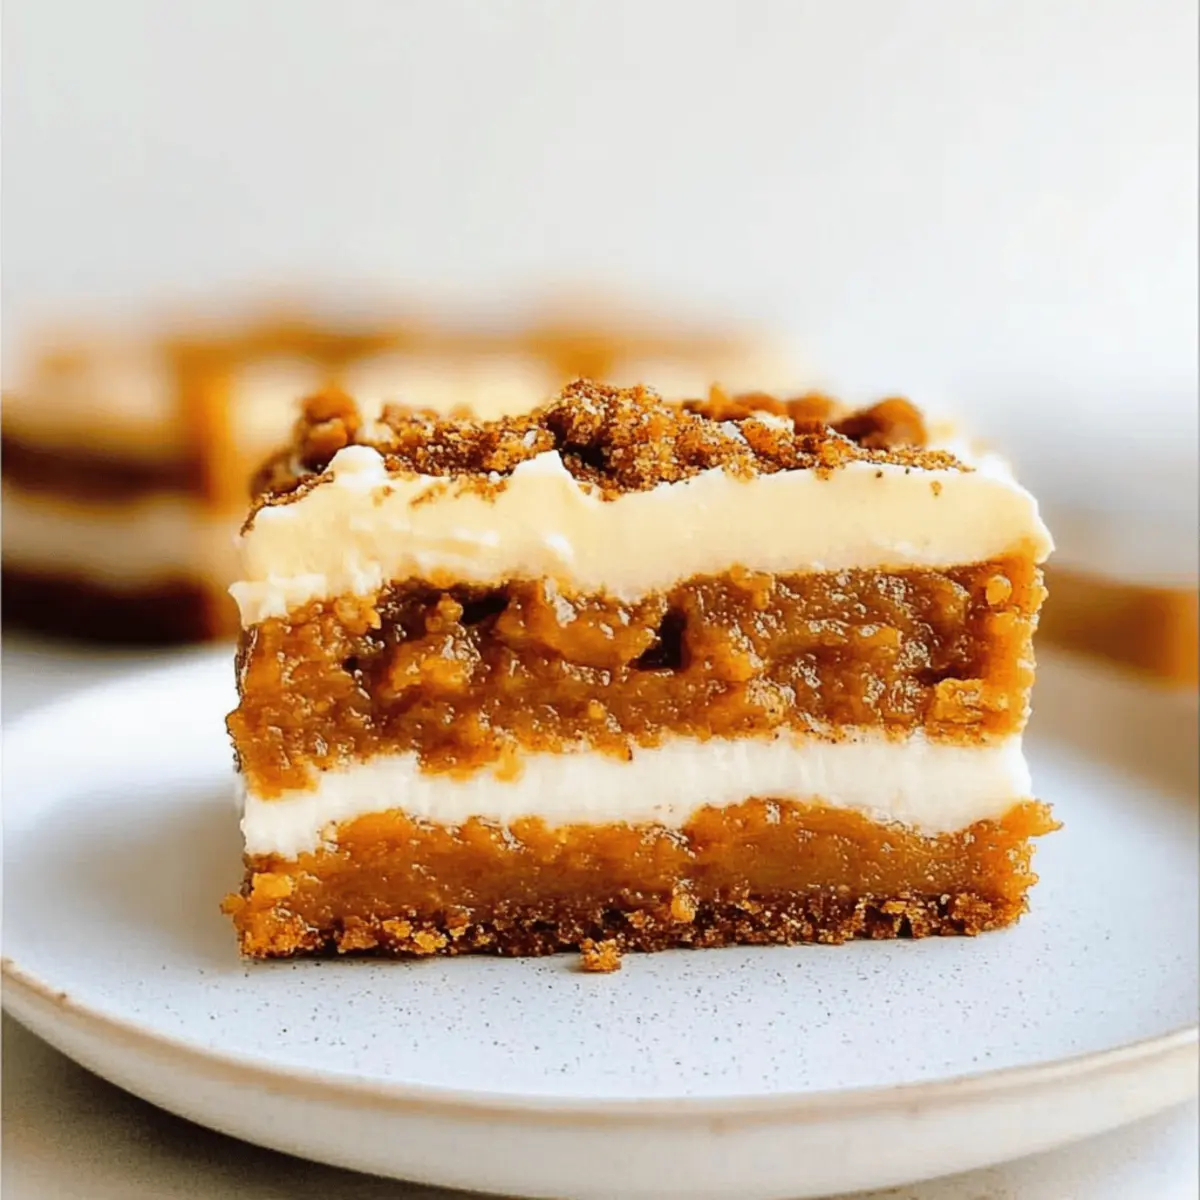
As the leaves turn golden and the air carries that crisp autumn scent, I find myself unraveling the delightful world of Pumpkin Bars. These treats capture the essence of fall with their warm spices and tender crumb, making them an ideal choice not just for dessert but also for those cozy after-school snack moments. In this collection of 30 Irresistible Pumpkin Bar Recipes, you’ll discover flavors to please every palate—be it rich chocolate, creamy cheesecake, or even a gluten-free twist. Not only are they a crowd-pleaser, but they also bring a comforting aroma that transforms your kitchen into a haven of seasonal joy. Ready to fill your home with warmth and deliciousness? Let’s dive in and explore these delectable pumpkin creations that will keep you coming back for more!
Why are Pumpkin Bars so irresistible?
Warm, Spicy Aroma: The scent of baking pumpkin bars fills your kitchen with a cozy, inviting fragrance that screams autumn.
Absolute Versatility: Whether you crave a chocolate fudge twist or a velvety cream cheese layer, there’s a pumpkin bar variation for everyone! Explore options like gluten-free and vegan versions to cater to all diets, ensuring no one misses out.
Quick and Easy: With straightforward instructions, these bars come together in no time, making them perfect for busy bakers or those who want to whip up a sweet treat with little fuss.
Crowd-Pleasing Delight: Serve them at fall gatherings, and watch as they disappear faster than you can say “pumpkin spice”! They’re the perfect addition to any dessert table.
Satisfy Sweet Cravings: Packed with natural sweetness and wholesome ingredients, these bars offer a guilt-free indulgence that makes each bite feel special. For a unique twist, consider experimenting with different frostings to elevate your creations!
Pumpkin Bar Ingredients
• To create these delightful pumpkin bars, gather the following essential ingredients.
For the Base
- Pumpkin Puree – provides moisture and the essential pumpkin flavor; feel free to use canned or homemade.
- Flour (All-purpose or Gluten-Free) – serves as the base structure; for gluten-free pumpkin bars, opt for gluten-free all-purpose flour.
- Sugar (Brown/Granulated) – adds sweetness and aids in browning; consider substituting coconut sugar for a healthier option.
- Eggs – act as a binder to hold the ingredients together; for vegan versions, use flax eggs in place.
For the Leavening and Flavor
- Baking Powder & Baking Soda – create leavening for a lighter texture; ensure they are fresh for best results.
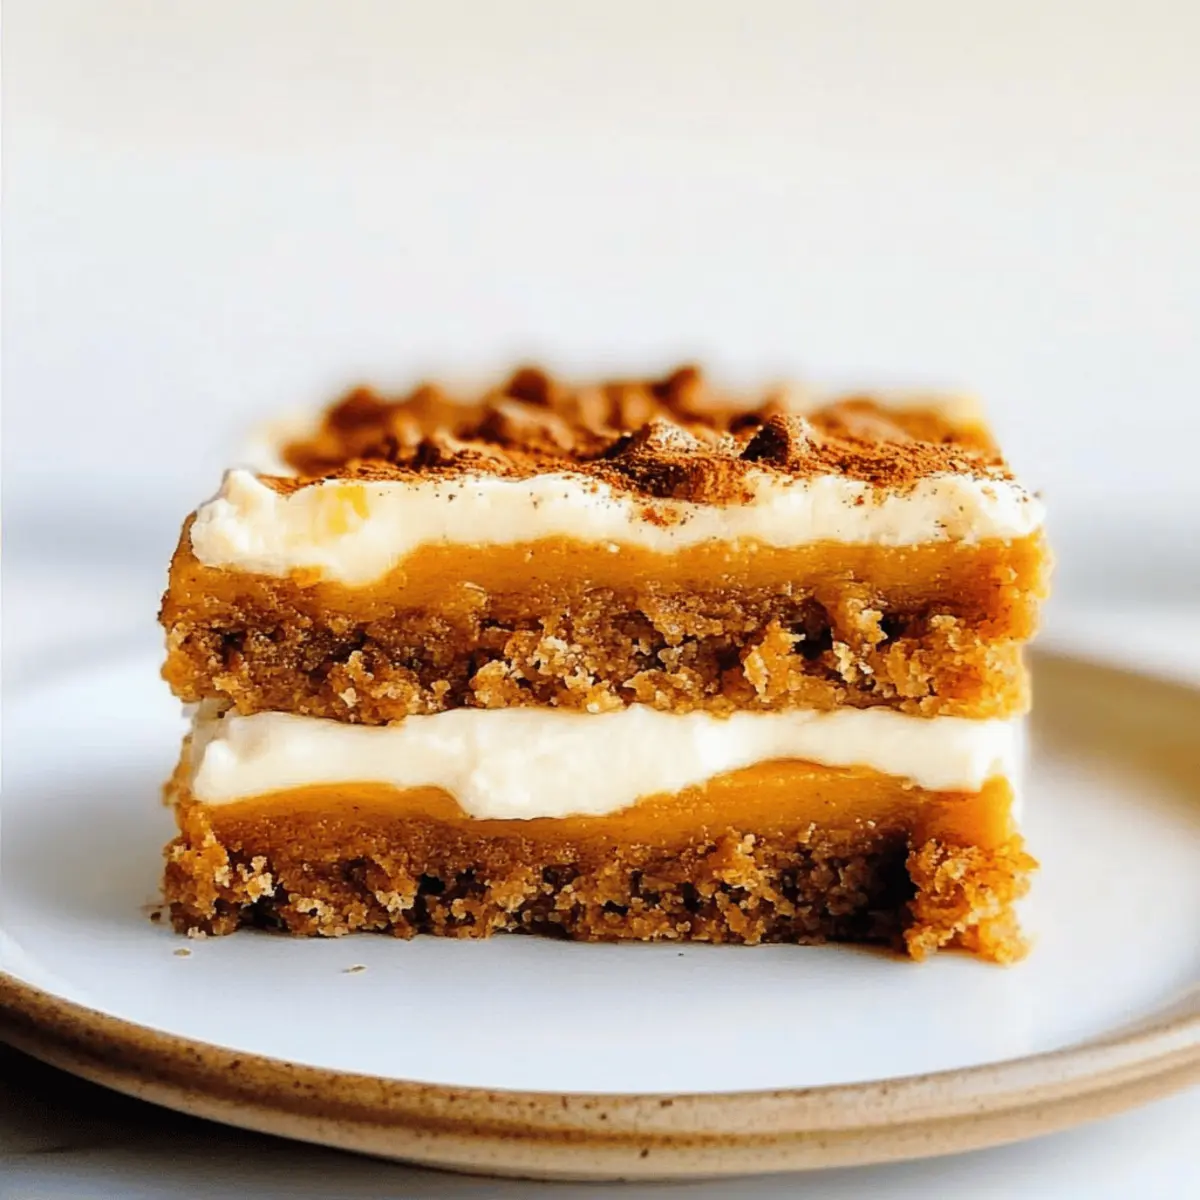
- Spices (Cinnamon, Nutmeg, etc.) – add warm, seasonal flavors; adjust according to your spice preference for that perfect pumpkin bar taste.
For Sweetness & Texture
- Chocolate Chips – enhance sweetness and add rich chocolate flavor; use dark chocolate for a deeper taste or omit for a lighter version.
- Cream Cheese – offers creaminess in recipes requiring a cheesecake layer; can be replaced with a vegan cream cheese if desired.
- Nuts (Pecans, Walnuts, etc.) – provide crunch and contrast; feel free to omit or substitute with seeds for allergy-friendly versions.
These ingredients come together to create mouthwatering pumpkin bars that embody the warmth and coziness of fall!
Step‑by‑Step Instructions for Pumpkin Bar
Step 1: Prep Ingredients
Begin by preheating your oven to 350°F (175°C). Gather all your ingredients, including pumpkin puree, flour, sugars, eggs, and spices. Line a 9×13-inch baking dish with parchment paper or grease it lightly with cooking spray for easy removal. This setup ensures a smooth cooking process as you whip up your delightful pumpkin bars.
Step 2: Mix Dry Ingredients
In a large mixing bowl, whisk together the flour, baking powder, baking soda, and seasonal spices such as cinnamon and nutmeg. This step is crucial for evenly distributing the leavening agents and spices, which will contribute to the lightness and flavor of your pumpkin bars. Set this bowl aside as you prepare the wet ingredients.
Step 3: Mix Wet Ingredients
In a separate bowl, combine the pumpkin puree, brown sugar, granulated sugar, eggs, and melted butter (or oil) until smooth. It’s important to mix well so that all ingredients are fully blended, creating a rich and creamy mixture that serves as the foundation for your pumpkin bars. Take in that warm, inviting aroma as you blend!
Step 4: Combine
Gradually add the dry ingredients to the wet mixture, stirring gently until just combined. Avoid overmixing, as this can lead to denser bars; a few lumps are perfectly fine. This step combines the pumpkin flavor with the spiced batter, setting the stage for the delicious pumpkin bars you’re about to create.
Step 5: Add Mix-ins
Fold in any chocolate chips or nuts at this stage, making sure they’re evenly distributed throughout the batter. If you’re opting for gluten-free pumpkin bars, ensure your mix-ins are also gluten-free. This will add delightful texture and richness to your final product, enhancing every bite of your pumpkin bars.
Step 6: Bake
Pour the batter into the prepared baking dish, spreading it out evenly with a spatula. Bake in your preheated oven for 25 to 30 minutes, or until a toothpick inserted into the center comes out clean. Keep an eye on them as they bake, and enjoy the heavenly aroma wafting through your kitchen as your pumpkin bars transform!
Step 7: Cool
Once baked, remove the pumpkin bars from the oven and let them cool in the pan for about 10 minutes before transferring to a wire rack. This cooling process sets the bars and makes them easier to cut without crumbling. Enjoy the anticipation as you wait for them to cool enough to slice!
Step 8: Frost or Serve
After your pumpkin bars have fully cooled, you can either frost them with your favorite cream cheese frosting or serve them plain. Cut them into squares or rectangles as desired. These pumpkin bars are perfect for any occasion and will become a beloved treat in your home!
Tips for the Best Pumpkin Bars
• Don’t Overmix: Overmixing the batter can lead to denser pumpkin bars. Gently combine ingredients until just mixed for a fluffier texture.
• Cool Completely: Allow the bars to cool fully before cutting; this prevents crumbling and ensures clean slices, making your pumpkin bars look as good as they taste.
• Use Fresh Spices: Using fresh spices enhances flavor significantly. Old spices can dull the taste, so make sure to replace them regularly for the best results.
• Experiment with Mix-ins: Feel free to mix in dark chocolate chips or your favorite nuts for added texture and flavor. Just ensure that any modifications align with your pumpkin bar goal.
• Monitor Baking Time: Ovens can vary; check your bars a few minutes before the recommended time. They should be firm to the touch and a toothpick should come out clean.
• Storage Tips: Store your homemade pumpkin bars in an airtight container for optimal freshness. They can last 3-4 days at room temperature or a week in the fridge!
How to Store and Freeze Pumpkin Bars
Room Temperature: Store leftover pumpkin bars in an airtight container at room temperature for up to 3-4 days. This keeps them moist and ready for snacking!
Fridge: For extended freshness, refrigerate your pumpkin bars in an airtight container for up to a week. The cool environment helps maintain their flavor and texture.
Freezer: If you want to enjoy your pumpkin bars later, wrap them tightly in plastic wrap and place them in a freezer-safe container. They can be frozen for up to three months!
Reheating: To enjoy your frozen pumpkin bars, simply thaw them in the refrigerator overnight or at room temperature for a couple of hours. You can reheat them in the microwave for a few seconds for that “just-baked” warmth!
Make Ahead Options
These Pumpkin Bars are perfect for meal prep enthusiasts! You can mix the dry ingredients up to 24 hours in advance, storing them in an airtight container at room temperature to preserve freshness. Additionally, the wet ingredients can be blended beforehand and kept in the refrigerator for up to 3 days. To maintain the quality of your bars, ensure the pumpkin mixture is tightly sealed to prevent it from absorbing other odors. When you’re ready to bake, simply combine the prepped dry and wet ingredients, mix in your desired chocolate chips or nuts, pour the batter into your prepared baking dish, and bake as instructed. You’ll enjoy delicious, homemade Pumpkin Bars with minimal effort on busy days!
Variations of Pumpkin Bar
Feel free to get creative and customize your pumpkin bars to match your taste and dietary needs.
- Gluten-Free: Substitute all-purpose flour with a gluten-free blend to ensure everyone can enjoy these bars.
- Vegan: Replace eggs with flax eggs (1 tablespoon of flaxseed meal mixed with 3 tablespoons of water) for a delicious plant-based option.
- Chocolate Delight: Add chocolate chips to the batter for a rich, decadent treat that satisfies any chocolate lover’s cravings. This twist easily transforms your classic recipe into an indulgent dessert.
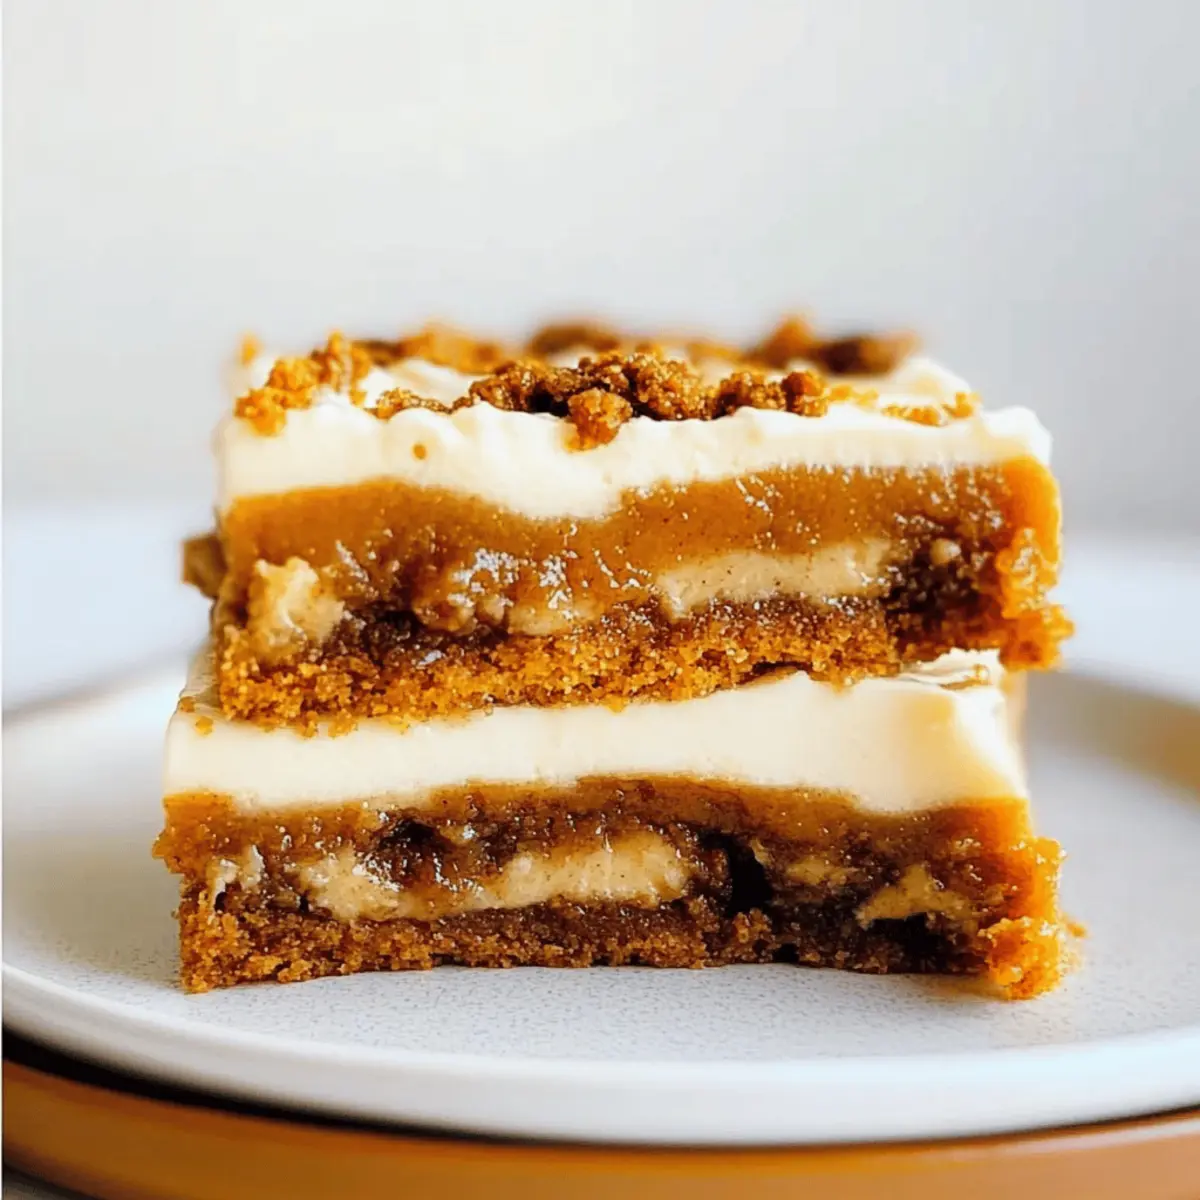
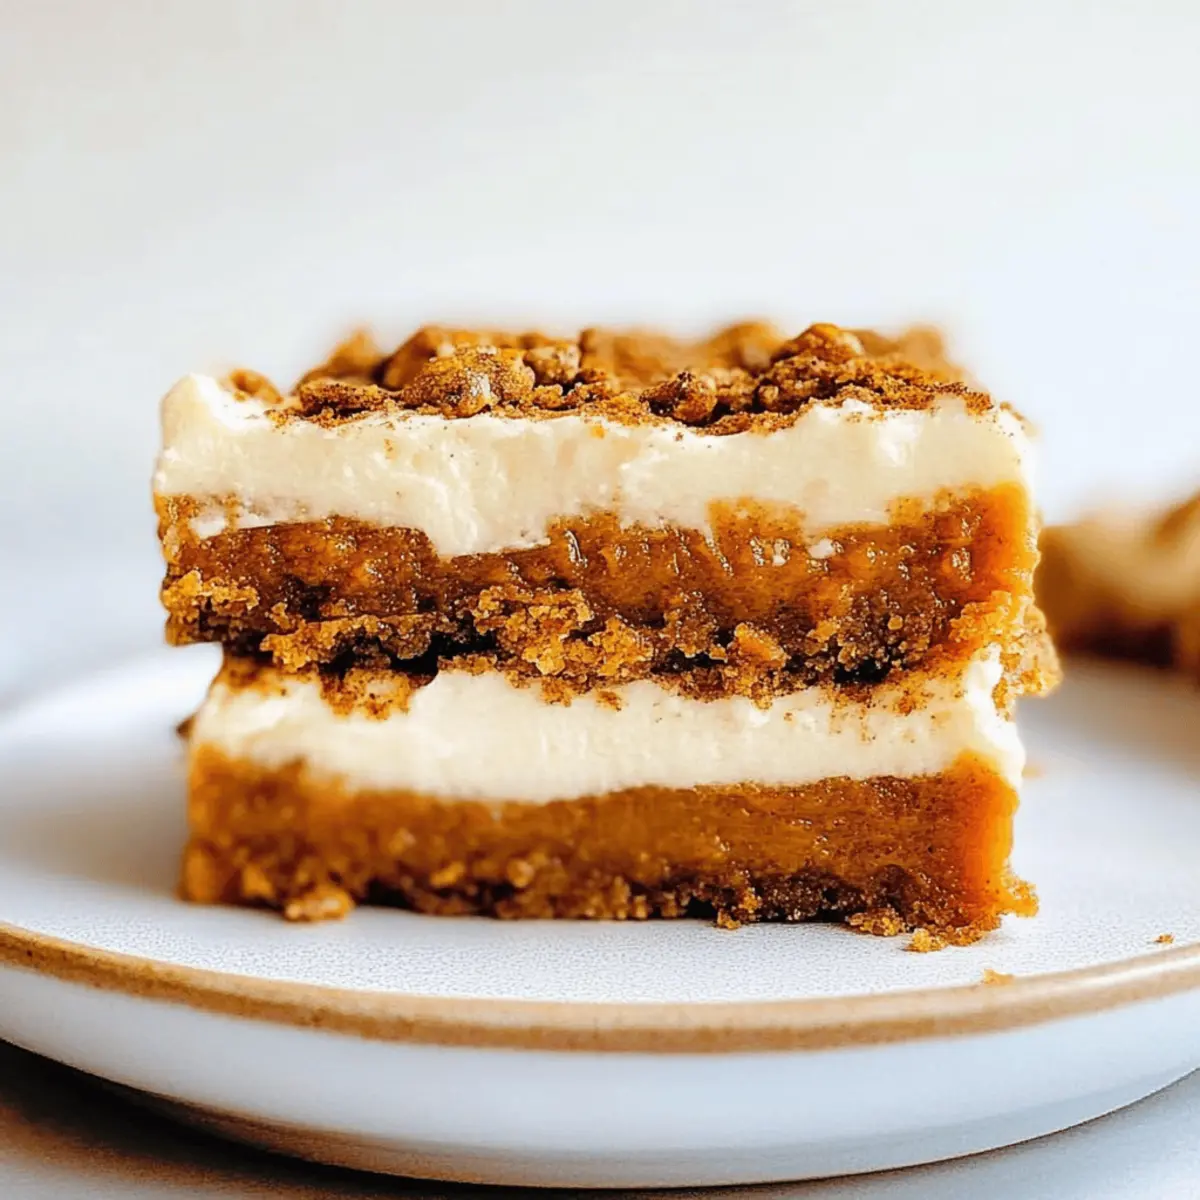
- Creamy Cheesecake Swirl: Incorporate dollops of cream cheese batter on top of the pumpkin mixture before baking for a cheesecake effect that adds a heavenly richness to your bars.
- Nutty Crunch: Toss in your favorite nuts, such as walnuts or pecans, for added texture, or try sunflower seeds for a nut-free option!
- Spiced Up: Enhance the flavor by adding a teaspoon of ginger or a pinch of cloves to bring an extra layer of warmth to your pumpkin bars.
- Dried Fruit Twist: Swap chocolate chips for raisins or dried cranberries for a chewy, fruity touch that pairs wonderfully with pumpkin. It’s an easy way to switch things up!
- Maple Frosting: Instead of traditional frosting, try a maple glaze made with powdered sugar, maple syrup, and a touch of milk for a sweet finish. This glaze complements the autumn flavors beautifully!
Each of these variations allows you to explore exciting new flavors while keeping the essence of the beloved pumpkin bar. For more ideas on swapping ingredients, be sure to check out my tips on experimenting with different frostings to make your pumpkin bars even more exciting!
What to Serve with Pumpkin Bars
Indulging in a plate of pumpkin bars is only the beginning of your cozy culinary adventure this fall.
- Whipped Cream: A dollop of freshly whipped cream adds a light, airy contrast, enhancing the rich pumpkin flavor with its creamy texture.
- Caramel Sauce: Drizzle luscious caramel over your bars for an extra touch of sweetness that beautifully complements the warm spices.
- Ice Cream: Pairing your pumpkin bars with vanilla or cinnamon ice cream creates a delightful contrast in temperature and creaminess, perfect for a cozy dessert experience.
- Chai Tea: The spicy warmth of chai tea harmonizes with the pumpkin bars, making it a lovely sipping companion for those chilly autumn days.
- Coffee: A hot cup of coffee balances the sweetness of pumpkin bars, elevating your snack time to a café-like experience in the comfort of your home.
- Nuts: Serve a small bowl of roasted nuts on the side for a crunchy texture that nicely contrasts the soft bars, enhancing your dessert spread.
- Flavored Yogurt: A serving of vanilla or Greek yogurt adds a tangy twist, making it a refreshing complement to the rich flavors of your pumpkin bars.
- Chocolate Drizzle: A light chocolate drizzle elevates the visual appeal and adds a decadent touch that chocolate lovers will adore.
Pumpkin Bar Recipe FAQs
What type of pumpkin puree should I use?
Absolutely! You can use either homemade or canned pumpkin puree for your pumpkin bars. If making your own, select a sweet pumpkin variety like Sugar Pie or Long Island Cheese. Look for a smooth texture and vibrant color with no added sugars or spices in the canned options to create the best flavor.
How can I store my pumpkin bars for optimal freshness?
You can store pumpkin bars in an airtight container at room temperature for 3-4 days. If you prefer them chilled, refrigerate them for up to a week. They should always be kept away from direct sunlight and humidity to maintain their moist texture.
Can I freeze pumpkin bars? How do I do that?
Yes, you can freeze pumpkin bars! Simply wrap them tightly in plastic wrap and then place them in a freezer-safe container or a resealable freezer bag. For best quality, consume them within 3 months. When ready to enjoy, let them thaw in the refrigerator overnight or at room temperature for a couple of hours.
What should I do if my pumpkin bars are too dense?
If your pumpkin bars turn out denser than expected, check to ensure you didn’t overmix the batter. Overmixing can lead to a tough texture. Additionally, ensure your leavening agents like baking powder and baking soda are fresh. For the next batch, try separating the egg whites, whipping them until fluffy, and folding them into the batter for a lighter texture.
Are these pumpkin bars safe for people with nut allergies?
Yes! To make your pumpkin bars nut-free, simply omit nuts or substitute them with seeds (like sunflower seeds). Always check that the flour and any chocolate chips are also nut-free to keep it safe for everyone.
Can I make these pumpkin bars vegan?
Absolutely! To create vegan pumpkin bars, substitute the eggs with flax eggs (1 tablespoon ground flaxseed mixed with 2.5 tablespoons water) for each egg. Additionally, use vegan butter or coconut oil. Your bars will still be delicious and packed with that warm pumpkin flavor!
Deliciously Soft Pumpkin Bar Recipes You'll Love to Bake
Ingredients
Equipment
Method
- Preheat your oven to 350°F (175°C). Prepare your baking dish.
- In a bowl, whisk together the flour, baking powder, baking soda, and spices.
- In another bowl, mix the pumpkin puree, sugars, eggs, and melted butter until smooth.
- Combine the dry ingredients with the wet mixture until just blended.
- Fold in chocolate chips or nuts, if using.
- Pour the batter into the prepared baking dish and bake for 25-30 minutes.
- Allow the bars to cool in the pan before transferring to a wire rack.
- Frost with cream cheese frosting or serve plain as desired.
Leave a Reply