
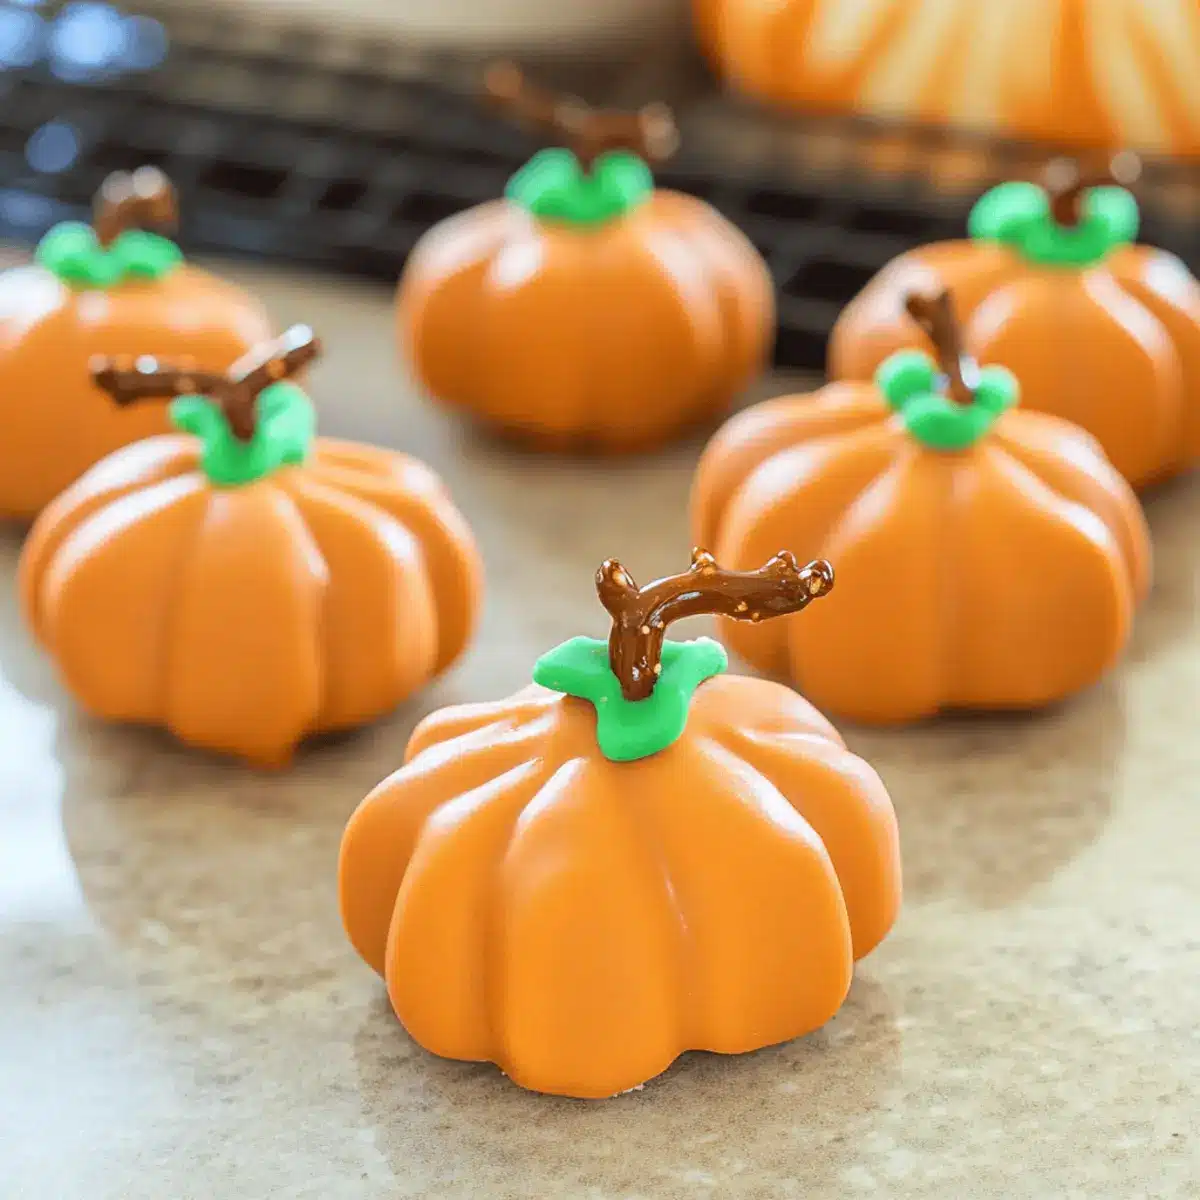
As the crispness of autumn settles in, I can’t resist the allure of seasonal treats that warm the heart and home. One of my absolute favorites to make are these delightful No-Bake Pumpkin Oreo Balls. With their charming pumpkin-like appearance and rich chocolatey flavor, they’re a perfect blend of fun and festivity. What I love most is that they come together in no time and require just five simple ingredients! Not only are these sweet bites a hit at Thanksgiving gatherings, but they also cater to gluten-free diets, ensuring everyone can indulge. So, whether you’re prepping for a family get-together or just want to take advantage of the fall vibes, these delightful morsels are sure to bring a smile. Curious about how you can whip up these little treats? Let’s dive in!
Why make Pumpkin Oreo Balls?
Simplicity at its Best: These no-bake treats are a breeze to whip up, perfect for even beginner bakers looking to impress.
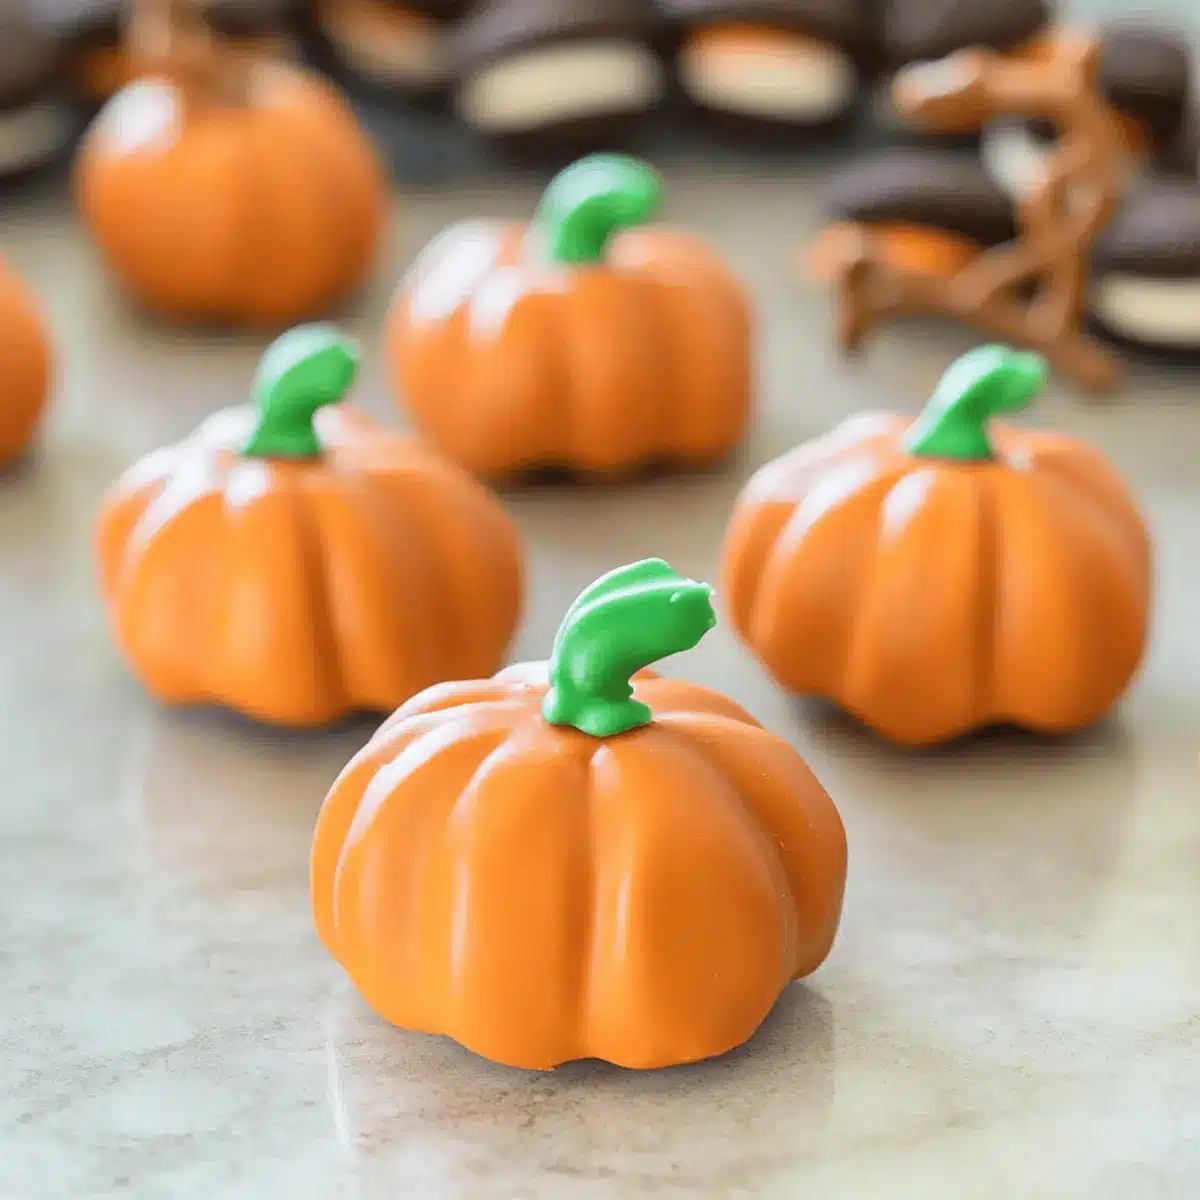
Festive Appeal: They resemble adorable little pumpkins, adding a touch of whimsy to your fall gatherings.
Crowd-Pleasing Flavor: The combo of rich chocolate and creamy pumpkin goodness will have everyone reaching for seconds!
Dietary Friendly: Naturally gluten-free, they cater to various dietary needs, making them a thoughtful choice for diverse gatherings.
Quick Preparation: With just five ingredients, you can create these delightful bites in a snap, leaving you more time to enjoy the season!
For more simple yet delicious ideas, check out my easy no-bake recipes.
Pumpkin Oreo Balls Ingredients
For the Filling
- Oreo Cookies – This fundamental base provides sweetness and chocolate flavor; consider using pumpkin spice Oreos for a seasonal twist.
- Cream Cheese – Binds the mixture together and adds creaminess; ensure it is softened for easier mixing.
For the Coating
- Orange Candy Melts – Creates a visually appealing chocolate coating and adds sweetness; alternatively, white chocolate tinged with food coloring can be used.
For the Decoration
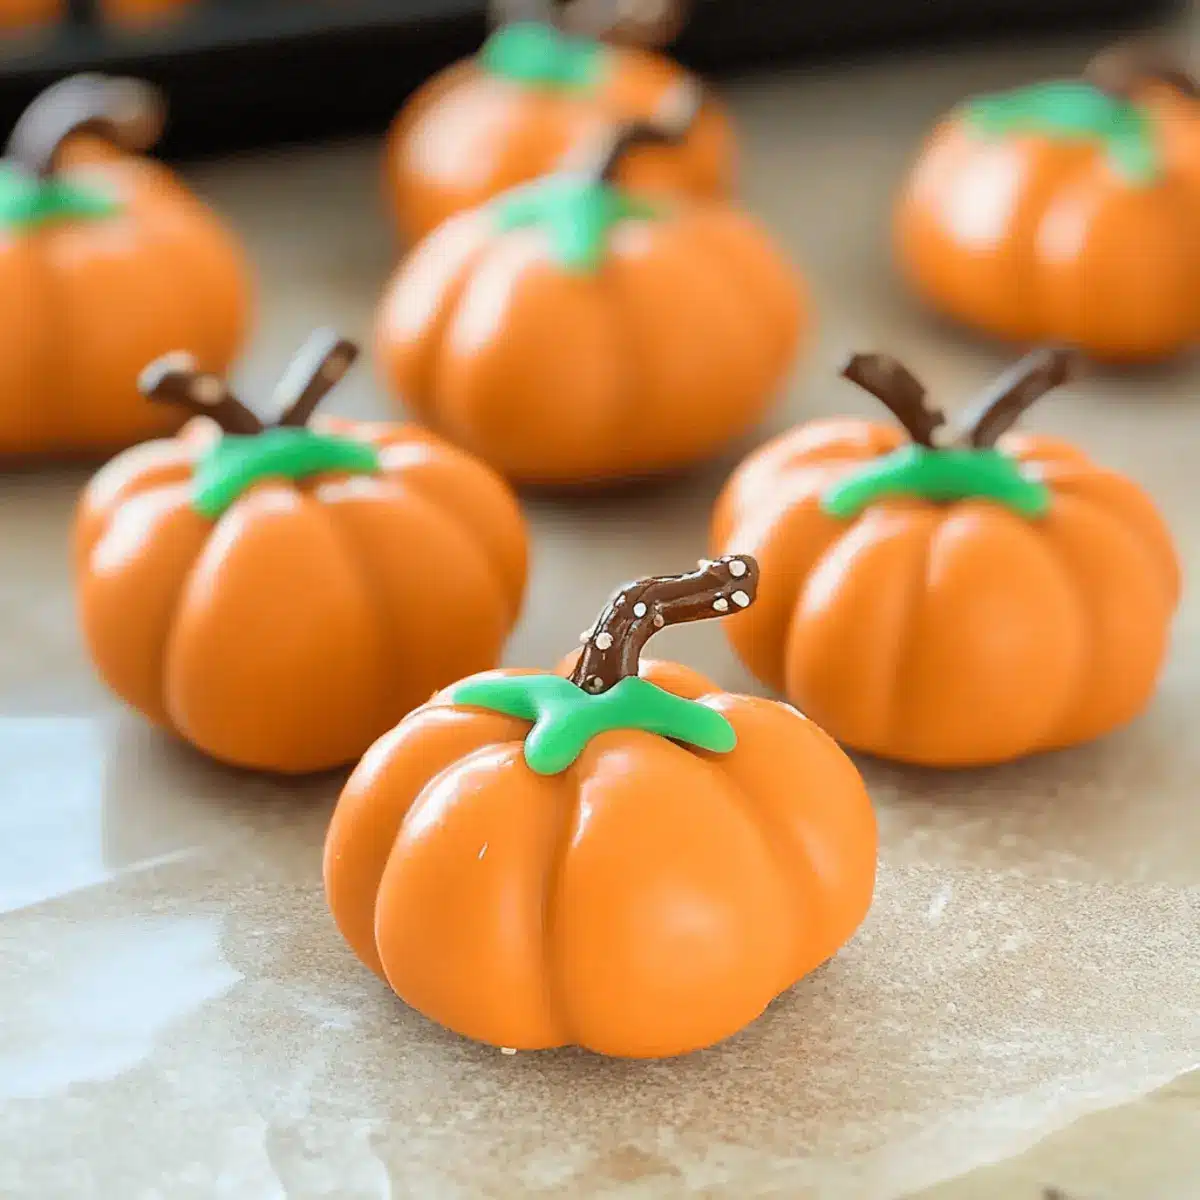
- Pretzel Sticks – Serve as the “stem” of the pumpkins, adding a crunchy texture; any sturdy stick, like a cookie stick, can also work.
- Green Leaf Icing Decoration – Offers a decorative touch that enhances the pumpkin look; use green M&Ms or green icing if leaf decorations are unavailable.
These delightful Pumpkin Oreo Balls are not just visually stunning but also naturally gluten-free, making them a must-have for your fall celebrations!
Step‑by‑Step Instructions for Pumpkin Oreo Balls
Step 1: Crush the Oreos
Begin by placing the Oreo cookies in a food processor and pulse them until they reach a fine, crumbly consistency. This should take about 30 seconds to 1 minute. You want the texture to resemble sand, allowing for easy blending later. Once done, transfer the crushed Oreos into a large mixing bowl.
Step 2: Mix the Filling
Add the softened cream cheese to the bowl with the crushed Oreos. Using a spatula or your hands, mix them together thoroughly until well combined and creamy, which should take about 2-3 minutes. The mixture should be cohesive enough to hold its shape when formed into balls, offering a delightful base for your Pumpkin Oreo Balls.
Step 3: Form the Balls
Scoop out about 1-inch portions of the Oreo mixture and roll them into smooth balls with your hands. Place each ball on a parchment-lined baking sheet to prevent sticking. Once you’ve shaped all the mixture, refrigerate the tray for about 15 minutes. This chilling will help firm up the balls, making them easier to dip later.
Step 4: Score for Texture
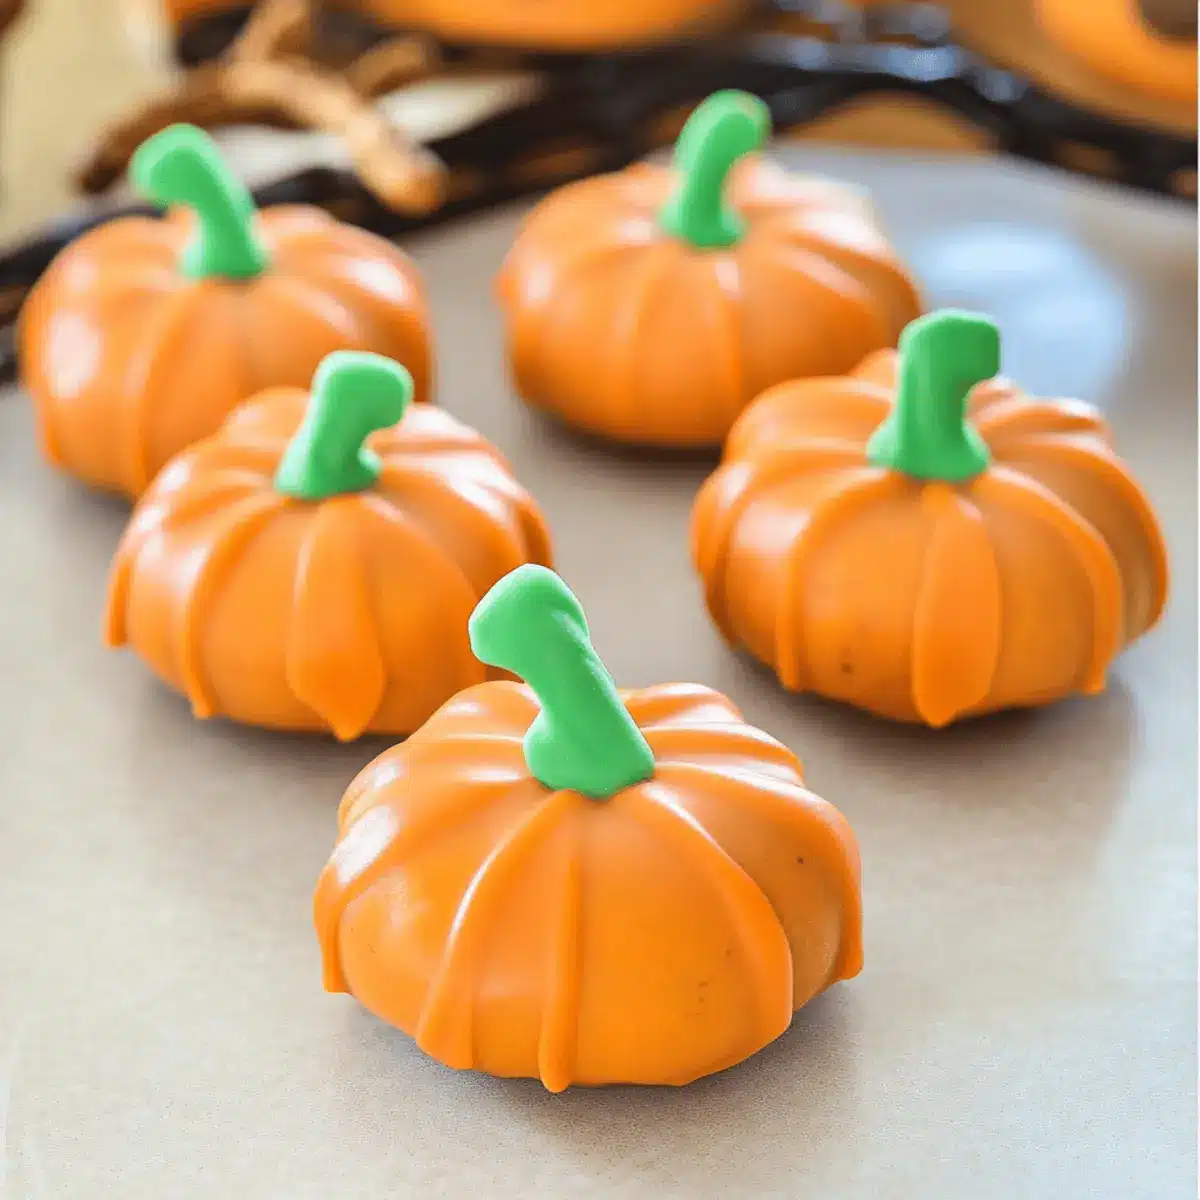
After chilling, take the balls out of the refrigerator. Use a toothpick to score lines along the sides of each ball, creating a textured pattern resembling the ridges of a pumpkin. This step adds a charming detail to your Pumpkin Oreo Balls, so take your time! Return the scored balls to the fridge for an additional 10 minutes to firm up.
Step 5: Melt the Coating
While the balls chill, it’s time to melt your orange candy melts. You can do this using a double boiler on the stovetop or a microwave-safe bowl in the microwave, heating in 30-second intervals until smooth. This process usually takes about 1-2 minutes in total. Make sure to stir frequently to prevent burning, achieving a smooth and glossy coating for your Pumpkin Oreo Balls.
Step 6: Dip & Decorate
Take the chilled Oreo balls out of the fridge and dip each one into the melted candy coating. Use a fork to fully submerge, then lift and shake off the excess coating before placing them back onto the parchment-lined sheet. Immediately press a pretzel stick into the top to resemble a pumpkin stem, and add green icing or decorations to complete the look. Allow the finished Pumpkin Oreo Balls to set in the refrigerator until you’re ready to serve!
How to Store and Freeze Pumpkin Oreo Balls
Fridge: Keep your Pumpkin Oreo Balls in an airtight container for up to 1 week. This helps maintain their creamy texture and delightful flavor.
Freezer: For longer storage, freeze the balls in a single layer on a baking sheet, then transfer to an airtight container or freezer bag. They can last up to 3 months!
Reheating: There’s no need to reheat these treats! Just remove them from the fridge or freezer and let them sit for a few minutes before serving. Enjoy the no-bake goodness!
Tips for the Best Pumpkin Oreo Balls
- Chill Before Mixing: Refrigerate the Oreo balls after shaping them to ensure they hold their form during dipping. This step is crucial for perfect Pumpkin Oreo Balls.
- Avoid Overheating: When melting candy melts, heat them slowly and stir often to prevent burning, which can ruin your coating.
- Use Softened Cream Cheese: Make sure the cream cheese is at room temperature; this makes it easier to blend and gives your filling the right creamy texture.
- Scoring Technique: Use a delicate hand when scoring the balls to create realistic pumpkin ridges without breaking them. This detail truly brings your Pumpkin Oreo Balls to life!
- Decoration Options: Get creative with decorations! Consider using chocolate sprinkles or colored icing to enhance the festive look of your treats.
Pumpkin Oreo Balls Variations
Feel free to get creative with these Pumpkin Oreo Balls and customize them to your taste buds!
-
Pumpkin Spice Twist: Use pumpkin spice Oreos instead of regular ones for extra fall flavor. The warmth of the spice really enhances the treat, making it even more inviting during autumn.
-
Licorice Stems: Swap pretzel sticks with colorful licorice strands for a fun and chewy texture. Not only do they look whimsical, but they also add a different flavor element!
-
Chocolate Coating: For a richer taste, dip the Oreo balls in dark chocolate instead of orange candy melts. The deep chocolate flavor beautifully complements the creamy filling!
-
Nutty Crunch: Add finely chopped nuts to the coating for extra crunch. Almonds or walnuts would add a lovely contrast to the soft texture of the balls, creating a delightful bite!
-
Minty Freshness: Incorporate mint extract into the cream cheese filling for a refreshing twist. The mint flavor will keep your guests guessing and add a unique zing!
-
Colored Candy Melts: Choose different colored candy melts based on the season or occasion. Lavender for Easter or red for Christmas can introduce variety and excitement to your dessert table.
-
Coconut Flakes: Roll the finished balls in shredded coconut before cooling. This adds a tropical flair and a lovely texture that pairs perfectly with the sweetness of the filling.
-
Peppered Heat: Add a dash of cayenne pepper to the cream cheese mixture for a subtle spicy kick. The combination of chocolate, pumpkin, and a hint of heat will tantalize the taste buds!
Feel free to explore these variations for a unique and festive twist on your Pumpkin Oreo Balls! If you’re looking for inspiration on more delicious treats, check out my collection of easy no-bake recipes.
What to Serve with No-Bake Pumpkin Oreo Balls
These delightful treats are the perfect canvas for creating a heartwarming fall-inspired meal.
-
Creamy Mashed Potatoes: The rich, buttery flavor complements the sweet Oreo balls beautifully, creating a comforting contrast on your plate.
-
Spiced Apple Cider: A warm drink option that echoes the flavors of fall, its sweetness is a lovely match for the rich chocolate coating.
-
Roasted Brussels Sprouts: Their crispy edges and earthy flavor deliver a savory balance that enhances the sweetness of the pumpkin treats.
-
Pumpkin Soup: Keep the festivities going with a warming bowl of pumpkin soup; its creamy texture and spices tie into the flavor theme perfectly.
-
Mixed Green Salad: A fresh salad with apples and walnuts adds a crunchy texture, providing a refreshing contrast to the dessert’s richness.
-
Chocolate-Covered Pretzels: For a fun twist, serve with crunchy chocolate pretzels that resonate with the pretzel “stems” of the Oreo balls.
-
Cheesecake Bites: These mini desserts can be a lovely complement; their creamy profile offers a delightful variety to your sweet spread.
-
Pecan Pie: A classic fall dessert that pairs wonderfully with the sweet flavors of the pumpkin Oreo balls, adding a rich, nutty hint.
-
Harvest Cocktail: A festive drink made with gin, apple juice, and ginger beer will excite your taste buds, perfectly balancing sweetness and spice.
Make Ahead Options
These No-Bake Pumpkin Oreo Balls are perfect for busy home cooks looking to save time during the hectic holiday season! You can prepare the filling (crumbled Oreos and cream cheese) up to 24 hours in advance, storing it in an airtight container in the refrigerator, which helps to deepen the flavors as it melds overnight. Once ready to serve, simply form the mixture into balls, chill for 15 minutes, score them, and dip them in the melted orange candy coating. For the best quality, keep the finished Pumpkin Oreo Balls refrigerated in an airtight container for up to one week. Enjoy these delicious treats at your next fall gathering with minimal last-minute effort!
Pumpkin Oreo Balls Recipe FAQs
What type of Oreo cookies should I use?
Absolutely! You can use regular Oreo cookies, but for a festive twist, I highly recommend using pumpkin spice Oreos. This seasonal selection adds an extra burst of fall flavor that complements the cream cheese perfectly!
How should I store my Pumpkin Oreo Balls?
To keep your treats fresh, store the Pumpkin Oreo Balls in an airtight container in the refrigerator for up to 1 week. This will help maintain their creamy texture and delightful flavor. If you want to enjoy them longer, you can freeze them for up to 3 months!
Can I freeze the Pumpkin Oreo Balls, and how?
Yes, you can freeze them! First, place the shaped and chilled balls on a baking sheet in a single layer. Freeze them for about 2 hours, or until firm. Then, transfer the balls into an airtight container or freezer bag, separating layers with parchment paper. When you want to enjoy them, simply remove and let them sit at room temperature for a few minutes before serving.
What do I do if the candy melts are too thick?
If you find that your melted candy coating is too thick, don’t fret! Simply add a small amount of vegetable oil or shortening to the melted candy, stirring until you achieve a smoother consistency. This little trick helps it cling perfectly to the Oreo balls without clumping, giving you that beautiful shine you want.
Are Pumpkin Oreo Balls gluten-free?
Yes, they are! The primary ingredient, Oreo cookies, offers a gluten-free option, making these delightful treats suitable for various dietary preferences. However, always double-check packaging for cross-contamination warnings if allergies are a concern.
Can I use a different chocolate for coating?
Very much so! If you prefer, you can use white chocolate or dark chocolate instead of orange candy melts. Just remember to tint the white chocolate with orange food coloring if you want to maintain that classic pumpkin appearance! Enjoy experimenting and elevating your treats!
Irresistible Pumpkin Oreo Balls for Your Fall Celebrations
Ingredients
Equipment
Method
- Begin by placing the Oreo cookies in a food processor and pulse them until they reach a fine, crumbly consistency. This should take about 30 seconds to 1 minute.
- Add the softened cream cheese to the bowl with the crushed Oreos. Mix them together thoroughly until well combined and creamy, which should take about 2-3 minutes.
- Scoop out about 1-inch portions of the Oreo mixture and roll them into smooth balls with your hands. Place each ball on a parchment-lined baking sheet and refrigerate for about 15 minutes.
- After chilling, take the balls out and use a toothpick to score lines along the sides of each ball to create a textured pattern resembling pumpkin ridges.
- Melt the orange candy melts using a double boiler on the stovetop or a microwave, heating in 30-second intervals until smooth, about 1-2 minutes.
- Dip each ball into the melted candy coating and immediately press a pretzel stick into the top. Add green icing or decorations and allow them to set in the refrigerator.
Leave a Reply