
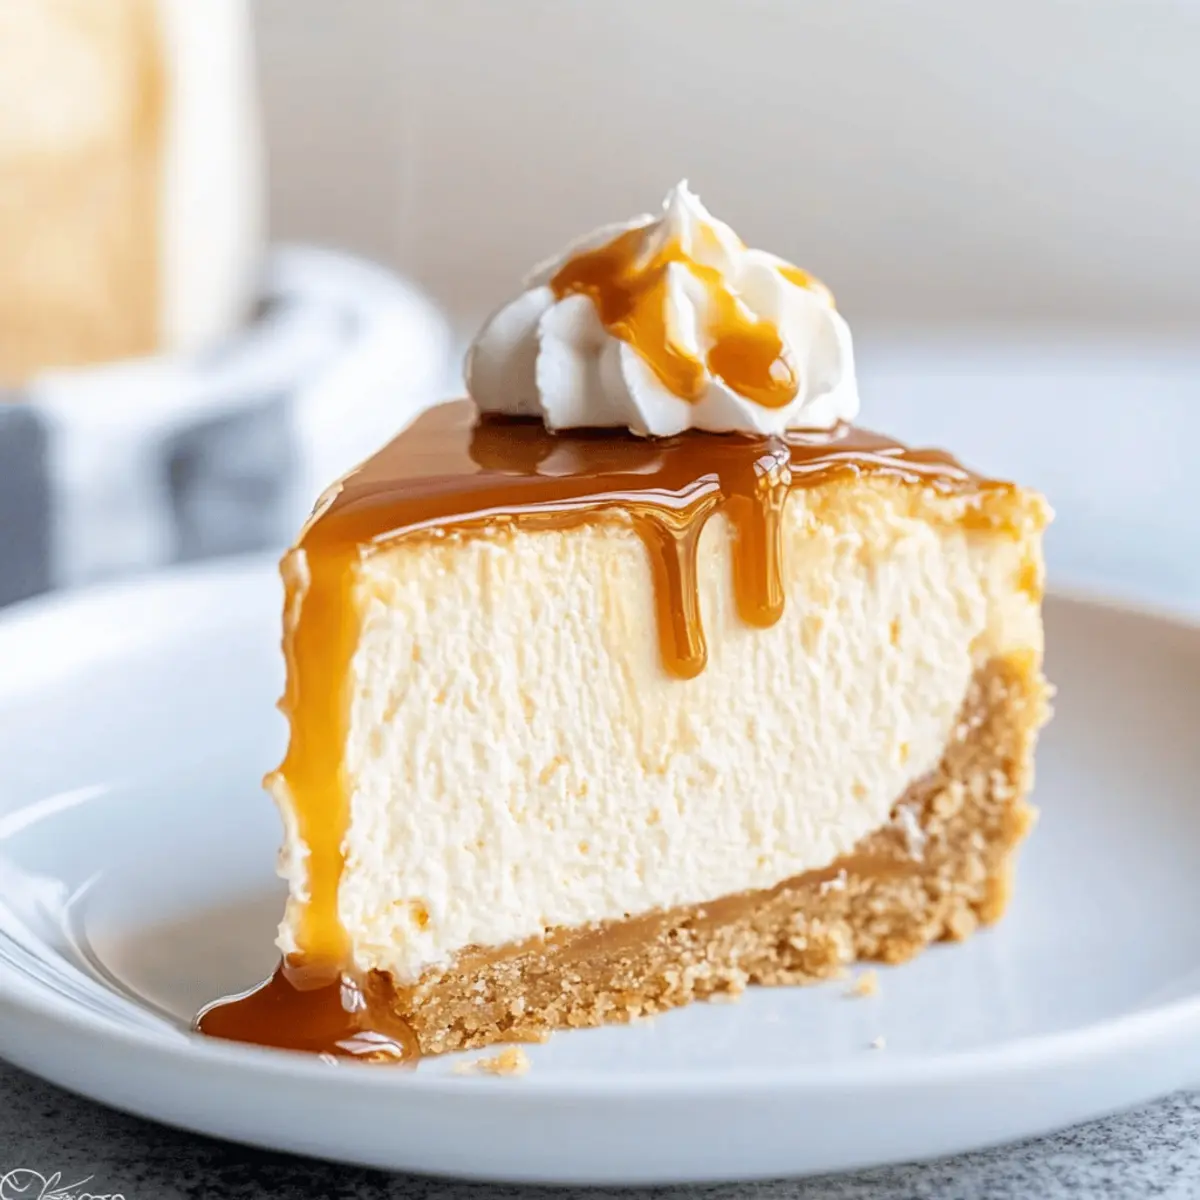
As I carefully drizzled the warm salted caramel over my latest baking masterpiece, I couldn’t help but smile. This Homemade Salted Caramel Cheesecake is everything a dessert should be: creamy, rich, and utterly indulgent, all sitting proudly on a buttery graham cracker crust. One of the many joys of this recipe is its stunning presentation, perfect for celebrations or cozy gatherings. Plus, it’s a breeze to prepare—a true crowd-pleaser that can be made a day in advance for effortless entertaining. Whether you’re a seasoned baker or just starting out, this cheesecake will elevate any occasion. So, are you ready to dive into the sweet world of homemade perfection?
Why is this cheesecake truly irresistible?
Creamy Delight: The luscious cream cheese filling melts in your mouth, creating a heavenly experience with each bite.
Graham Cracker Crust: This buttery base adds the perfect crunch, complementing the smooth cheesecake beautifully.
Perfectly Balanced Flavor: The sweet and salty notes of the homemade salted caramel create a captivating contrast that desserts crave.
Stress-Free Preparation: With the option to make it a day ahead, this cheesecake is ideal for busy hosts looking to impress.
Customization Options: Want to switch things up? You can easily swap the salted caramel for Dulce de leche or experiment with different toppings. This cheesecake truly shines in every way!
Salted Caramel Cheesecake Ingredients
For the Crust
• Graham Cracker Crumbs – This provides the sturdy base for your cheesecake; you can use store-bought or make your own.
• Granulated Sugar (3 tbsp) – Adds sweetness to the crust; brown sugar can be used for a more caramel-like flavor.
• Unsalted Butter (4.5 tbsp) – Binds the crust ingredients together; make sure it’s melted for optimal mixing.
For the Filling
• Cream Cheese (24 oz) – The star of your cheesecake, providing creamy richness; full-fat yields the best texture.
• Heavy Cream (2 oz) – Enhances the filling’s richness; for a lighter choice, consider half-and-half.
• Sour Cream or Greek Yogurt (3.5 oz) – Adds a tangy bite; feel free to interchange them based on preference.
• Pure Vanilla Extract (1 tbsp) – Infuses delightful flavor into the cheesecake; choose pure for the best taste.
• Whole Eggs (4 large, room temp) – Essential for structure and stability; using room temperature eggs ensures even mixing.
• Large Egg Yolk (1, room temp) – Adds an extra layer of richness to the filling, helping achieve that smooth texture.
For the Topping
• Salted Caramel (6 oz) – Adds a luscious and addictive sweet-salty layer; you can use homemade or store-bought.
This fabulous Salted Caramel Cheesecake is the epitome of dessert perfection, sure to become a cherished recipe in your culinary repertoire!
Step‑by‑Step Instructions for Salted Caramel Cheesecake
Step 1: Prepare Crust
In a mixing bowl, combine graham cracker crumbs, 3 tablespoons of sugar, and melted unsalted butter until thoroughly mixed. Press this mixture into the bottom of a 6-inch springform pan, forming an even crust. Ensure it’s compact and flat, as this will provide a sturdy base for your decadent salted caramel cheesecake.
Step 2: Make Filling
In a large bowl, beat 24 ounces of cream cheese with an electric mixer until creamy and smooth, approximately 2-3 minutes. Gradually add 150 grams of granulated sugar, mixing until fully combined. Incorporate the 2 ounces of heavy cream, 3.5 ounces of sour cream or Greek yogurt, and 1 tablespoon of vanilla extract, blending until well combined and smooth.
Step 3: Add Eggs
With the mixer on low speed, add the 4 large room-temperature eggs and 1 large yolk one at a time, ensuring each is fully incorporated before adding the next. This helps to create a smooth filling while minimizing air bubbles. Once mixed, stop and scrape down the sides to ensure all ingredients are well combined for your irresistible salted caramel cheesecake.
Step 4: Prepare Water Bath
Place the springform pan containing the cheesecake filling into a larger roasting pan. Carefully fill the outer pan with hot water until it reaches halfway up the sides of the springform. This water bath helps to regulate the baking temperature, ensuring your cheesecake bakes evenly without cracks.
Step 5: Bake
Preheat your oven to 325°F (165°C). Once heated, carefully place the water bath and cheesecake in the oven and bake for approximately 65 minutes. The cheesecake should appear slightly set, with the center gently wobbling but not liquid. This is key to achieving a creamy texture in your salted caramel cheesecake.
Step 6: Cool
Once baking is complete, turn off the oven and leave the cheesecake inside for 1 hour with the door slightly ajar. This gradual cooling helps prevent cracks from forming. After an hour, remove the cheesecake from the oven and the water bath. Allow it to cool completely at room temperature before moving to the next step.
Step 7: Chill
To set your salted caramel cheesecake, wrap it tightly with plastic wrap and refrigerate for at least 6 hours, though overnight chilling yields the best results. This time in the fridge allows the flavors to meld and the texture to firm up, making it all the more delicious when serving.
Step 8: Serve
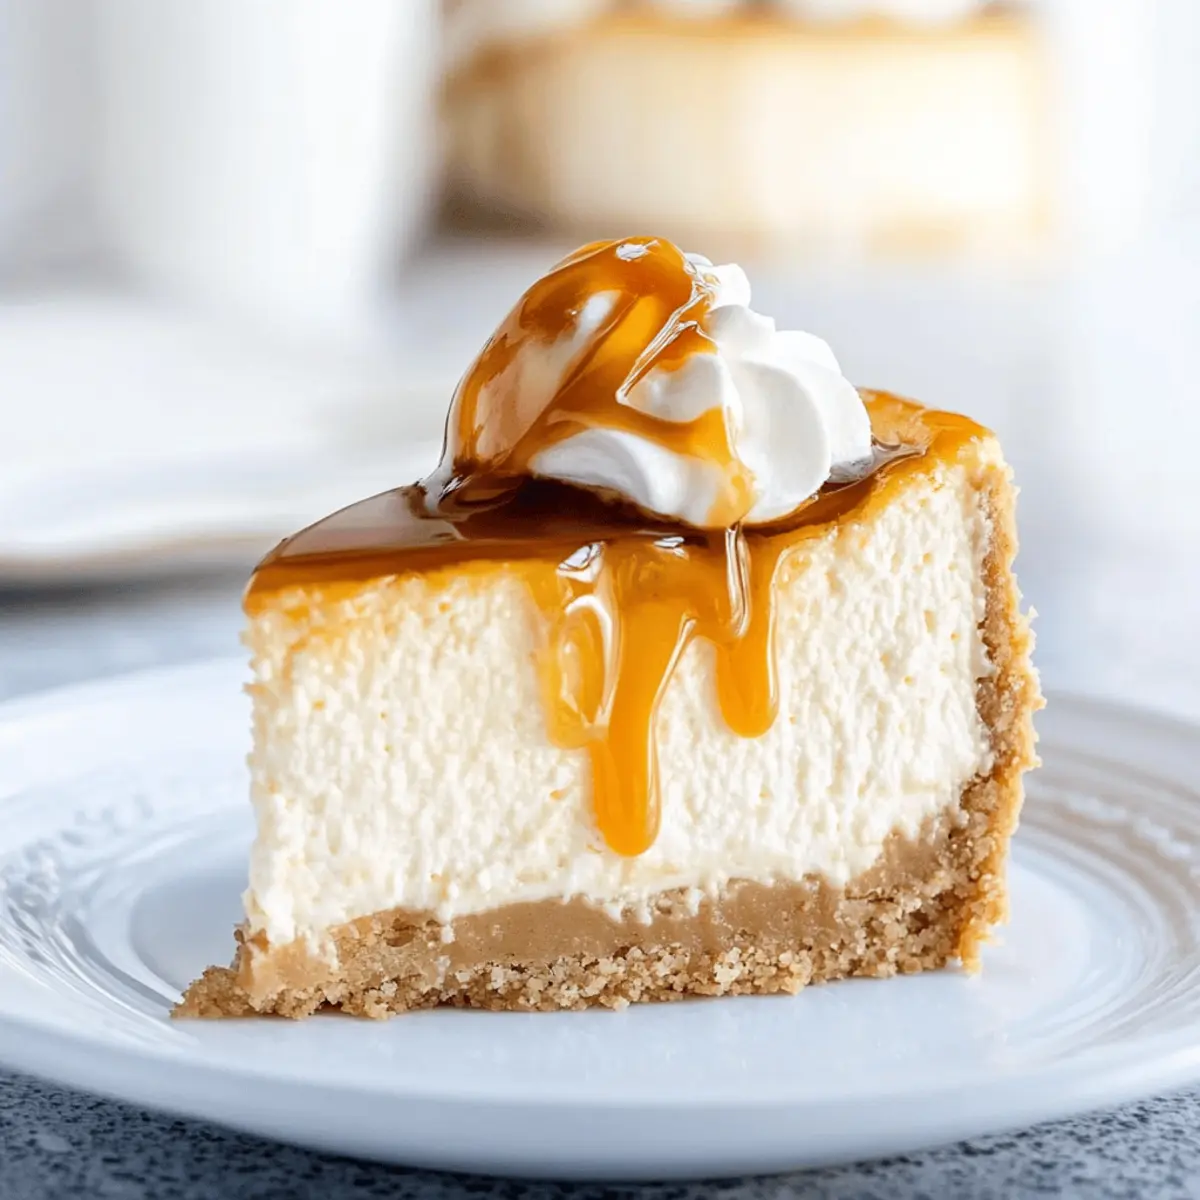
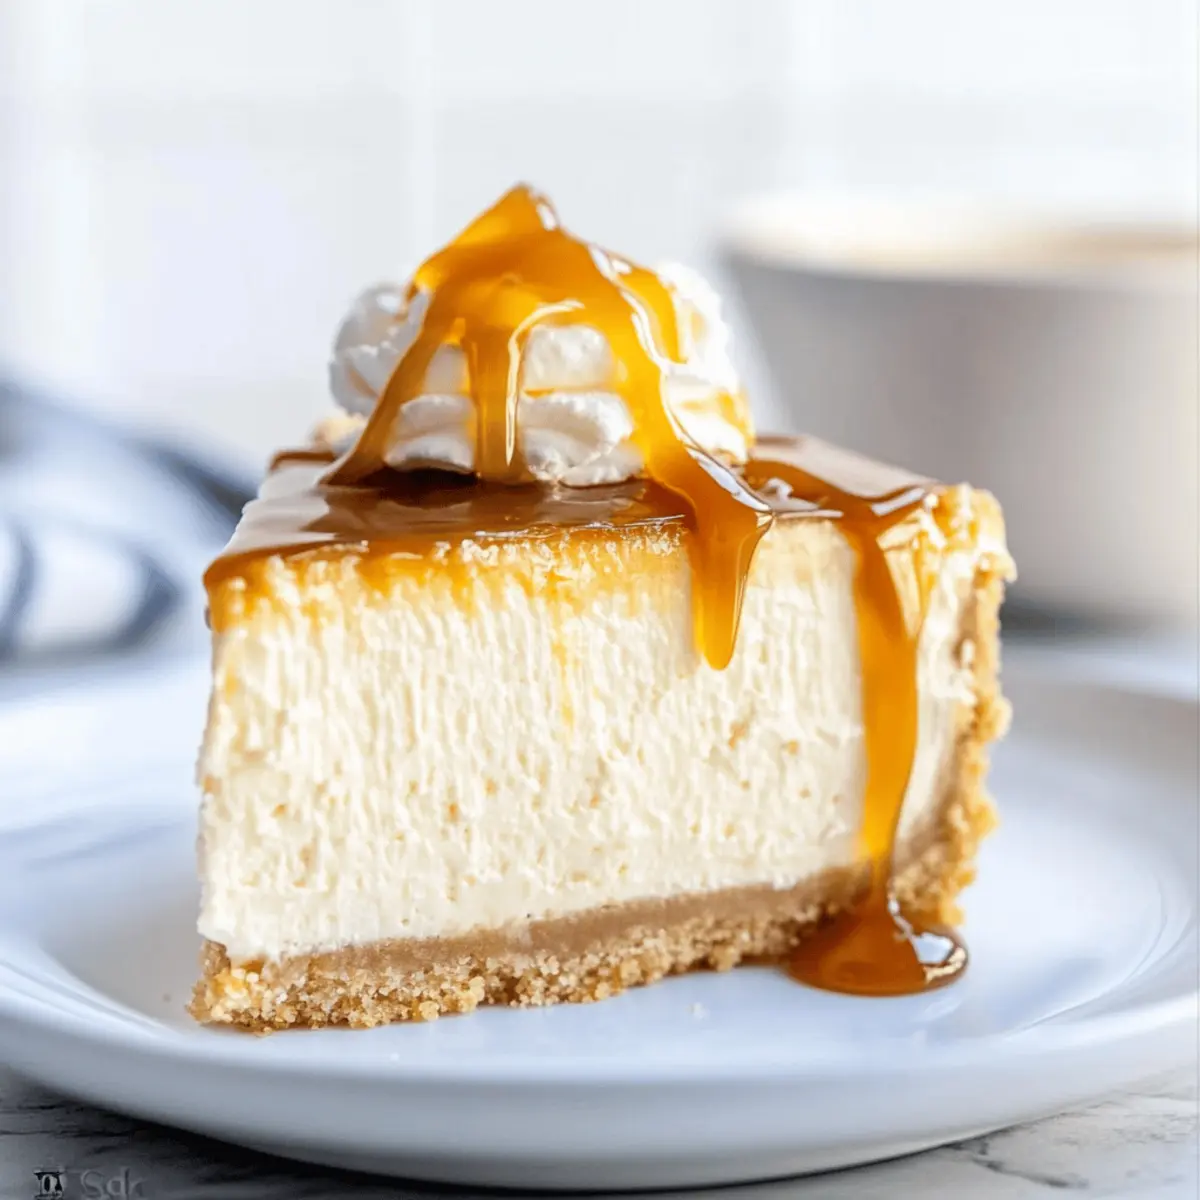
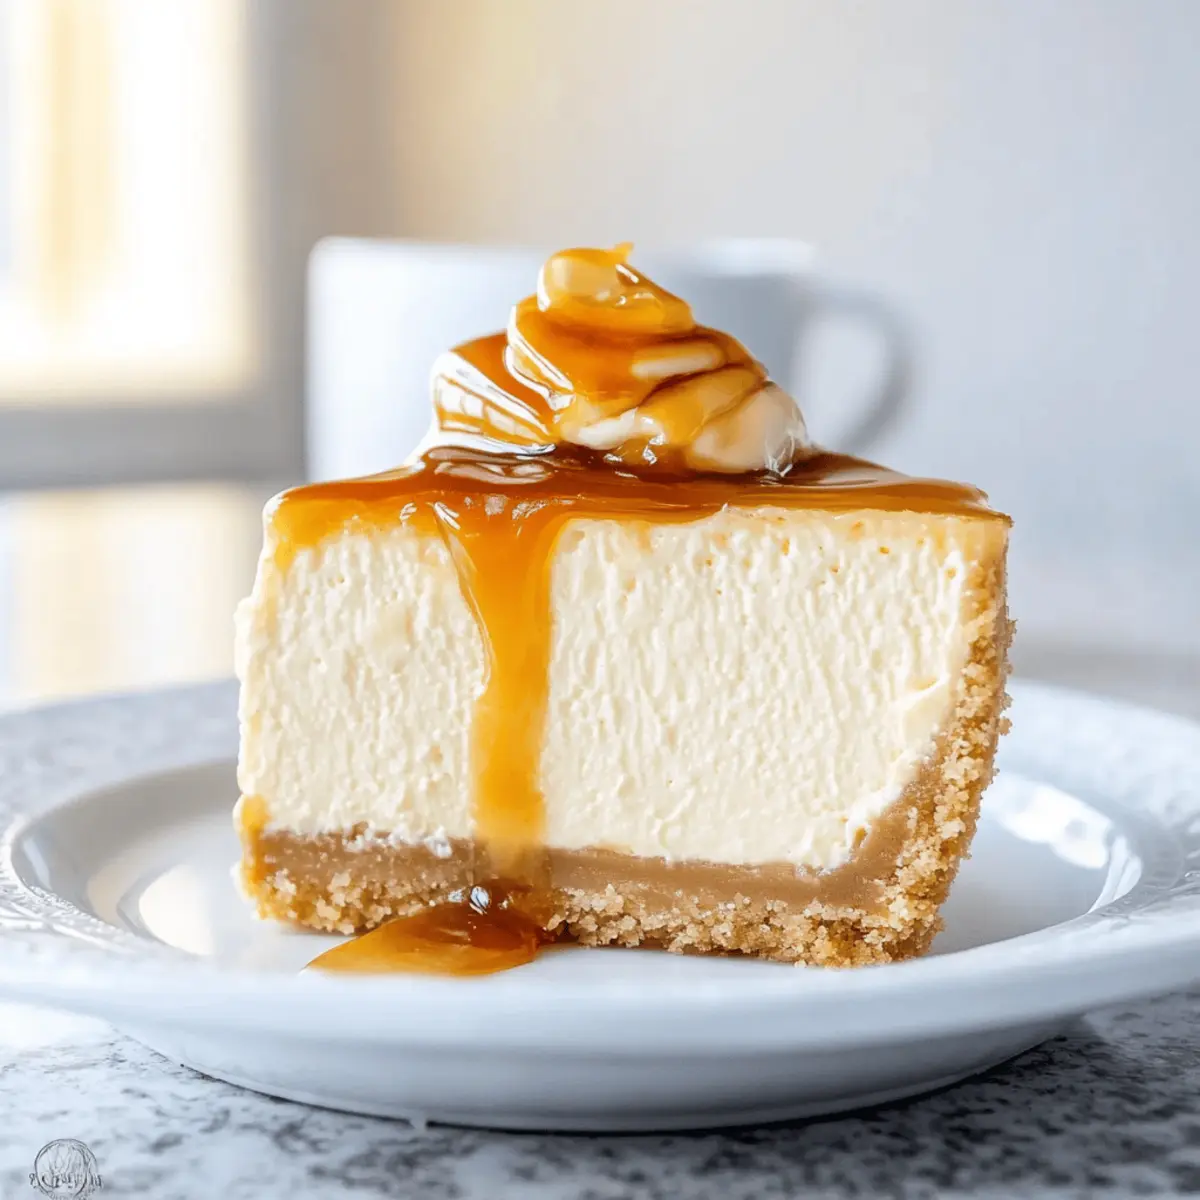
Before serving, drizzle your cooled salted caramel over the cheesecake to create a beautiful presentation. Slice it into wedges, showcasing the creamy filling and graham cracker crust. This finishing touch enhances the flavor of your decadent salted caramel cheesecake, making each bite a delightful experience!
How to Store and Freeze Salted Caramel Cheesecake
Fridge: Keep your salted caramel cheesecake wrapped in plastic wrap or stored in an airtight container in the refrigerator for up to 5 days. This will preserve its creamy texture and rich flavor.
Freezer: If you’d like to enjoy your cheesecake later, it can be frozen for up to 2 months. Wrap the cheesecake tightly in plastic wrap and then in aluminum foil to avoid freezer burn.
Thawing: When you’re ready to indulge again, thaw the cheesecake in the refrigerator overnight. This helps maintain its creamy consistency. Avoid leaving it at room temperature to prevent texture changes.
Adding Caramel: If freezing, add the salted caramel topping just before serving to prevent it from hardening in the freezer, allowing for that luscious finish you desire.
Make Ahead Options
This irresistible Salted Caramel Cheesecake is perfect for meal prep enthusiasts who want to save time on busy occasions! You can prepare the crust up to 24 hours in advance by mixing the graham cracker crumbs, sugar, and melted butter, then pressing it into the springform pan. Additionally, the filling can be made a day ahead and kept refrigerated until you’re ready to bake. For optimum flavor, allow the cheesecake to chill for at least 6 hours or overnight after baking. Just remember, once baked and cooled, wrap it tightly with plastic wrap to prevent drying out—ensuring it’s just as delicious when served! When it’s time to enjoy, simply drizzle with your homemade salted caramel and slice into wedges for a show-stopping dessert.
Salted Caramel Cheesecake Customization
Feel free to get creative with this recipe and make it your own by exploring these delightful variations!
- Dulce de Leche: Swap out the salted caramel for Dulce de leche for a uniquely rich flavor.
- Chocolate Twist: Add melted chocolate into the filling for a chocolate lover’s dream cheesecake.
- Fruit-Filled: Fold in fresh berries or a fruit puree for a refreshing burst of flavor and color.
- Nutty Crust: Experiment with crushed nuts mixed into your graham cracker crumbs for an extra crunchy texture.
- Flavor Boost: Enhance the vanilla flavor by adding a touch of almond extract or even a splash of bourbon.
- Spicy Kick: Add a sprinkle of cayenne or cinnamon to the filling for a subtly spicy surprise.
- Plant-Based Option: Substitute cream cheese with dairy-free alternatives and use a vegan crust for a delicious plant-based dessert without compromising taste.
- Mini Cheesecakes: Pour the filling into cupcake liners instead of a springform pan for adorable individual servings perfect for gatherings.
Remember, the beauty of this cheesecake lies in its versatility, so feel free to explore and delight in your own sweet moments! If you’re in the mood for other delicious variations, check out my recipes for Dulce de Leche or even explore healthy cheesecake options for a lighter twist!
What to Serve with Decadent Homemade Salted Caramel Cheesecake
Indulging in a slice of this creamy dessert is even more delightful when paired with complementary accompaniments that enhance its rich flavors.
-
Fresh Berries: The tartness of raspberries and strawberries cuts through the sweetness, adding a refreshing contrast that brightens each bite.
-
Whipped Cream: A dollop of lightly sweetened whipped cream adds an airy touch, balancing the dense creaminess of the cheesecake beautifully.
-
Salted Nuts: Roasted, lightly salted nuts provide a crunchy texture that contrasts the smooth cheesecake and enhances the salty-sweet experience.
-
Coffee: A warm cup of coffee pairs well with the rich flavors of the cheesecake, creating a cozy atmosphere for dessert that feels complete.
-
Fruit Compote: A homemade berry compote adds brightness and a splash of color to your dessert, enhancing its visual appeal and taste.
-
Chocolate Shavings: Add a sprinkle of dark chocolate shavings on top for a touch of elegance and a delicious depth of flavor that complements the caramel.
-
Caramel Sauce: Drizzling extra salted caramel over your cheesecake before serving elevates the dessert experience, providing an extra layer of sweetness.
-
Ice Cream: A scoop of vanilla bean ice cream alongside provides a cold, creamy counterpart to the warm flavors of the cheesecake, making each moment savor-worthy.
These thoughtful pairings will make your dessert table shine and create lasting sweet memories for you and your guests!
Expert Tips for Salted Caramel Cheesecake
-
Use Room Temperature Ingredients: Allow cream cheese and eggs to reach room temperature before mixing. This ensures a smooth filling, reducing the risk of lumps in your salted caramel cheesecake.
-
Avoid Overmixing: Mix ingredients just until combined, especially after adding eggs. Overmixing can introduce air bubbles that lead to cracks during baking.
-
Perfect Water Bath: Make sure the water bath is hot and fills halfway up the sides of the springform pan. This gentle heat helps prevent cracks and uneven baking.
-
Cooling Technique: Allow the cheesecake to cool gradually in the oven with the door slightly ajar. This step is crucial for avoiding surface cracks in your delicious salted caramel cheesecake.
-
Chill Overnight: For optimal flavor, refrigerate your cheesecake overnight. The extra chilling time enhances the taste and allows the texture to firm up beautifully.
Salted Caramel Cheesecake Recipe FAQs
How do I select the best ingredients for this cheesecake?
For the graham cracker crumbs, I recommend using fresh, store-bought or making your own to ensure the best flavor. When choosing cream cheese, always opt for full-fat as it yields the best creamy texture. Room temperature eggs and sour cream or Greek yogurt are key to achieving a smooth filling, so allow them to sit out for about 30 minutes before using.
How should I store my salted caramel cheesecake?
To keep your cheesecake fresh, wrap it tightly in plastic wrap or store it in an airtight container in the refrigerator. It will stay delicious for up to 5 days. For best results, always remember to add the salted caramel topping just before serving, which keeps it from hardening in the fridge.
Can I freeze salted caramel cheesecake?
Absolutely! Your cheesecake can be frozen for up to 2 months. Just wrap it tightly in plastic wrap, then cover with aluminum foil to prevent freezer burn. When you’re ready to enjoy, thaw it in the refrigerator overnight for best texture. Don’t forget to add the salted caramel right before serving.
What if my cheesecake cracks while baking?
No worries! This happens from overmixing or using cold ingredients. To prevent this, be careful not to overwhip your batter, and always use room temperature ingredients. If a crack does appear, you can mask it with a generous drizzle of salted caramel or whipped cream when serving!
Is this cheesecake suitable for people with allergies?
This recipe contains dairy and eggs, so it’s not suitable for those with lactose intolerance or egg allergies. However, you can explore plant-based cream cheeses and egg substitutes for a dairy-free version, adjusting the other ingredients to balance flavors accordingly.
How long should I let my cheesecake cool before serving?
After baking, allow your cheesecake to cool in the oven with the door ajar for at least 1 hour. This gradual cooling process helps prevent cracks. Then, refrigerate it for at least 6 hours or ideally overnight. The longer it chills, the better the flavors meld together!
Irresistible Salted Caramel Cheesecake for Sweet Moments
Ingredients
Equipment
Method
- In a mixing bowl, combine graham cracker crumbs, 3 tablespoons of sugar, and melted unsalted butter until thoroughly mixed. Press this mixture into the bottom of a 6-inch springform pan, forming an even crust.
- In a large bowl, beat 24 ounces of cream cheese with an electric mixer until creamy and smooth, approximately 2-3 minutes. Gradually add 150 grams of granulated sugar, mixing until fully combined. Incorporate the 2 ounces of heavy cream, 3.5 ounces of sour cream or Greek yogurt, and 1 tablespoon of vanilla extract, blending until well combined and smooth.
- With the mixer on low speed, add the 4 large room-temperature eggs and 1 large yolk one at a time, ensuring each is fully incorporated before adding the next. Once mixed, stop and scrape down the sides.
- Place the springform pan containing the cheesecake filling into a larger roasting pan. Carefully fill the outer pan with hot water until it reaches halfway up the sides of the springform.
- Preheat your oven to 325°F (165°C). Carefully place the water bath and cheesecake in the oven and bake for approximately 65 minutes. The cheesecake should appear slightly set, with the center gently wobbling.
- Once baking is complete, turn off the oven and leave the cheesecake inside for 1 hour with the door slightly ajar. After an hour, remove the cheesecake from the oven and the water bath. Allow it to cool completely at room temperature.
- Wrap the cheesecake tightly with plastic wrap and refrigerate for at least 6 hours, preferably overnight, to allow the flavors to meld and the texture to firm up.
- Before serving, drizzle your cooled salted caramel over the cheesecake to create a beautiful presentation. Slice it into wedges and serve.
Leave a Reply