
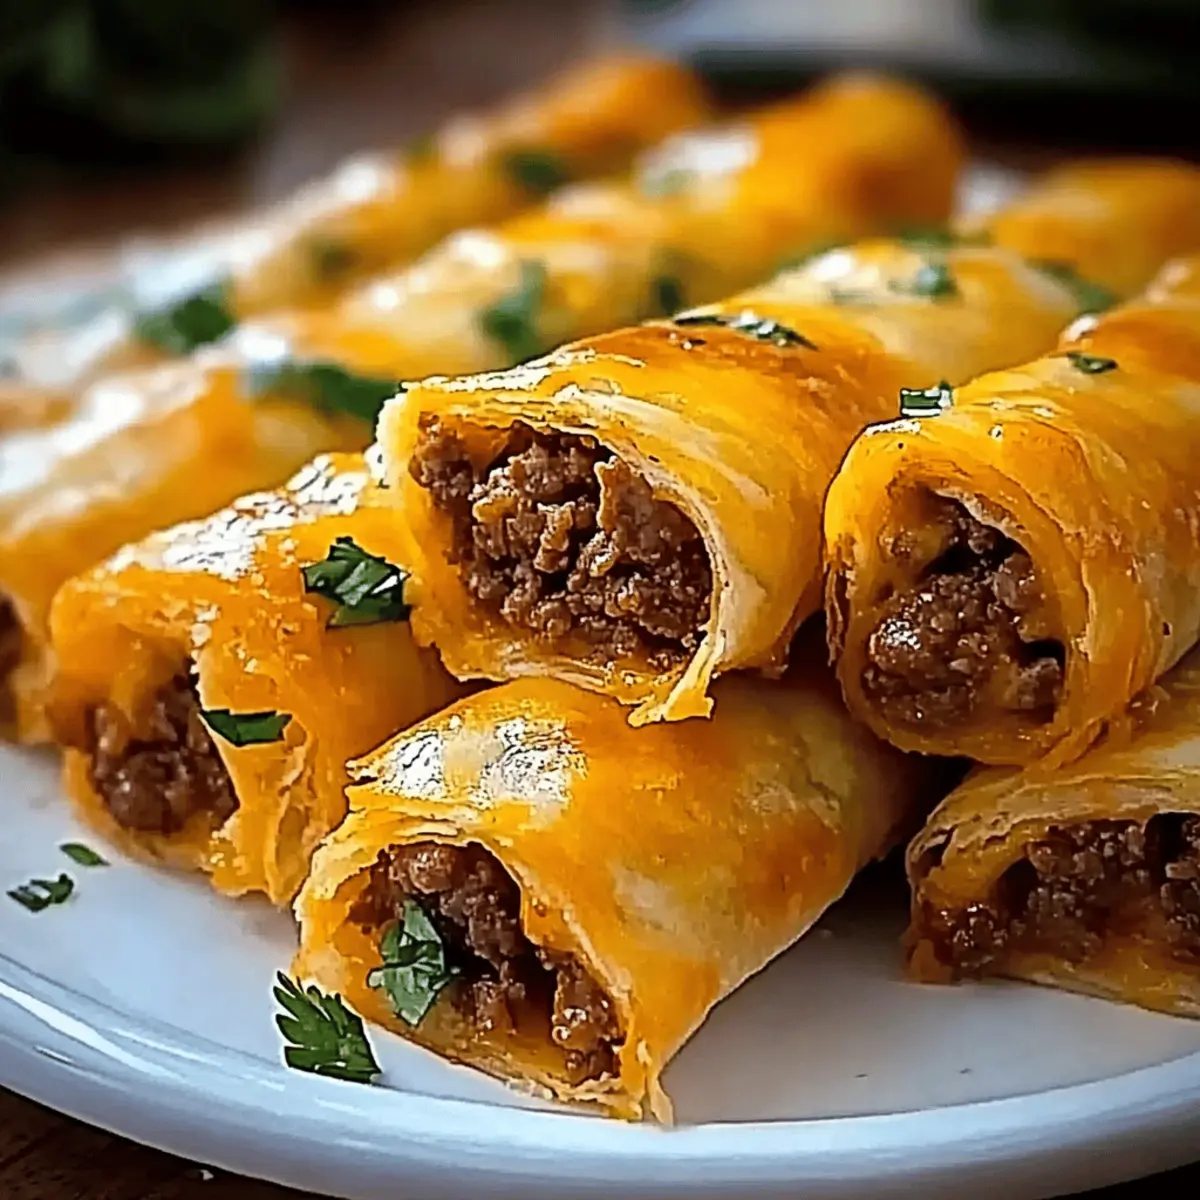
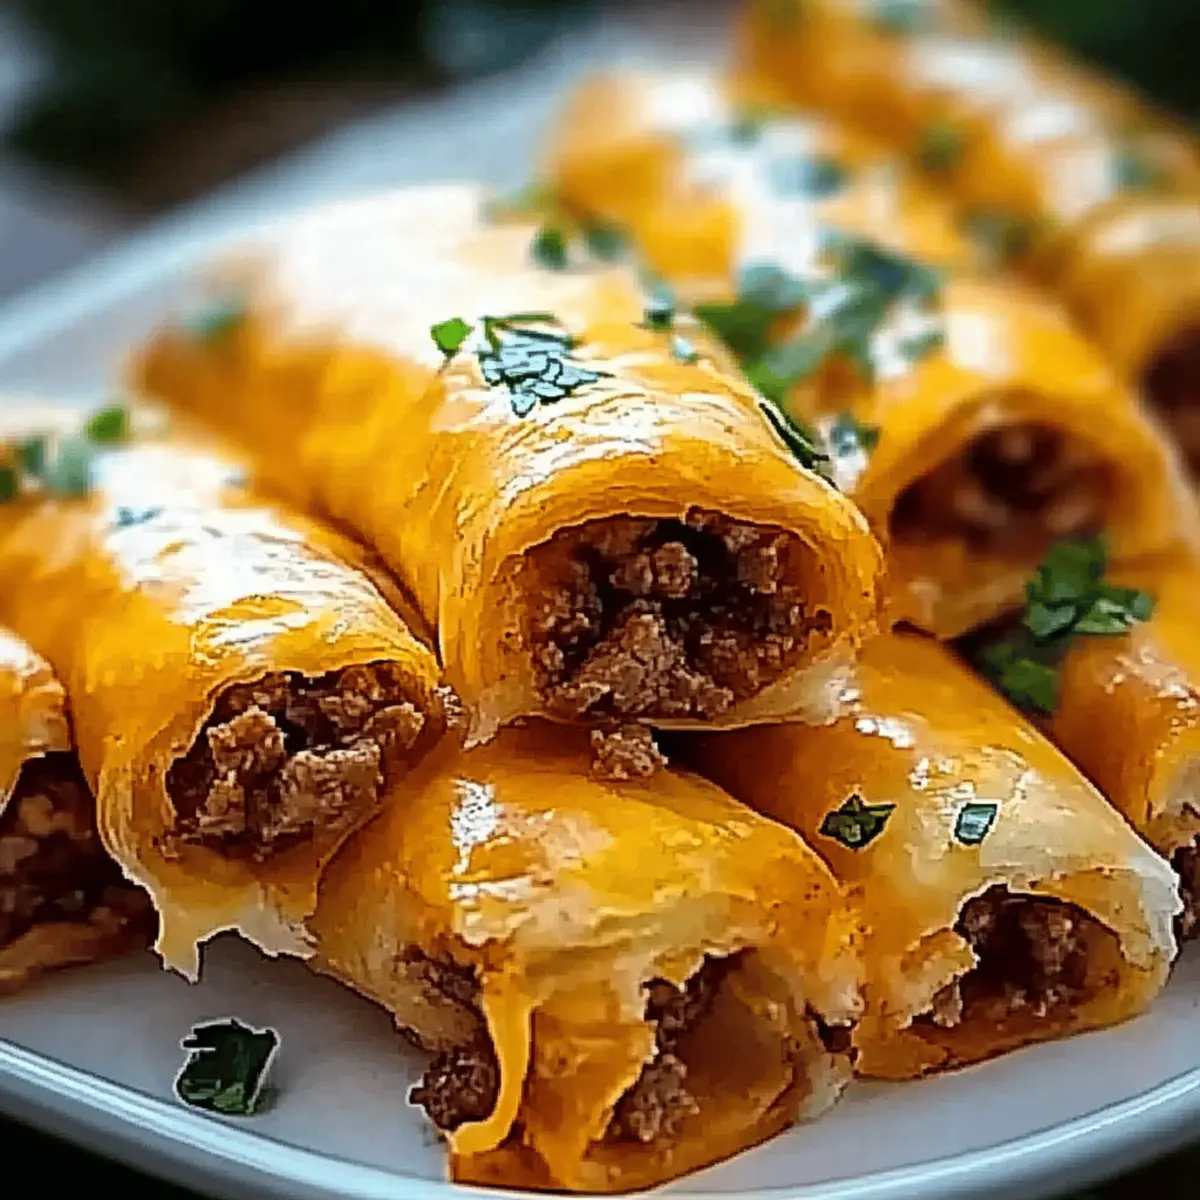
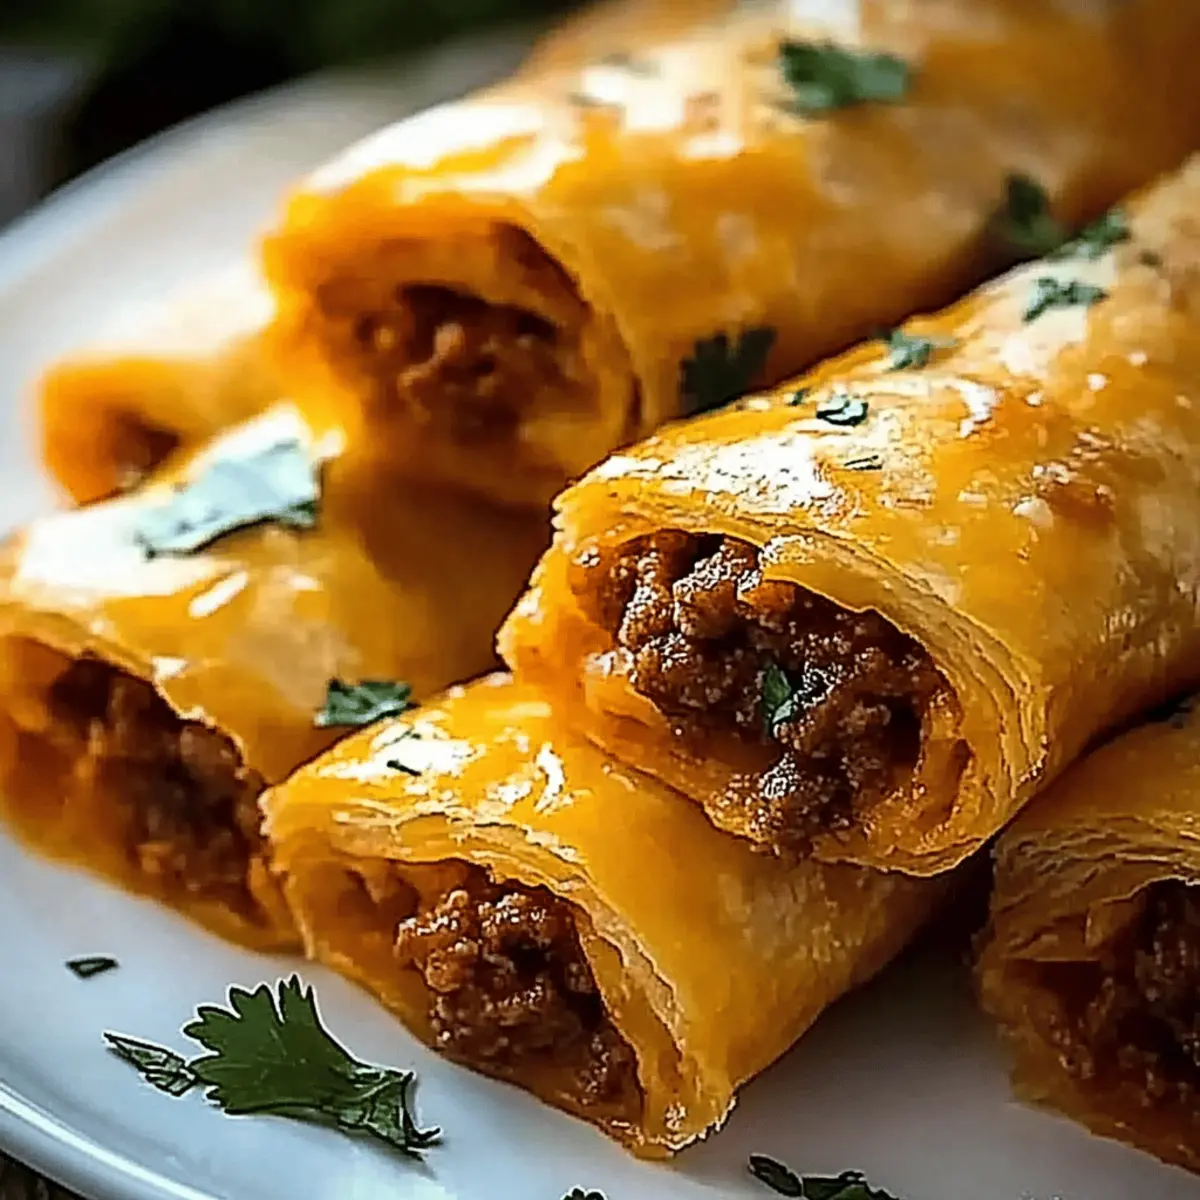
As I rummaged through my pantry one evening, craving something crispy and cheesy, an idea hit me: why not whip up some Cheesy Taco Sticks? These little delights not only satisfy my snack cravings but are also perfect for casual get-togethers or cozy family nights. Made with seasoned beef wrapped in buttery pizza dough, they transform into golden, crunchy bites of comfort food that can easily fit any budget. The best part? They’re entirely customizable! Whether you prefer chicken, turkey, or even a veggie twist, there’s a filling option for everyone. Ready to dive into a recipe that’s quick, easy, and sure to impress? Let’s get cooking!
Why Are Cheesy Taco Sticks So Irresistible?
Crispy Texture: These taco sticks boast a satisfying crunch, perfectly complementing the gooey cheese inside.
Budget-Friendly: Made with affordable ingredients, they fit seamlessly into your weekly meal plan without breaking the bank.
Customizable Fillings: Easily swap out the seasoned beef for chicken, turkey, or even black beans for a vegetarian option, making them suitable for everyone.
Quick Preparation: Prep and bake in under 30 minutes, making them an ideal choice for a last-minute snack or party food.
Crowd-Pleaser: The combination of flavors and textures is sure to delight family and friends at any gathering.
Like what you see? Pair them with homemade dips, or check out our famous Garlic Butter Recipe to elevate your taco sticks even more!
Cheesy Taco Sticks Ingredients
• Gather the essentials for a tasty treat!
For the Filling
- Ground Beef – Provides a savory filling with rich flavor; you can substitute it with ground turkey, shredded chicken, or seasoned black beans for a different protein option.
- Taco Seasoning – Infuses the beef with authentic taco flavors; be sure to follow package instructions for the best results.
For the Wrapper
- Pillsbury Pizza Dough – Serves as the wrapper for these cheesy taco sticks, providing a soft and chewy texture; feel free to use crescent roll dough or biscuit dough instead if desired.
For the Cheese
- Cheese Sticks – Adds melty, gooey goodness inside the taco sticks; alternatives include mozzarella, Pepper Jack, or cream cheese for a tasty twist.
For the Finish
- Butter – Brushed on before baking to enhance flavor; consider using garlic butter or homemade butter for an extra yummy touch.
- Garlic Powder – Enhances the flavor profile of the butter mixture; a small sprinkle can go a long way!
- Dried Parsley – Adds a burst of color and mild flavor to the butter for a delightful finishing touch.
Now that you have all your Cheesy Taco Sticks ingredients gathered, you’re one step closer to creating a fun, delicious snack! Get ready to impress your family and friends with this quick and easy recipe!
Step‑by‑Step Instructions for Cheesy Taco Sticks
Step 1: Preheat and Prepare
Preheat your oven to 400°F (200°C) to ensure a perfectly baked crust for your Cheesy Taco Sticks. While the oven heats, line a baking sheet with parchment paper to prevent sticking and facilitate easy cleanup. This setup allows for a smooth transition to the next steps without interruptions, so you’re ready to roll!
Step 2: Cook the Beef
In a skillet over medium heat, add the ground beef and cook until browned, about 5-7 minutes, ensuring it’s fully cooked through. Remember to break it apart with a spatula as it cooks for even browning. Once done, drain any excess fat so you have a lean filling that won’t make the dough soggy.
Step 3: Season the Meat
Next, sprinkle the taco seasoning over the browned beef mixture, stirring well to combine all the flavors. Cook for an additional 1-2 minutes, allowing the seasoning to meld with the meat. The aromatic spices should fill your kitchen, indicating it’s time to set this delicious mixture aside for assembling the Cheesy Taco Sticks.
Step 4: Roll Out the Dough
On a lightly floured surface, roll out the Pillsbury pizza dough until it’s about a quarter-inch thick. Use a sharp knife or pizza cutter to slice the dough into 10 equal rectangles. This is where the fun begins as your dough transforms into perfect packages ready to hold all that delicious filling!
Step 5: Fill the Dough
Take a rectangle of dough and place a generous portion of the seasoned beef mixture at one end. Add half a cheese stick on top of the beef before rolling it up tightly, making sure to pinch the edges firmly to seal. Repeat this process until all rectangles are filled and rolled, ensuring those cheesy flavors are tucked away safely.
Step 6: Brush with Butter
In a small bowl, melt butter and mix in garlic powder and dried parsley for an extra flavor boost. Using a pastry brush, gently coat the tops of each rolled Cheesy Taco Stick with this savory mixture. This will not only enhance the taste but also promote a beautiful golden-brown color as they bake.
Step 7: Bake to Perfection
Place the prepared Cheesy Taco Sticks on the lined baking sheet and slide them into your preheated oven. Bake for 12-15 minutes, watching closely as they turn a delightful golden brown. The smell will be irresistible, signaling that your cheesy snacks are almost ready!
Step 8: Cool and Serve
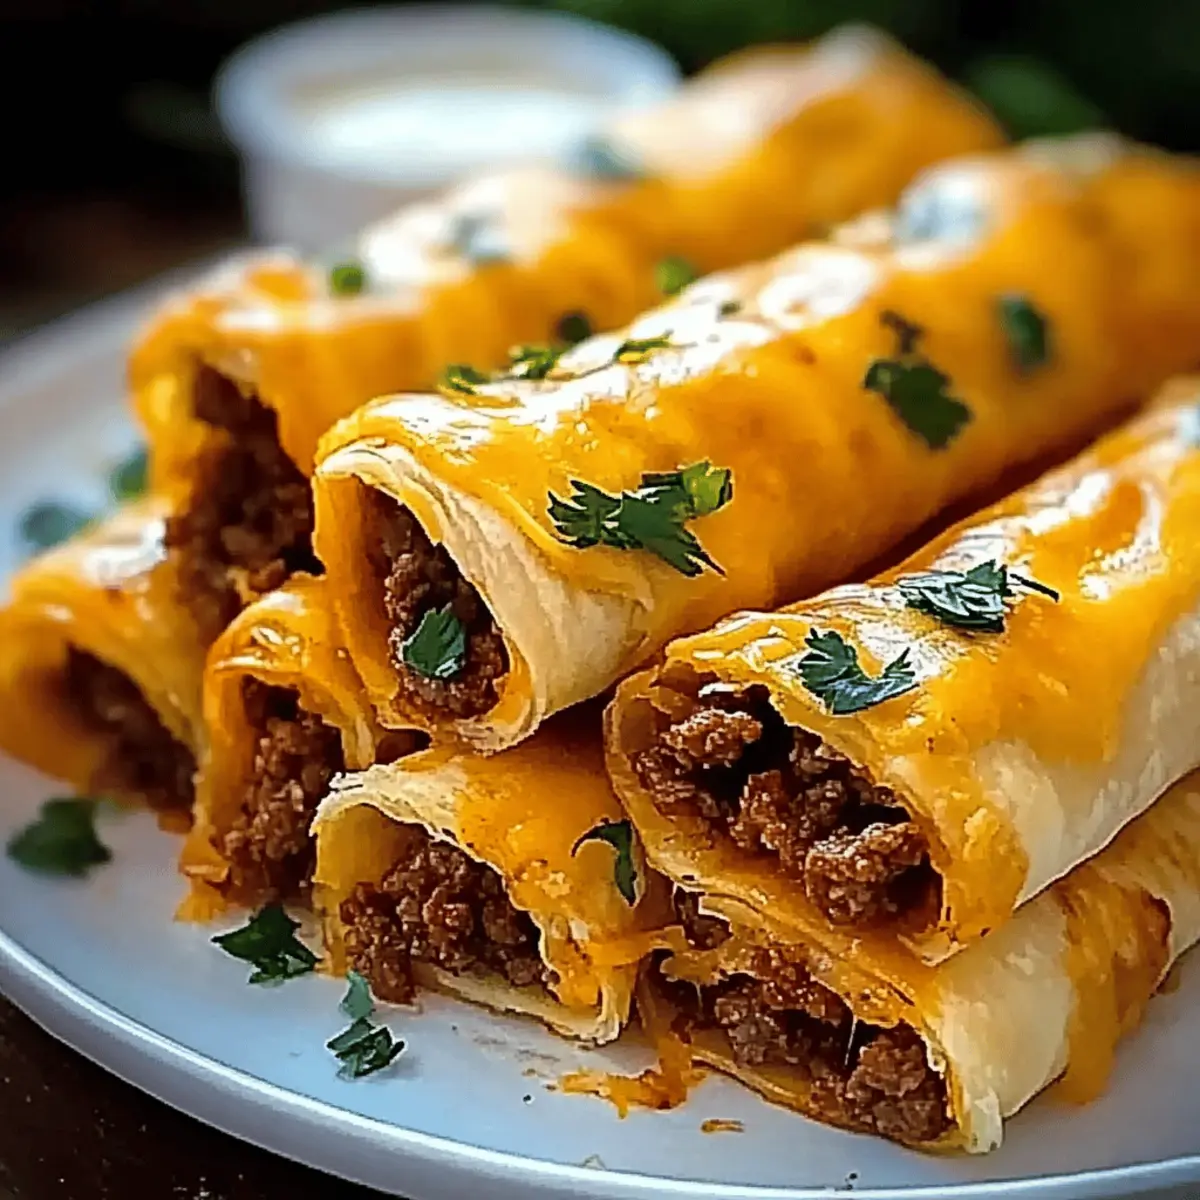
Once baked to perfection, remove the Cheesy Taco Sticks from the oven and let them cool for a few minutes. This cooling period allows the cheese to set slightly, making them easier to handle. Serve warm with a variety of dips like salsa, guacamole, or sour cream for a delightful snacking experience.
Cheesy Taco Sticks Variations & Substitutions
Feel free to let your creativity run wild as you enhance these delightful Cheesy Taco Sticks!
-
Vegetarian Option: Replace the ground beef with seasoned black beans or lentils for a hearty vegetarian twist.
This makes for a filling option packed with fiber and protein, perfect for anyone looking to cut down on meat while still enjoying full flavors. -
Spicy Kick: Add diced jalapeños or chopped green chilies to the filling for an extra layer of heat.
A spicy surprise elevates these taco sticks and pairs perfectly with cooling dips like sour cream or guacamole. -
Cheese Variety: Swap out traditional cheese sticks for Pepper Jack or a blend of shredded cheeses for added zest.
Mixing cheeses creates a gooey, delicious filling that’s bursting with flavor in every bite. -
Mexican Veggie Medley: Incorporate finely chopped bell peppers, onions, or corn into the beef mixture for a colorful and flavorful filling.
This not only adds a delightful crunch but also brings additional nutrients to your snack. -
Protein Swaps: Use shredded chicken or ground turkey instead of beef for a lighter but still satisfying filling.
These alternatives can provide a unique flavor profile; seasoned well, they can taste just as savory. -
Herb Infusion: Mix fresh herbs like cilantro or chives into the filling for a burst of freshness.
Adding herbs will not only enhance the taste but also brighten up the visual appeal of your taco sticks! -
Dough Variations: Try using whole wheat pizza dough or gluten-free dough for a different base option.
Adjusting your dough can accommodate various dietary needs while creating a taste experience for everyone! -
Sweet Surprise: For a fun dessert twist, fill taco sticks with sweetened cream cheese and berries or chocolate spread.
Dipping these in warm chocolate or caramel sauce will satisfy any sweet tooth and make for a unique treat!
With these variations, you can cater to any taste or dietary preference seamlessly. Looking for a fun dip? Pair them with our famous Garlic Butter Recipe for added excitement!
Make Ahead Options
These Cheesy Taco Sticks are perfect for meal prep enthusiasts looking to save time on busy weeknights! You can assemble the sticks up to 24 hours in advance. Simply prepare and roll them up as instructed, then place them on a baking sheet, cover tightly with plastic wrap, and refrigerate. This method helps maintain their freshness and prevents the dough from becoming soggy. When you’re ready to enjoy them, preheat your oven and bake them straight from the fridge, adding an extra minute or two to the baking time for the best results. With this prep ahead option, you’ll have delicious, cheesy snacks ready in no time!
Expert Tips for Cheesy Taco Sticks
• Use Fresh Ingredients: Ensure your ingredients are fresh for optimal flavor and texture. Fresh cheese and meat enhance the overall taste of your Cheesy Taco Sticks.
• Prevent Sogginess: Drain excess fat from the cooked beef to keep your taco sticks crispy. Excess moisture can lead to soggy dough.
• Seal Edges Well: Pinch the edges of the dough tightly to avoid any leaking of cheese or filling during baking; it keeps all flavors intact!
• Roll Tight: Make sure to roll the dough tightly around the filling to create a more compact snack. This helps maintain the shape and makes for a satisfying bite.
• Watch for Color: Keep an eye on the baking time; once your taco sticks are a beautiful golden brown, they’re ready. Overbaking can lead to a dry texture.
• Chill Before Baking: If you have time, refrigerate the assembled sticks for 30 minutes before baking. This helps the dough firm up for extra crispiness when baked.
Storage Tips for Cheesy Taco Sticks
-
Room Temperature: Cheesy Taco Sticks are best enjoyed fresh, but if left out, they can be kept at room temperature for up to 2 hours before they should be refrigerated.
-
Fridge: Store leftovers in an airtight container in the fridge for up to 3 days. Ensure they are completely cooled before sealing to prevent moisture buildup.
-
Freezer: For longer-term storage, freeze the assembled but unbaked Cheesy Taco Sticks in a single layer, then transfer them to a freezer bag for up to 2 months. Bake directly from frozen, adding a few extra minutes to the cooking time.
-
Reheating: Reheat leftover taco sticks in the oven at 350°F for 5-7 minutes or use an air fryer at 350°F for 3-4 minutes to restore their crispy texture.
What to Serve with Cheesy Taco Sticks
Looking to create a delightful spread that complements your Cheesy Taco Sticks? Here are some tasty pairings to elevate your meal.
- Spicy Salsa: A zesty salsa adds a refreshing kick, with bright flavors that contrast beautifully against the rich, cheesy filling.
- Guacamole: Creamy guacamole offers a cooling touch, with its smooth texture enhancing the overall enjoyment of each crispy bite. It’s an irresistible match!
- Sour Cream: A dollop of sour cream adds a tangy creaminess, balancing the savory flavors of the taco sticks while providing a delightful dip.
- Mexican Street Corn Salad: This vibrant salad brings sweetness and crunch, pairing perfectly alongside the cheesy goodness of the sticks for a satisfying meal.
- Refried Beans: Rich and hearty, refried beans add a creamy element to your meal, creating a filling combination that everyone will love.
- Chipotle Mayo: A drizzle of smoky chipotle mayo offers a spicy twist that melds wonderfully with the flavors of your Cheesy Taco Sticks.
- Crisp Side Salad: A light side salad with fresh greens and a tangy vinaigrette adds a refreshing contrast, helping to balance the comforting richness of the dish.
- Fruit Salsa: For something sweet, a fruit salsa can offer a delightful contrast, with bright, juicy flavors complementing the cheese and meat.
- Margaritas: Complement your meal with chilled margaritas. The citrus notes brighten the dish and create an inviting atmosphere perfect for gatherings.
- Churros: For dessert, serve warm churros for a deliciously sweet finish, contrasting the savory flavors of the taco sticks with their sugary cinnamon goodness.
Cheesy Taco Sticks Recipe FAQs
How do I choose the right ripeness for the ingredients?
Absolutely! When selecting ground beef, look for packages labeled “80/20” for a good balance of flavor and lean meat. It should be bright red and firm to the touch. For cheese, choose fresh sticks that are pliable and free from any dark spots. If using vegetables, opt for crisp bell peppers and firm onions for added flavor.
How should I store leftover Cheesy Taco Sticks, and how long do they last?
You can store your Cheesy Taco Sticks in an airtight container in the fridge for up to 3 days. Be sure they’re completely cooled before sealing to avoid sogginess. For record-keeping, I often label the containers with the date to stay organized!
Can I freeze Cheesy Taco Sticks, and how do I do it?
Yes! To freeze, prepare your Cheesy Taco Sticks but do not bake them. Place the assembled sticks in a single layer on a parchment-lined baking sheet and freeze until solid (about 1-2 hours). Once frozen, transfer them to a freezer bag for up to 2 months. When you’re ready, bake them directly from the freezer, adding a few extra minutes to the baking time.
What if my taco sticks leak during baking?
No worries! If you notice that your Cheesy Taco Sticks are leaking during baking, check if the edges are pinched tightly enough. Also, you can prevent this in the future by refrigerating the assembled sticks for about 30 minutes to help the dough firm up before baking.
Are Cheesy Taco Sticks suitable for people with allergies?
Definitely! For those with gluten sensitivities, you can use gluten-free pizza dough. As for dairy allergies, try replacing cheese with dairy-free alternatives like cashew cream or dairy-free mozzarella. Always make sure to read ingredient labels to accommodate specific allergies.
Can I make Cheesy Taco Sticks in advance?
Sure thing! Assemble your taco sticks ahead of time and store them in the fridge for up to 24 hours before baking. This makes it easy to prep for events or last-minute gatherings, allowing you to enjoy the crispy, cheesy goodness with minimal hassle!
Cheesy Taco Sticks – Crispy Comfort Food You’ll Love
Ingredients
Equipment
Method
- Preheat your oven to 400°F (200°C) and line a baking sheet with parchment paper.
- In a skillet over medium heat, add the ground beef and cook until browned, about 5-7 minutes.
- Sprinkle the taco seasoning over the cooked beef and stir well, cooking for an additional 1-2 minutes.
- Roll out the pizza dough on a floured surface until it’s about a quarter-inch thick and slice into 10 rectangles.
- Place a portion of the seasoned beef and half a cheese stick on each rectangle and roll tightly, sealing the edges.
- Mix melted butter with garlic powder and dried parsley, then brush the mixture over the tops.
- Bake in the preheated oven for 12-15 minutes until golden brown.
- Remove from oven and let cool for a few minutes before serving with dips.
Leave a Reply