
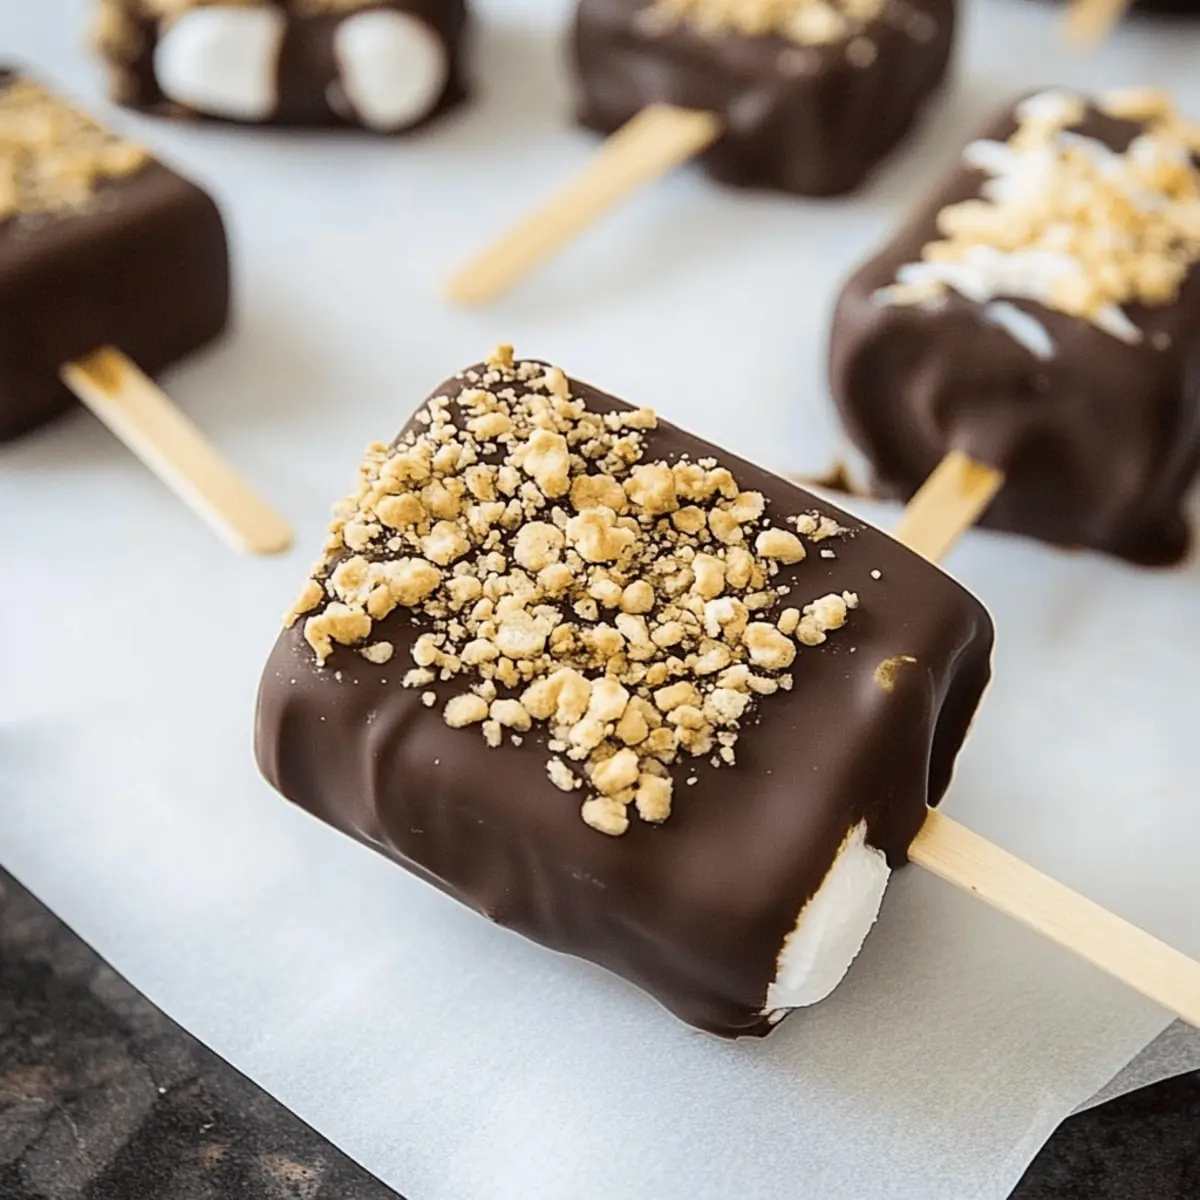
As I stood by the kitchen counter, a lightbulb flickered in my mind: what if I could turn classic s’mores into a fun, handheld treat? That’s how these delectable S’mores Pops were born! Picture layers of creamy marshmallow, crunchy graham crackers, and rich chocolate, all beautifully coated for easy munching. This no-bake delight is not just a child’s dream, but a nostalgic throwback for adults looking to indulge their sweet tooth. With little prep time and endless customization options, you can whip up a batch in no time for summer picnics, birthday parties, or just a cozy night at home. Curious about how to create these gooey, chocolatey confections? Let’s dive in!
Why Are S’mores Pops So Irresistible?
Simplicity: These no-bake S’mores Pops require minimal effort, making them a fantastic choice for any skill level in the kitchen.
Flavor Explosion: The delightful blend of gooey marshmallow, crisp graham crackers, and rich chocolate creates a symphony of flavors that will have everyone reaching for seconds.
Customizable Treats: Want to add your twist? Try using different chocolate types, or enhance the recipe with peanut butter or sprinkles for a festive touch!
Perfect for Any Occasion: Whether it’s a summer cookout, a birthday bash, or a cozy evening at home, these pops are sure to please both kids and adults alike.
Make Ahead: Prep them in advance, store in the fridge, and serve whenever you need a quick sweet fix. Get excited to share this crowd-pleaser at your next gathering! If you love easy dessert recipes, check out our no-bake cookie recipes for more delicious ideas!
S’mores Pops Ingredients
For the Pops
- Marshmallow Creme – Adds sweetness and creamy texture; can use homemade marshmallow fluff if preferred.
- Graham Crackers – Provides structure and crunch; ideal for breaking in half to create the pops.
- Wooden Craft Sticks – Serves as a handle for easy eating; ensure they are food-safe and sturdy.
For the Coating
- Chocolate Chips – Acts as the coating for flavor and richness; can substitute with a dairy-free option for a vegan version.
- Coconut Oil – Helps to smooth out the chocolate for dipping; regular vegetable oil can also be used if coconut oil is unavailable.
Embrace the charm of homemade S’mores Pops with these simple ingredients!
Step‑by‑Step Instructions for S’mores Pops
Step 1: Prepare the Pan
Line a cookie sheet with parchment paper, ensuring it covers the entire surface. This will prevent the S’mores Pops from sticking and make cleanup easier. Set the prepared sheet aside while you gather your ingredients and tools. Prepping your workspace will streamline the process and keep everything organized.
Step 2: Assemble the Pops
Take graham crackers and break them in half, creating pairs for your pops. Spread a generous layer of marshmallow creme on one half of each cracker. Insert a wooden craft stick into the center of the marshmallow layer before topping with the other cracker half. Press firmly together to ensure they stick, creating your delightful S’mores Pops.
Step 3: Chill the Pops
Place the assembled S’mores Pops on the parchment-lined cookie sheet and transfer them to the freezer for approximately 10 minutes. This chilling time helps the marshmallow set and hold the pop together, making them easier to dip later. Keep an eye on them—the pops should feel firm when you remove them from the freezer.
Step 4: Melt the Chocolate
In a microwave-safe bowl, combine chocolate chips and a splash of coconut oil to achieve a smooth dipping consistency. Microwave in 30-second increments, stirring between each interval until fully melted and glossy. Ensure not to overheat the chocolate—remove it from the microwave while a few small lumps remain and stir until completely smooth.
Step 5: Dip in Chocolate
Carefully hold each S’mores Pop by the stick and dip it into the melted chocolate. Use a spoon to help coat each pop entirely, letting any excess chocolate drip back into the bowl. The glossy chocolate layer should cover all exposed marshmallow and graham cracker areas, adding a rich flavor and beautiful finish to your pops.
Step 6: Cool the Pops
Return the fully dipped S’mores Pops back to the parchment-lined cookie sheet. Place them in the refrigerator for 15–20 minutes or until the chocolate has completely set. You want to ensure that each pop is nicely firm and ready for that first delicious bite. This cooling phase is essential for achieving the perfect chocolate coating.
Step 7: Serve and Enjoy
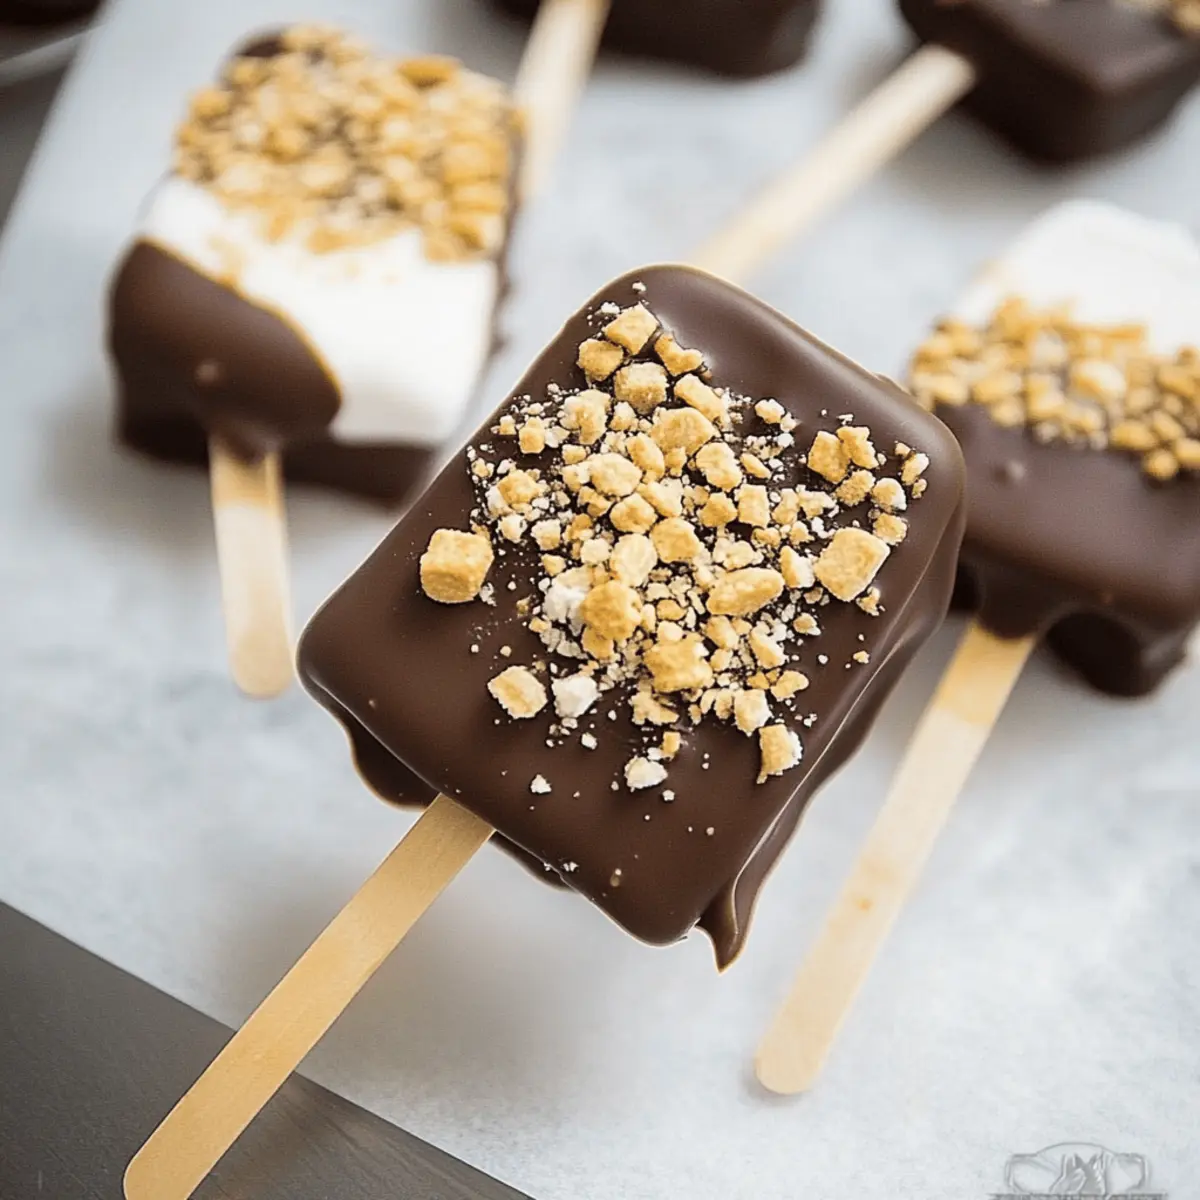
Once the chocolate has hardened, your S’mores Pops are ready to be enjoyed! You can serve them straight from the fridge for a cold treat or let them sit at room temperature for a couple of minutes if you prefer a softer chocolate texture. Get ready to indulge in this delightful no-bake dessert that everyone will love!
Make Ahead Options
These S’mores Pops are perfect for busy home cooks looking to save time without sacrificing flavor! You can assemble the pops and freeze them for up to 24 hours before dipping in chocolate. To prepare ahead, simply follow the assembly steps (spreading marshmallow creme and sandwiching with graham crackers) and freeze the pops as instructed. Once you’re ready to enjoy, melt the chocolate and dip your frozen pops as needed. For the best results, keep the dipped pops in an airtight container in the refrigerator for up to 3 days to maintain that delightful freshness and texture. By prepping ahead, you ensure a sweet treat is always on hand for any occasion!
S’mores Pops Variations & Substitutions
Feel free to personalize your S’mores Pops with these delightful twists and substitutions that will elevate your treat to a whole new level!
-
Nut-Free: Use sunbutter or tahini in place of traditional nut butters for a tasty twist that maintains the rich flavor.
-
Dairy-Free: Substitute chocolate chips with a vegan dark chocolate variety for a compassionate snack everyone can enjoy.
-
Flavor Infusion: Mix in a splash of vanilla extract or a pinch of cinnamon in the marshmallow layer for added warmth and comfort.
-
Chewy Texture: Incorporate crushed up caramel candies between the graham crackers and marshmallow for a gooey surprise in every bite.
-
Spicy Kick: A dash of cayenne pepper can be mixed into your chocolate coating for adventurous palates that love a sweet and spicy combo.
-
Mini Pops: To create smaller treats, cut your graham crackers into quarters and adjust the assembly for bite-sized s’mores pops perfect for kids.
-
Festive Touch: For holidays, cover the pops in white chocolate and sprinkle with festive themed decorations, like crushed candy canes or colorful sprinkles.
Ready to take your creativity in the kitchen to new levels? These variations celebrate the versatility of S’mores Pops and will have your family and friends excited for dessert! If you’re on the hunt for more creative ideas, don’t miss out on our selection of no-bake cookie recipes or explore our fun dessert variations to keep things interesting!
What to Serve with Decadent S’mores Pops on a Stick
Elevate your dessert experience by pairing these delightful treats with perfectly complementary sides and drinks that enhance their sweet, nostalgic flavors.
-
Creamy Vanilla Ice Cream: The cool, creamy texture beautifully contrasts with the rich chocolate of the pops, creating a refreshing bite.
-
Fresh Berry Medley: A mix of strawberries, blueberries, and raspberries adds vibrant sweetness and tartness that balances the indulgence of the S’mores Pops.
-
Chilled Hot Chocolate: Enjoy a warm and comforting sip of hot chocolate for a classic touch, or serve it cold for a refreshing twist that matches the pops’ chocolate theme.
-
Chocolate-Dipped Pretzels: Salted pretzels provide a delightful crunch, adding savory notes that play off the sweetness of the S’mores Pops perfectly.
-
Caramel Sauce Drizzle: A rich caramel sauce can be brushed or poured over the pops for an irresistible extra layer of sweetness that will entice everyone.
-
Homemade Whipped Cream: Light and fluffy whipped cream offers a creamy companion for these pops, making each bite more decadent and delightful.
-
Fruit Skewers: Light and refreshing, simple fruit skewers can cut through the sweetness of the S’mores Pops, creating a balanced dessert platter.
-
Sparkling Lemonade: A zesty, bubbly drink that cleanses the palate and adds a fun effervescence to your sweet feast.
-
Mini Brownie Bites: For the ultimate dessert table, rich brownie bites are a fudgy complement that pairs well with the gooey textures of the pops.
-
Toasted Coconut Flakes: For a tropical twist, sprinkle toasted coconut over your S’mores Pops; the flavor harmony will transport you to a warm beach day.
Expert Tips for S’mores Pops
-
Chilling is Key: Don’t rush the freezing step; it ensures your S’mores Pops hold together when dipped and served.
-
Watch the Chocolate: Stir your melted chocolate frequently to prevent burning. You can use a double boiler for gentle melting.
-
Dipping Technique: For even coverage, dip the pops quickly and let excess chocolate drip off. Use a spoon for extra help.
-
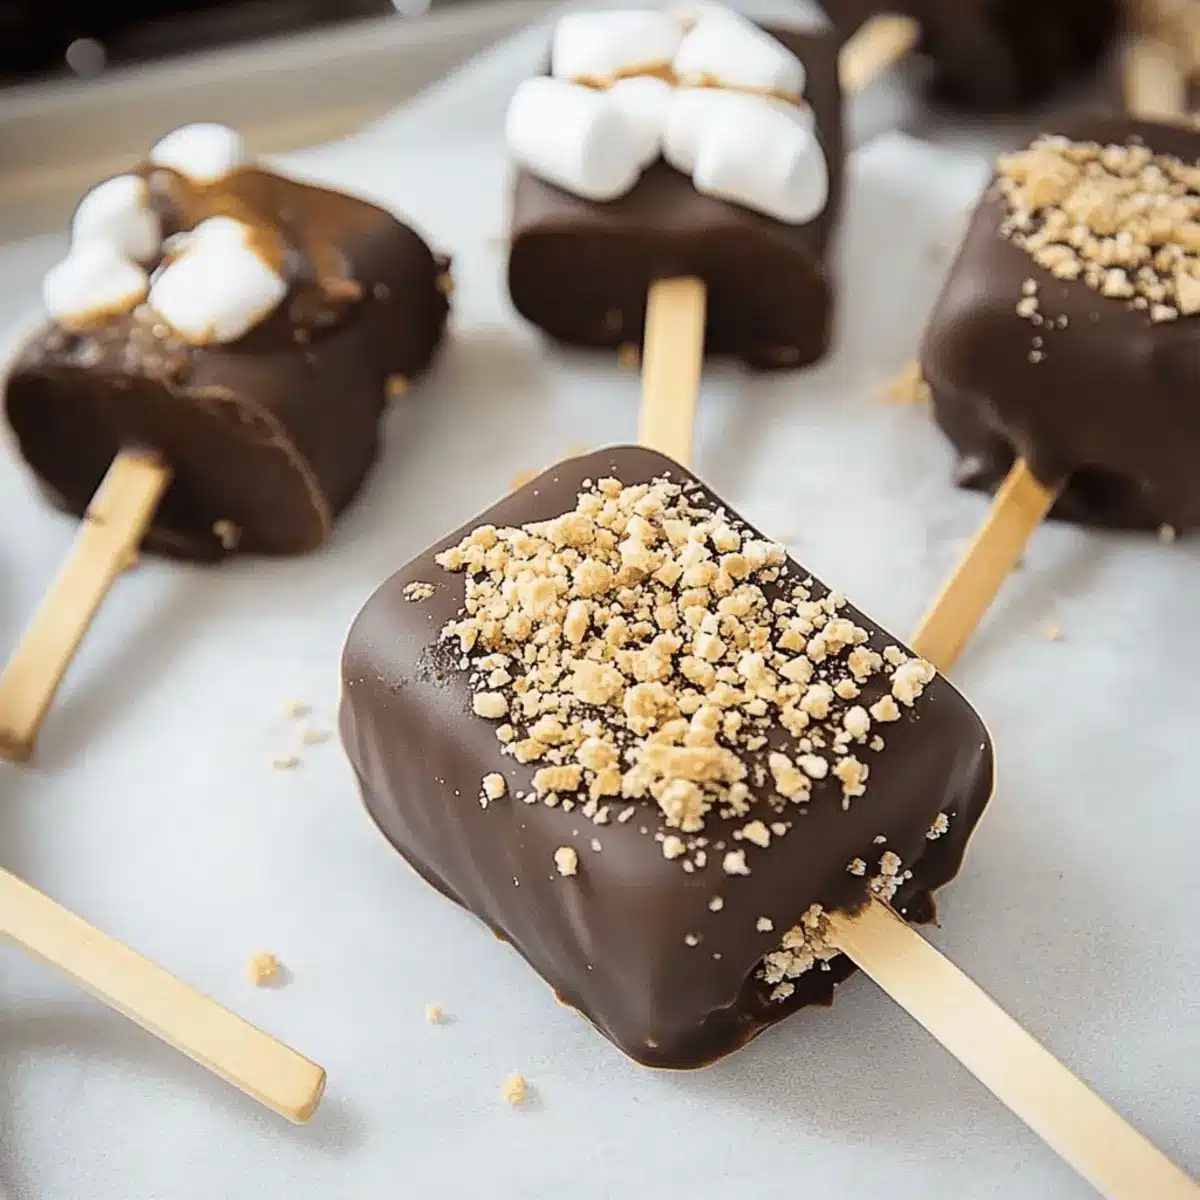
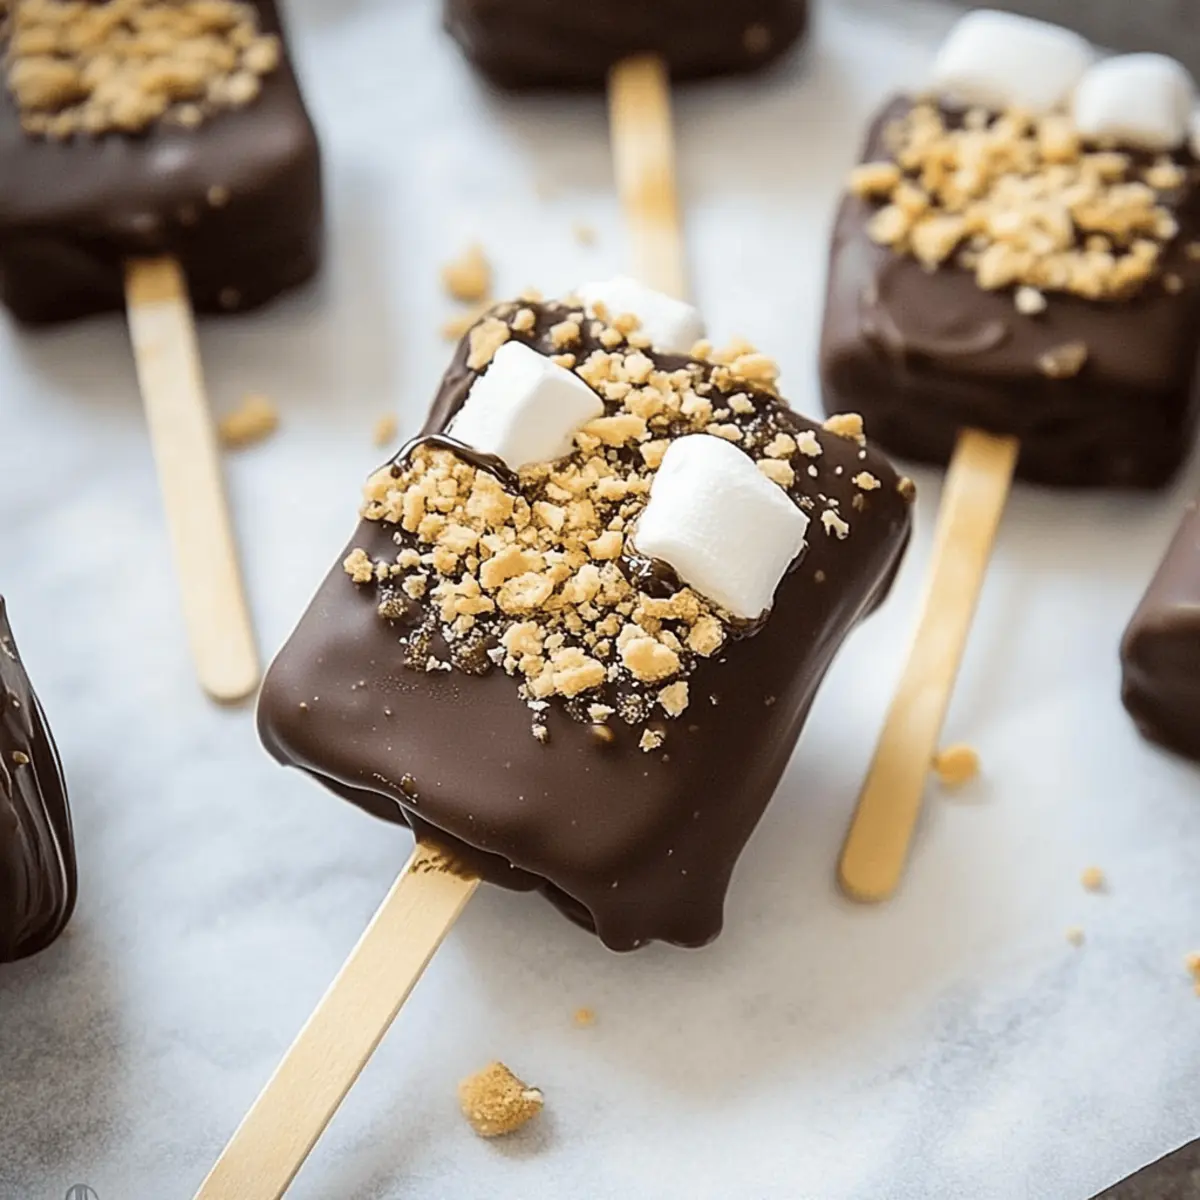
Toppings Galore: Get creative! Add crushed graham crackers, sprinkles, or nuts on top of the chocolate before it sets for a festive touch.
-
Storage Advice: Keep your completed S’mores Pops in an airtight container in the refrigerator for up to a week to maintain freshness.
How to Store and Freeze S’mores Pops
Fridge: Store your S’mores Pops in an airtight container for up to 1 week. This keeps them fresh and ready to indulge whenever the sweet tooth strikes.
Freezer: If you’d like to make them ahead of time, freeze the uncoated S’mores Pops on a parchment-lined sheet until solid, then transfer to a freezer-safe bag for up to 2 months.
Reheating: Unlike baked goods, S’mores Pops are best enjoyed cold or at room temperature. Simply remove from the fridge or freezer and let sit for a few minutes before serving.
Wrapping: For optimal freshness, wrap individual pops in plastic wrap before placing them in the container. This addition offers extra protection from moisture and air, ensuring your S’mores Pops stay delicious!
S’mores Pops Recipe FAQs
How do I choose the right graham crackers?
Absolutely! Look for graham crackers without any dark spots or signs of being stale. A fresh box will ensure you get that perfect crunch and flavor. If possible, opt for honey-flavored graham crackers as they add a delightful touch of sweetness.
What’s the best way to store S’mores Pops?
To keep your S’mores Pops fresh, store them in an airtight container in the fridge where they’ll last for up to 1 week. I often place parchment paper between layers to prevent them from sticking together, ensuring they stay yummy and intact every time you grab one!
Can I freeze S’mores Pops?
Yes! I recommend freezing uncoated S’mores Pops for the best results. After assembling, place them on a parchment-lined sheet until solid, then transfer them to a freezer-safe bag. They can stay good for up to 2 months. When you’re ready to enjoy your treat, simply let them sit at room temperature for a few minutes.
What if the chocolate doesn’t melt smoothly?
Very! In case your chocolate doesn’t melt smoothly, it could be due to overheating or moisture. Remember to microwave in 30-second intervals and stir in between. If it looks grainy, you can add a small amount of coconut oil and stir well. For an alternative, you can also use a double boiler for gentler melting.
Are S’mores Pops safe for pets and people with allergies?
While S’mores Pops are delicious for humans, be mindful if you have pets—chocolate is toxic to dogs and cats, so it’s best to keep these treats out of reach. If you have dietary restrictions or allergies, I recommend using dairy-free chocolate chips and ensuring all ingredients are allergy-friendly, like checking your graham crackers for any wheat gluten if you have gluten sensitivities.
Can I customize my S’mores Pops with different flavors or toppings?
Absolutely! The more the merrier! You can swap regular chocolate for dark or white chocolate for a twist, and feel free to mix in peanut butter or Nutella into the marshmallow layer for extra flavor. Don’t forget to sprinkle crushed graham crackers, nuts, or sprinkles on top of the chocolate coating for added fun!
Irresistible S'mores Pops: No-Bake Fun for Everyone!
Ingredients
Equipment
Method
- Line a cookie sheet with parchment paper and set aside.
- Break graham crackers in half, spread marshmallow creme, and insert a wooden stick.
- Chill the assembled pops in the freezer for about 10 minutes.
- Melt chocolate chips with coconut oil in a microwave-safe bowl.
- Dip each pop into the melted chocolate and let excess chocolate drip off.
- Return dipped pops to the cookie sheet and refrigerate until the chocolate has set.
- Serve cold or at room temperature and enjoy!
Leave a Reply