
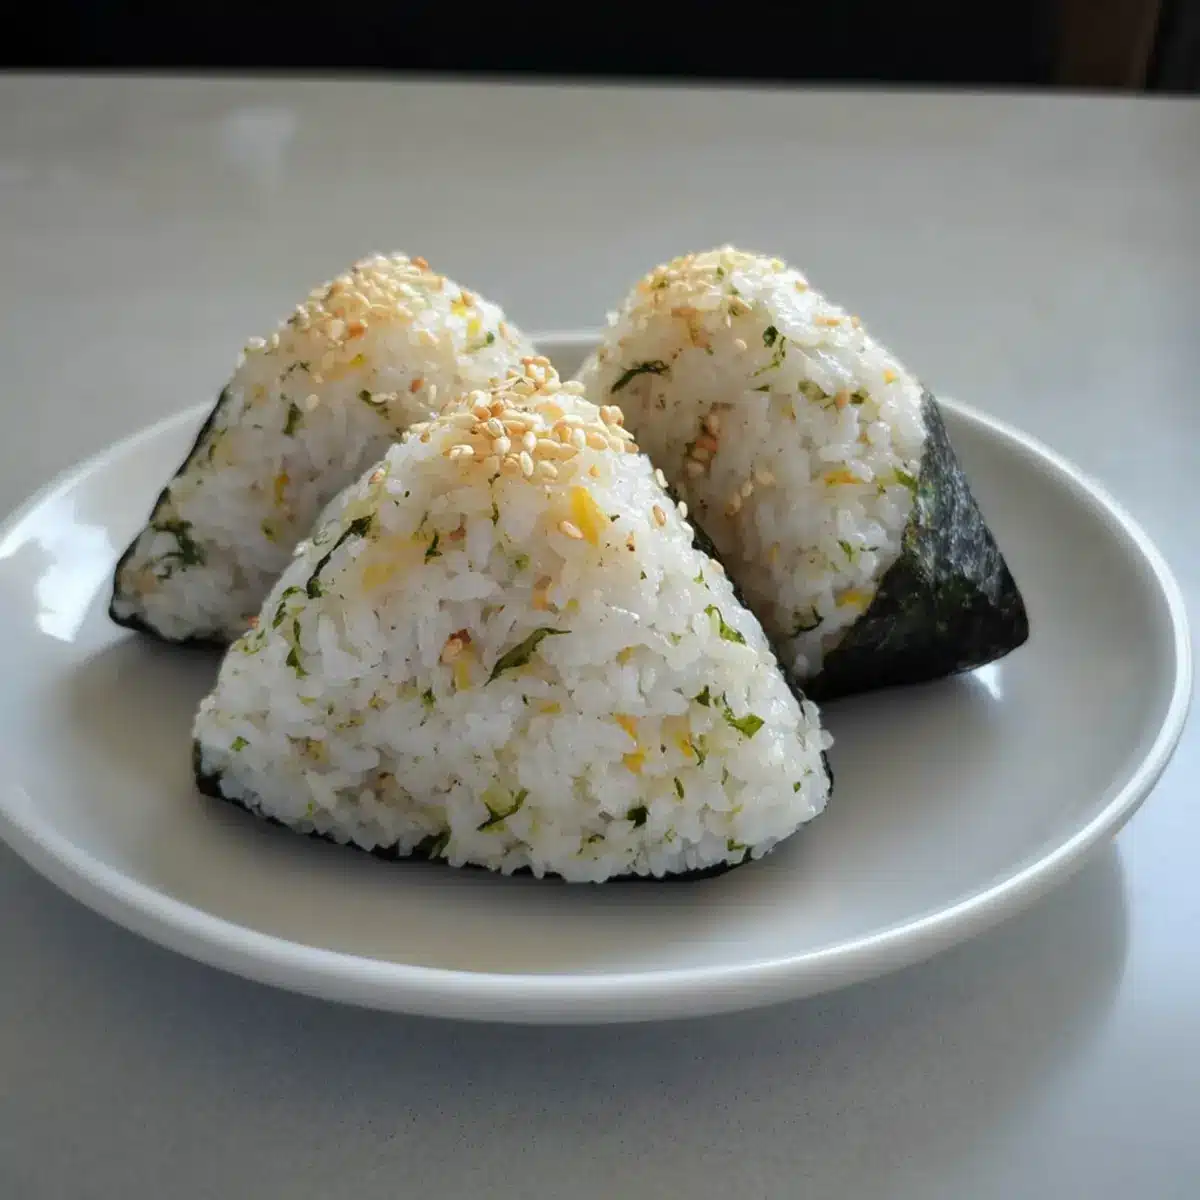
As I reached for the last bite of my afternoon snack, I couldn’t help but feel a bit smug about my latest culinary creation: Devil Onigiri. This quick and easy Japanese rice ball is surprisingly simple to whip up and makes excellent use of leftover rice, a pantry staple in many homes. With a crispy exterior and a chewy center, they offer an addictive comfort food experience that transcends plain old snacks. Plus, they’re incredibly versatile, allowing you to mix and match flavors to suit your mood. So, what can be better than crafting these delicious little bites? How about impressing friends and family with a homemade treat that’s sure to become a new obsession? Ready to dive into the world of Devil Onigiri and elevate your snack game? Let’s get started!
Why is Devil Onigiri a Must-Try?
Addictive Flavor: The perfect blend of crispy tempura bits and chewy rice creates a savory delight you won’t be able to resist.
Quick to Make: This recipe is excellent for those busy days when you want a flavorful snack without spending hours in the kitchen.
Utilizes Leftovers: Say goodbye to boring surplus rice! Transform your leftovers into a delectable treat that impresses everyone.
Versatile Options: Cater to your taste buds by swapping ingredients like Tenkasu for crushed tempura flakes or changing up the seaweed.
Crowd Pleaser: Whether it’s a casual family night or a dinner party, these onigiri are sure to be the star of the show! Dive deeper into this culinary adventure and discover more easy recipes for leftovers, like our other delicious comfort food options!
Devil Onigiri Ingredients
• Get ready to create the magic of Devil Onigiri at home!
For the Rice Mixture
- Cooked Rice – Use about 300g (2 cups) of leftover rice for the best texture.
- Sesame Seeds – This adds a delightful nutty flavor and crunch; adjust based on your preference.
- Tenkasu – About 2-3 tablespoons of these crispy tempura bits give an irresistible crunch!
- Aonori Seaweed – Using ½ tablespoon of this adds a unique umami flavor and colorful contrast.
- Mentsuyu – Just 1 tablespoon is all you need for that depth of flavor and saltiness.
Get ready to enjoy these delightful bites and impress your friends and family with your culinary skills!
Step‑by‑Step Instructions for DEVIL ONIGIRI
Step 1: Combine Ingredients
Begin by gathering all your ingredients—about 300g of cooked rice, 2-3 tablespoons of Tenkasu, ½ tablespoon of aonori, 1 tablespoon of mentsuyu, and sesame seeds. In a mixing bowl, add the warm cooked rice and sprinkle in the sesame seeds, Tenkasu, aonori, and mentsuyu. This mixture should feel slightly sticky and have a balanced, savory aroma, indicating it’s ready for the next step.
Step 2: Mix Thoroughly
Using a spatula or your hands, gently combine the ingredients. Be careful not to break the rice grains; a light hand will ensure the mixture retains its texture. Mix until all components are evenly distributed, about 2-3 minutes. The rice should hold its shape yet remain slightly warm, giving you a better consistency for shaping the onigiri.
Step 3: Shape the Onigiri
Now it’s time to shape your DEVIL ONIGIRI! Wet your hands slightly to prevent sticking, then scoop a generous amount of the rice mixture. Form it into a triangle about 3 inches wide, pressing gently to compact the rice while maintaining a fluffy texture. Repeat this process until all the mixture is shaped. You’ll love how each onigiri becomes a delightful little package!
Step 4: Heat a Pan
In a frying pan, heat a drizzle of oil over medium heat until it shimmers, about 3-4 minutes. This temperature is ideal for achieving that crispy exterior. Carefully place your shaped onigiri in the hot pan, avoiding overcrowding, and allow them to cook undisturbed for 3-4 minutes until they develop a golden crust.
Step 5: Flip and Crisp
Once the underside is golden, gently flip each DEVIL ONIGIRI using a spatula. Let them cook for an additional 3-4 minutes on the other side. Keep an eye on them to ensure an even crisp without burning. A lovely golden-brown color is your cue that they are perfectly toasted and ready to be removed from the heat.
Step 6: Serve or Store
Transfer your beautifully toasted DEVIL ONIGIRI onto a paper towel-lined plate to absorb any excess oil. Serve them warm, perhaps with some dipping sauce or alongside Japanese pickles, to elevate your snacking experience. If you’re saving some for later, let them cool completely before storing them in an airtight container; they’ll retain their lovely texture for a later delicious treat!
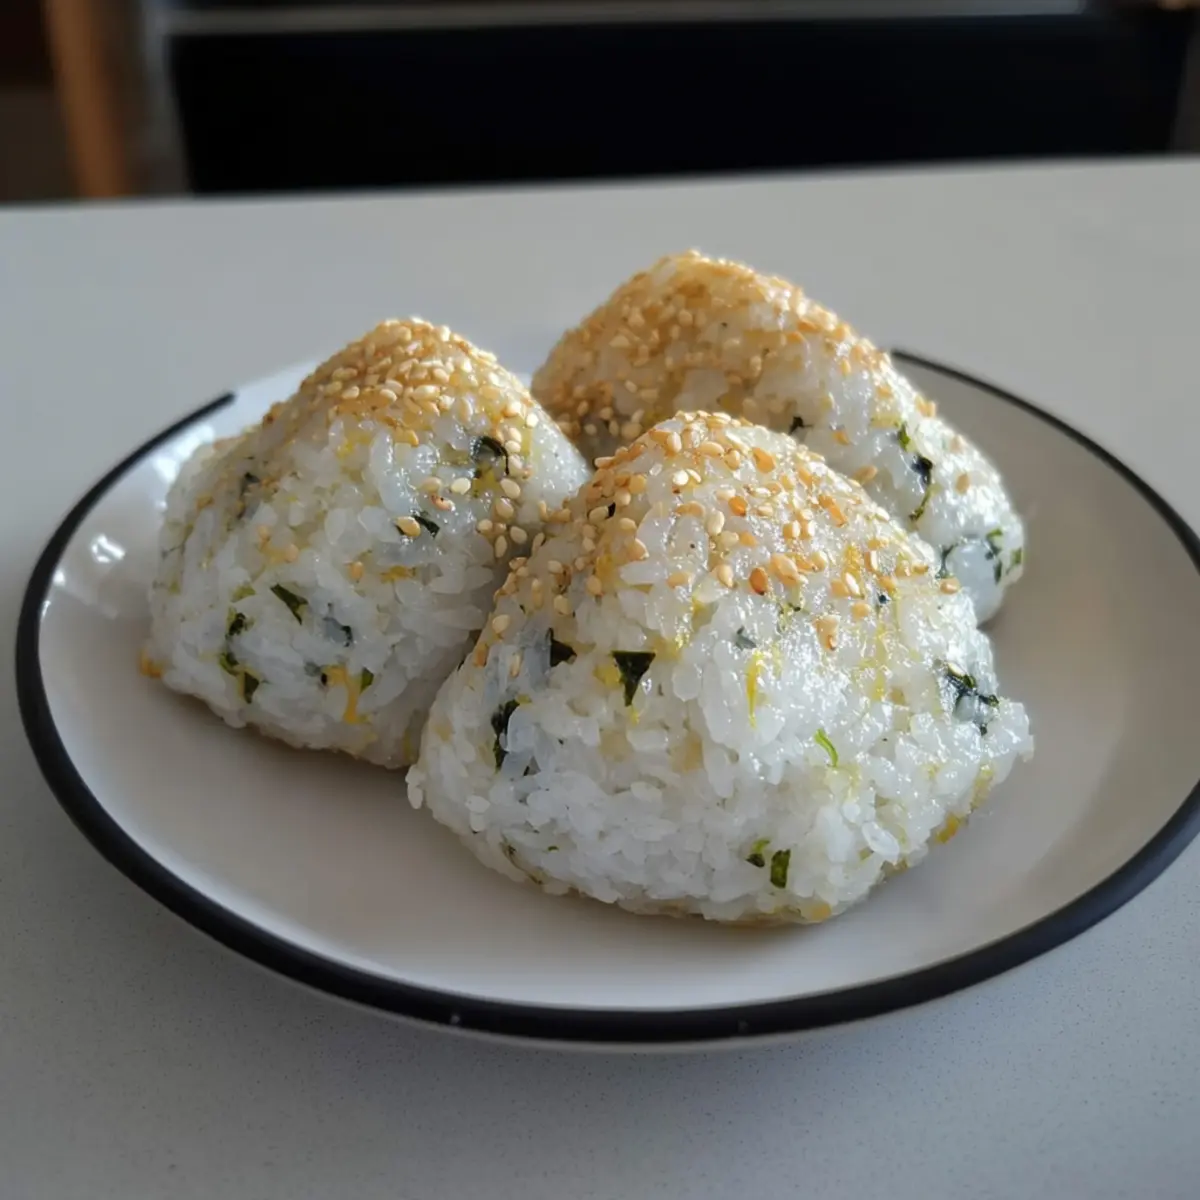
What to Serve with Devil Onigiri?
Elevate your homemade snack experience with tantalizing sides that enhance the flavors of your Devil Onigiri.
-
Japanese Pickles: These provide a tangy crunch that balances the savory elements of onigiri beautifully, making each bite more refreshing.
-
Green Tea: A warm cup of green tea complements the umami flavors, creating a serene dining ambiance that’s perfect for snacking.
-
Miso Soup: The deep, savory tones of miso soup enhance the onigiri while offering a comforting warmth that’s hard to resist.
-
Fresh Edamame: A light, protein-packed side that adds a vibrant pop of green to your meal, making it visually appealing and nutritious.
-
Seaweed Salad: With its unique flavors and crunchy texture, seaweed salad adds a delightful contrast to the chewy onigiri.
-
Teriyaki Chicken Skewers: These sweet and savory skewers enhance the meal with a hearty protein option that pairs wonderfully.
-
Spicy Mayo: A drizzle of spicy mayo on your onigiri adds a creamy texture and a kick of flavor that elevates the overall experience.
-
Chilled Sake: Enjoy a glass of chilled sake alongside your snacks for a traditional twist, enhancing the flavors of each delicious bite.
-
Mocha Ice Cream: For a sweet finish, a scoop of mocha ice cream offers a delightful contrast to the savory onigiri, rounding off the meal perfectly.
Make Ahead Options
Devil Onigiri are perfect for busy home cooks looking to save time during the week! You can prepare the rice mixture—including cooked rice, sesame seeds, Tenkasu, aonori, and mentsuyu—up to 24 hours in advance. Simply combine all the ingredients and store them in an airtight container in the refrigerator to maintain their freshness. When you’re ready to enjoy your onigiri, mold the mixture into triangles and then crisp them up in a heated pan. For best results, make sure to cool the rice slightly before shaping to ensure the perfect texture. This way, you’ll have quick, delicious snacks waiting for you, ready to impress family and friends!
DEVIL ONIGIRI Variations & Substitutions
Feel free to get creative and personalize your Devil Onigiri with these delightful variations that are sure to inspire your taste buds!
- Gluten-Free: Replace mentsuyu with a gluten-free soy sauce for a similar umami flavor without the gluten.
- Vegan Twist: Skip the Tenkasu and use finely chopped mushrooms for a great texture boost while keeping it plant-based.
- Spicy Kick: Add a dash of sriracha to your rice mixture for a fiery flavor explosion.
- Extra Crunch: Toss in some crushed seaweed snacks for an added crispy layer that enhances the umami experience.
- Herbed Delight: Mix in fresh chopped herbs like chives or cilantro for a vibrant flavor burst and a fresh aroma.
- Savory Cheese: Incorporate some grated parmesan or cheddar for an indulgent flavor twist that enhances the creaminess of the rice.
- Nori Swap: Use nori strips instead of aonori for a more traditional touch that harmonizes beautifully with the other ingredients.
- Stuffed Onigiri: Add a dollop of spicy mayo or your favorite filling in the center before shaping for a delightful surprise in every bite.
Don’t forget to explore more variations by checking out easy recipes for leftovers or trying out other amazing comfort food options!
Storage Tips for Devil Onigiri
-
Room Temperature: Enjoy your Devil Onigiri fresh for the best flavor. If left out, consume them within 2 hours to ensure safety and taste.
-
Fridge: Store any leftovers in an airtight container in the fridge for up to 3 days. To maintain texture, place parchment paper between layers if stacking.
-
Freezer: You can freeze the shaped, un-cooked Devil Onigiri for up to 1 month. Simply wrap each piece tightly in plastic wrap, then place them in a freezer-safe bag.
-
Reheating: To reheat, pan-fry or bake from frozen until heated through and crispy, about 5-8 minutes. Enjoy them warm for the ultimate snack experience!
Expert Tips for Devil Onigiri
-
Use Warm Rice: Always start with slightly warm rice for easier shaping; cold rice can crumble and won’t hold your shape well.
-
Gentle Mixing: Mix ingredients gently to preserve the structure of the rice grains; over-mixing makes them mushy and less appealing.
-
Watch Salt Levels: Be cautious with mentsuyu; its saltiness can vary greatly. Start small and adjust to your taste for the perfect flavor balance.
-
Crispy Finish: For an extra crunch, let the onigiri rest for a minute in the pan after flipping—this ensures a golden, crispy exterior on both sides.
-
Customizable Ingredients: Feel free to swap Tenkasu with crushed tempura flakes or add a sprinkle of chili flakes for a spicy kick.
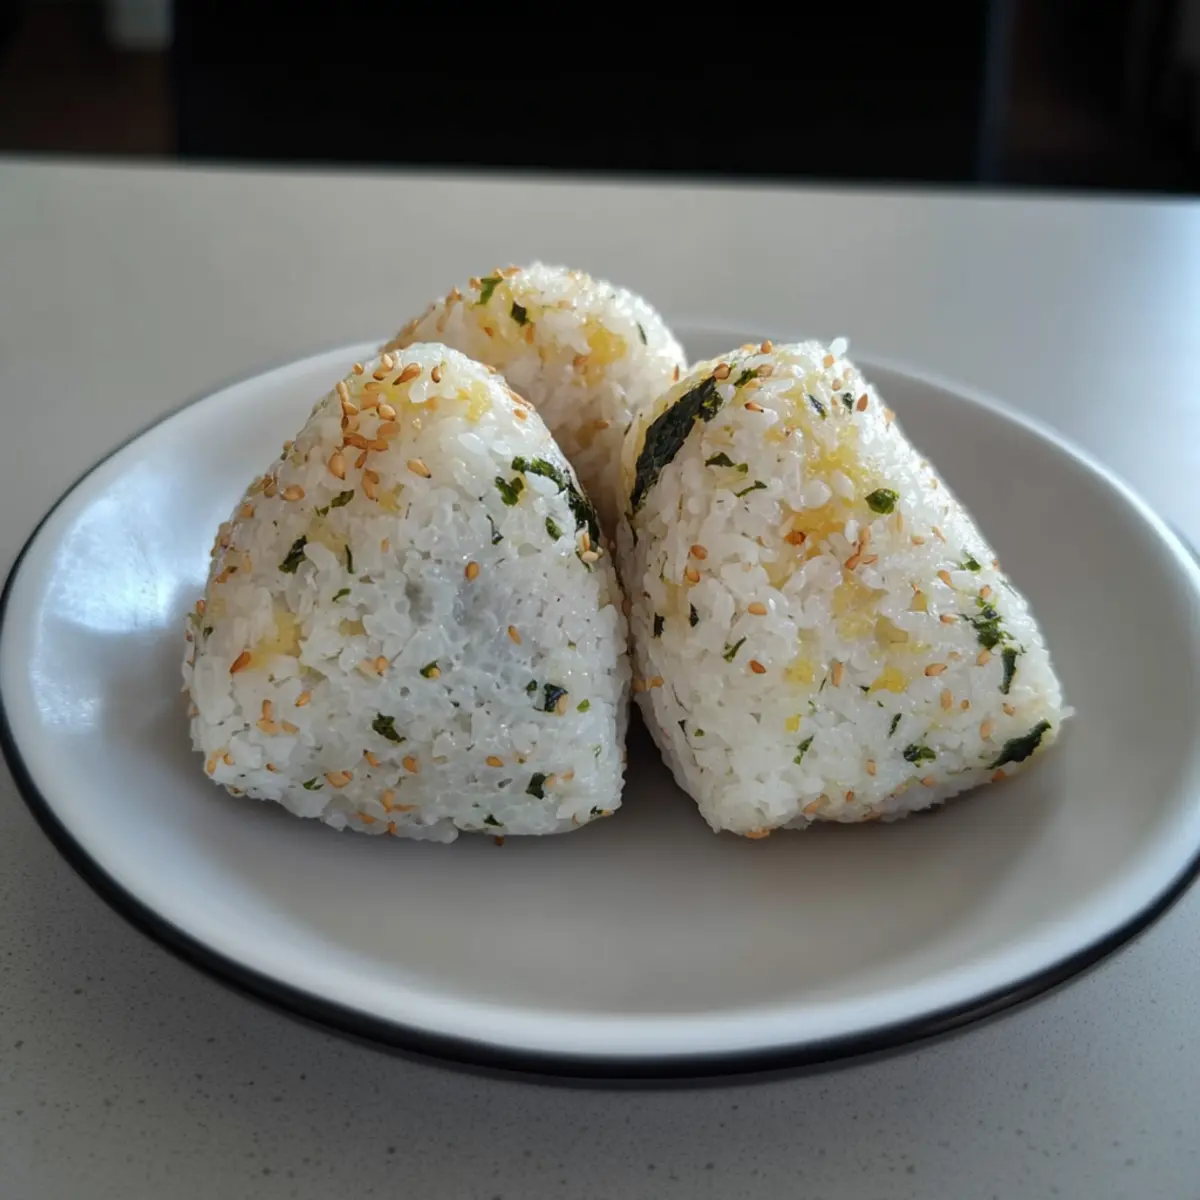
Devil Onigiri Recipe FAQs
What kind of rice is best for Devil Onigiri?
I recommend using short-grain Japanese rice, as it has the perfect stickiness and texture to hold the onigiri together. Long-grain rice won’t provide the same consistency.
How should I store leftovers of Devil Onigiri?
For the best flavor, consume your Devil Onigiri fresh! If you have leftovers, place them in an airtight container in the fridge for up to 3 days. It’s best to let them come to room temperature before munching, or you can lightly reheat them to restore some crispiness.
Can I freeze Devil Onigiri?
Absolutely! To freeze, shape the uncooked onigiri and wrap each piece tightly in plastic wrap. Place them in a freezer-safe bag or container, and they should be good for up to 1 month. When you’re ready to enjoy, you can pan-fry or bake them from frozen for about 5-8 minutes until crispy and warmed through.
What do I do if my onigiri fall apart?
If your Devil Onigiri falls apart, it’s often due to using cold rice or over-mixing the ingredients. Make sure your rice is slightly warm when mixing and use a gentle hand when combining. If it continues to crumble, try adjusting the amount of mentsuyu as it affects the moisture level.
Are there any allergens I should be aware of in Devil Onigiri?
Indeed, mentsuyu often contains soy sauce, which is a common allergen. If you’re cooking for someone with soy allergies, look for gluten-free mentsuyu or create your own alternative with dashi, mirin, and sugar. Always check labels if you’re unsure about any ingredient.
Can I customize the filling for Devil Onigiri?
The more the merrier! You can definitely personalize your onigiri by adding ingredients like cooked vegetables, meat, or even spicy seasonings to the rice mixture. Just keep in mind that adding too much moisture may affect the shaping.
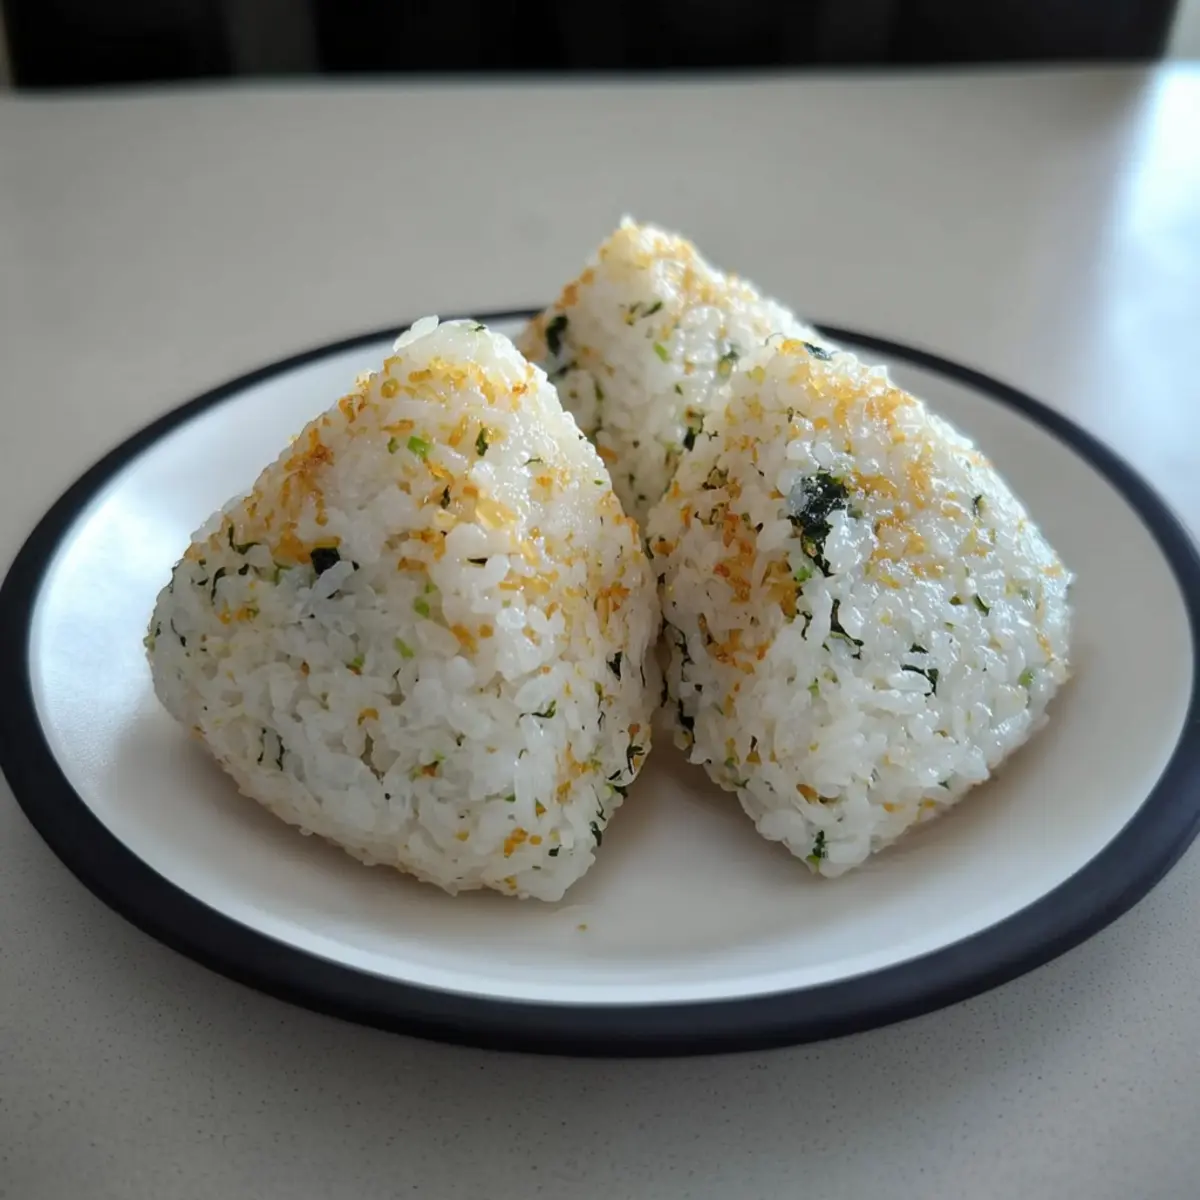
Addictive Devil Onigiri: Quick Snack Heaven Awaits!
Ingredients
Equipment
Method
- Combine Ingredients: Gather all ingredients in a mixing bowl, add warm cooked rice and sprinkle in sesame seeds, Tenkasu, aonori, and mentsuyu.
- Mix Thoroughly: Gently combine the ingredients for 2-3 minutes without breaking the rice grains.
- Shape the Onigiri: Wet hands, scoop rice mixture, and form triangles about 3 inches wide, compacting gently.
- Heat a Pan: Heat oil in a frying pan over medium heat, cook shaped onigiri undisturbed for 3-4 minutes until golden.
- Flip and Crisp: Flip each onigiri gently and cook for another 3-4 minutes until golden-brown on both sides.
- Serve or Store: Transfer onto a paper towel-lined plate, serve warm or store in an airtight container.
Leave a Reply