
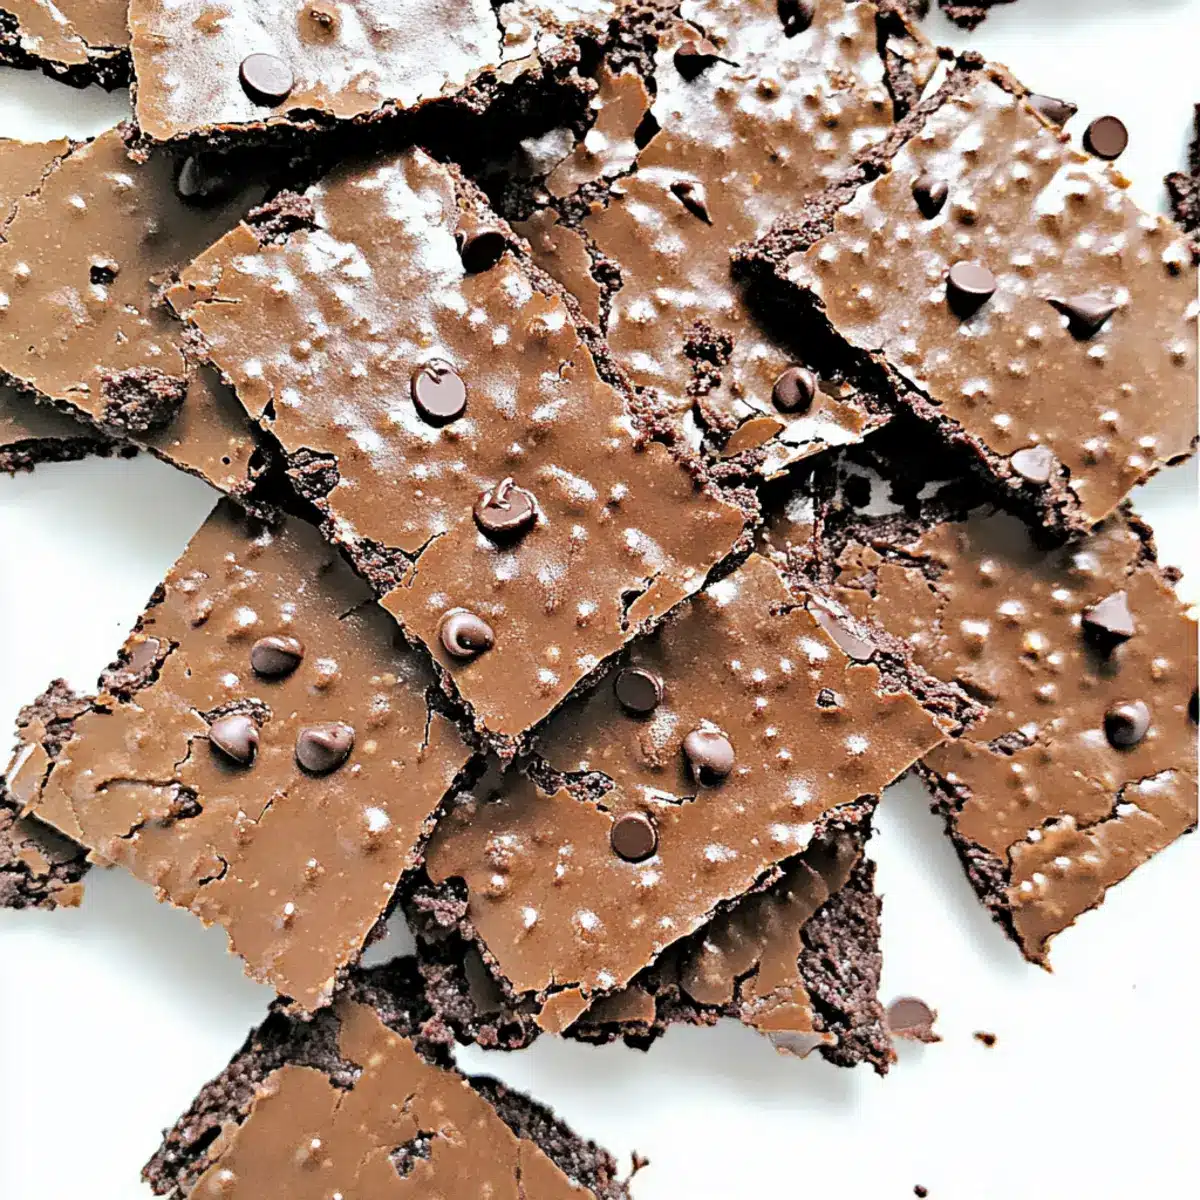
As I sifted through my pantry, the sight of an untouched bag of cocoa powder sparked an idea—today was the day for a delightful Brownie Brittle Recipe! With its satisfying crunch, this treat marries the love of brownies with the addictive nature of snacks perfect for sharing. Best of all, you can whip up this batch in under an hour, making it a fantastic addition to your go-to dessert repertoire. It’s not just a treat; it’s an effortlessly classy option for last-minute gifts or cozy care packages. Plus, have fun personalizing your brittle with colorful sprinkles or your favorite mix-ins. Ready to discover the magic of crispy, chocolatey goodness? Let’s dive in!
Why is Brownie Brittle a Must-Try?
Crispy Perfection: Enjoy a treat that combines the beloved flavors of brownies with a satisfying crunch, making each bite utterly addictive.
Quick and Easy: You can whip up this delicious Brownie Brittle in under an hour—perfect for those busy days when you need a quick snack fix!
Versatile Options: Feel free to explore variations like Malted Milk Brownie Brittle or a gluten-free version using alternative flours—you’ll find your new favorite!
Ideal for Gifting: Whether it’s for a friend or a special occasion, this Brittle makes an impressive gift that looks as good as it tastes.
Snackable Delight: Perfect for sharing with loved ones or simply enjoying yourself with a cup of coffee or milk, this brownie brittle is designed for optimal crowd appeal!
Brownie Brittle Ingredients
• The key to crispy, chocolatey goodness.
For the Batter
- All-Purpose Flour – Provides structure. Substitution Note: Can use gluten-free flour for a gluten-free version.
- Salt – Enhances flavor. Do not skip; essential for balance.
- Baking Soda – Helps with leavening. Essential for light texture.
- Large Egg Whites – Provide moisture and structure. No substitution for egg whites recommended for desired texture.
- Granulated Sugar – Adds sweetness and helps achieve a crispy texture. Can experiment with coconut sugar for a healthier option.
- Cocoa Powder – Contributes rich chocolate flavor. Dark cocoa could be used for a deeper taste.
- Espresso Powder – Enhances chocolate flavor. Optional; omit if not preferred.
- Vegetable Oil – Provides moisture and fat. Can substitute with melted coconut oil or melted butter.
- Vanilla Extract – Adds depth of flavor. Use pure vanilla for best results.
- Powdered Milk (Nonfat Dry Milk) – Supports flavor and texture. Could substitute with more cocoa powder but may alter texture slightly.
- Mini Chocolate Chips – Add bursts of chocolate flavor. Can use regular chocolate chips or chopped chocolate.
Step‑by‑Step Instructions for Brownie Brittle Recipe
Step 1: Preheat the Oven
Begin by preheating your oven to 325°F (163°C). While the oven heats up, prepare a baking sheet by lining it with parchment paper. This will prevent the Brownie Brittle from sticking and ensure an easy release after baking.
Step 2: Combine Dry Ingredients
In a medium mixing bowl, whisk together the all-purpose flour, salt, and baking soda until they are well-blended. This helps to aerate the flour and evenly distribute the leavening agent, creating a perfect texture for your Brownie Brittle. Set the bowl aside once mixed.
Step 3: Blend the Wet Ingredients
Using an electric mixer, beat the large egg whites in a large bowl until they become foamy, about 2-3 minutes. Gradually add in the granulated sugar, cocoa powder, espresso powder, vegetable oil, vanilla extract, and powdered milk, mixing until smooth and combined, creating a rich chocolate mixture.
Step 4: Incorporate Dry into Wet
Gently fold the dry ingredient mixture into the wet mixture using a spatula. Mix until just combined; the batter should resemble a thick, luscious chocolate batter that holds together well. Be careful not to overmix, as this can affect the texture of your Brownie Brittle.
Step 5: Spread the Batter
Pour the brownie batter onto the prepared baking sheet, then use a spatula to spread it into an even, thin layer—approximately 12 inches by 12 inches or 11 inches by 13 inches. Aim for a near-transparent layer, as a thinner spread will yield a crispier Brownie Brittle.
Step 6: Initial Baking
Place the baking sheet in the preheated oven and bake for 20 minutes. After this time, the edges should be set and hinting at crispiness while the center remains slightly soft. Carefully remove the sheet from the oven and use a pizza wheel to cut the batter into desired shapes without separating the pieces.
Step 7: Final Bake
Return the baking sheet to the oven and bake for an additional 5 to 8 minutes. This second round will give the Brownie Brittle its signature crunch. Keep an eye on it—once it’s dry and crispy, it’s ready to come out, so don’t let it overcook!
Step 8: Cooling Time
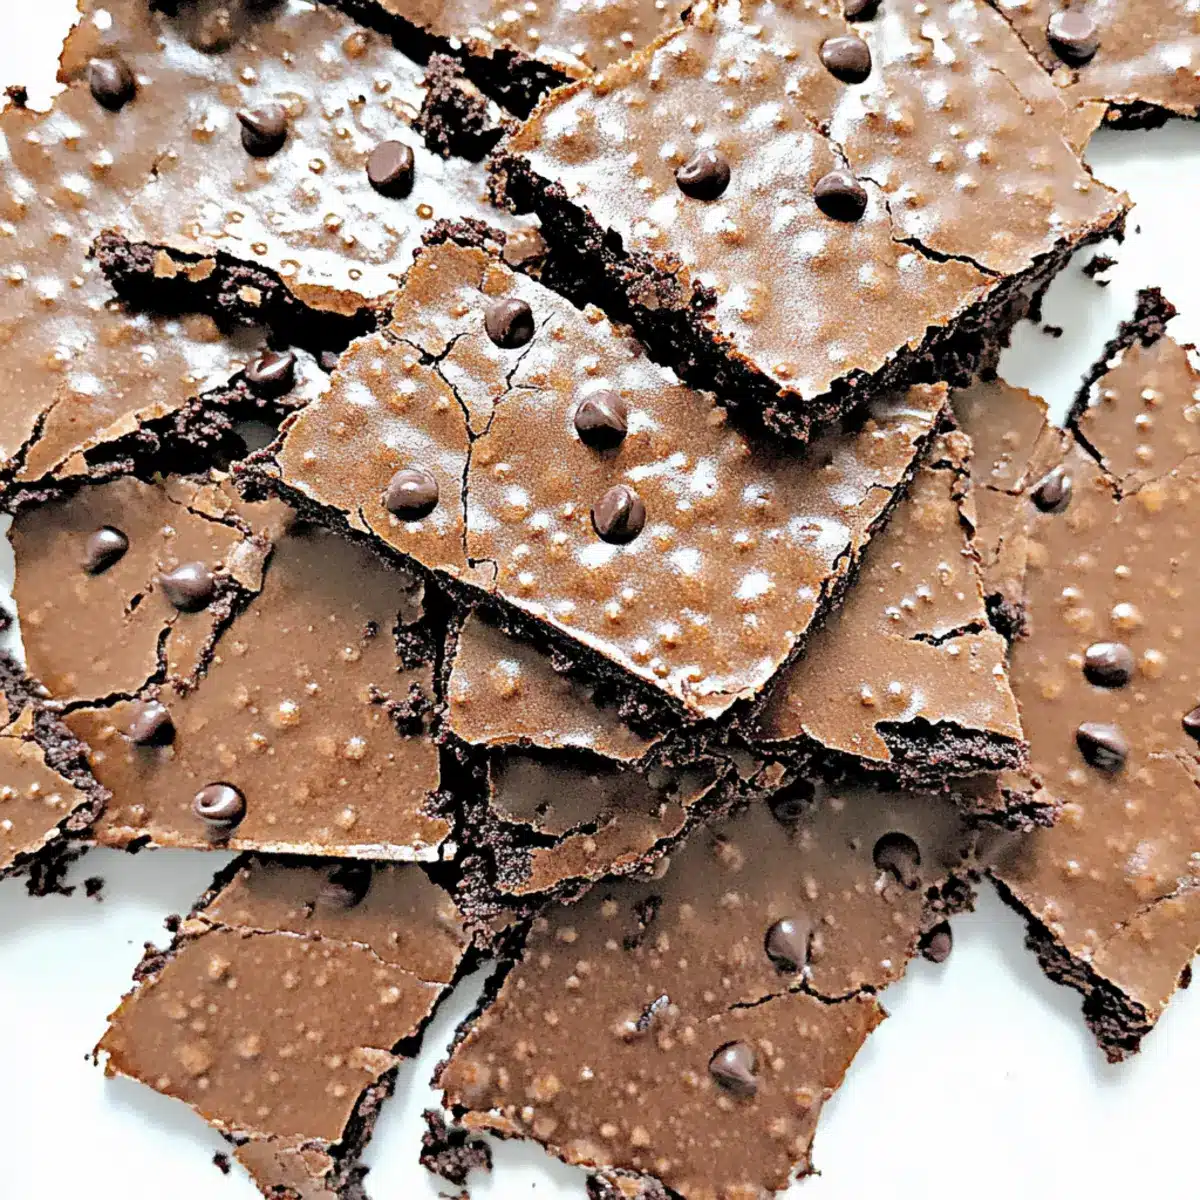
Allow the Brownie Brittle to cool completely on the baking sheet. As it cools, it will harden and become deliciously crunchy. If any pieces remain chewy, you can return them to the oven for an extra few minutes to achieve your desired crispiness.
Storage Tips for Brownie Brittle
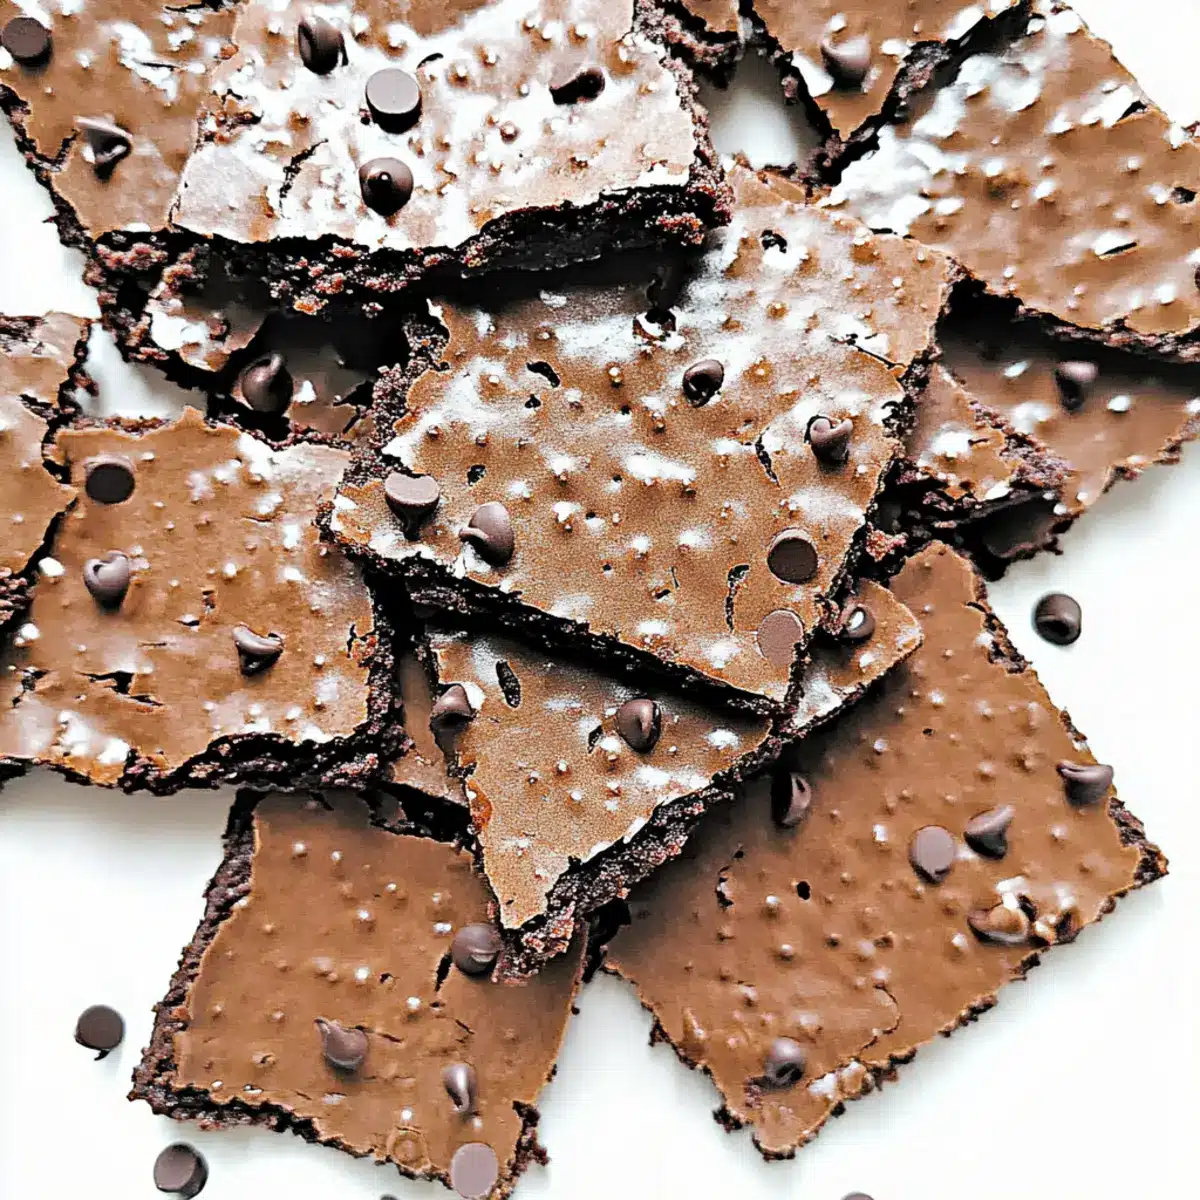
Room Temperature: Store your Brownie Brittle in an airtight container at room temperature for up to 2 weeks to maintain its crispiness.
Fridge: Although refrigeration isn’t necessary, if you live in a humid climate, you can store it in the fridge for extended freshness—but allow it to sit at room temperature before serving.
Freezer: For longer storage, freeze the Brownie Brittle in a freezer-safe bag or container for up to 3 months. Thaw at room temperature before enjoying.
Reheating: If the brittle becomes slightly chewy, you can reheat it in the oven at 325°F for 5-7 minutes to restore its crunchy texture, making it as delightful as when first baked!
Brownie Brittle Recipe Variations
Feel free to explore delightful twists on this Brownie Brittle recipe that will surprise and please your taste buds!
- Malted Milk: Add malted milk powder for a nostalgic flavor reminiscent of your favorite candy bar.
- Nutty Delight: Sprinkle chopped walnuts or pecans on top before baking for an added crunch and nutty flavor.
- Gluten-Free: Substitute all-purpose flour with a 1-to-1 gluten-free flour mix for a suitable option for gluten-intolerant friends.
- Dark Chocolate: Swap in dark chocolate chips instead of mini chocolate chips for a richer, decadent touch.
- Spicy Kick: Add a pinch of cayenne pepper for a surprising touch of heat that complements the chocolate beautifully.
For those lingering sweet cravings, consider pairing your freshly made Salt Caramel Brownies with this brittle for an unforgettable dessert spread.
- Fruity Twist: Incorporate dried cranberries or cherries before baking for a fruity burst in every bite.
- Coconut Flakes: Sprinkle unsweetened coconut flakes on top before baking for an exotic coconut flavor that pairs beautifully with chocolate.
These variations can add new dimensions to your delicious Brownie Brittle, making each baking session a fun and tasty adventure!
What to Serve with Crispy Chocolate Brownie Brittle
Indulging in the sweet crunch of Brownie Brittle creates a delightful dessert experience, so why not enhance it with some perfect pairings?
-
Rich Vanilla Ice Cream: Creamy ice cream melts beautifully against the crunchy brittle, creating a delightful contrast of textures.
-
Fresh Berries: Juicy strawberries or raspberries add a burst of tartness that cuts through the sweetness, brightening every bite.
-
Coffee or Espresso: A steaming cup of coffee or espresso enhances the chocolate flavor while providing a comforting duo on a cozy afternoon.
-
Milk Chocolate Dipping Sauce: Melted chocolate for dipping adds an indulgent touch, perfect for those who crave extra sweetness on their brittle.
-
Chopped Nuts: Sprinkle some toasted nuts, like pecans or almonds, atop the brittle, adding a satisfying crunch and an extra layer of flavor.
-
Hot Chocolate: Pairing with a warm mug of hot chocolate will make your snack feel extra cozy and comforting on cooler days.
Each of these delightful additions complements the irresistible chocolatey crunch, ensuring your dessert experience is nothing short of heavenly!
Expert Tips for Brownie Brittle
-
Spread Thinly: Ensure the batter is as thin as possible on the baking sheet. Thicker spots may remain chewy instead of achieving that coveted crispiness.
-
Cut with Care: Use a pizza wheel for even cuts before the second bake. This creates perfectly-sized pieces without crumbling the brittle.
-
Storage Matters: Keep your Brownie Brittle in an airtight container at room temperature to maintain its crunchy texture for up to two weeks.
-
Customize Flavors: Feel free to add nuts or toffee bits before baking to enhance texture. Consider mixing in different chocolates for a unique twist!
-
Keep an Eye on Baking: Monitor closely during the final bake. Once the brittle is dry and crispy, promptly remove it to prevent overcooking.
-
Explore Variations: For a gluten-free option, substitute all-purpose flour with gluten-free flour. Your Brownie Brittle will be just as delicious!
Make Ahead Options
These Brownie Brittle snacks are a fantastic make-ahead option for busy home cooks looking to save time! You can prepare the batter and spread it onto the baking sheet up to 24 hours in advance. Simply cover it with plastic wrap and refrigerate to maintain freshness and prevent drying out. When you’re ready to bake, just pop it directly into the oven without needing to come to room temperature. If you want to enjoy them later, once baked and cooled, store the Brownie Brittle in an airtight container at room temperature for up to 2 weeks. This way, you’ll have delicious, crunchy chocolate treats ready whenever the craving strikes!
Brownie Brittle Recipe FAQs
What kind of flour should I use in my Brownie Brittle?
You can use all-purpose flour for this recipe, which provides the ideal structure. If you’re looking for a gluten-free option, I recommend substituting it with a gluten-free all-purpose flour blend. Just ensure it contains xanthan gum for the best results!
How long can I store Brownie Brittle, and what’s the best method?
Absolutely! Store your Brownie Brittle in an airtight container at room temperature for up to 2 weeks—this will help maintain that satisfying crunch. If you live in a humid environment, storing it in the fridge can keep it fresher longer. Just allow it to warm up to room temperature before serving for the best texture!
Can I freeze Brownie Brittle for later enjoyment?
Certainly! For longer storage, wrap your Brownie Brittle tightly in plastic wrap and place it in a freezer-safe bag or container. It will keep well for up to 3 months. When you’re ready to enjoy, simply thaw it at room temperature. If it’s lost some crunch, a quick reheat in the oven at 325°F for 5-7 minutes can restore its delightful crispiness.
What if my Brownie Brittle turns out chewy instead of crunchy?
Very! If your Brownie Brittle ends up chewy, it may be due to uneven spreading or baking times. To fix this, spread the batter as thinly as possible, and ensure you monitor closely during the baking phases. If it comes out chewy, you can always return those pieces to the oven for an extra few minutes to dry out and achieve the crunch you desire.
Is Brownie Brittle safe for people with nut allergies?
It’s essential to consider dietary restrictions. This recipe itself is nut-free, but if you plan to add nuts as a variation, they could pose a risk for those with nut allergies. Always double-check the ingredient labels and avoid any extra mix-ins if you’re unsure about allergies!
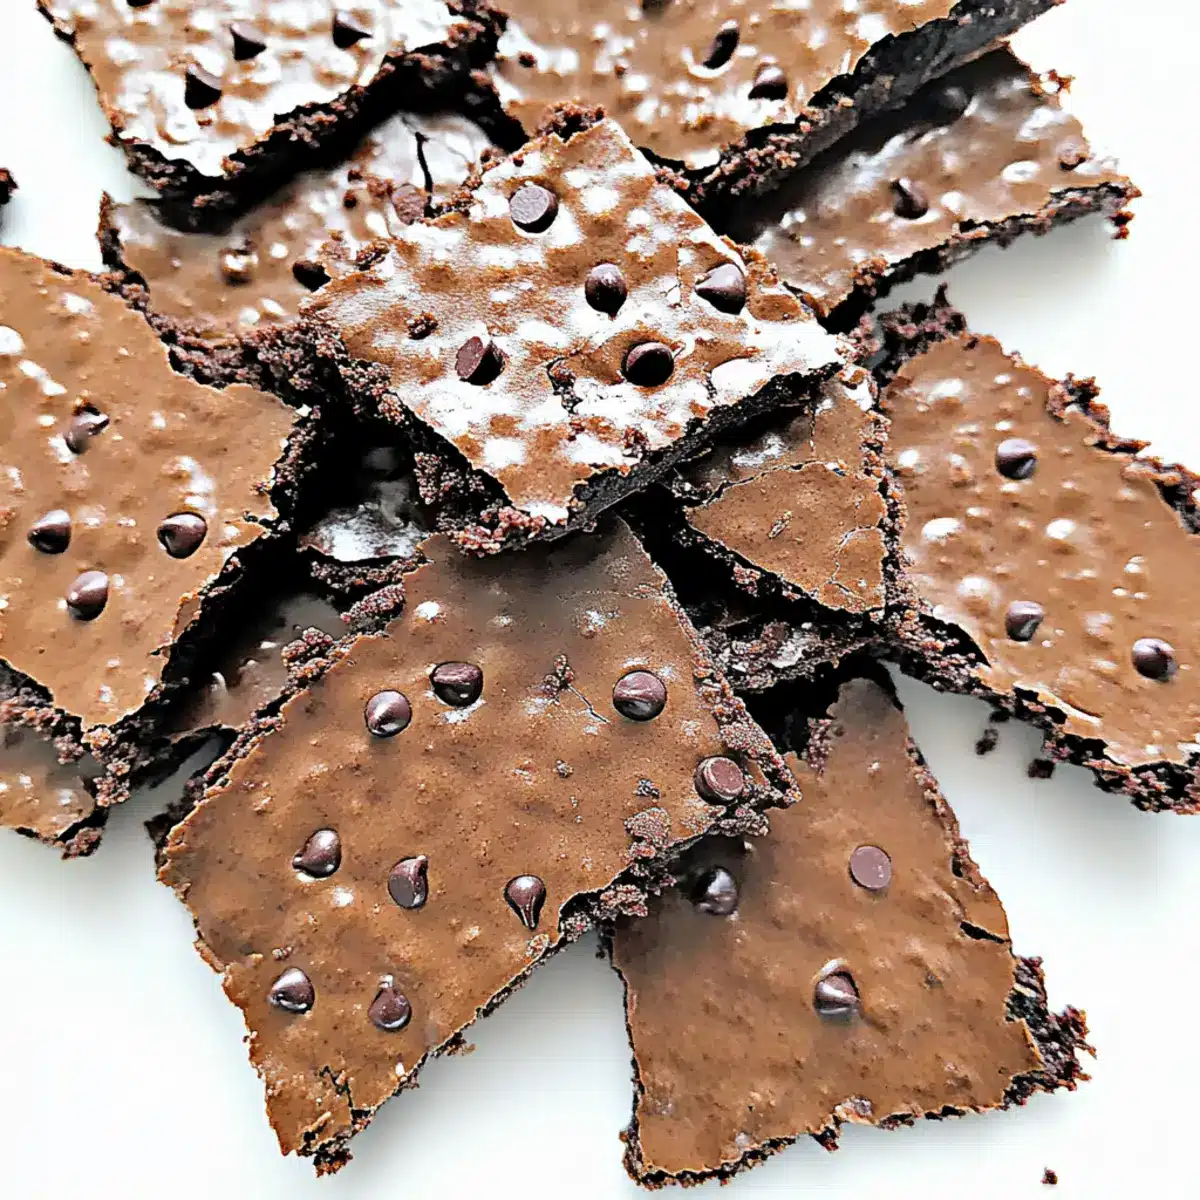
Irresistible Brownie Brittle Recipe for Crunchy Cravings
Ingredients
Equipment
Method
- Preheat your oven to 325°F (163°C) and line a baking sheet with parchment paper.
- In a medium mixing bowl, whisk together the all-purpose flour, salt, and baking soda until well-blended.
- Using an electric mixer, beat the large egg whites until foamy, then gradually add granulated sugar, cocoa powder, espresso powder, vegetable oil, vanilla extract, and powdered milk, mixing until smooth.
- Gently fold the dry mixture into the wet mixture until just combined.
- Pour the brownie batter onto the prepared baking sheet and spread it into an even, thin layer.
- Bake for 20 minutes and then cut into desired shapes without separating pieces.
- Return to the oven and bake for an additional 5 to 8 minutes until dry and crispy.
- Allow to cool completely on the baking sheet.
Leave a Reply