
As I stood in my garden, a basket of vibrant green string beans in hand, a wave of nostalgia washed over me. It reminded me of summer days spent with family, when we’d gather to create delightful Good Old-Fashioned Dilly Beans. This beloved recipe, steeped in tradition, transforms fresh beans into zesty, pickled treats that shine on charcuterie boards or can simply be enjoyed straight from the jar. The magic of Dilly Beans Canning lies in its simplicity—you can preserve a taste of summer for months, all while adding a tangy crunch to your meals. Plus, they’re vegetarian-friendly, making them a perfect fit for any diet. Are you ready to fill your pantry with this delightful sensation? Let’s dive into the recipe together!
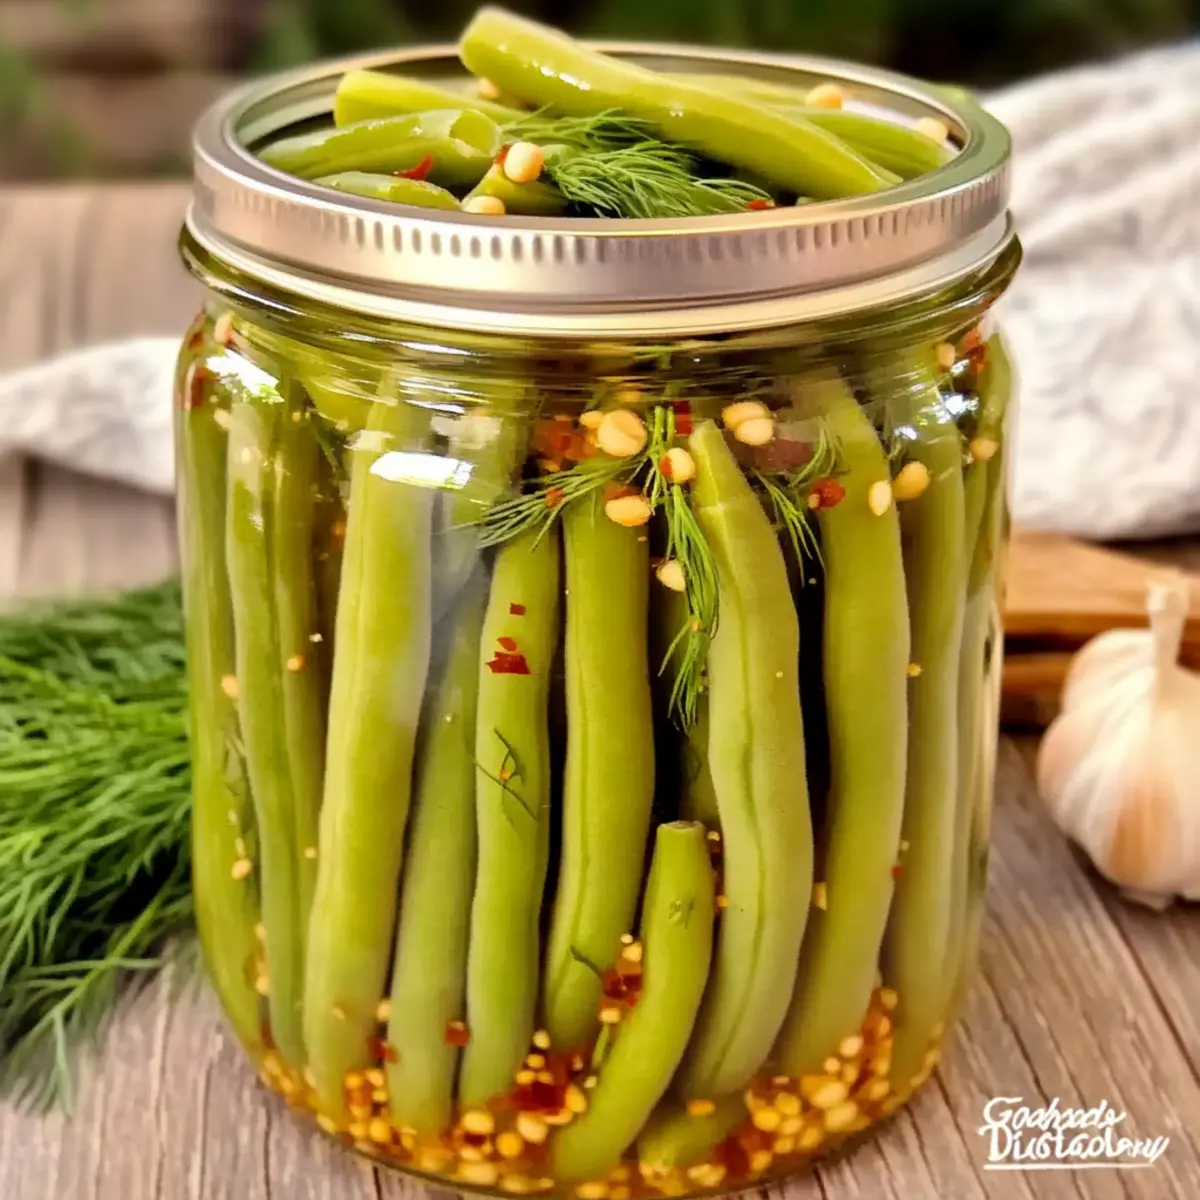
Why Are Dilly Beans So Appealing?
Crisp, Bright Flavor: The vibrant tastes of dill, garlic, and a hint of heat make these pickled beans a culinary delight.
Easy Preservation: This canning method allows you to enjoy your garden’s bounty long after the season ends.
Versatile Snack: Perfect for charcuterie boards, salads, or enjoying straight from the jar. You can even learn more about preserving pantry staples for a well-stocked home.
Health-Conscious Choice: Dilly beans are low in calories and rich in essential minerals like calcium.
Nostalgic Tradition: Sharing this recipe connects generations, filling your kitchen with love and fond memories. Get ready to elevate your meals with these tangy gems!
Dilly Beans Canning Ingredients
• Let’s get started on your tangy journey!
For the Brine
- Canning salt – Ensures a clear brine without additives; substitute with non-iodized salt if necessary.
- White vinegar or apple cider vinegar – Provides the acidity critical for preservation; make sure it has 5% acidity or higher.
- Water – Used to dilute vinegar; an essential ingredient in the brine.
For the Beans
- Fresh string beans – Choose small to medium, freshly harvested beans for the best texture and flavor.
- Garlic (4 cloves, crushed) – Fresh garlic adds depth to the brine’s flavor; feel free to adjust for personal taste.
- Dried dill seeds (8 teaspoons) or fresh dill (4 heads) – This is the key flavoring agent; fresh dill gives a light touch.
- Red pepper flakes (1 teaspoon) – Introduces a mild heat; adjust or omit if you prefer a milder flavor.
With these ingredients at hand, you’re one step closer to mastering the art of Dilly Beans Canning! Enjoy the crunch, zest, and memories that come along with this treasured recipe.
Step‑by‑Step Instructions for Dilly Beans Canning
Step 1: Prepare Jars
Start by thoroughly cleaning your canning jars, lids, and tools in hot, soapy water. Next, place the jars in a water bath canner, submerging them in water. Heat the canner to 180°F and let the jars simmer for 10 minutes. This process keeps your jars hot and sanitized, ensuring a safe canning experience for your Dilly Beans.
Step 2: Prepare Beans
While the jars are sanitizing, rinse fresh string beans under cool water and trim them to approximately 4-inch lengths. Set them aside after trimming, ensuring they’re dry and ready to be packed. Using young, fresh beans will guarantee a crunchy texture in your finished dilly beans, making them a delightful addition to any meal.
Step 3: Make Brine
In a medium pot, combine the canning salt, white vinegar, and water. Heat the mixture over medium heat until it reaches a simmer at 180°F, allowing it to bubble for about 10 minutes. Stir occasionally to dissolve the salt completely. The steaming brine will create a tangy, flavorful base essential for preserving your must-try Dilly Beans.
Step 4: Fill Jars
Once the brine is ready, carefully take the hot jars out of the canner. In each jar, layer a crushed clove of garlic, a teaspoon of red pepper flakes, and a handful of dill. Pack the green beans tightly into the jars, leaving approximately ½ inch of headspace. Then, fill each jar with the hot brine until it covers the beans, ensuring the flavor seeps in perfectly.
Step 5: Process Jars
After filling the jars, wipe the rims with a clean cloth to remove any residue for a proper seal. Secure the lids on tightly and process the jars in a boiling water bath for 10 minutes. Adjust processing time if you’re at a higher altitude. Once done, remove the jars from the canner and let them cool upright for 12-24 hours, checking that the seals are tight.
Step 6: Store Dilly Beans
Once the jars have cooled completely, store them in a cool, dark place for maximum flavor development. Ideally, let your homemade Dilly Beans sit for 2 to 4 weeks before enjoying them. Properly sealed jars can last up to 18 months, bringing that fresh garden taste to your meals long after the season ends.
Make Ahead Options
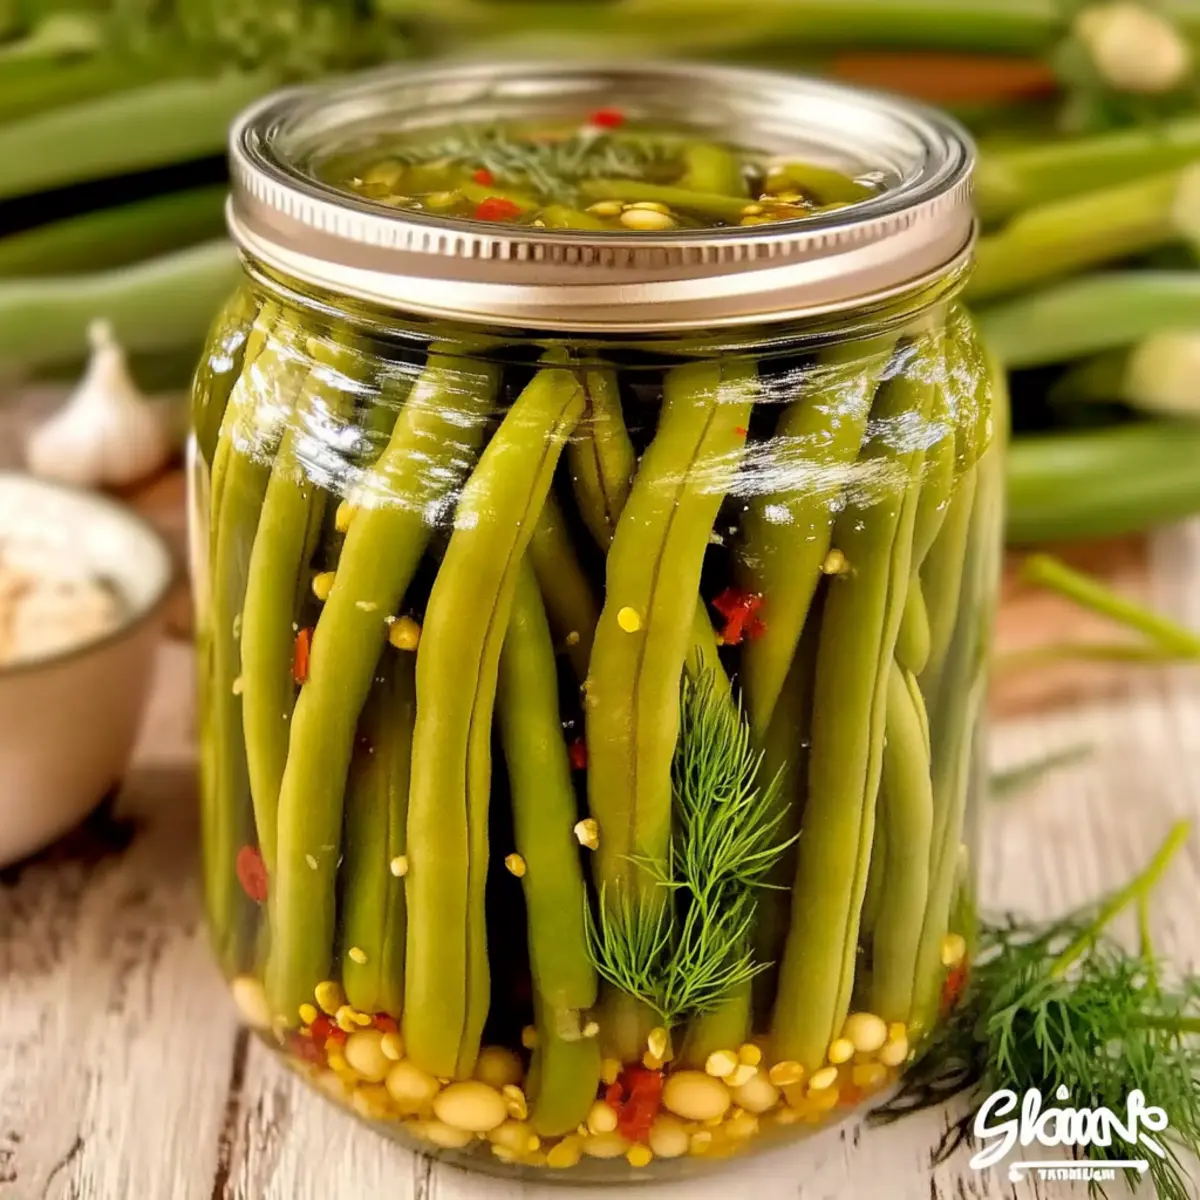
These Good Old-Fashioned Dilly Beans are perfect for meal prep enthusiasts! You can thoroughly clean and prep your jars up to 24 hours in advance, ensuring a smooth canning process later. Additionally, fresh string beans can be trimmed and stored in the refrigerator for up to 3 days before completing the canning steps. To maintain quality, be sure to keep the beans dry and fresh, avoiding excess moisture to prevent spoilage. When you’re ready to finish, simply make the brine, fill the jars with the prepared beans and garlic, and process them as instructed. Enjoy the satisfaction of preserving your summer harvest with minimal effort!
Dilly Beans Canning Variations
Feel free to put your own spin on this classic recipe and make it truly yours!
- Yellow Wax Beans: Substitute with vibrant yellow wax beans for a colorful twist that adds aesthetic appeal.
- Herb Variation: Use fresh parsley or a medley of fresh herbs instead of dill for a unique flavor profile that excites the palate. The addition of thyme can make these beans surprisingly aromatic!
- Spice Level: Adjust the red pepper flakes according to your spice preference, or add sliced jalapeños for extra heat.
- Garlic Lovers: Increase the number of crushed garlic cloves for an even bolder flavor in your pickling brine. Garlic’s robust taste will elevate the dish!
- Citrus Twist: Incorporate lemon zest or a splash of lemon juice in the brine for a refreshing citrus boost that complements the tanginess beautifully.
- Sweet & Spicy: Add a tablespoon of sugar to the brine for a sweet contrast to the tang and heat, creating a balance that keeps you coming back for more.
- Pickling Spice: Toss in your favorite pickling spice blend along with the garlic and dill for added complexity in flavor. This gives a gourmet touch to your dilly beans!
- Smoke Flavor: For a smoky profile, consider adding a hint of smoked paprika or chipotle pepper to the brine, lending an unexpected yet delightful taste.
Let your creativity run wild as you explore new flavors. If you’re intrigued by ways to preserve pantry staples, check out our guide on canning techniques for more insights!
What to Serve with Good Old-Fashioned Dilly Beans?
Dilly beans shine as a versatile side, providing a zesty crunch that elevates any meal. Here’s how to complement their tangy goodness!
-
Creamy Potato Salad: This light and creamy dish balances the crispiness of dilly beans, creating a delightful contrast in texture.
-
Grilled Sausages: Juicy sausages paired with dilly beans add a rustic charm to your BBQ. The beans cut through the richness, refreshing each bite.
-
Charcuterie Board: Include dilly beans alongside cheeses, cured meats, and crackers for a visually stunning and delicious appetizer that invites sharing.
-
Quinoa Salad: The nutritious grains and fresh vegetables in a quinoa salad provide a wholesome contrast, enhancing the tangy flavor of the beans.
-
Spinach and Feta Wraps: These wraps create a delightful blend of savory and tangy flavors. Dilly beans add that perfect zing, making each bite a flavor explosion.
-
Bruschetta: Serve your pickled beans atop toasted bread with tomatoes and basil. The beans add a unique kick to this classic appetizer, making them extra special.
-
Cold Beer or Cider: A refreshing drink like a pale ale or hard cider complements the tartness of the beans, making for a perfect pairing.
Each of these ideas highlights the vibrant flavors of your dilly beans, ensuring a meal that’s as delightful to the palate as it is to the eyes.
Expert Tips for Dilly Beans Canning
Fresh Beans Matter: Always use the freshest, young string beans to ensure your finished dilly beans maintain their delightful crunch and bright flavor.
Brine Ratios: Stick to the exact vinegar and water measurements; variations can alter acidity and affect preservation safety.
Sealing Check: After processing, make sure to check that all jars are sealed properly. If any lids pop back, refrigerate them and use within two months.
Flavor Wait: Patience is key! Allow your dilly beans to sit for 2 to 4 weeks for optimal flavor development before you dig in.
Experiment with Spice: Feel free to adjust the amount of red pepper flakes in your dilly beans canning for a spicier bite or leave them out for a milder version.
How to Store and Freeze Dilly Beans
Room Temperature: Store unopened jars in a cool, dark pantry for up to 18 months; ideal for preserving the vibrant flavors of your dilly beans.
Fridge: Once opened, keep the jar refrigerated and consume within two months for the best taste and freshness; always ensure the lid is tightly sealed.
Freezer: For longer preservation, transfer the dilly beans into freezer-safe containers or bags before freezing; use within six months for optimal quality.
Reheating: Enjoy these tangy bites cold or gently reheated in a skillet; avoid boiling to keep their delightful crunch intact.
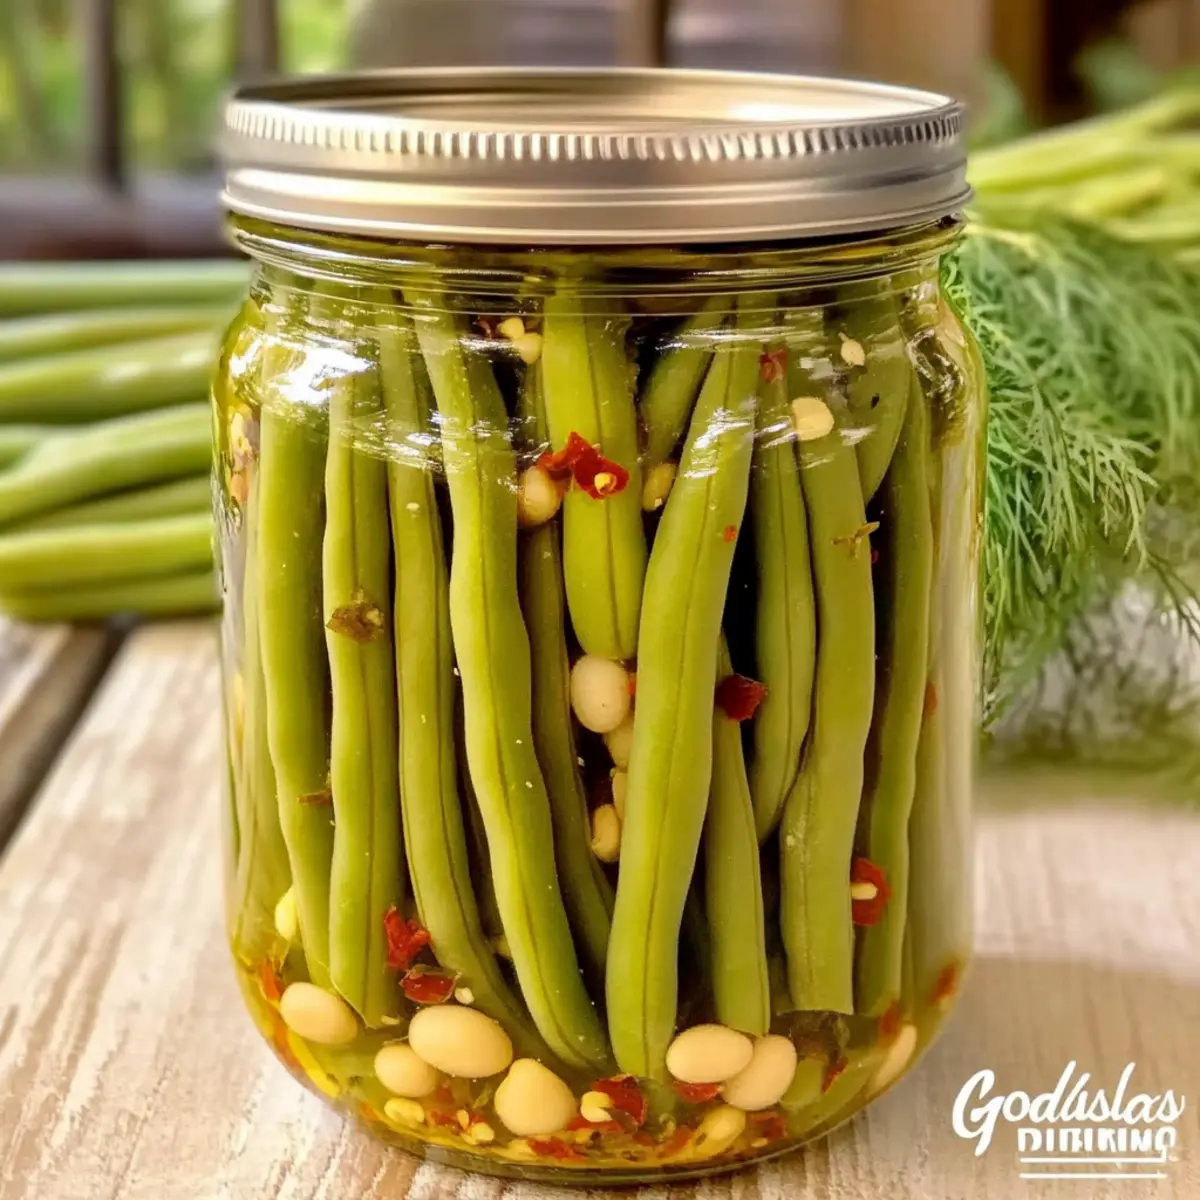
Good Old-Fashioned Dilly Beans Recipe FAQs
What type of beans should I use for the best Dilly Beans?
Absolutely! For the best results, choose small to medium-sized fresh string beans, as they provide the ideal texture and flavor for pickling. Look for beans that are bright green and firm—avoid any with dark spots or wrinkles, which can indicate overripeness.
How long can I store my canned Dilly Beans?
Your unopened jars of Dilly Beans can be stored in a cool, dark pantry for up to 18 months, allowing you to preserve that lovely summer taste. Once opened, keep the jar refrigerated and consume within 2 months for the freshest flavor.
Can I freeze Dilly Beans?
Very! If you prefer to freeze your Dilly Beans, transfer them to freezer-safe containers or bags. Make sure to leave some space at the top for expansion, and use them within 6 months for optimal quality. Note that freezing might change their texture slightly, so they’re best enjoyed fresh from canning.
What should I do if my jars do not seal properly?
If you find that any of your jars did not seal properly, there’s no need to worry! Simply refrigerate those jars and consume the pickled beans within 2 months. Make sure the rims are clean before sealing them again, and consider using a new lid if necessary.
Are Dilly Beans safe for people with allergies?
While Dilly Beans are vegetarian-friendly, it’s important to check for allergies to specific ingredients. The recipe uses garlic and canning salt; ensure that none of your guests have sensitivities to these components. Always double-check your vinegar, as some brands may produce differing allergenic reactions.
How can I enhance the flavor of my Dilly Beans?
For a personalized touch, feel free to modify the seasoning in the brine! Besides the included garlic and red pepper flakes, you might try adding other spices like mustard seeds or fresh herbs such as thyme or rosemary. Experimenting with different flavors can give your Dilly Beans a unique twist that you’ll love!
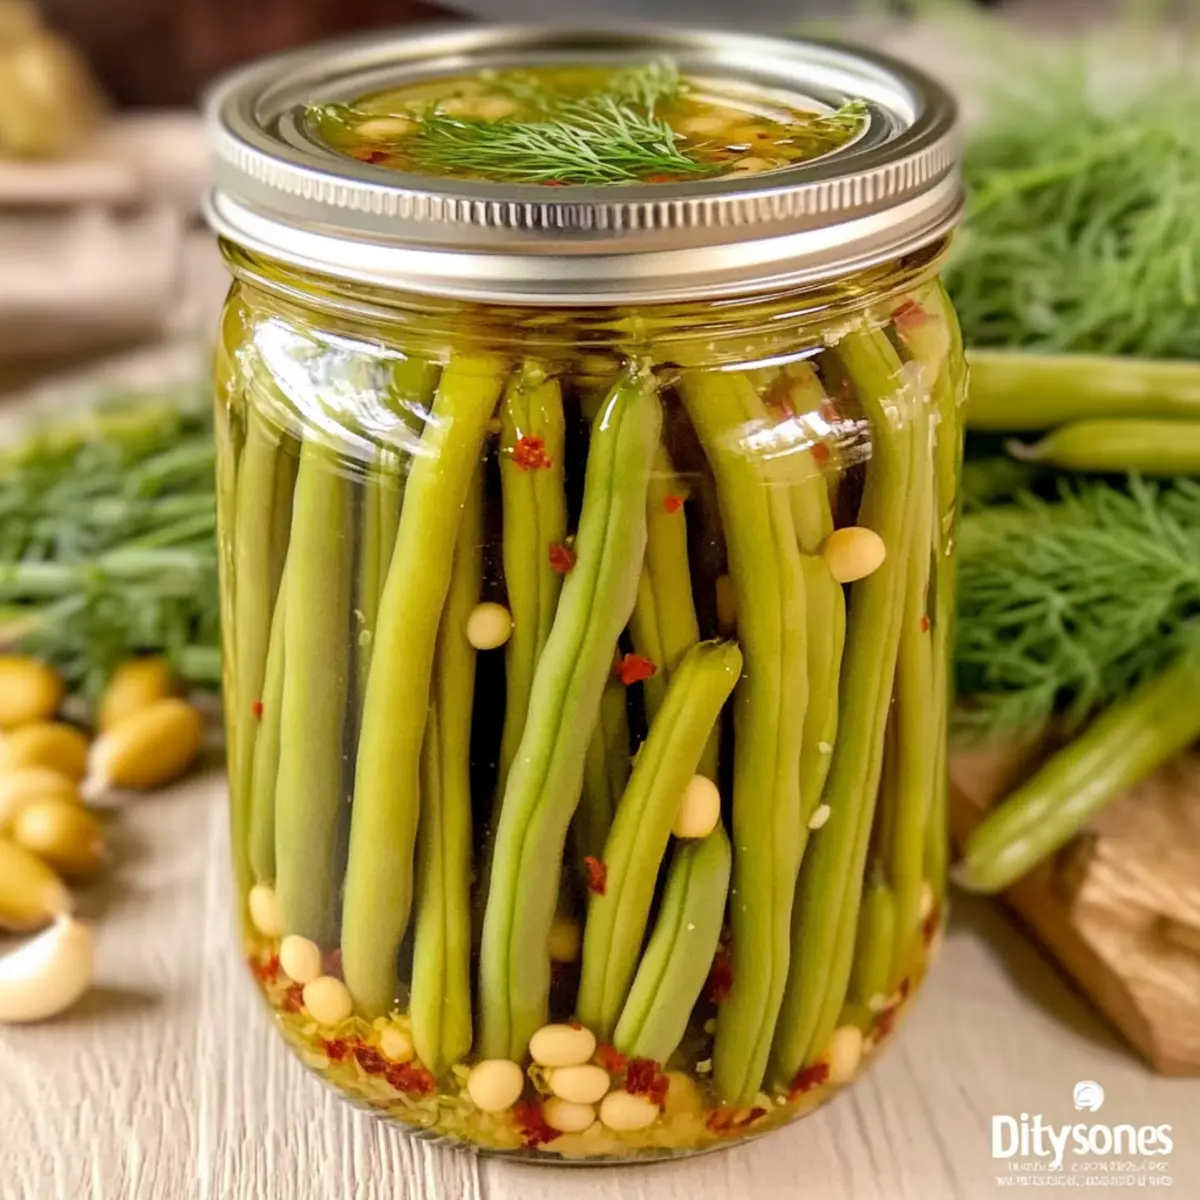
Crisp Dilly Beans Canning: A Tangy Twist You’ll Love
Ingredients
Equipment
Method
- Prepare Jars: Clean canning jars, lids, and tools in hot, soapy water. Submerge jars in a water bath canner and heat to 180°F for 10 minutes.
- Prepare Beans: Rinse fresh string beans under cool water, trim to 4-inch lengths, and set aside dry.
- Make Brine: In a medium pot, combine canning salt, white vinegar, and water. Heat to a simmer at 180°F, bubbling for about 10 minutes.
- Fill Jars: Layer garlic, red pepper flakes, and dill in each jar, tightly pack in the beans, and cover with hot brine.
- Process Jars: Wipe rims and secure lids tightly. Process jars in boiling water bath for 10 minutes. Cool jars upright for 12-24 hours.
- Store Dilly Beans: Once cooled, store in a cool, dark place. Ideally, let sit for 2 to 4 weeks before enjoying.
Leave a Reply