
The scent of crisp autumn air fills the kitchen as I chop tart apples, excitedly preparing my favorite treat: Homemade Apple Jam. With just three simple ingredients—apples, sugar, and lemon juice—this recipe is both a breeze to make and a delightful crowd-pleaser. The chunky texture and natural sweetness of this jam bring the essence of fall right to your breakfast table. Perfect for slathering on warm toast or filling pastries, homemade apple jam transforms everyday dishes into something special. Plus, it’s a fantastic way to savor the harvest without any artificial preservatives. Are you ready to dive in and create your own batch of this deliciously versatile jam?
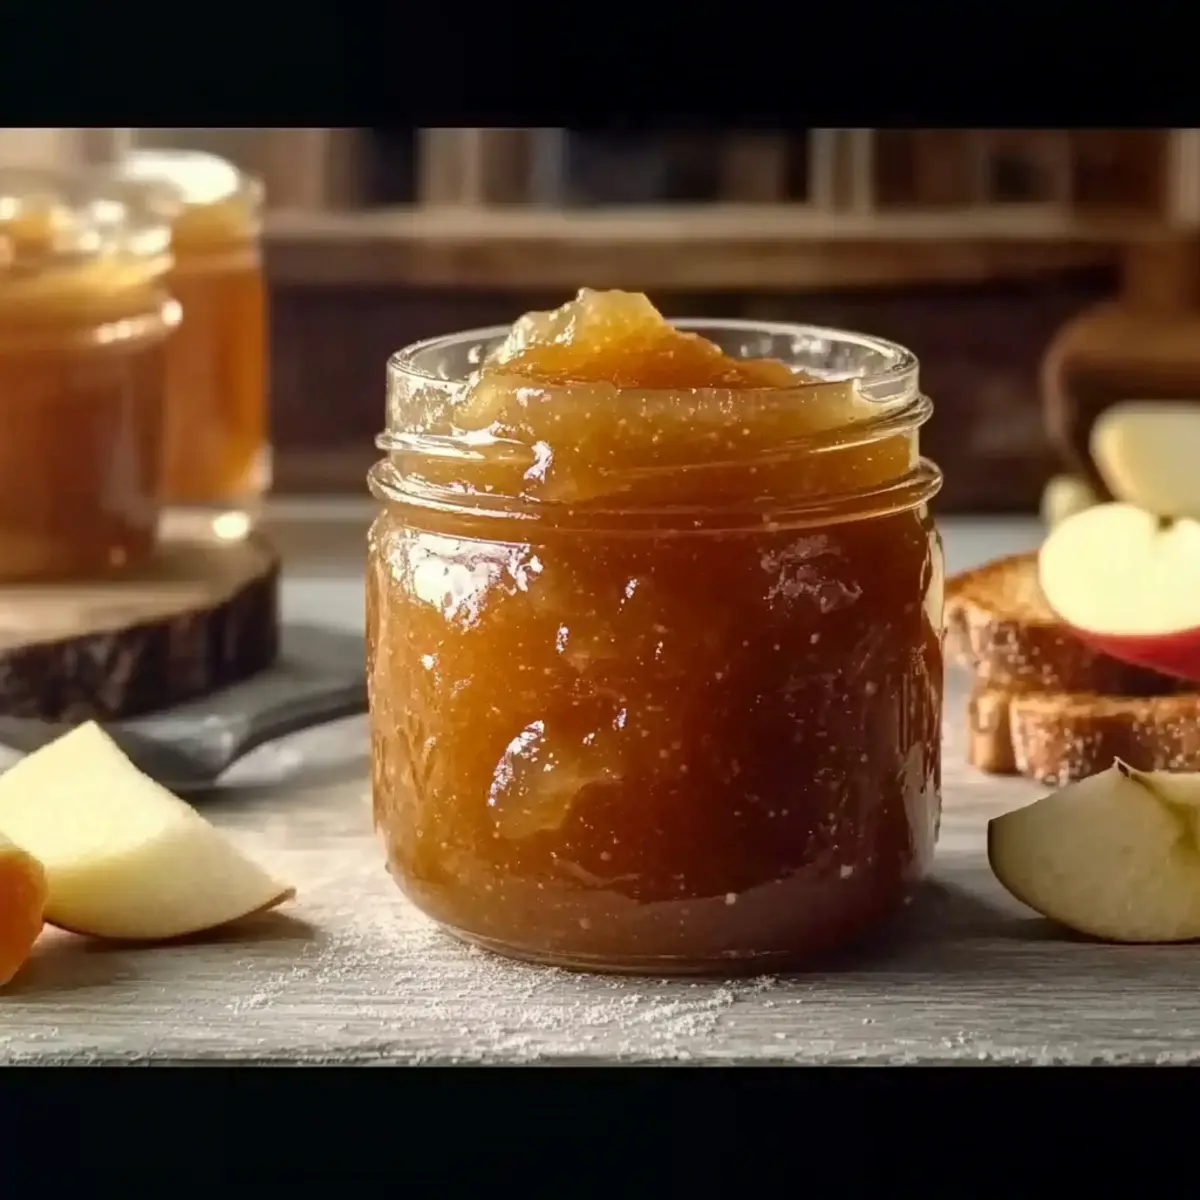
Why is homemade apple jam so special?
Simplicity: With just three ingredients—apples, sugar, and lemon juice—you can whip up this delightful jam in no time.
Versatility: This apple jam pairs perfectly with various foods. Spread it on toast, fill pastries, or even glaze meats for a tasty twist.
Natural sweetness: Using ripe, fresh apples ensures that your jam is bursting with natural flavors, avoiding artificial preservatives found in store-bought versions.
Chunky goodness: Enjoy the delightful texture of soft apple pieces that make every bite satisfying.
Seasonal delight: Capture the essence of autumn and make memories with loved ones as you savor the flavors of freshly made jam—just like a warm hug in a jar! For more apple-inspired recipes, check out these Apple Snickerdoodles Soft or Apple Cider Cupcakes.
Apple Jam Ingredients
• Just three simple ingredients needed!
For the Jam
- Chopped Apples – 4 lbs (about 16 cups when peeled and diced); using tart apples like Granny Smith gives the best flavor and texture.
- Granulated Sugar – 4 cups; this sweetener enhances the jam’s natural taste and helps with preservation. Consider honey as a substitute, but it might change the texture.
- Lemon Juice – 1/2 cup; fresh lemon juice adds acidity and pectin, ensuring your apple jam gels beautifully. For optimal flavor, always use fresh juice.
Step‑by‑Step Instructions for Easy 3-Ingredient Homemade Apple Jam
Step 1: Prepare and Macerate Apples
Begin by peeling, coring, and chopping 4 pounds of tart apples into small pieces. In a large bowl, combine the chopped apples with 4 cups of granulated sugar and 1/2 cup of fresh lemon juice. Mix gently to ensure all pieces are coated in sugar, then cover the bowl and refrigerate for at least 4 hours or overnight. This maceration process will draw out the juices and enhance the flavor of your apple jam.
Step 2: Get Ready for Cooking
While the apple mixture macerates, place a small plate in the freezer. This will be used later to test the gel consistency of your apple jam. Once the waiting period is over, strain the macerated fruits over a bowl to separate the liquid from the apple pieces. Reserve the liquid, as it will be the base for cooking the jam.
Step 3: Begin Cooking the Jam
In a large saucepan, pour the reserved liquid from the strained apples and bring it to a boil over medium-high heat. Once boiling, add the strained apple pieces back into the saucepan, stirring thoroughly to combine. Continue to cook the mixture, maintaining a steady boil, and stir occasionally to ensure even cooking and prevent sticking.
Step 4: Thicken the Jam
Allow the apple jam to cook for 20-30 minutes, monitoring closely for the mixture to thicken. You’ll know it’s ready when it coats the back of a spoon and resembles a thick, chunky sauce. Stir your apple jam frequently, adjusting the heat as needed to maintain a steady boil without burning.
Step 5: Check Gel Consistency
After cooking, retrieve the cold plate from the freezer for gel testing. Place a spoonful of the hot apple jam onto the plate and push it with your finger. If the jam wrinkles and holds its shape, it’s ready for canning. If it remains runny, continue cooking for another 5 minutes, then test again until the desired consistency is reached.
Step 6: Prepare for Jarring
Once your homemade apple jam has reached that perfect, thick texture, carefully fill sterilized jars with the hot jam. Leave about 1/4 inch of headspace at the top of each jar to allow for expansion. Wipe the rims of the jars with a clean cloth to remove any residue, ensuring a proper seal when you apply the lids.
Step 7: Process the Jars
Place the filled jars into a water bath canner, ensuring they’re covered by at least an inch of water. Bring the water to a gentle boil and process the jars for 10 minutes. After processing, allow them to sit in the hot water for an additional 5 minutes before removing them with jar lifters to cool on a clean towel or rack.
Step 8: Cool and Check Seals
After the jars have cooled completely, check each seal by pressing down in the center of the lid. If it doesn’t pop back, your jar has sealed properly, ensuring the longevity of your apple jam. Store the sealed jars in a cool, dark place, and once opened, keep them in the refrigerator for freshness. Enjoy your delightful homemade apple jam!
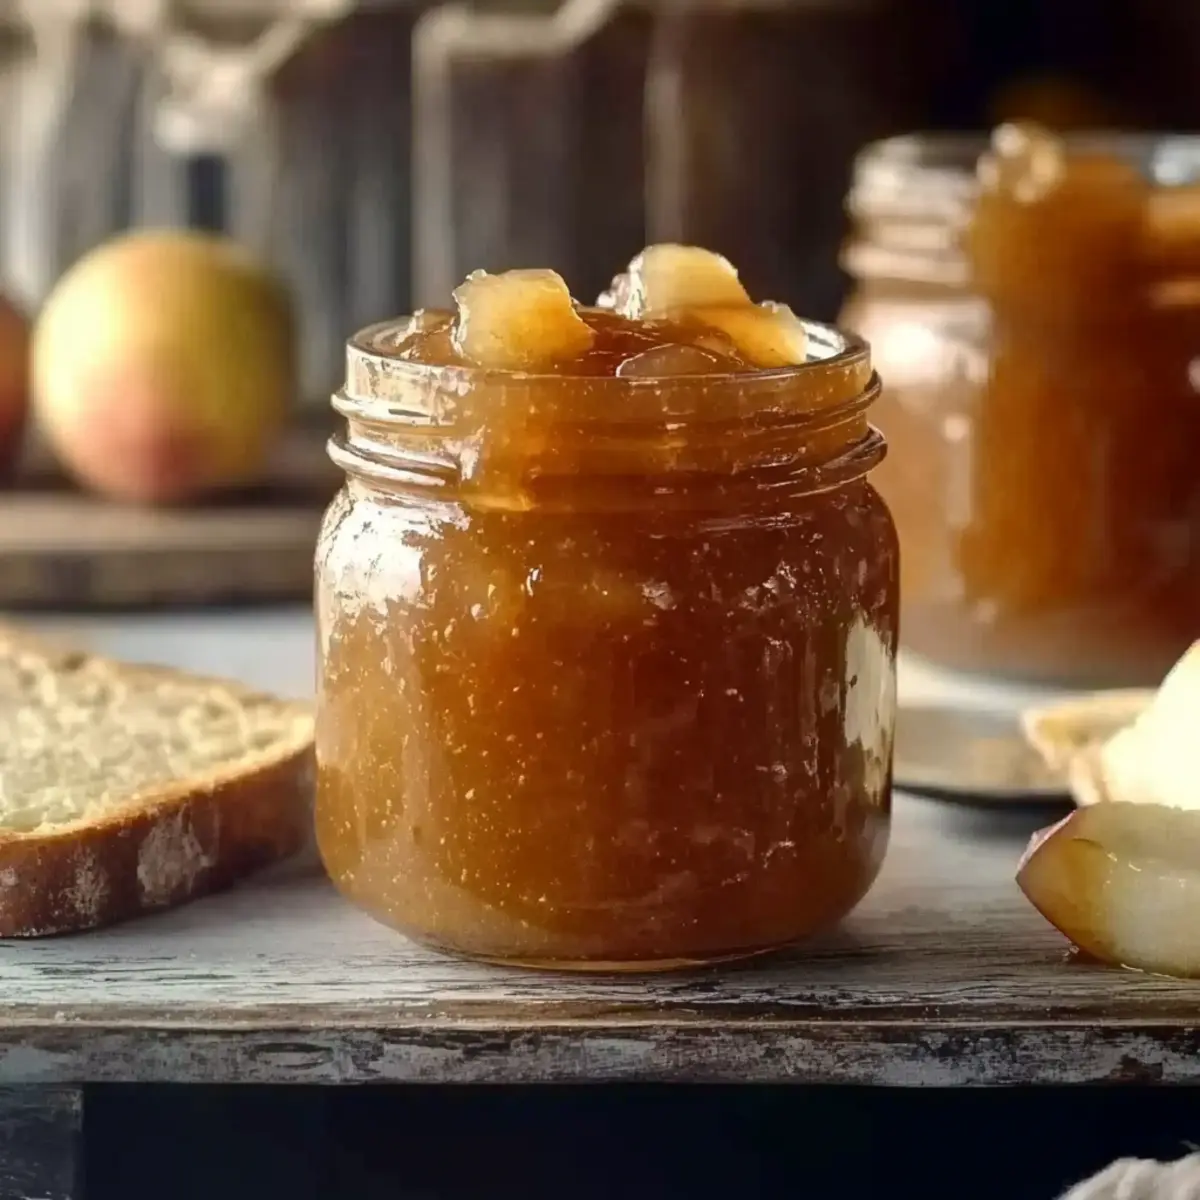
Expert Tips for Homemade Apple Jam
• Choose the Right Apples: Opt for tart apples like Granny Smith, as they provide the best flavor and balance for apple jam.
• Macerate Well: Ensure you refrigerate the apple mixture long enough to draw out juices, enhancing the jam’s richness and depth of flavor.
• Check Consistency: Use the cold plate method for gel testing—if it wrinkles when pushed, your apple jam is ready. Keep testing to avoid overcooking.
• Sterilize Jars: Properly sterilize your jars before filling to prevent bacteria and ensure the longevity of your homemade apple jam.
• Avoid Bottled Lemon Juice: Fresh lemon juice is crucial for achieving the best flavor and pectin content; bottled varieties can yield subpar results.
How to Store and Freeze Apple Jam
Room Temperature: Keep unopened jars in a cool, dark place for up to one year. This preserves the flavor and prevents spoilage.
Fridge: Once opened, store your apple jam in the refrigerator, where it will stay fresh for up to 3 weeks. Make sure to seal it tightly after each use.
Freezer: For longer storage, freeze apple jam in airtight containers or freezer-safe bags for up to 1 year. Thaw in the fridge overnight before using.
Reheating: To enjoy cold apple jam, simply remove the desired amount from the fridge or freezer and spread it on toast or pastries. There’s no need to heat!
Make Ahead Options
These Easy 3-Ingredient Homemade Apple Jam preparations are perfect for meal prep enthusiasts and busy home cooks! You can macerate the chopped apples with sugar and lemon juice up to 24 hours in advance, allowing the flavors to meld beautifully. Simply mix the ingredients in a bowl, cover, and refrigerate. When you’re ready to finish the recipe, strain the mixture, reserve the liquid, and cook it with the apple pieces as instructed. This method not only saves time but also maintains the delicious freshness of your apple jam, ensuring it tastes just as delightful as when made fresh. Enjoy the sweet rewards of your smart prep!
Apple Jam Variations & Substitutions
Feel free to get creative with this apple jam recipe and tailor it to your taste buds!
- Spice It Up: Add 1 teaspoon of cinnamon or nutmeg for a warm, autumn flavor. This extra layer will remind you of cozy evenings by the fire.
- Fruit Fusion: Blend in other fruits, like pears or cranberries, for a delightful mix. The sweetness of pears can beautifully complement the tartness of apples.
- Sweetness Swap: Substitute granulated sugar with honey or maple syrup for unique sweetness. Just remember, this might change the texture slightly.
- Zesty Twist: Add a splash of orange juice or zest to brighten the flavor profile. The citrus notes will elevate your jam to a refreshing new level!
- Vanilla Hints: Mix in a teaspoon of vanilla extract for a richer flavor. This tiny addition will make your jam feel decadent and special.
- Chili Heat: Introduce a dash of red pepper flakes for a spicy kick. It’s a surprising yet delightful addition to calamari or cheese boards.
- Nutty Goodness: Fold in finely chopped nuts like walnuts or pecans before jarring. They’ll add a delightful crunch and a flair to your jam.
- Caramel Infusion: Swirl in a tablespoon of caramel sauce after cooking for an indulgent twist. It’ll create a divine blend of flavors reminiscent of caramel apples!
Explore these variations, and don’t shy away from adjusting the jam to suit your family’s preferences! Make it a fun activity by inviting loved ones to join in the kitchen. And for more apple-inspired treats, try these Apple Cinnamon Blondies with Maple Cream Cheese Frosting or perhaps indulge in a warm Apple Chai Latte.
What to Serve with Easy 3-Ingredient Homemade Apple Jam
The perfect meal deserves delightful companions, and this jam shines as a versatile addition to elevate your dining experience.
- Warm Toast: Slather your apple jam on warm, buttered toast for a classic breakfast delight that awakens your taste buds.
- Fluffy Pancakes: Top pancakes with a generous scoop of this jam instead of syrup for a sweet and fruity twist.
- Creamy Yogurt: Swirl it into creamy yogurt for a satisfying snack that balances richness and freshness beautifully.
- Savory Cheese Board: Pair with sharp cheeses like cheddar or brie to create a perfect contrast of sweet and savory flavors.
Imagine serving apple jam alongside a cheese platter at gatherings—guests will love how the flavors intermingle.
- Holiday Roasted Meats: Brush this jam on roasted pork or chicken as a glaze, adding a sweet layer that complements savory dishes well.
Whether you’re enjoying a casual meal or hosting a gathering, the versatility of homemade apple jam offers something special for every palate.
- Homemade Pastries: Use it as a filling for pastries or tarts, transforming ordinary treats into extraordinary indulgences.
- Autumn Spiced Tea: Pour a warm cup of spiced tea and stir in a spoonful of jam for a cozy, comforting drink as the leaves turn.
- Vanilla Ice Cream: Drizzle over vanilla ice cream for a delightful dessert combo that will leave you craving more.
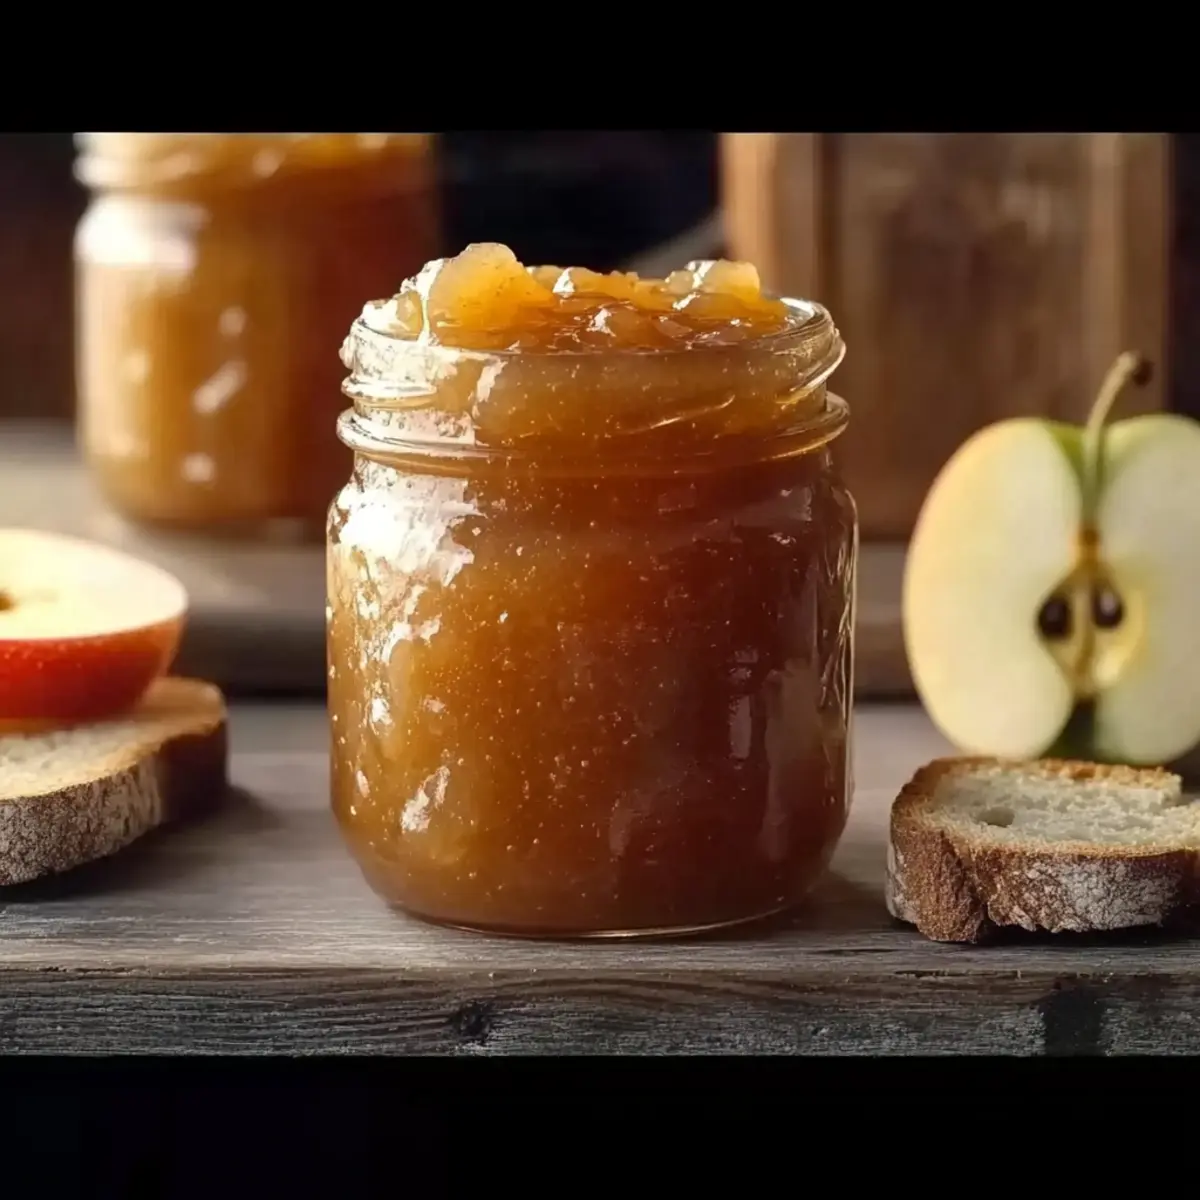
Homemade Apple Jam Recipe FAQs
How do I choose the best apples for my jam?
Absolutely! For the best flavor and texture, opt for firm and tart apples like Granny Smith or Honeycrisp. These varieties will ensure your homemade apple jam has that perfect balance of sweetness and tartness. Avoid overly ripe apples as they may lead to a mushy consistency.
What’s the best way to store homemade apple jam?
I recommend keeping unopened jars in a cool, dark place like a pantry, where they can last up to one year. Once opened, refrigerate and use the jam within 3 weeks. Be sure to seal the jars tightly after each use to maintain freshness.
Can I freeze my apple jam for later use?
Absolutely! For long-term storage, transfer your jam into airtight containers or freezer-safe bags, leaving some space for expansion. Your apple jam can be safely frozen for up to one year. When you’re ready to use it, simply thaw in the refrigerator overnight—no need for reheating!
What if my apple jam didn’t thicken properly?
Very common! If your jam is still runny after the cooking time, don’t fret. Just continue to simmer it on medium heat, stirring frequently. To test for thickness, use the cold plate method—place a spoonful on the plate; if it forms a wrinkled surface when pushed, it’s ready. Check every 5 minutes until you reach the desired consistency.
Is there a way to adjust the sweetness of the jam?
Yes, you can easily customize the sweetness! If you prefer a less sweet jam, consider reducing the sugar by a cup or two to suit your taste. Alternatively, you can use natural sweeteners like honey or maple syrup, but keep in mind they might change the jam’s texture slightly.
Can I share my homemade apple jam with my pets?
When it comes to pets, moderation is key! Although apples are generally safe for dogs, the sugar content in the jam may not be ideal for them. It’s best to avoid giving them homemade jams. If you want to treat them, consider offering them fresh apple slices without the added sugar or lemon juice.
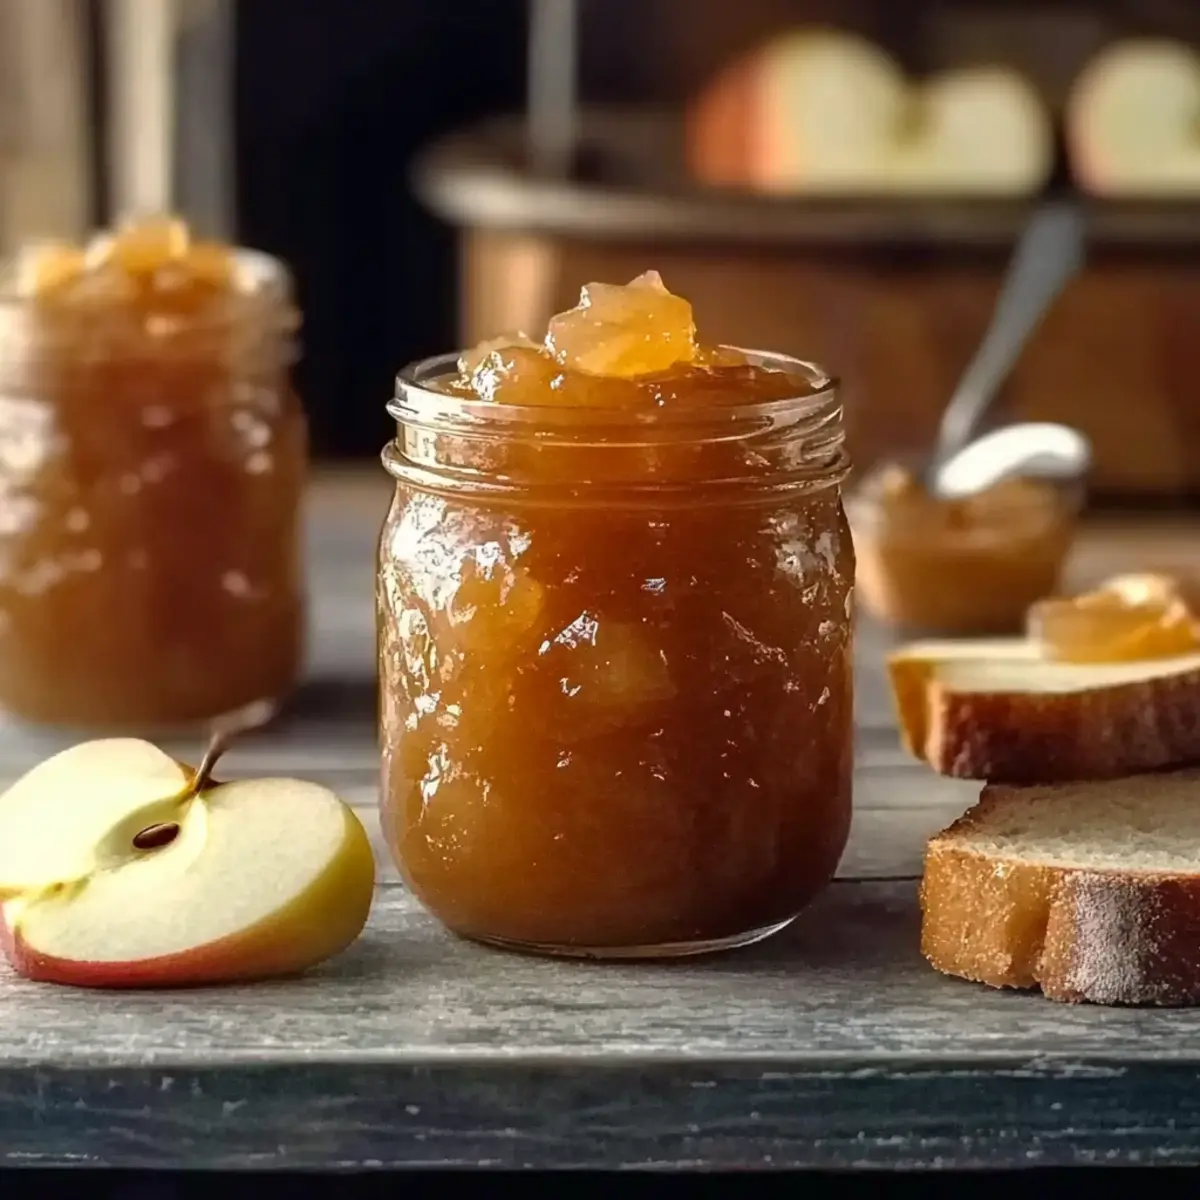
Homemade Apple Jam: Sweet Fall Flavor in Just 3 Ingredients
Ingredients
Equipment
Method
- Begin by peeling, coring, and chopping 4 pounds of tart apples into small pieces. In a large bowl, combine the chopped apples with 4 cups of granulated sugar and 1/2 cup of fresh lemon juice. Mix gently to ensure all pieces are coated in sugar, then cover the bowl and refrigerate for at least 4 hours or overnight.
- While the apple mixture macerates, place a small plate in the freezer. Strain the macerated fruits over a bowl to separate the liquid from the apple pieces. Reserve the liquid for cooking the jam.
- In a large saucepan, pour the reserved liquid from the strained apples and bring it to a boil over medium-high heat. Add the strained apple pieces back into the saucepan and stir to combine.
- Allow the apple jam to cook for 20-30 minutes, monitoring closely for the mixture to thicken. Stir frequently.
- Retrieve the cold plate from the freezer for gel testing. Place a spoonful of the hot apple jam onto the plate and push it with your finger. If it wrinkles and holds its shape, it’s ready for canning.
- Carefully fill sterilized jars with the hot jam, leaving about 1/4 inch of headspace. Wipe the rims of the jars with a clean cloth.
- Process the filled jars in a water bath canner for 10 minutes. Allow them to sit in the hot water for an additional 5 minutes before removing.
- After cooling, check each seal by pressing down in the center of the lid. Store the sealed jars in a cool, dark place.
Leave a Reply