
As I pulled fresh cucumbers from the garden on a sunny afternoon, a sudden realization hit me: I was on the brink of creating something magical. This Crunchy Dill Pickle recipe is more than just a way to preserve harvest favorites; it’s a delightful journey that brings that summer garden feel into your pantry. Quick and easy, it transforms small pickling cucumbers into zesty snacks that are perfect alongside burgers or enjoyed straight from the jar. Plus, you can feel good about making them homemade, ensuring no fuss—and all flavor—in under an hour. Ready to join in on this delicious canning adventure? Let’s dive in!
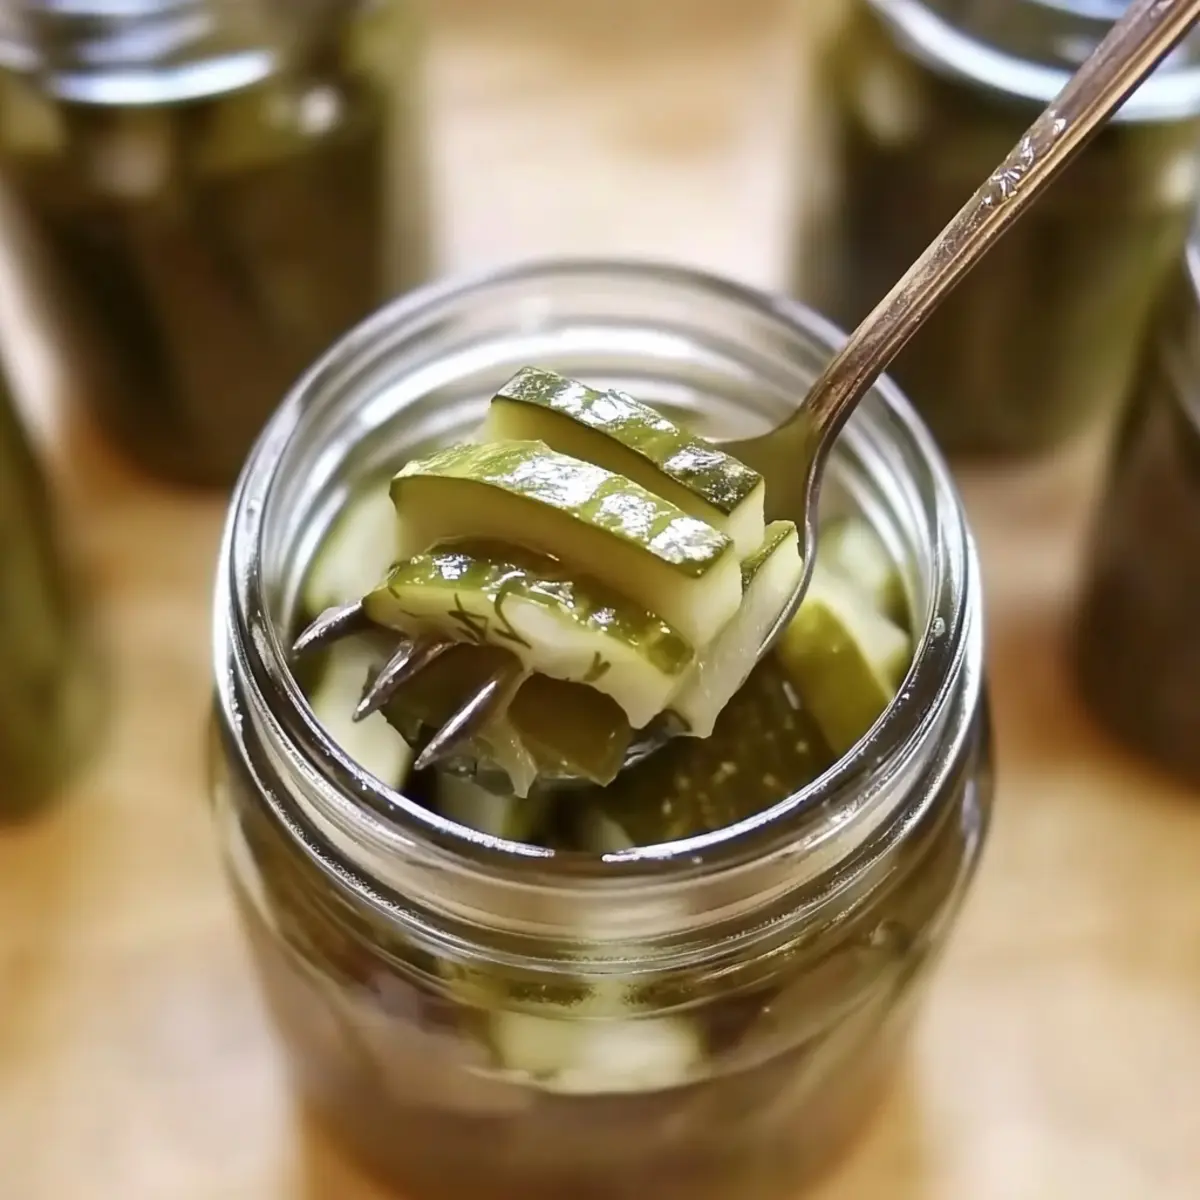
Why Make Crunchy Dill Pickles?
Delightful Crunch: Each bite of these homemade dill pickles offers a satisfying crunch thanks to the small pickling cucumbers that are the stars of the show.
Quick and Easy: You can whip up this quick canning recipe in under an hour, making it perfect for busy days or those spontaneous summer evenings.
Endless Flavor: The blend of garlic, spices, and fresh dill creates a zesty, savory explosion that outshines store-bought pickles every time.
Versatile Snack: Slice them to elevate sandwiches, serve them alongside burgers, or add a pop of flavor to charcuterie boards; these pickles fit seamlessly into any meal.
Canning Joy: Experience the satisfaction of preserving seasonal bounty right in your own kitchen, bridging tradition with simplicity. Plus, if you’d like to pair them with your meals, consider serving them alongside Roasted Carrots Dill for a refreshing twist!
Crunchy Dill Pickle Ingredients
For the Brine
• White Vinegar – A must-have for this Crunchy Dill Pickle recipe, providing the tangy taste and acidity needed for preservation.
• Water – Helps to dilute the vinegar; be sure to use boiling water for a consistent brine.
• Canning Salt – Recommended for canning to avoid any additives that could affect texture. Substitute with kosher or sea salt if needed.
For the Pickles
• Cucumbers – Freshly picked small pickling cucumbers ensure maximum crunch; avoid using slicing cucumbers for the best results.
• Onion – Adds a touch of sweetness to your pickles; sweet onions work wonderfully for a richer flavor.
• Garlic – Provides a robust flavor that complements the pickles beautifully.
For the Spices
• Mustard Seed – Adds a mild heat and depth of flavor.
• Coriander Seed – Enhances the overall taste profile with its subtle citrusy notes.
• Whole Black Peppercorns – Brings warmth and a slight heat to the mix.
• Fresh Dill Weed – The key ingredient for classic dill flavor; can be substituted with dried dill in a pinch.
Optional Ingredient
• Pickling Crisp – Use calcium chloride if you’d like to ensure a crunchy texture in your pickles; it’s a small addition that pays off huge in crunch!
Step‑by‑Step Instructions for Crunchy Dill Pickles
Step 1: Prepare Canning Supplies
Begin by washing and sterilizing your jars thoroughly to ensure a safe canning process. Fill your water bath canner two-thirds full with water and heat it over medium-high heat until it comes to a gentle simmer. This preparation sets the stage for the freshness of your Crunchy Dill Pickles.
Step 2: Prepare Brine
In a large pot, combine white vinegar, boiling water, and canning salt, stirring until the salt fully dissolves. Bring this mixture to a boil, which should take about 5 minutes. The brine should be clear and fragrant, ready to enhance your pickles with tanginess and depth, making every bite of the Crunchy Dill Pickles delightful.
Step 3: Prepare Vegetables
Rinse your freshly picked pickling cucumbers under cold water, trimming off the blossom ends to prevent them from softening during the canning process. Slice them into ¼-inch rounds, then do the same with your onions. This ensures a uniform texture in your Crunchy Dill Pickles that’s essential for that satisfying crunch.
Step 4: Fill Jars
Carefully pack the cucumber rounds tightly into the hot sterilized jars, leaving about ½-inch of space at the top. Layer onion slices on top of the cucumbers, followed by adding your mustard seed, coriander seed, whole black peppercorns, and sprigs of fresh dill weed. Pour the hot brine over the cucumbers until covered, again leaving that ½-inch headspace.
Step 5: Process Jars
Seal your filled jars with lids and place them gently in the boiling water bath canner. Process pint jars for 10 minutes and quart jars for 15 minutes, ensuring the water covers the jars by at least an inch throughout the processing time. This step locks in the flavors of your Crunchy Dill Pickles while preventing spoilage.
Step 6: Cool and Store
Once processed, carefully remove the jars and place them on a clean kitchen towel or a cooling rack to cool overnight. Check the seals by pressing the center of each lid—if it pops back, it’s not sealed. Label your jars and store them in a cool, dark place, allowing the flavors of your Crunchy Dill Pickles to develop further for two to four weeks before digging in.
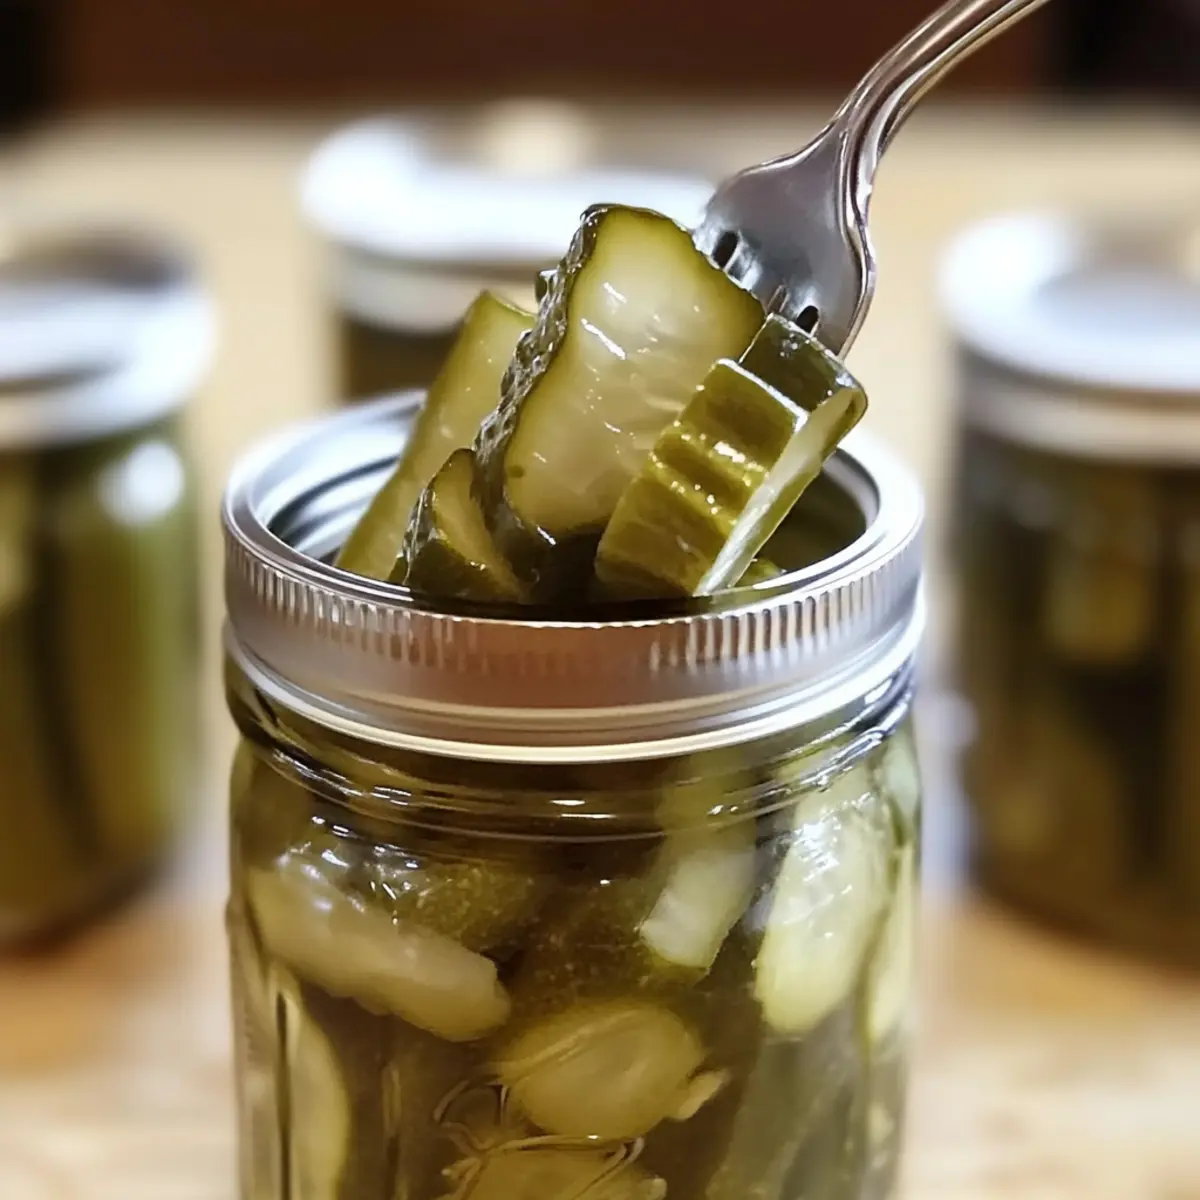
Expert Tips for Crunchy Dill Pickles
• Fresh Is Best: Use small pickling cucumbers right from your garden or local market to ensure optimal crunch and flavor.
• Blossom End Trim: Don’t forget to trim the blossom end of cucumbers; this prevents softening and helps maintain that crunch in your Crunchy Dill Pickle.
• Proper Sealing: Ensure jars are sealed correctly after canning. Any unsealed jars should be refrigerated and used within a few weeks.
• Flavor Wait: Allow the pickles to sit for 2-4 weeks after canning for the flavors to develop fully before enjoying.
• Storage Tip: Store your jars in a cool, dark place to keep them fresh for up to a year. Help your pickles maintain their quality by avoiding exposure to sunlight.
Make Ahead Options
These Crunchy Dill Pickles are perfect for meal prep enthusiasts! You can wash and cut the cucumbers, and even prepare the onion up to 24 hours in advance, helping to speed up your canning process. Simply store the cut vegetables in an airtight container in the refrigerator to maintain their freshness. When you’re ready, pack the cucumbers and onions into your jars, add your spices, and pour in the hot brine. Just remember to process the jars and let them cool properly to ensure a delicious tangy flavor. By preparing ahead, you not only save valuable time but also get to enjoy homemade pickles anytime you crave that delightful crunch!
How to Store and Freeze Crunchy Dill Pickles
Fridge: Once opened, keep your jars in the refrigerator, where they’ll stay fresh for up to 3 months. Use a clean utensil for each serving to maintain quality.
Sealed Jars: Properly sealed jars of your crunchy dill pickles can be stored in a cool, dark place for up to a year, preserving that delightful tangy flavor and crunch.
Unsealed Jars: If any jars fail to seal, immediately refrigerate them and consume within 2 weeks for the best taste and texture.
Reheating: There’s no need to reheat pickles; simply enjoy them cold straight from the jar or as a vibrant addition to various dishes!
What to Serve with Crunchy Dill Pickles?
Enjoy the vibrant flavors and textures of your meal with these delightful pairings that enhance your crunchy dill pickles.
- Classic Sandwiches: Pair with hearty subs or deli-style sandwiches for a satisfying crunch that complements the flavors beautifully.
- Grilled Burgers: The tangy zest of dill pickles cuts through the richness of grilled meats, making every bite more enjoyable.
- Charcuterie Board: Serve alongside meats, cheeses, and olives to create a lovely spread; the pickles add a refreshing contrast to rich flavors.
- Potato Salad: The bright acidity of the pickles enhances creamy potato salad, giving it a delightful bite that balances the flavor profile.
- Savory Tacos: Add a layer of crunch and freshness to your favorite tacos; a dollop of dill pickle relish elevates the whole dish.
- Crunchy Salad: Toss diced pickles into salads for an unexpected crunch that brightens up leafy greens.
- Spicy Fried Chicken: Serve as a cooling side with spicy fried chicken; their tangy bite perfectly offsets the heat.
- Cold Beverages: A tall glass of iced tea or a crisp lager pairs well, refreshing your palate while enjoying those crunchy bites.
With these suggestions, every meal becomes an adventure worth savoring!
Variations & Substitutions for Crunchy Dill Pickle
Feel free to get creative and customize your crunchy dill pickles to suit your tastes and diet!
-
Spicy Kick: Add sliced jalapeños into the jars for a fiery twist that elevates your pickles to new levels of excitement.
-
Herb Infusion: Experiment with flavors by adding fresh herbs like oregano or thyme to the brine for a unique aromatic profile.
-
Sweet Touch: Introduce a touch of sugar to the brine to balance the tang—perfect for those who enjoy a hint of sweetness in their pickles.
-
Garlic Alternatives: Swap out garlic for ginger slices if you’re in the mood for a zesty, refreshing alternative that adds a vibrant flair.
-
Vinegar Swap: Use apple cider vinegar instead of white vinegar for a fruitier flavor. Just note, this will change their color slightly while still being delicious.
-
Pickling Spice Mix: Try different spice blends, such as a curry or Chinese five-spice mixture, to give your pickles an international twist.
-
Texture Boost: Toss in a couple of grape leaves or add Pickling Crisp to your jars to enhance that signature crunch you love.
-
No-Cook Method: If you prefer a quick alternative, try refrigerator pickling by simply mixing the brine in a jar and letting the cucumbers marinate for at least 48 hours before enjoying.
While you’re at it, pair these delicious pickles with your favorite meals; they make a lovely companion when served alongside Baked Crunchy Hot chicken or even Roasted Carrots Dill for a delightful dinner experience!
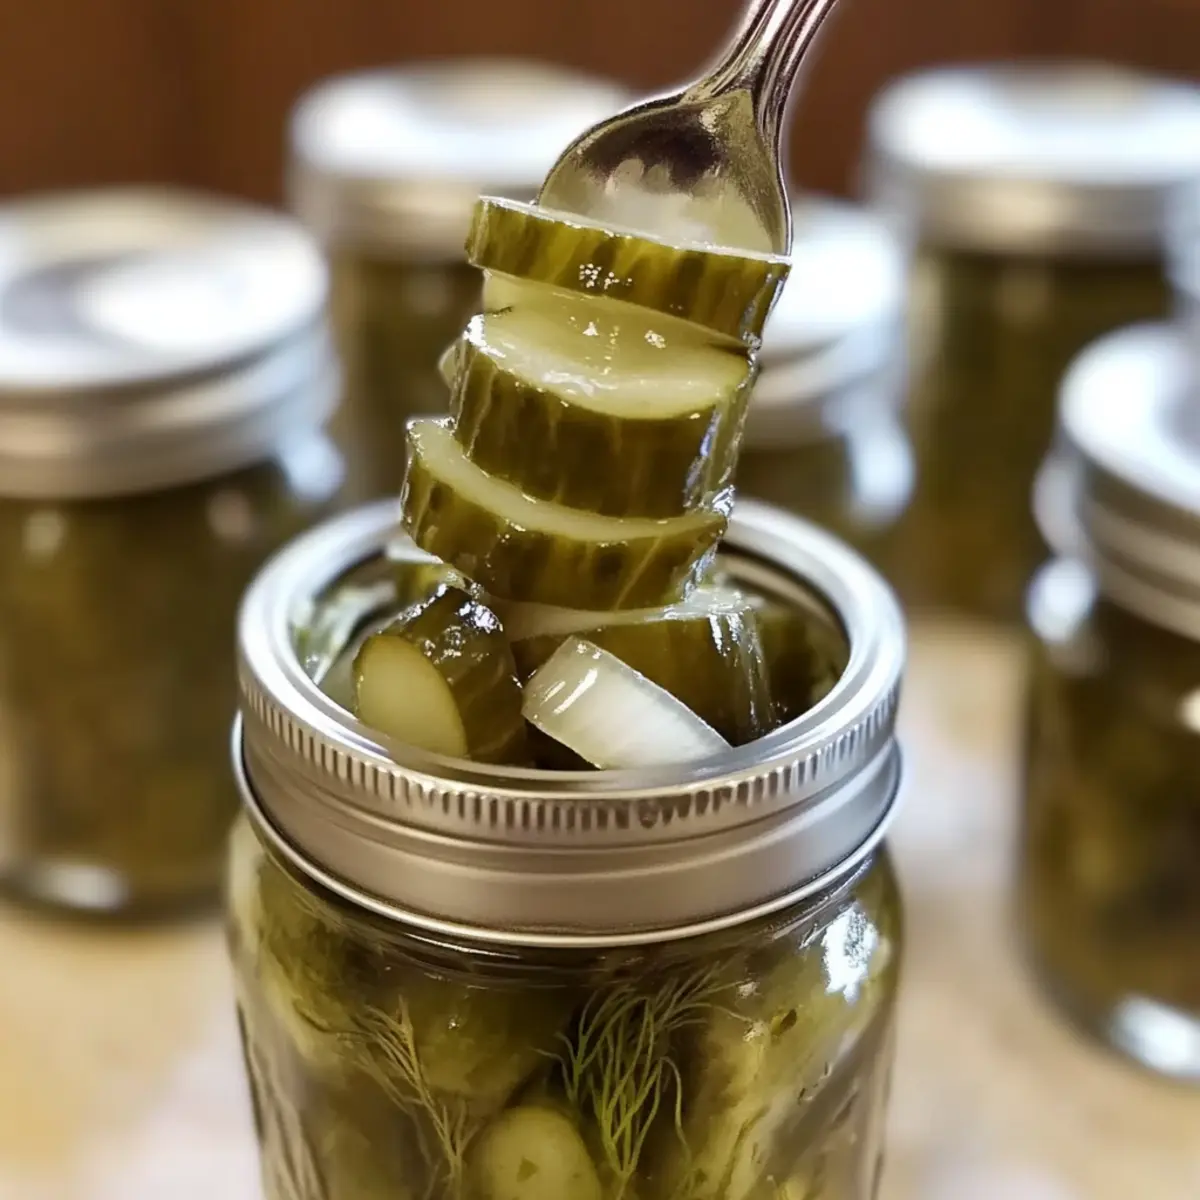
Crunchy Dill Pickles Recipe FAQs
How do I choose the best cucumbers for my Crunchy Dill Pickles?
Absolutely! For the best results, select small pickling cucumbers, typically around 3 to 5 inches long. Look for firm cucumbers with a vibrant green color and no soft spots or blemishes. Avoid slicing cucumbers, as they tend to be less crunchy and more watery.
What’s the best way to store my sealed jars of Crunchy Dill Pickles?
Sealed jars of your crunchy dill pickles should be stored in a cool, dark place, like a pantry or cupboard, where they can last for up to a year. Make sure they’re away from direct sunlight and heat sources, which can affect the pickles’ flavor and texture.
Can I freeze my Crunchy Dill Pickles?
I recommend against freezing pickles, as they can lose their crunchy texture and become mushy. However, if you want to experiment, you could freeze the cucumbers before the pickling process. Slice them and blanch for about 2 minutes in boiling water, then immerse them in ice water to halt the cooking. Drain well, pack them into airtight containers, and freeze. But I’d advise enjoying them fresh or canned instead!
What if my pickles are too soft after canning?
Very good question! If your pickles end up too soft, it might be because the blossom end wasn’t trimmed, or the processing time was too long. Next time, remember to trim the blossom end, which helps prevent softening. If a jar didn’t seal properly, consume it quickly or use it as a flavor addition in salads or sandwiches to avoid waste.
Are Crunchy Dill Pickles safe for those with gluten allergies?
Yes! This recipe is naturally gluten-free. Just ensure that all ingredients, including your vinegar and any added spices, are labeled gluten-free, as cross-contamination can occur in processing facilities. Feel free to enjoy these delightful pickles without worry!
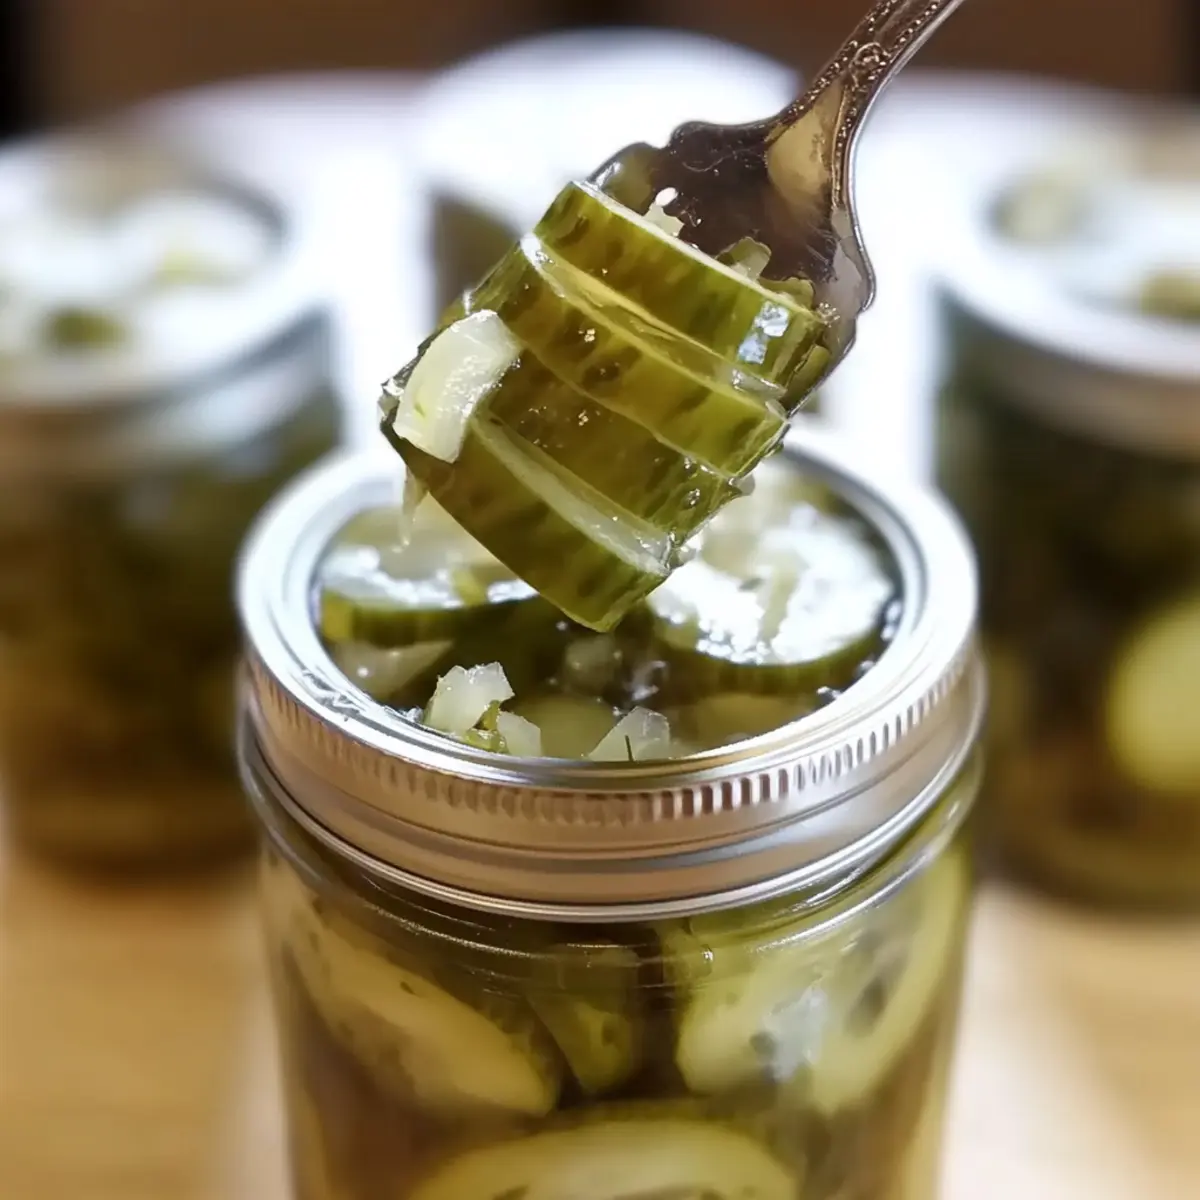
Crunchy Dill Pickle Magic: Canning Made Easy at Home
Ingredients
Equipment
Method
- Wash and sterilize jars; fill water bath canner two-thirds full with water and heat.
- Combine white vinegar, boiling water, and canning salt in a pot; bring to a boil.
- Rinse cucumbers, trim blossom ends, and slice into ¼-inch rounds along with onions.
- Pack cucumbers into hot sterilized jars, layer with onions and spices, then pour hot brine over.
- Seal jars and process in boiling water bath canner for 10-15 minutes.
- Remove jars, cool overnight, and check seals; store in a cool, dark place.
Leave a Reply