
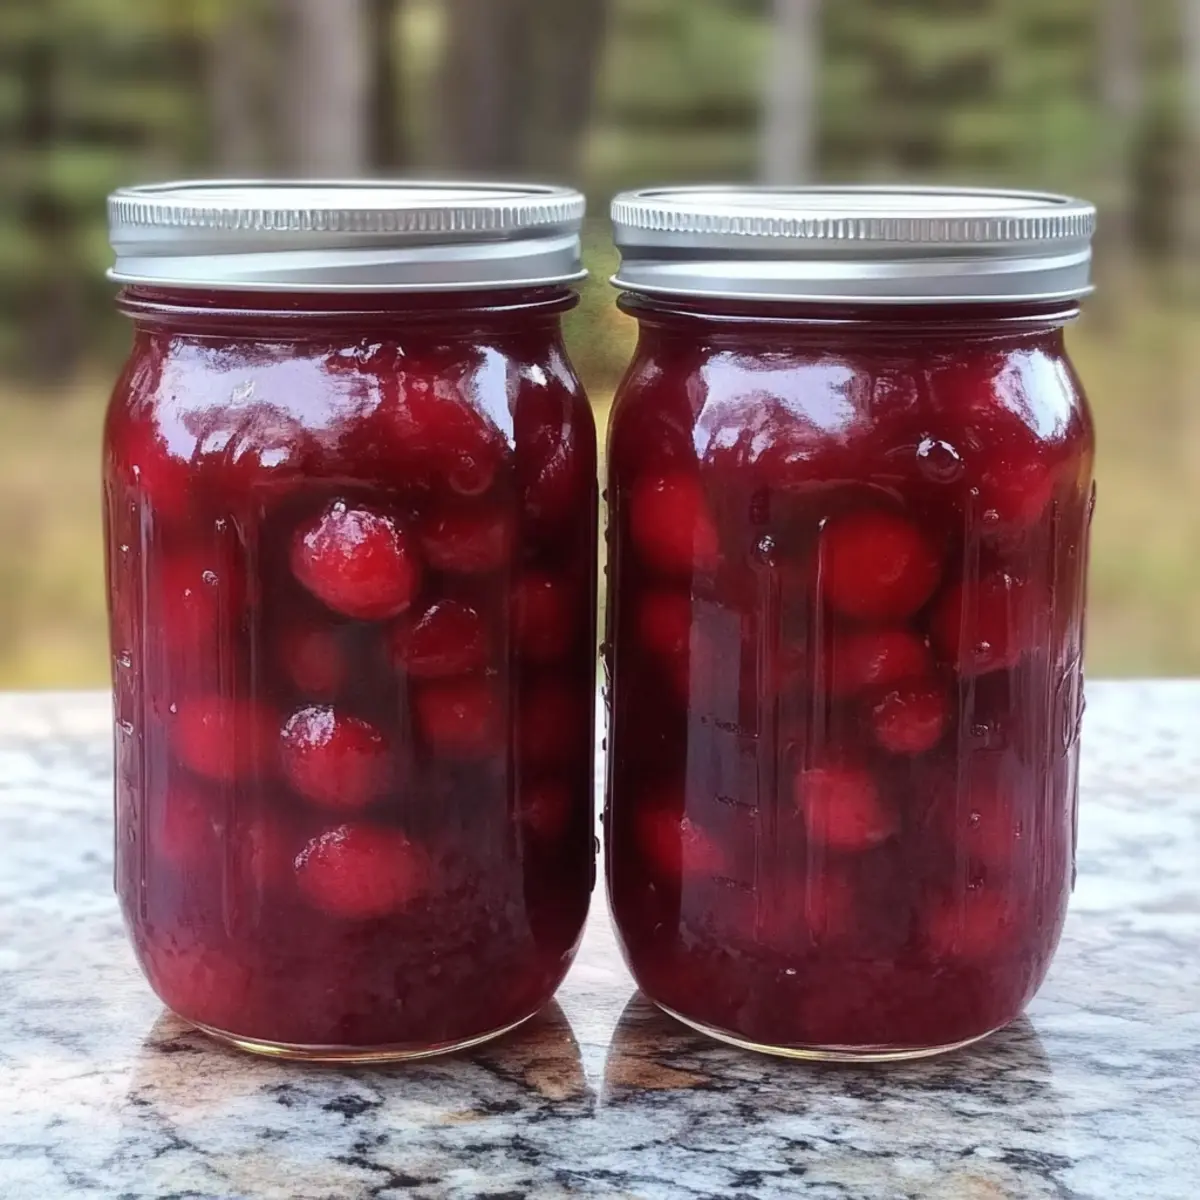
There I was, staring at a mountain of frozen tart red cherries left from last summer’s harvest. As I dreamt of the homemade cherry pie filling I could create, I realized that canning this delightful treat would let me savor those sunny flavors year-round. This Homemade Tart Cherry Pie Filling is not only bursting with bright, tangy goodness, but it also delivers the irresistible perk of being a quick go-to for all my dessert needs—from gooey hand pies to a dreamy coffee cake topping. Plus, the straightforward canning process means I can relish in this wholesome delight whenever the mood strikes. Are you ready to turn your kitchen into a preserving paradise? Let’s dive into the delicious journey of canning cherry pie filling together!
Why Can You Love This Recipe?
Simplicity: This canning recipe is incredibly straightforward, allowing even beginners to create a beautiful cherry filling without fuss.
Elevated Taste: Using fresh or frozen tart red cherries, you’ll capture that sweet summer essence in every bite, ideal for pies, pancakes, or over ice cream.
Versatile Variations: Explore a sweet twist by making a Sweet Black Cherry Pie Filling, providing new flavors for your favorite desserts.
Long-Lasting: Store your homemade cherry filling in sealed jars for up to a year, ensuring you can enjoy summer’s taste any time.
Crowd-Pleasing Appeal: Whether hosting a family gathering or just indulging at home, this cherry filling will impress your friends and family alike.
Canning Cherry Pie Filling Ingredients
• Get ready to dive into canning with these key components!
For the Filling
- Frozen Tart Red Cherries – Thaw before use to effectively extract juices and ensure the best flavor.
- Sugar – Sweetens the tart cherries; feel free to adjust for your desired sweetness!
- Clear Jel (Cook Type for Canning) – Essential for thickening the filling; do not substitute with regular cornstarch for safe canning.
- Ground Cinnamon – Optional, but it adds a warm spice note that enhances the cherries’ natural flavor.
- Lemon Juice – Brightens the mix and aids in acidification; opt for fresh lemon juice for the best taste.
For Proper Canning
- Water Bath Canner – Necessary to process your jars safely and preserve the filling.
- Canning Jars with Lids – Use sterilized jars to ensure the filling stays fresh and safe for up to a year.
With these ingredients, you’re all set to make your own canned cherry pie filling! Enjoy the bliss of summer’s taste in every spoonful.
Step‑by‑Step Instructions for Canning Cherry Pie Filling
Step 1: Prepare the Cherries
Begin by draining the thawed tart red cherries in a colander, allowing the juices to collect in a bowl for about 1-2 hours. This step is crucial to extracting maximum flavor and ensuring a chunkier filling for your canned cherry pie filling. Once ready, set the collected juice aside for future steps.
Step 2: Set Up Your Canning Equipment
While the cherries drain, prepare your water bath canner by filling it with enough water to cover the jars by at least an inch. Bring the water to a simmer on the stovetop. Additionally, sterilize your canning jars and lids by placing them in boiling water for 10 minutes, ensuring a safe and successful seal for your canned cherry pie filling.
Step 3: Whisk the Thickening Mixture
In a large saucepan over medium heat, whisk together 4 cups of the reserved cherry juice, sugar, Clear Jel, and optional ground cinnamon. Stir continuously until the mixture is well combined and begins to heat up. As it warms, prepare for the next step when the mixture thickens, which should take about 5-7 minutes.
Step 4: Bring to a Boil
Once the mixture thickens and starts to bubble, raise the heat to high and bring it to a rolling boil. Continuously stir for about 2 minutes to ensure the mixture is evenly heated and well combined. You’ll see it transform into a glossy texture, signaling that it’s time to proceed to the next step in creating your delicious canned cherry pie filling.
Step 5: Add Lemon Juice
After boiling for a couple of minutes, introduce the fresh lemon juice, stirring it into the thickened mixture. Allow it to boil for an additional minute; this brightens the flavor profile and helps with the acidification necessary for safe canning. The mixture should remain thick and bubbling as you prepare to add the cherries.
Step 6: Incorporate the Cherries
Gently fold the drained tart cherries into the thickened mixture in the saucepan, ensuring they are evenly distributed. Bring the mixture back to a gentle boil for about 1-2 minutes, allowing the cherries to heat through completely. This step is essential for achieving a harmonious blend of flavors in your homemade cherry pie filling.
Step 7: Fill the Jars
Using a ladle, fill the sterilized jars with the cherry mixture, leaving about 1 inch of headspace at the top of each jar. This space allows for expansion during processing, ensuring a tight seal. Wipe the rims of the jars with a clean cloth to remove any residue before placing the lids on securely.
Step 8: Process in Water Bath Canner
Carefully place the filled jars into your preheated water bath canner, ensuring they are submerged. Process the jars for 35 minutes, maintaining a gentle boil throughout. After the processing time is complete, turn off the heat and let the jars sit in the canner for 5 minutes before removing them to cool on a clean towel.
Step 9: Cool and Store
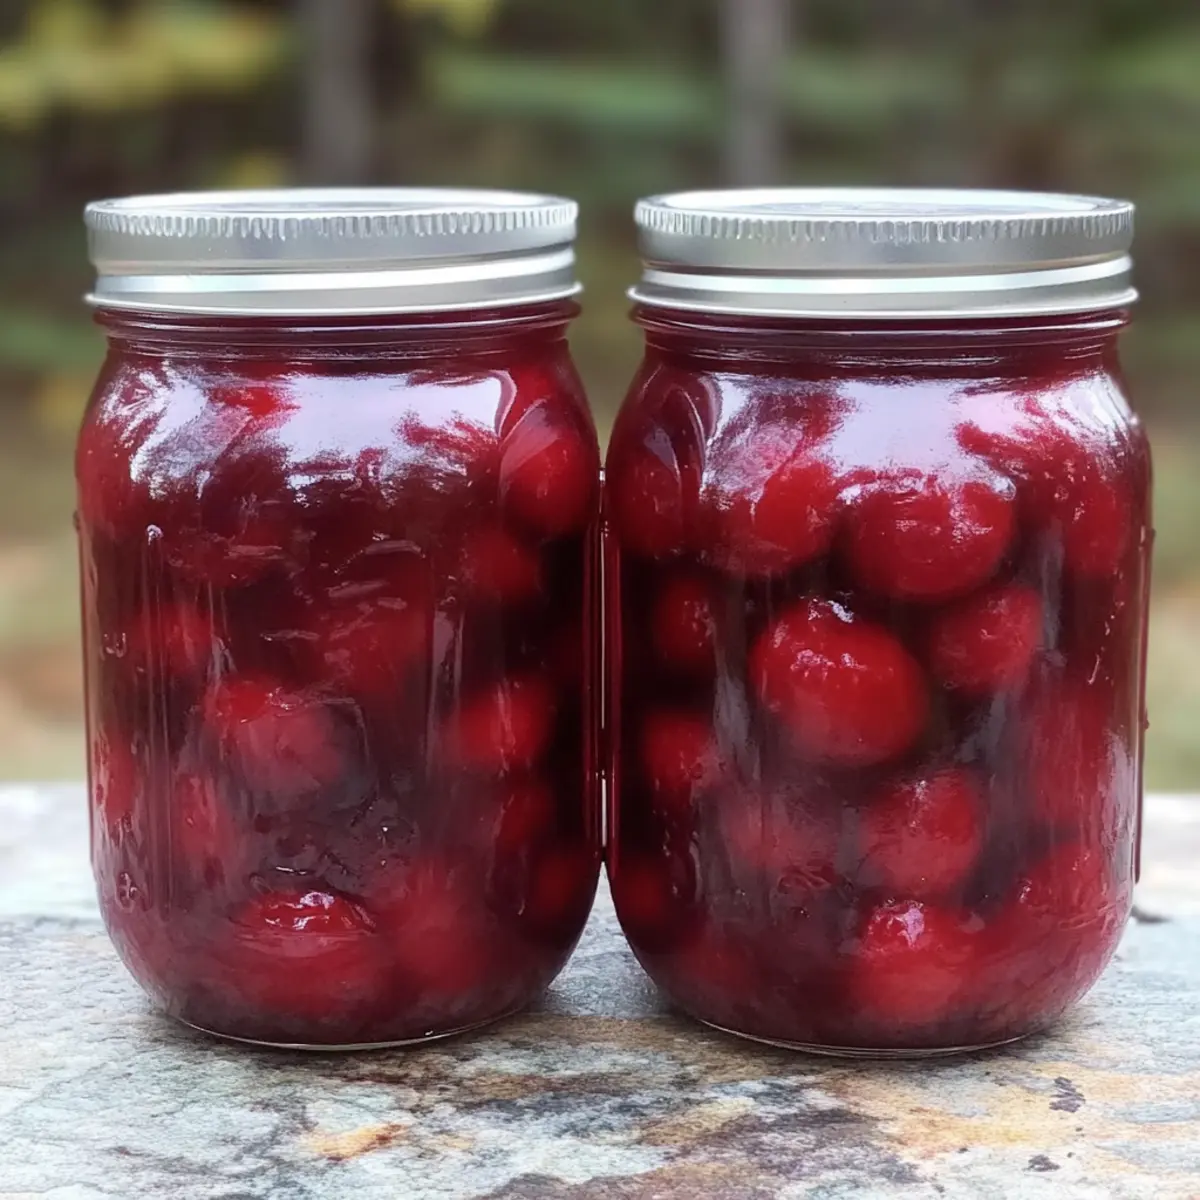
Once the jars have cooled, check the seals by pressing down on the center of the lid; it should not pop back. Allow the jars to cool completely at room temperature. Store your homemade canned cherry pie filling in a cool, dark place, ready to be enjoyed in your favorite recipes throughout the year.
Make Ahead Options
These Homemade Tart Cherry Pie Filling options are perfect for anyone looking to save time during busy weeks. You can prep the frozen cherries and drain them up to 24 hours in advance, storing them in the fridge to maintain freshness. Additionally, you can mix the sugar, Clear Jel, and cinnamon together ahead of time, ensuring that everything is ready to go when you’re ready to cook. When you’re ready to can, simply follow the remaining steps—adding lemon juice and boiling with the cherries—and process as directed. This way, you’ll have delicious cherry pie filling ready to use for your desserts with minimal effort any night of the week!
Expert Tips for Canning Cherry Pie Filling
• Cherry Choice: Use frozen tart red cherries for optimal flavor. Avoid overripe cherries, as they may affect the texture of your filling.
• Canning Agent: Always opt for Clear Jel instead of cornstarch for thickening. Only Clear Jel ensures safety and quality during canning.
• Seal Check: After processing, check jars for proper sealing. A good seal is essential for long-term storage and prevents spoilage.
• Punch Up Flavor: Don’t skip the fresh lemon juice! It enhances brightness and ensures acidity for safe canning cherry pie filling.
• Storage Savvy: Label jars with the date and type of filling. Store them in a cool, dark place to prolong shelf life and maintain quality.
• Scaling Up: If you’re making a larger batch, increase cherry juice accordingly. Each quart requires about one cup of juice for balanced flavor and consistency.
How to Store and Freeze Canning Cherry Pie Filling
Fridge: Store opened jars of cherry pie filling in the refrigerator for up to 3 weeks. Ensure the lids are tightly sealed to maintain freshness.
Freezer: For long-term storage, freeze the filling in airtight containers or freezer-safe bags for up to 1 year. Be sure to leave adequate space for expansion.
Room Temperature: Canned jars of cherry pie filling can be kept at room temperature in a cool, dark place for up to a year, as long as they remain sealed.
Reheating: When ready to use, thaw frozen filling overnight in the fridge or place it in a saucepan over low heat until warmed throughout. Enjoy the taste of summer all year with your canned cherry pie filling!
Canning Cherry Pie Filling Variations
Feel free to put your own spin on this cherry pie filling, making it uniquely yours!
-
Sweet Black Cherry: Swap in sweet black cherries, adjusting the juices and sugar for a richer flavor. This twist provides a luscious sweetness that complements desserts beautifully.
-
Spicy Kick: Add a pinch of cayenne pepper to the mixture for a surprising heat that enhances the sweet-tart balance. It’s a delightful variation that will intrigue your guests!
-
Almond Flavor: Incorporate a splash of almond extract for a nutty undertone. This change gives your filling a lovely depth that pairs wonderfully in pastries.
-
Citrus Twist: Mix in a teaspoon of orange or lime zest along with the lemon juice. This adds a fresh, zesty kick and a nice brightness to the filling.
-
Berry Blend: Combine tart cherries with raspberries or blueberries for a mixed berry filling. This offers a stunning color and diverse flavor to elevate your desserts.
-
No Sugar: Use a sugar substitute like stevia or monk fruit for a healthier version. It’s great for those watching their sugar intake but still craving something sweet.
-
Maple Syrup: Instead of sugar, use pure maple syrup for a warm flavor that pairs seamlessly with the cherries. This gives a unique, caramel-like sweetness that’s divine in desserts or over pancakes.
-
Frozen Cherries: If you have other frozen fruit, try combining those with tart cherries for a different flavor profile. Peaches, for example, can create a delightful sunny taste.
For more delicious ideas, consider pairing your cherry pie filling with homemade hand pies or using it in a classic Sweet Potato Pie—an unexpected and delicious match!
What to Serve with Homemade Tart Cherry Pie Filling
Delight in creating a full dining experience that harmonizes beautifully with your cherry pie filling, an enchanting taste of summer.
- Flaky Pie Crust: The classic pairing allows for your homemade cherry filling to shine, creating the ultimate cherry pie.
- Vanilla Ice Cream: Creamy and sweet, it mellows the tartness of the filling and adds a decadent touch to dessert.
- Pancakes: Drizzle this cherry delight over pancakes for a sweet breakfast transformation that brings joy to any morning.
- Hand Pies: Encasing your filling in a buttery crust offers a portable treat that’s perfect for picnics or quick snacks.
- Sweet Cream Cheese Topping: A light spread of sweetened cream cheese adds richness that balances the tart flavor of the cherries.
- Coffee Cake: Swirl the filling into batter for an extra fruity kick, making for a delightful brunch option.
- Sparkling Water: A refreshing drink option that cleanses the palate and complements sweet flavors without overwhelming them.
- Almond Biscotti: Serve these crunchy treats alongside as a perfect dipping companion, enhancing your cherry experience.
- Dark Chocolate Sauce: A drizzle brings a luscious chocolatey flavor that pairs surprisingly well with the tart cherries, creating an indulgent dessert moment.
Canning Cherry Pie Filling Recipe FAQs
How do I choose the best cherries for this recipe?
Absolutely! The best cherries for your homemade cherry pie filling are frozen tart red cherries. Ensure they are thawed beforehand to extract juices effectively. Avoid using overripe cherries as they can negatively impact the texture and taste of your filling.
How should I store my canned cherry pie filling?
I often recommend storing sealed jars in a cool, dark place. When done this way, your homemade cherry pie filling can last up to a year! However, once opened, you should refrigerate the jars and use the filling within 3 weeks for the best flavor and freshness.
Can I freeze cherry pie filling?
Yes, you can freeze your filling for long-term storage! Pour the cooled cherry pie filling into airtight containers or freezer-safe bags, leaving some space for expansion. It will keep in the freezer for up to 1 year. When you’re ready to use it, simply thaw overnight in the fridge or warm it gently in a saucepan.
What if my cherry pie filling isn’t thickening?
If you find your cherry pie filling is not thickening as you want it to, there are a few things you can check. Ensure that you used Clear Jel instead of cornstarch, as only Clear Jel is suitable for canning. If it still seems too thin after boiling, return it to the heat, add a bit more Clear Jel (following the package instructions), and cook until thickened while stirring constantly.
Is there a sugar alternative I can use when making the filling?
Very! If you’d prefer a less sweet filling, you can reduce the sugar amount to suit your taste. You might also consider using alternative sweeteners like honey or maple syrup, but be sure they are safe for canning, and keep in mind they may adjust the flavor profile slightly.
Can I make a different type of cherry pie filling?
Absolutely! You can create a delectable Sweet Black Cherry Pie Filling by collecting about 7 cups of juice, reducing the sugar to 2-2.5 cups, and adjusting the lemon juice to 1/3-1/2 cup. This variation offers a delightful twist on the traditional tart cherry filling.
These Canning Cherry Pie Filling Recipe FAQs should help clear up any doubts you might have as you embark on this delicious journey!
Canning Cherry Pie Filling: A Sweet Summertime Delight
Ingredients
Equipment
Method
- Begin by draining the thawed tart red cherries in a colander, letting the juices collect in a bowl for about 1-2 hours.
- Prepare your water bath canner by filling it with enough water to cover the jars by at least an inch and bring to a simmer.
- Sterilize your canning jars and lids by placing them in boiling water for 10 minutes.
- In a large saucepan, whisk together reserved cherry juice, sugar, Clear Jel, and optional cinnamon over medium heat.
- Once the mixture thickens and begins to bubble, raise heat to high and boil for about 2 minutes.
- Introduce fresh lemon juice, stirring it into the thickened mixture; allow to boil for an additional minute.
- Gently fold the drained cherries into the thickened mixture, bringing it back to a gentle boil for 1-2 minutes.
- Fill the sterilized jars with the cherry mixture, leaving about 1 inch of headspace.
- Process the jars in the water bath canner for 35 minutes, then let them sit for 5 minutes after turning off the heat.
- Check the seals on the jars once cooled; store in a cool, dark place.
Leave a Reply