
As I stood in my garden this morning, the sun gleaming off those vibrant cucumbers, a little lightbulb went off in my head: it was pickle time! There’s something incredibly satisfying about crafting homemade dill pickles that not only preserve the essence of summer but are also ah-mazing in taste. This Homemade Dill Pickles recipe is perfect for both the novice canner and the seasoned pro, allowing you to customize with spices like jalapeños or herbs like tarragon for a fun twist. Not only do you get to enjoy crispy, tangy pickles that elevate sandwiches and salads, but this quick and rewarding process will also let you savor garden freshness all year round. Ready to dive into the world of home canning? Let’s make some pickle magic together!
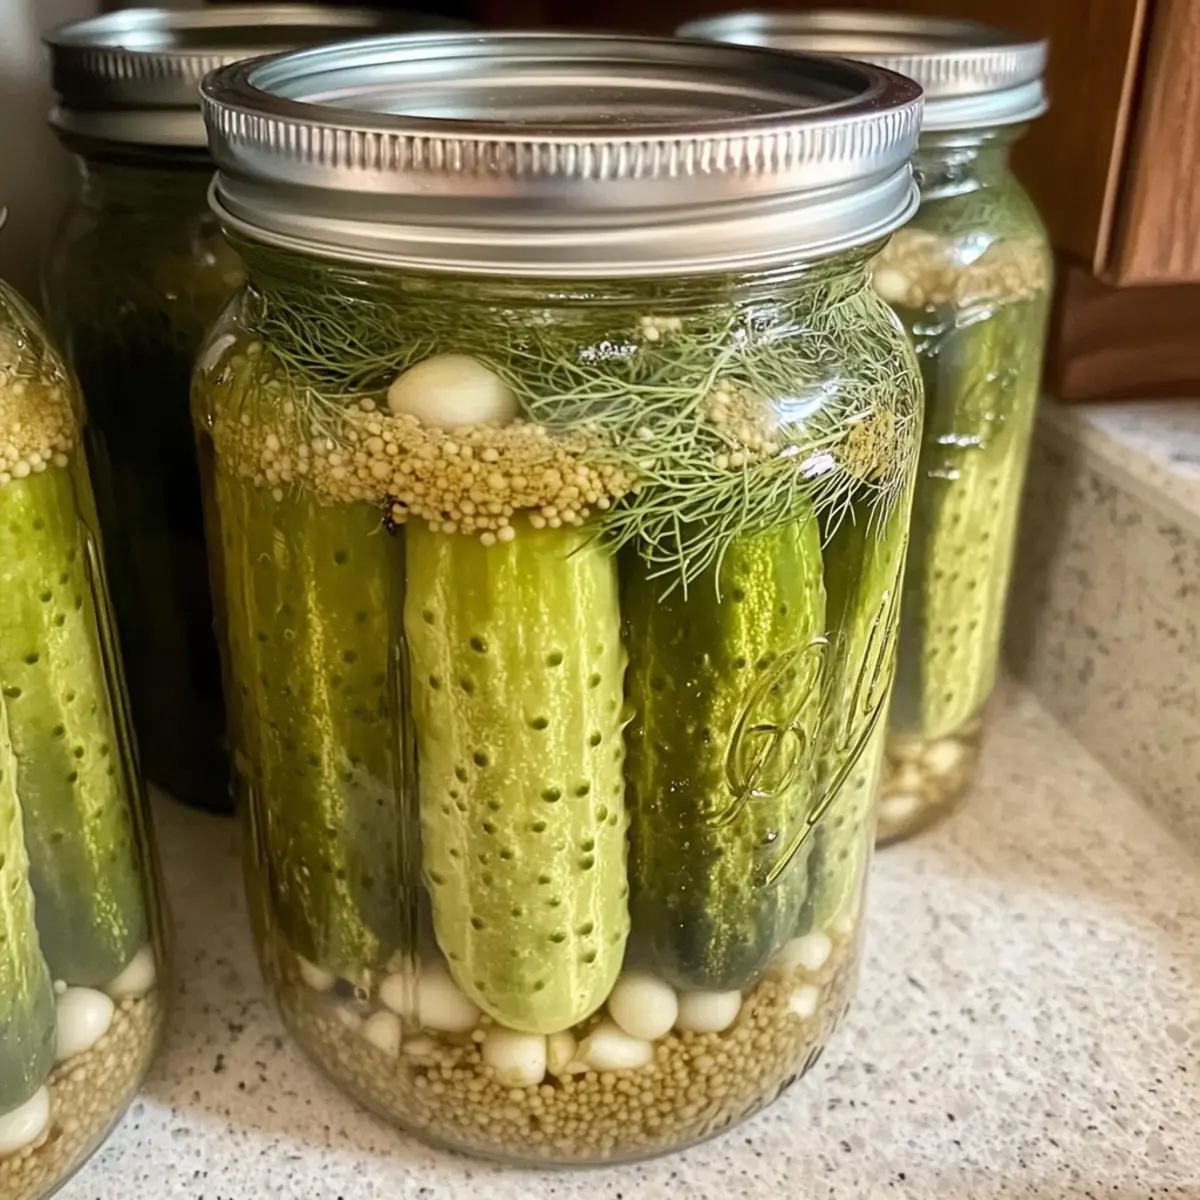
Why Make Homemade Dill Pickles?
Crisp, Tangy Flavor: Enjoy unparalleled taste with fresh cucumbers transformed into crunchy dill pickles.
Easy Customization: Get creative by adding jalapeños or experimenting with unique herbs like tarragon.
Perfect for All Levels: This recipe is designed for both beginners and experienced canners.
Healthy Snack Option: Say goodbye to store-bought options filled with preservatives.
Year-Round Enjoyment: Relish the taste of summer in every bite, no matter the season. Add a zing to your meals with these flavorful pickles, or try them alongside recipes like Famous Homemade Shepherds for a delightful pairing!
Homemade Dill Pickle Ingredients
Here’s what you’ll need to create your very own crunchy delights!
For the Brine
- White Vinegar – Essential for acidity, it ensures your pickles stay crisp and tangy.
- Water – Helps to balance out the brine without compromising flavor.
- Pickling Salt – Use this for clarity and taste; avoid table salt that may contain additives.
For the Pickles
- Cucumbers – Fresh, firm cucumbers are the star of your homemade dill pickles; pick them at their peak!
- Garlic – Adds a savory kick; fresh cloves or minced work perfectly.
- Fresh Dill – The aromatic herb that gives your pickles their classic flavor profile.
Optional Add-Ins
- Mustard Seeds – These seeds add a wonderful depth of flavor to your pickles.
- Peppercorns – Spice things up with a hint of heat for a more complex taste.
- Jalapeños – For those who crave spice, sliced jalapeños are a fantastic addition.
Dive into the joy of home canning with these ingredients for a batch of delightful homemade dill pickles!
Step‑by‑Step Instructions for Homemade Dill Pickles
Step 1: Prepare Cucumbers
Start by rinsing your fresh, firm cucumbers under cool water to remove any dirt. Trim off the ends and slice them into your preferred shapes: whole, spears, or rounds. The size and shape you choose will affect how crunchy your homemade dill pickles will be, so aim for uniform pieces for even flavor absorption.
Step 2: Set Up Jars
Before filling, ensure you have your canning jars ready by sterilizing them. You can do this by running them through a hot dishwasher cycle or placing them in a boiling water bath for about 10 minutes. Once sterilized, place a clove of garlic, a few sprigs of fresh dill, and any optional spices you like, such as mustard seeds or peppercorns, at the bottom of each jar.
Step 3: Pack the Jars
Next, tightly pack your prepared cucumber slices into the sterilized jars while leaving about ½ inch of headspace at the top. This space is crucial for expansion during the canning process, ensuring your homemade dill pickles stay perfectly crisp. After packing, gently shake the jar to settle the cucumbers as needed.
Step 4: Make the Brine
In a medium-sized pot, combine the white vinegar, water, and pickling salt to create the brine. Bring this mixture to a rolling boil over medium-high heat, stirring occasionally until the salt is completely dissolved. Keeping the brine hot is essential for proper sealing as you pour it over the cucumbers.
Step 5: Fill Jars
Remove the boiling brine from heat and carefully pour it over the packed cucumbers in each jar. Make sure the brine covers the cucumbers entirely, again leaving ½ inch of headspace at the top. This step ensures the flavors infuse into your homemade dill pickles perfectly while they preserve.
Step 6: Seal Jars
Once filled, wipe the rims of the jars with a clean cloth to remove any residue that could prevent a proper seal. Place the sterilized lids on top, then screw the metal bands on until they are finger-tight. This will create an airtight seal during the canning process, crucial for the shelf life of your homemade dill pickles.
Step 7: Process in Canner
Prepare a large pot for water bathing by filling it with enough water to cover the jars by at least an inch. Bring the water to a rolling boil and carefully submerge the jars in the pot. Process the jars for about 10-15 minutes, ensuring you maintain a consistent boil to complete the sealing process.
Step 8: Cool and Store
After processing, carefully remove the jars from the water bath and place them on a clean towel or wire rack to cool. Allow the jars to sit undisturbed for 12-24 hours at room temperature. Once cooled, check the seals (the lids should be concave). Store your homemade dill pickles in a cool, dark place for maximum shelf life.
Step 9: Wait for Flavor
To truly develop the delightful crisp and tangy flavor that makes homemade dill pickles shine, let your sealed jars sit for 2-4 weeks before digging in. This patience will allow the spices and garlic to infuse throughout the cucumbers, elevating your pickles to culinary perfection!
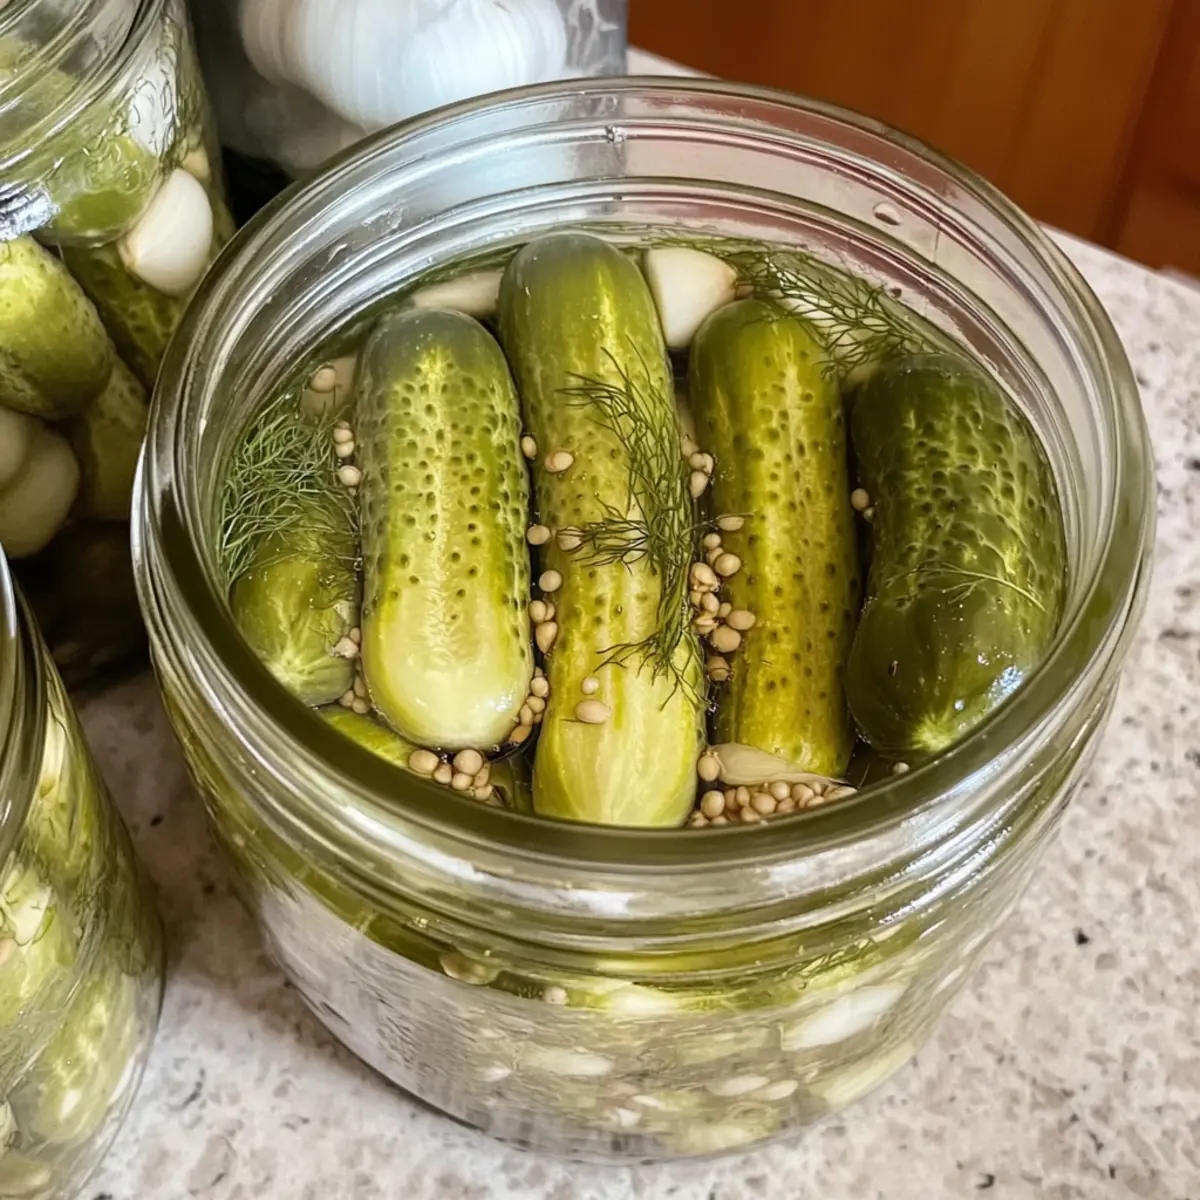
Expert Tips for Homemade Dill Pickles
- Choose the Right Cucumbers: Select fresh, firm cucumbers without blemishes or soft spots. This ensures your homemade dill pickles retain their crunchiness.
- Mind the Salt: Always use pickling salt, as it dissolves better and ensures clear brine. Avoid table salt with additives that can cloud your pickles.
- Avoid Overprocessing: Keep an eye on the boiling time; over-processing can lead to mushy pickles. Aim for a brief, rolling boil during canning.
- Check Seals: After cooling, ensure the lids have sealed properly by pressing down in the center. A properly sealed jar should not pop back up.
- Flavor Development: For the best flavor, resist the urge to dive in immediately. Allow your pickles to sit for 2-4 weeks to really let the flavors shine in your homemade dill pickles.
Homemade Dill Pickles Variations
Feel free to customize your homemade dill pickles to suit your taste and spice preferences; let your creativity shine in every bite!
-
Spicy Kick: Add sliced jalapeños to the jars for a fiery twist. This not only spices up the flavor but also adds a fun layer of heat to your pickles.
-
Herb Infusion: Substitute fresh dill with herbs like thyme or tarragon for a unique herbal twist. The diverse aromas will offer your pickles a refreshing twist on traditional flavors!
-
Mustard Boost: Incorporate mustard seeds for a delightful depth and complexity. These little seeds release a tangy punch that enhances your pickles beautifully.
-
Peppery Delight: Add whole peppercorns for subtle hints of spice. They’ll work their magic as the pickles soak, turning every bite into a peppery surprise!
-
Crunchy Carrots: Slice some carrots into your jars along with cucumbers for a delightful crunch. They’ll add a lovely sweetness that complements the tang of your homemade dill pickles.
-
Sweet & Spicy: Mix in a bit of sugar with your brine if you prefer a sweet pickle. This will balance the tartness and create a delightful sweet and spicy harmony.
-
Infused Vinegar: Try adding apple cider vinegar instead of white vinegar for a different flavor profile. The fruity notes will give your pickles a refreshing twist that’s hard to resist.
Explore different combinations and elevate your pickling game! Don’t forget, these tangy delights pair perfectly with dishes like Homemade Reuben Bake or even as a crunchy side for Famous Homemade Shepherds. Happy pickling!
What to Serve with Homemade Dill Pickles?
Dive into a world of flavor by complementing your homemade picks with mouthwatering sides that elevate your dining experience!
- Creamy Potato Salad: A classic pairing, this dish adds a rich and velvety texture, balancing the tangy crunch of your pickles. It’s a summer picnic staple that your family will adore!
- Grilled Cheese Sandwiches: The gooey, melted cheese and buttery toast create a delightful contrast to the crispness of the pickles. Enjoy the satisfying crunch with every bite!
- Classic Burger: Slap on those pickles for an extra zing that cuts through the richness of the meat and toppings, giving your burger a delicious upgrade.
- Fresh Garden Salad: Toss in your favorite greens, tomatoes, and a light vinaigrette. The acidity of the pickles brightens up the flavors and adds a refreshing twist.
- BBQ Ribs: Smoky and savory, the deep flavors of the ribs harmonize beautifully with the vibrant taste of your homemade dill pickles. It’s a match made in feasting heaven!
- White Wine Spritzer: With its crisp and refreshing notes, this drink is the perfect companion to your tangy pickles, enhancing the overall taste profile of your meal.
- Honey Mustard Dip: This sweet and tangy dip can be paired with breadsticks or veggies. The contrast of flavors with your pickles will leave everyone wanting more!
- Chilled Gazpacho: A refreshing cold soup bursting with summer vegetables, gazpacho pairs well with pickles, providing a light and flavorful accompaniment.
- Chocolate Chip Cookies: For dessert, the sweet and chewy contrast to the acidity of your homemade dill pickles makes for an unexpected yet delightful combination!
Make Ahead Options
Homemade dill pickles are a fantastic candidate for meal prep, saving you valuable time during busy weeks! You can prepare the cucumbers by slicing and packing them into sterilized jars up to 24 hours in advance, just be sure to refrigerate them to maintain their freshness and crunch. The brine can also be mixed ahead of time; simply store it in an airtight container in the fridge for up to 3 days. When you’re ready to complete your pickles, pour the hot brine over the packed cucumbers, seal the jars, and process them in a water bath. This way, you’ll have flawless, flavorful homemade dill pickles ready to be enjoyed while cutting down on prep time!
How to Store and Freeze Homemade Dill Pickles
Room Temperature: Keep unopened jars in a cool, dark pantry for up to 1 year to maintain flavor and crispness.
Fridge: Once opened, store homemade dill pickles in the refrigerator and consume within 1-2 months for the best taste and texture.
Sealing: Ensure jars are sealed tightly after use to avoid air exposure, which can lead to spoilage and loss of crunchiness.
Reheating: If you prefer warm pickles, quickly heat them in a microwave or pan, but enjoy them best cold to preserve their unique tangy flavor.
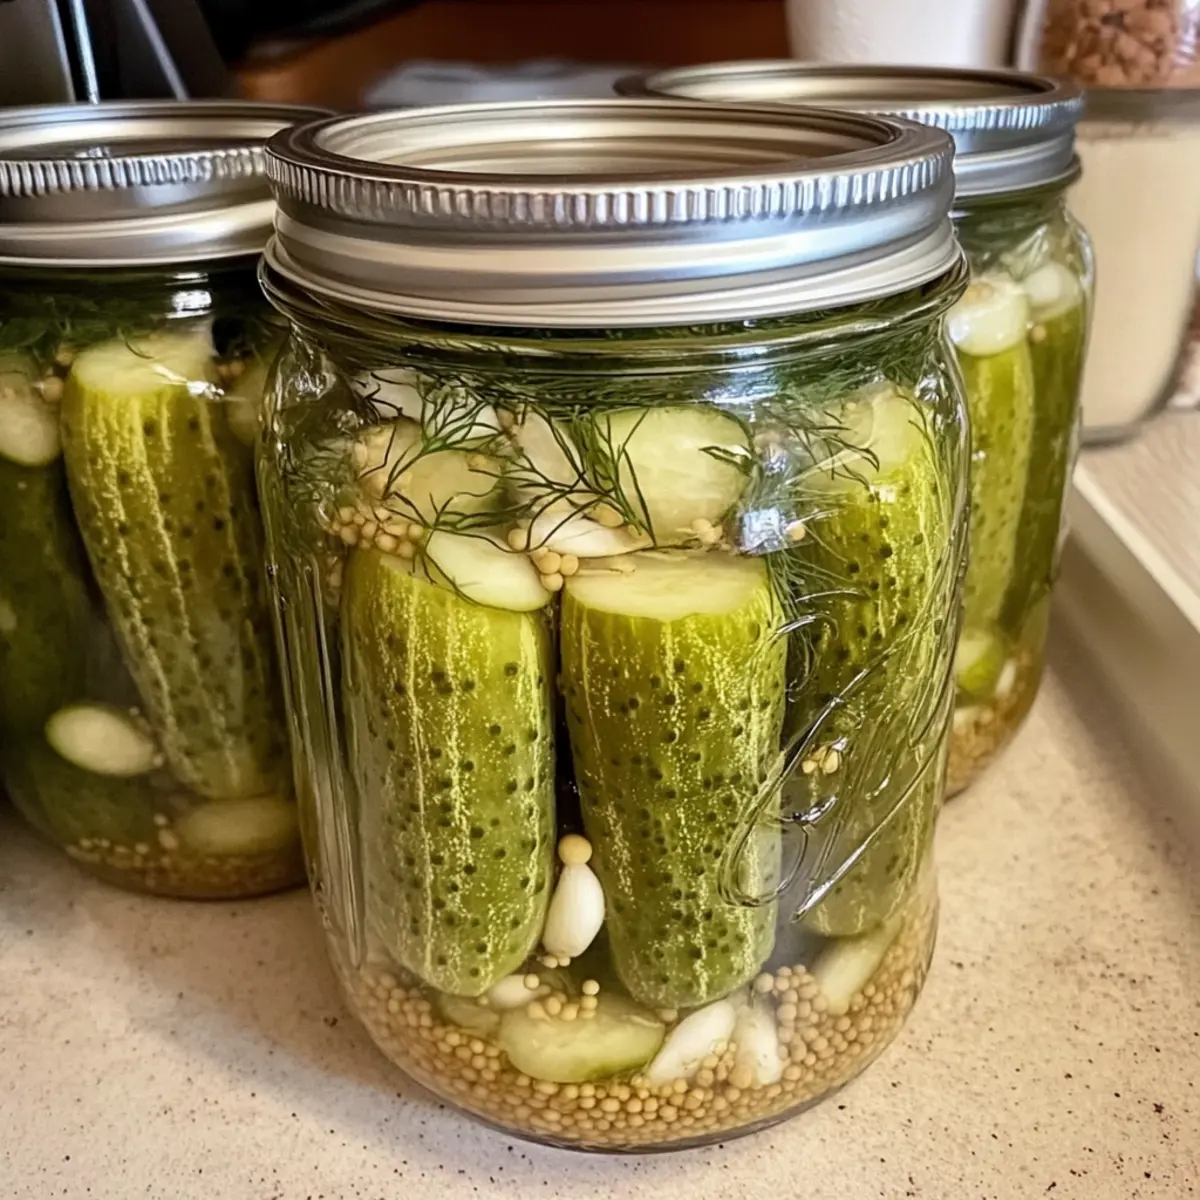
Homemade Dill Pickles Recipe FAQs
How do I choose the best cucumbers for pickling?
Absolutely! When selecting cucumbers, look for fresh, firm ones without blemishes or soft spots. Ideally, pick pickling cucumbers (often smaller and bumpy) for a better crunch. You want them to be at their peak for the best texture in your homemade dill pickles.
What’s the proper way to store my homemade dill pickles?
You can store unopened jars in a cool, dark pantry for up to a year, keeping their delightful flavor intact. Once you open a jar, please refrigerate and enjoy them within 1-2 months to maintain their crispy texture. Make sure to seal jars completely after each use to prevent air exposure, which could lead to spoilage.
Can I freeze homemade dill pickles?
I recommend against freezing homemade dill pickles because the texture may become soggy once thawed. Instead, enjoy them fresh right from the jar! If you want to prepare an extra batch, it’s best to stick with canning or preserving them in sealed jars for future enjoyment.
What should I do if my pickles are soggy after processing?
Very simply! Soggy pickles can result from a few common mistakes. Ensure you don’t over-process them by sticking to the recommended 10-15 minutes in the boiling water bath. Also, using fresh, firm cucumbers and pickling salt can help maintain crunchiness. If they still turn out soggy, you might try adding a teaspoon of calcium chloride (found in some pickling products) to your jars to help them retain crispness in future batches.
Are there any dietary considerations I should keep in mind?
Absolutely! If you’re making these homemade dill pickles for friends or family with dietary restrictions, it’s important to note that while the recipe is vegetarian, ensure all your ingredients are free from allergens. For instance, avoid using spices known to cause allergic reactions. Additionally, keep in mind that pickling salt is recommended; using table salt, which might contain additives, could result in cloudy brine and affect flavor.
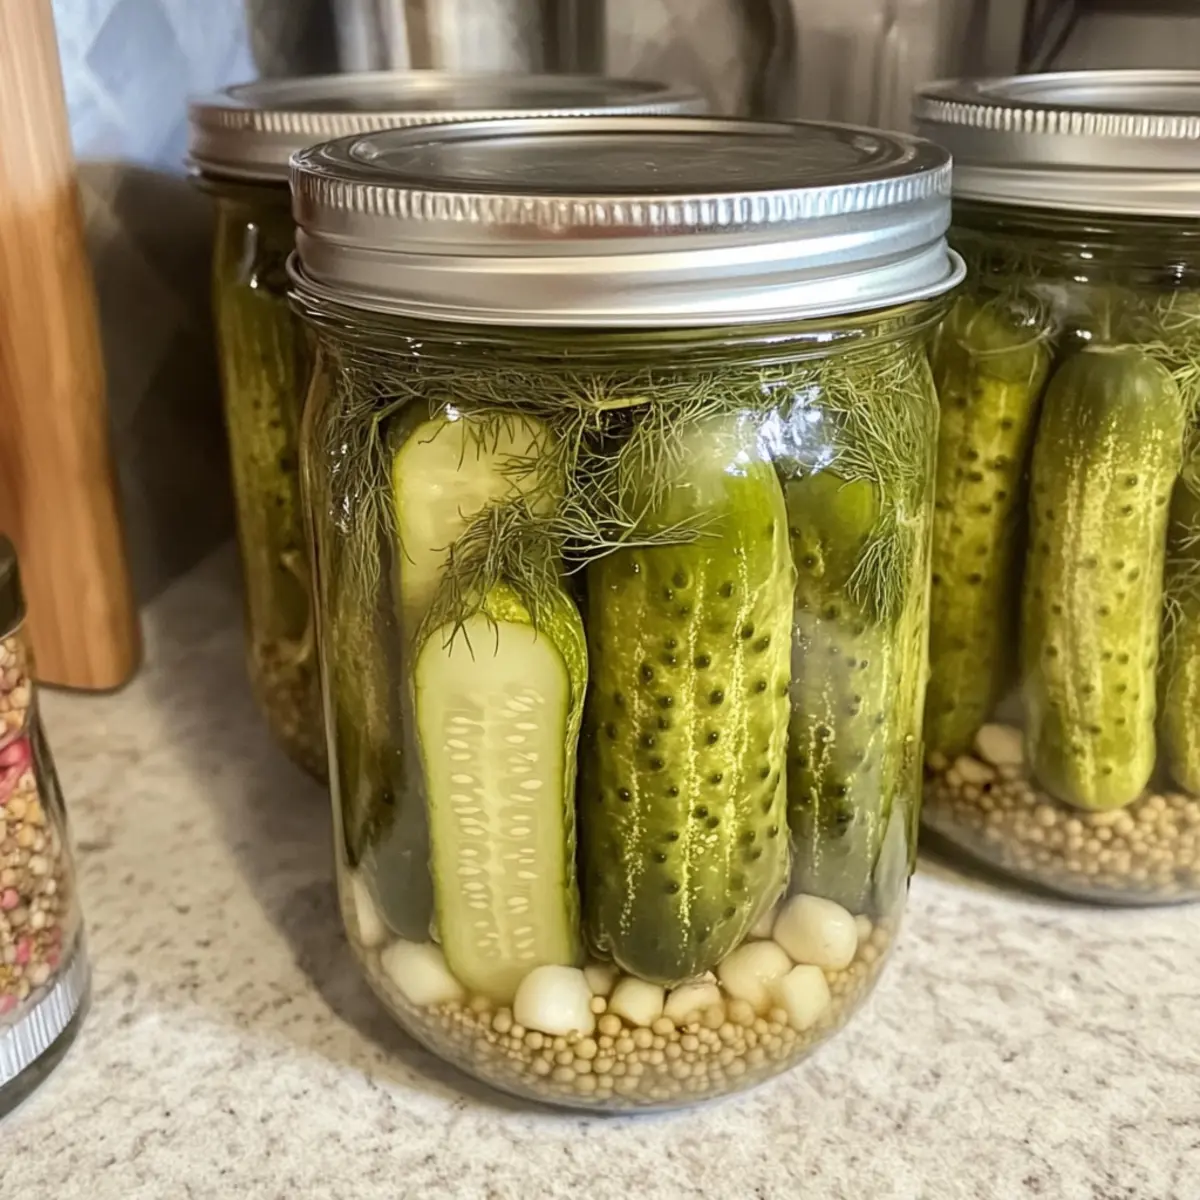
Homemade Dill Pickles: Your Crunchy, Flavorful Summer Escape
Ingredients
Equipment
Method
- Rinse cucumbers, trim ends, and slice into preferred shapes.
- Sterilize canning jars by boiling or running through dishwasher.
- Pack cucumber slices into jars leaving ½ inch headspace.
- Combine vinegar, water, and pickling salt in a pot and bring to a boil.
- Pour hot brine over cucumbers in jars, leaving ½ inch headspace.
- Wipe jar rims, seal with lids and screw on bands.
- Process jars in boiling water for 10-15 minutes.
- Remove jars, cool for 12-24 hours, and check seals.
- Let pickles sit for 2-4 weeks before consuming for best flavor.
Leave a Reply