
The sweet aroma of peanut butter and chocolate wafting through the kitchen makes my heart race with excitement. I’m about to whip up a batch of No-Bake Chocolate Peanut Butter Protein Bars—my go-to recipe for satisfying sweet cravings without the hassle of baking. These little delights are not only incredibly easy to prepare but also packed with protein, making them perfect for a quick snack or a post-workout pick-me-up. As someone who loves indulging in wholesome treats that align with a busy lifestyle, this recipe is a game-changer. Plus, they’re gluten-free! You’ll appreciate their chewy texture and mouthwatering flavor that keeps you coming back for more. What’s your favorite on-the-go snack?
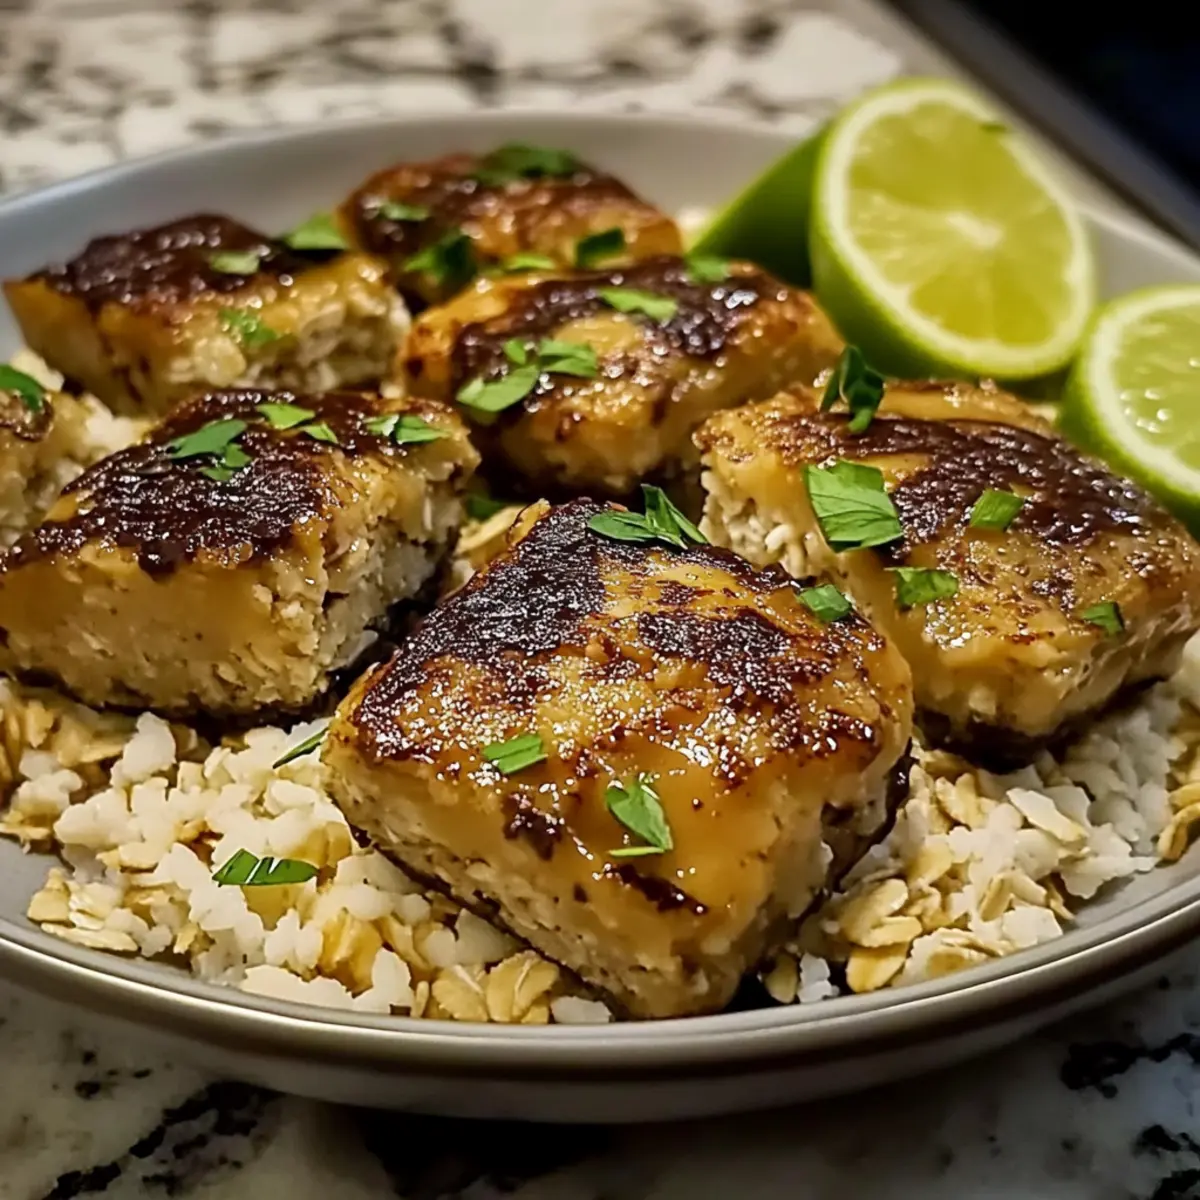
Why You’ll Love These Protein Bars
Irresistible Flavor: The blend of rich chocolate and creamy peanut butter creates a taste that’s both indulgent and satisfying.
No-Bake Delight: With minimal preparation needed, you can whip these bars up quickly and conveniently, making them ideal for busy days.
Healthier Snacking: Packed with protein and fiber, they offer a guilt-free way to satisfy your sweet tooth, perfect for pre or post-workout energy.
Customizable Options: Add your favorite mix-ins like dried cranberries or switch to almond butter for a unique twist tailored to your taste!
Perfect for Sharing: These bars make a great treat for family or friends, guaranteeing to be a hit at gatherings. Why not serve them alongside some tropical dishes like Crockpot Coconut Chicken for an exciting meal combo?
No-Bake Chocolate Peanut Butter Protein Bars Ingredients
For the Base
- Oats – A wholesome base; rolled oats lend a chewier texture while quick oats yield finer bars.
- Peanut Butter – Richness and binding power; for a nut-free option, try sunflower seed butter instead.
- Protein Powder – Elevates nutritional value; choose your favorite flavor, like vanilla or chocolate, to tailor the taste.
- Honey or Maple Syrup – Natural sweeteners to amp up flavor; agave nectar serves as a vegan alternative.
- Cocoa Powder – Infuses chocolatey goodness; opt for unsweetened cocoa for a low-sugar option.
For the Topping
- Chocolate Chips – Optional indulgence; consider dairy-free chips for a vegan-friendly treat!
With these ingredients, you’re well on your way to creating scrumptious no-bake chocolate peanut butter protein bars that are ideal for satisfying those sweet cravings in a healthy way. Enjoy making these delicious snacks that pack a protein punch!
Step‑by‑Step Instructions for No-Bake Chocolate Peanut Butter Protein Bars
Step 1: Combine Dry Ingredients
In a large mixing bowl, combine 1 cup of rolled oats, 1 cup of protein powder, and 1/2 cup of unsweetened cocoa powder. Stir these dry ingredients together thoroughly until evenly mixed. This forms the base of your no-bake chocolate peanut butter protein bars, providing texture and flavor.
Step 2: Mix in Peanut Butter
Add 1 cup of creamy peanut butter to the dry mixture. Using a spatula or wooden spoon, mix well until all the dry ingredients are fully coated and incorporated. The mixture should be thick and creamy, almost like dough. This step ensures your bars will have that delectable binding consistency.
Step 3: Sweeten the Mixture
Pour in 1/3 cup of honey or maple syrup into the bowl. Continue mixing until the sweetener is completely integrated into the peanut butter mixture. This adds the necessary sweetness and moisture to your no-bake chocolate peanut butter protein bars, enhancing their flavor and ensuring they hold together.
Step 4: Spread into Baking Dish
Line a baking dish (approximately 8×8 inches) with parchment paper for easy removal. Transfer the mixture into the dish and use a spatula to press it down evenly. Make sure to pack it tightly for well-formed bars. This step takes around 5 minutes, but it’s essential for achieving the right texture.
Step 5: Add Optional Toppings
(If desired) Sprinkle a handful of chocolate chips over the pressed mixture and gently press them into the surface. This adds an extra touch of indulgence and visual appeal to your no-bake chocolate peanut butter protein bars. The chocolate will melt slightly, creating a delicious topping.
Step 6: Chill to Set
Refrigerate the dish for at least 1 hour to allow the bars to firm up. Keep an eye on them; once solidified, it will be easier to cut into bars. The chilling process is crucial for achieving that perfect chewy texture that makes these protein bars so enjoyable.
Step 7: Cut and Store
Once set, remove the mixture from the baking dish using the parchment paper, and place it on a cutting board. Cut into your desired bar size, and store the pieces in an airtight container. These no-bake chocolate peanut butter protein bars can be refrigerated for up to two weeks or frozen for longer-lasting snacks!
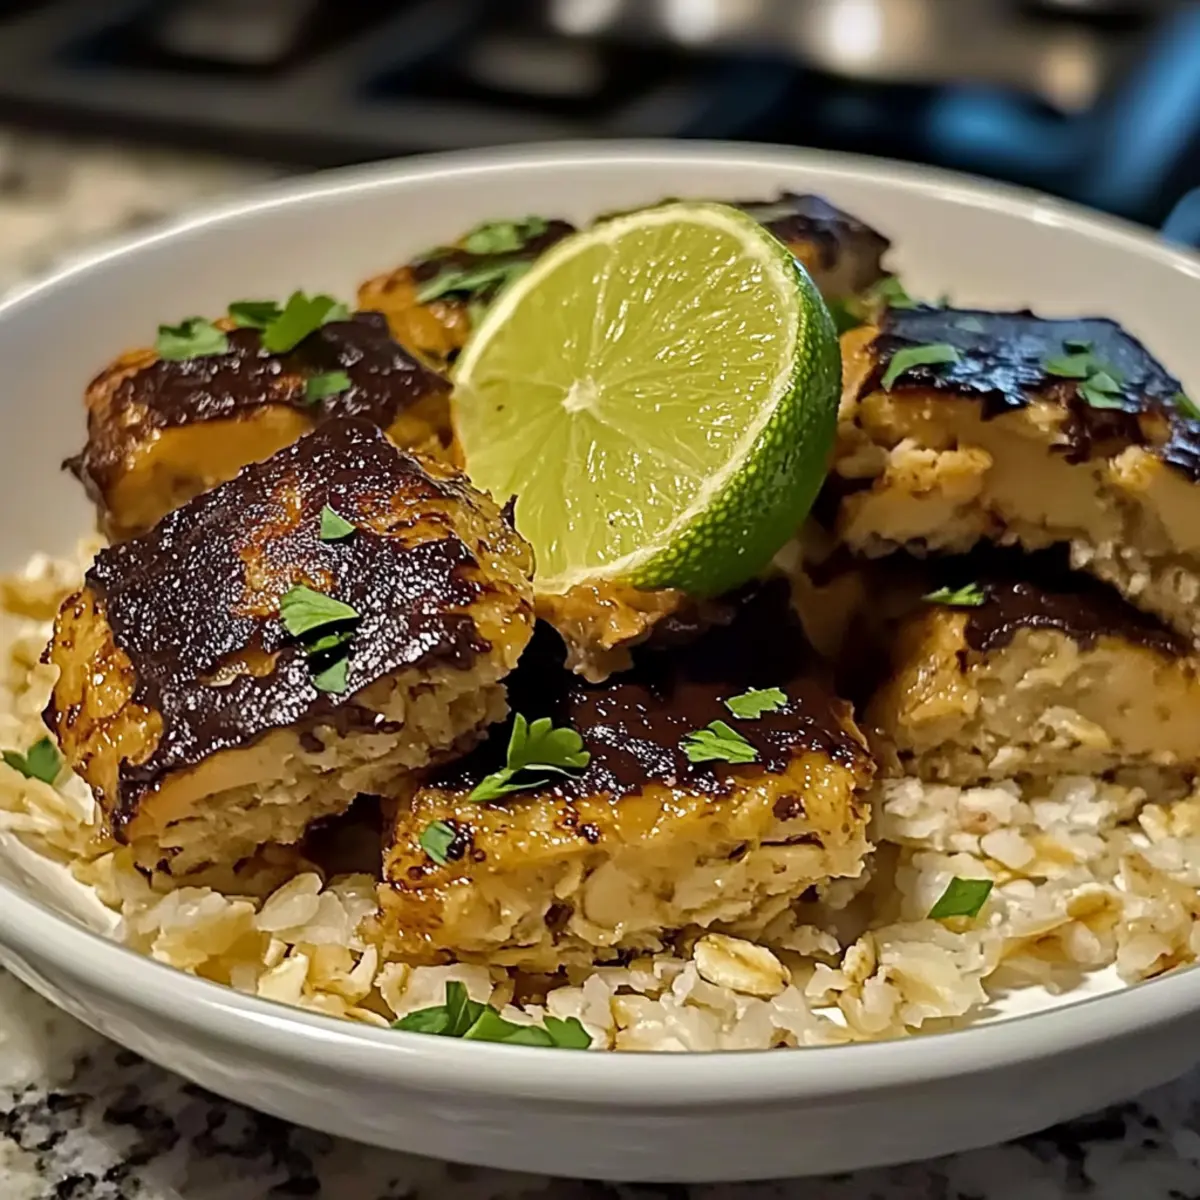
No-Bake Chocolate Peanut Butter Protein Bars Variations
Feel free to get creative with these buttery and chocolatey treats that are perfect for your taste!
-
Nut-Free: Swap peanut butter for sunflower seed butter to keep things allergen-friendly. It’s still rich and fulfilling, perfect for those avoiding nuts.
-
Fruit Boost: Add 1/2 cup of dried cranberries or raisins for bursts of sweetness and chewy texture. These fruity bites will delight your palate with each bite!
-
Add a Crunch: Incorporate 1/2 cup of crushed nuts or seeds like almonds or pumpkin seeds for added crunch. This twist not only enhances the texture, but it also adds some heart-healthy fats!
-
Coconut Delight: Mix in 1/2 cup of shredded coconut. This tropical addition will provide a lovely chew and aromatic flavor that’s like a mini vacation for your taste buds.
-
Alternative Sweeteners: Use agave nectar instead of honey or maple syrup for a vegan option! It’s a great way to adjust sweetness to your liking without sacrificing health.
-
Protein Twist: Experiment with flavored protein powder, like vanilla or even matcha for a unique spin. This can elevate the bars, making them uniquely yours.
-
Chocolate Overload: For the chocolate lovers, double the cocoa powder and add chocolate chips on top for an extra indulgent treat. It’s chocolate heaven in every bite!
Whether you prefer your bars fruity, nutty, or incredibly chocolatey, these variations are sure to keep your no-bake snacks fresh and exciting. For more easy recipes that align with a healthy lifestyle, check out the delicious Crockpot Coconut Chicken or the delightful Balsamic Fig Chicken!
Make Ahead Options
These No-Bake Chocolate Peanut Butter Protein Bars are perfect for busy home cooks looking to save time during the week! You can prepare the entire mixture up to 24 hours in advance before chilling. Simply follow the recipe steps until you’re ready to refrigerate; press the mixture into the baking dish and cover it tightly to maintain freshness. This prevents the bars from drying out, ensuring they remain just as delicious when served. Once they have chilled and set, store the cut bars in an airtight container in the fridge for up to two weeks, or freeze for longer shelf life. Just grab one when you’re ready to enjoy a protein-packed snack on the go!
Expert Tips for No-Bake Protein Bars
-
Mix Thoroughly: Ensure all ingredients are well combined. This guarantees no dry patches and helps the bars hold together effectively.
-
Press Firmly: When spreading the mixture in the baking dish, pack it down tightly. Loosely pressed bars may crumble when cut, so be diligent!
-
Chill Properly: Refrigerate for a minimum of 1 hour. If left too long, the bars can become overly firm, making them tricky to slice.
-
Flavor Variations: Don’t hesitate to customize your bars! Add spices like cinnamon or nutmeg for an extra flavor boost, or toss in some dried fruit to enhance the healthy snack experience.
-
Storage Tips: Store in an airtight container in the fridge for freshness. They can also be frozen for later enjoyment, perfect for on-the-go snacks!
How to Store and Freeze No-Bake Chocolate Peanut Butter Protein Bars
Fridge: Store the bars in an airtight container, and they will stay fresh for up to two weeks. This keeps them chewy and ready for snacking whenever you need a boost!
Freezer: For longer storage, freeze the bars by individually wrapping them in plastic wrap and placing them in a freezer bag. They can last for up to three months—simply thaw them in the fridge before enjoying!
Reheating: While these bars are best served cold, you can briefly microwave them for about 10 seconds if you prefer a softer texture. Just don’t overheat, as they can become too gooey!
Wrapping: Always make sure to wrap them tightly if you’re freezing for longevity. This prevents freezer burn and ensures that your no-bake bars maintain their delicious chocolate and peanut butter flavor!
What to Serve with No-Bake Chocolate Peanut Butter Protein Bars
These delightful bars are the perfect treat to pair with other wholesome snacks or refreshing drinks to create a satisfying meal or snack time.
- Creamy Greek Yogurt: This light and tangy option is a great companion, offering a refreshing balance to the rich flavors of your bars.
- Fresh Berries: Juicy strawberries or blueberries provide a burst of freshness that complements the sweetness of chocolate and peanut butter beautifully.
- Nutty Trail Mix: Add texture and flavor contrast with a mix of nuts and dried fruits, enhancing your snacking experience with every bite.
- Chia Seed Pudding: A silky, protein-packed dessert that pairs wonderfully with the chewy bars, creating a complete snack rich in nutrients.
- Smoothie Bowl: Blend together your favorite fruits and greens for a vibrant and nourishing drink that refreshes your palate alongside these energy-boosting bars.
- Matcha Latte: For a unique twist, enjoy these bars with a creamy matcha latte, where earthy flavors blend seamlessly with your sweet treat.
- Coconut Chips: These crunchy bites add a tropical flair, enhancing the nutty notes of the protein bars with their delightful sweetness and texture.
- Almond Milk: A glass of chilled almond milk is a light option that beautifully complements the bars, making for a balanced and wholesome indulgence.
- Dark Chocolate Squares: For those who crave more chocolate, pairing these bars with rich dark chocolate squares can elevate your treat to new indulgent heights!
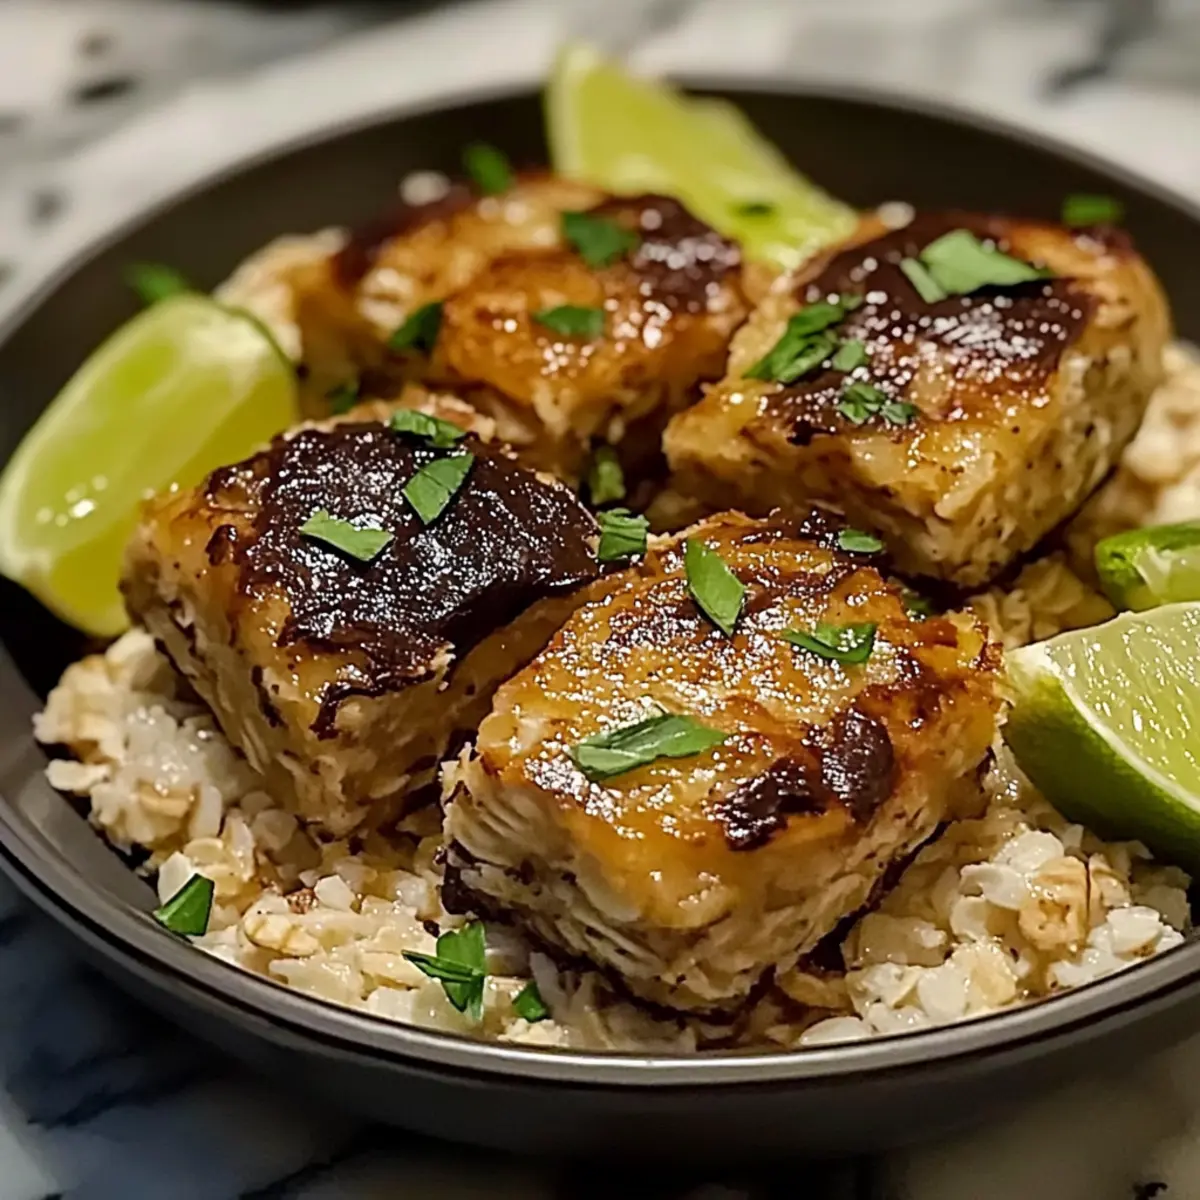
No-Bake Chocolate Peanut Butter Protein Bars Recipe FAQs
How do I choose ripe ingredients for my protein bars?
Absolutely! For oats, look for rolled oats that are whole and intact, avoiding any with discoloration. When selecting peanut butter, go for creamy and natural varieties without added sugars or oils for the best flavor and texture.
How should I store my protein bars, and how long will they last?
These delicious bars can be stored in an airtight container in the refrigerator for up to two weeks. To keep them fresh and chewy, ensure the container is sealed tightly. If you want to extend their shelf life, consider freezing them!
Can I freeze the no-bake protein bars, and what’s the best method?
Yes! For freezing, wrap each bar tightly in plastic wrap and place them in a freezer-safe bag. They can be frozen for up to three months. When you’re ready to enjoy them, simply thaw in the fridge overnight. This method helps preserve their delightful texture and flavor.
What do I do if my bars are too crumbly or fall apart?
If your protein bars crumble, it could be due to not enough binding ingredients. Next time, ensure you’re mixing the peanut butter thoroughly and pressing the mixture firmly into the baking dish. If needed, add a touch more honey or maple syrup for extra moisture when making them.
Are these protein bars suitable for anyone with allergies?
Very! If you’re catering to someone with nut allergies, substitute peanut butter with sunflower seed butter for a tasty nut-free version. Always check the labels of your protein powder and other ingredients for any potential allergens, such as gluten or dairy, to be on the safe side.
Can I personalize my protein bars with other ingredients?
The more the merrier! Feel free to add in ingredients like flax seeds, chia seeds, or your favorite dried fruits to enhance their nutritional value. Just remember to balance the ratios of dry to wet ingredients so your bars hold their shape!
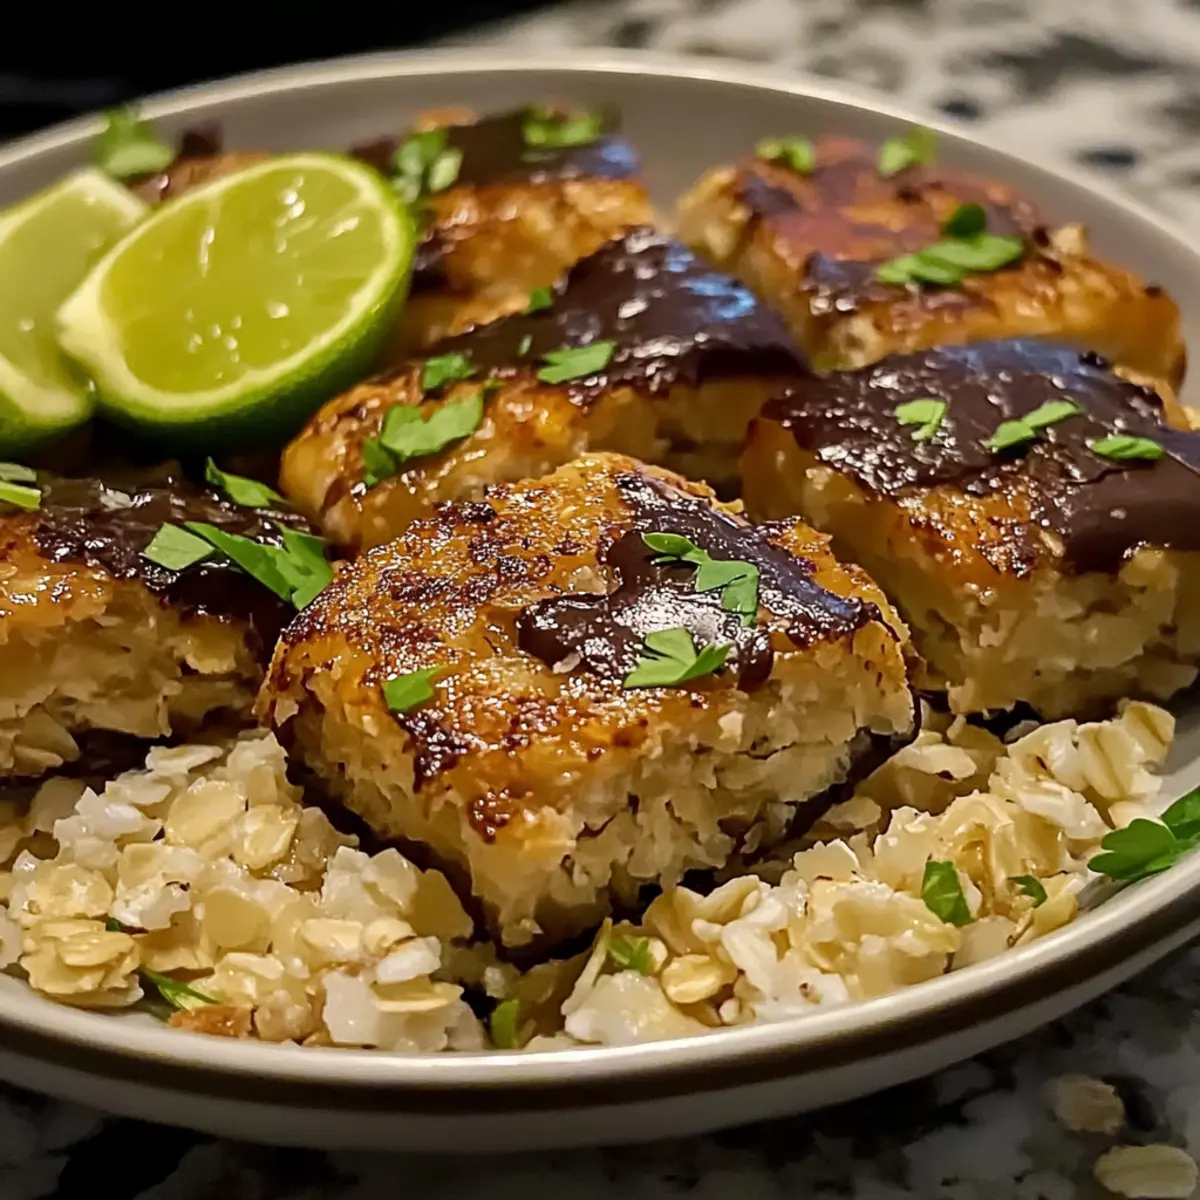
Zesty Coconut Lime Chicken and Rice for a Tropical Escape
Ingredients
Equipment
Method
- In a large mixing bowl, combine rolled oats, protein powder, and cocoa powder. Stir until even.
- Add peanut butter to the dry mixture and mix well until fully coated.
- Pour in honey or maple syrup and mix until sweetener is integrated.
- Line an 8x8 inch baking dish with parchment paper and press the mixture down evenly.
- Sprinkle chocolate chips on top and gently press them into the mixture.
- Refrigerate for at least 1 hour to firm up.
- Remove from dish, cut into bars, and store in an airtight container.
Leave a Reply