
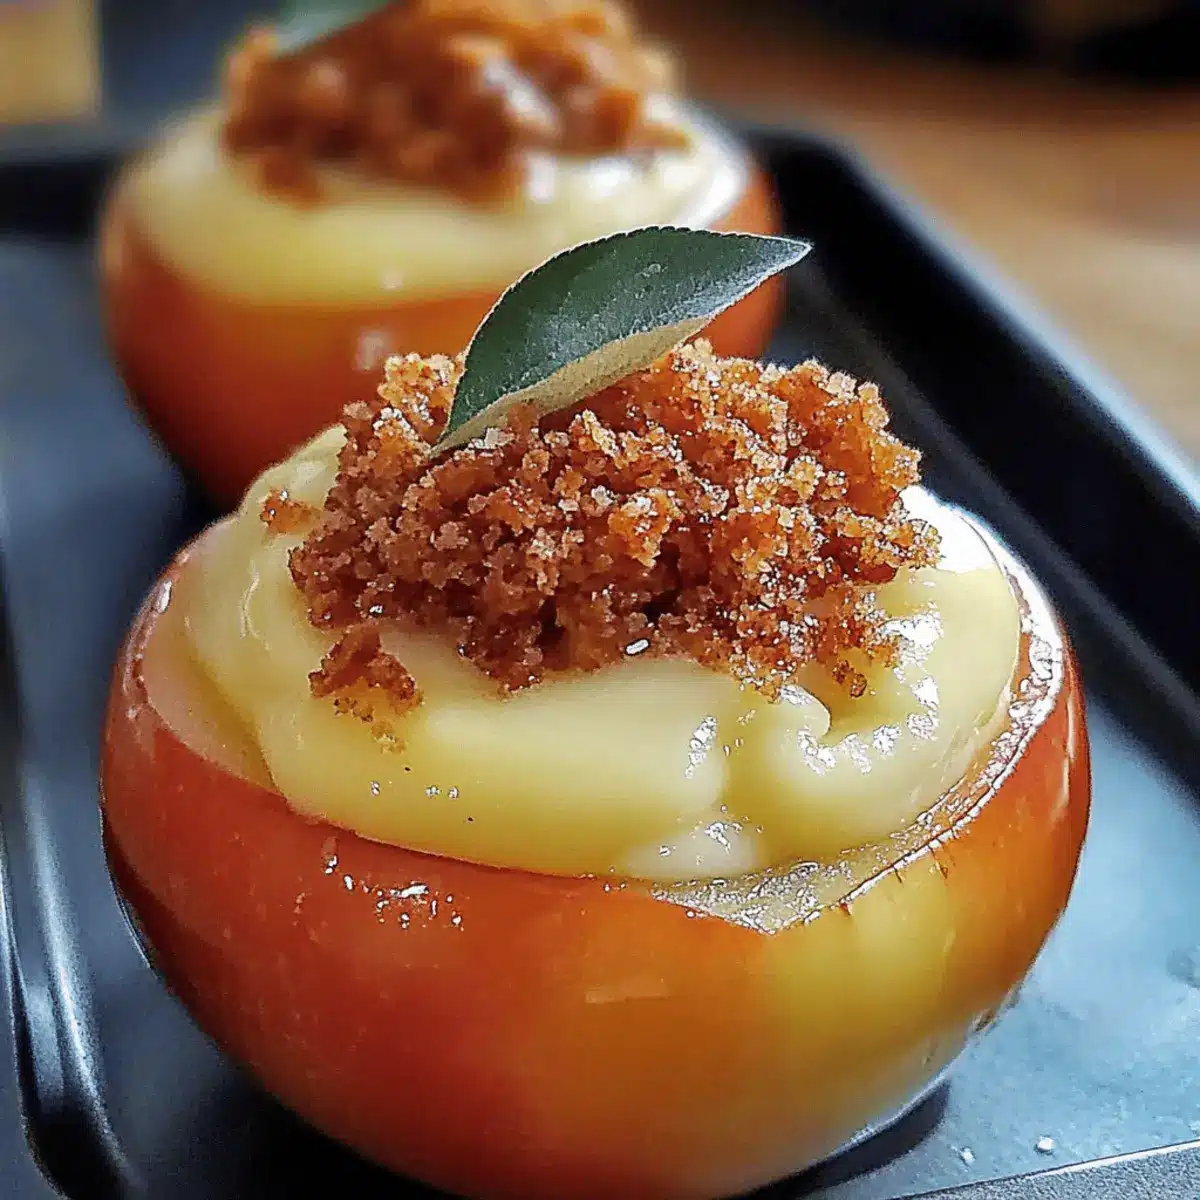
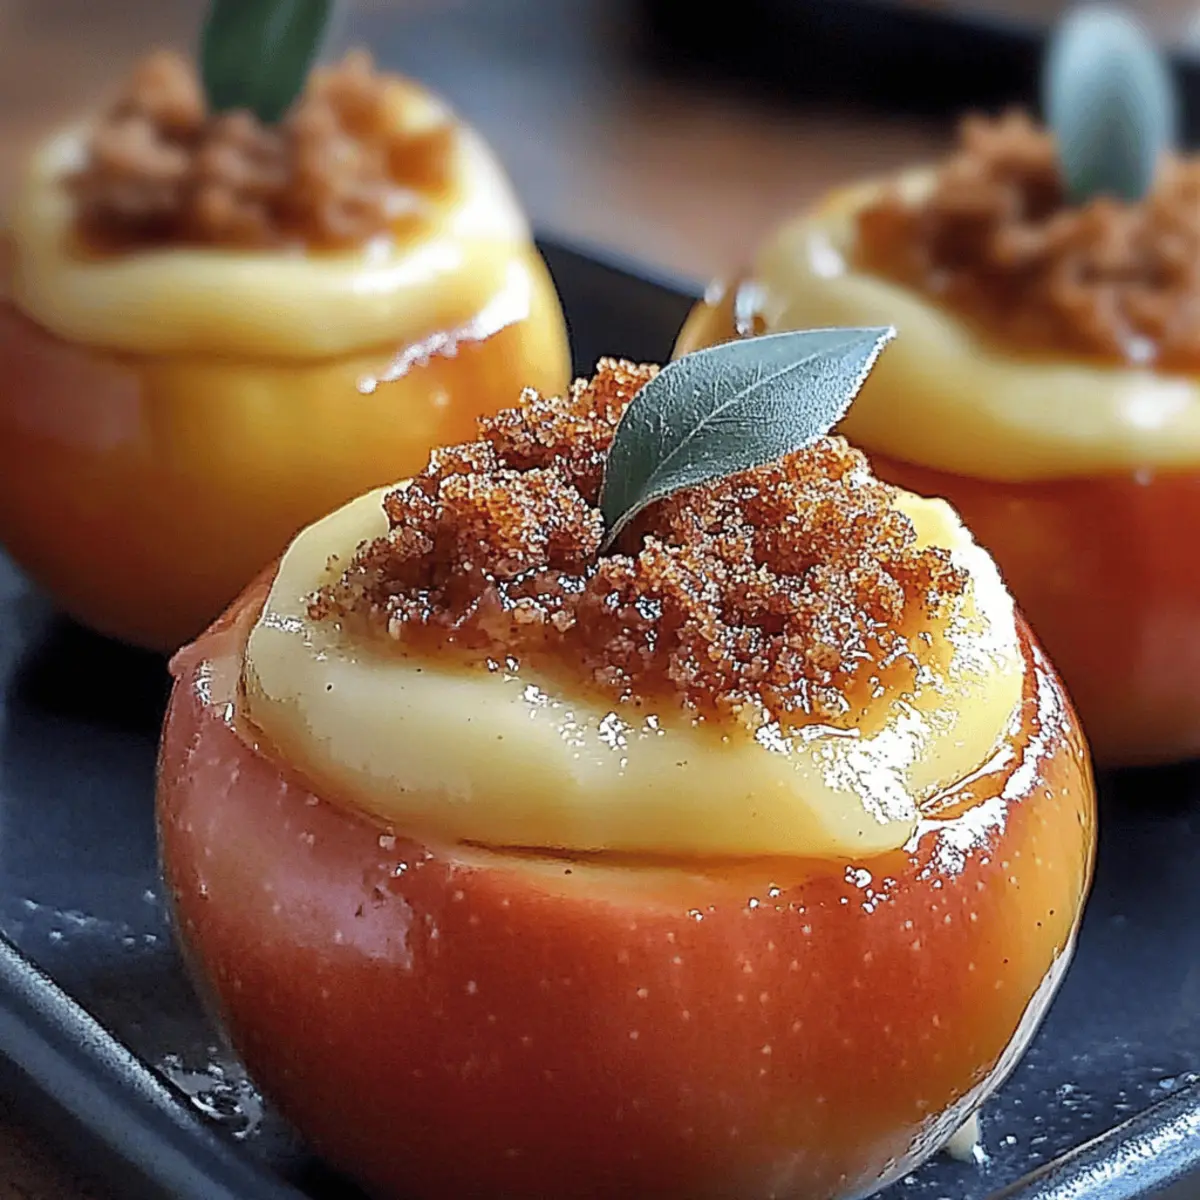
As I pulled a tray of warm apples from the oven, the sweet, cinnamon-infused aroma filled my kitchen, instantly evoking the comfort of autumn gatherings. These Cheesecake Stuffed Apples are not only a nostalgic twist on a classic dessert but also a delightful way to enjoy the cozy flavors of the season. This recipe is perfect for those evenings when you want to impress family and friends without spending hours in the kitchen—it’s quick to prepare and fully customizable! With the rich, creamy cheesecake filling nestled inside tender baked apples, every bite offers a satisfying indulgence that will make you forget all about takeout. So, are you ready to transform a simple apple into a mouthwatering treat that’s sure to become a family favorite?
Why Are Cheesecake Stuffed Apples Irresistible?
Delightful Combination: The sweet, juicy apples paired with a creamy cheesecake filling create a taste sensation that’s hard to resist.
Quick to Prepare: With just a few simple ingredients and straightforward steps, you can whip up this cozy dessert in no time.
Customizable Wonder: Feel free to mix and match your favorite apple varieties and fillings. Whether you prefer a classic style or a pumpkin cheesecake twist, the possibilities are endless!
Crowd-Pleasing Appeal: Perfect for gatherings or family dinners, these stunning stuffed apples will wow your guests and bring smiles all around.
Perfect for Fall: Embrace the essence of autumn with every bite, making this recipe an essential fall favorite! If you’re looking for something even simpler, check out my 5-Ingredient Cheesecake that offers creamy goodness in moments!
Cheesecake Stuffed Apples Ingredients
For the Apples
- Apples – Use Granny Smith for a tart bite or Honeycrisp for natural sweetness.
For the Cheesecake Filling
- Cream Cheese – Ensure it’s softened for easy blending to create a smooth filling.
- Granulated Sugar – Sweetens the filling; consider reducing for a less sweet cheesecake.
- Brown Sugar – Adds a rich, caramel-like flavor to deepen the taste.
- Vanilla Extract – Use pure extract for the most delightful flavor boost.
- Ground Cinnamon – Enhances the warm, comforting taste that pairs perfectly with apples.
- Salt – Balances all the sweetness for a well-rounded flavor.
- Sour Cream – Provides a tangy richness; Greek yogurt can substitute if needed.
- Crushed Graham Crackers – Give a classic cheesecake texture; digestive biscuits work as an alternative.
- Chopped Nuts – Optional, but they add a welcome crunch; walnuts or pecans are great choices.
For Assembly
- Butter – Use it to grease the baking dish for easy removal.
- Lemon Juice – Prevents browning of the apples and elevates overall flavor, making the cheesecake stuffed apples taste fresh.
For Serving
- Caramel Sauce – Drizzle over the apples for an extra touch of sweetness and visual appeal.
These Cheesecake Stuffed Apples are a warm embrace of flavor and comfort—perfect to make your autumn evenings cozy!
Step‑by‑Step Instructions for Cheesecake Stuffed Apples
Step 1: Preheat the Oven
Begin by preheating your oven to 350°F (175°C). This temperature will ensure your Cheesecake Stuffed Apples bake evenly, achieving that perfect tender yet firm texture. While the oven warms up, gather your ingredients and baking equipment to streamline your cooking process.
Step 2: Prepare the Apples
Wash and dry your choice of apples thoroughly. Once dried, carefully core each apple, making sure to leave the bottom intact to hold the delicious filling. As you core them, drizzle a bit of lemon juice inside each apple to enhance the flavors and keep them from browning.
Step 3: Grease the Baking Dish
Using a bit of butter, generously grease a baking dish that can hold all your apples upright. This crucial step prevents sticking and allows for easy removal once your Cheesecake Stuffed Apples are baked to perfection. Arrange the cored apples snugly in the dish, ensuring they stand upright.
Step 4: Make the Cheesecake Filling
In a mixing bowl, beat the softened cream cheese and granulated sugar with a hand mixer until the mixture is smooth and creamy. Gradually add in brown sugar, vanilla extract, ground cinnamon, and a pinch of salt. Blend these ingredients well before folding in sour cream, crushed graham crackers, and any chopped nuts if you desire extra crunch.
Step 5: Stuff the Apples
Spoon the rich cheesecake filling into each cored apple, mounding it slightly at the top for a delightful presentation. Ensure the filling is packed well, but leave enough space to allow for the apples to bake without overflowing. Each Cheesecake Stuffed Apple should be noticeably filled.
Step 6: Bake the Apples
Cover your baking dish with aluminum foil, creating a snug seal, and place it in the preheated oven. Bake for 25-30 minutes, checking that the apples become tender when pierced with a fork. They should retain their shape while softening, ensuring a satisfactory bite.
Step 7: Finish Baking and Brown the Topping
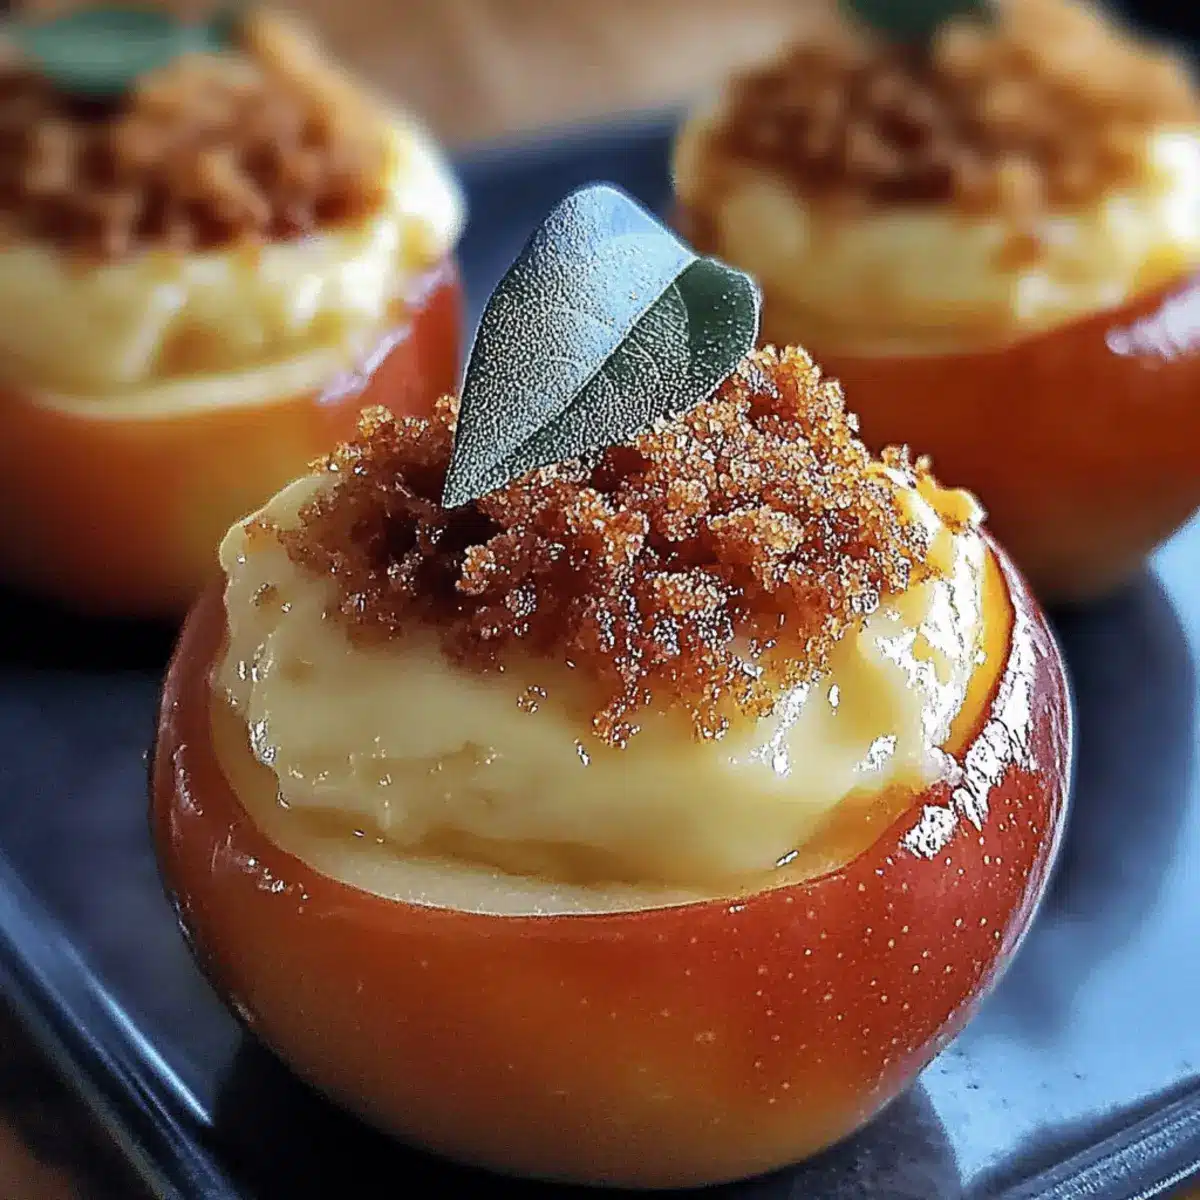
After 30 minutes, carefully remove the foil and return the dish to the oven. Bake uncovered for an additional 10-15 minutes, allowing the tops to turn a delightful golden brown and the filling to set properly. Keep an eye on them to achieve that beautiful, slightly crispy topping.
Step 8: Cool Before Serving
Once baked, remove your Cheesecake Stuffed Apples from the oven and let them cool for about 10 minutes. This cooling period allows the flavors to settle and makes handling the apples easier.
Step 9: Serve with a Drizzle
For an extra touch of indulgence, drizzle a warm caramel sauce over each stuffed apple before serving. Feel free to add a dollop of whipped cream or a scoop of vanilla ice cream on the side for an irresistible finishing touch.
Make Ahead Options
These Cheesecake Stuffed Apples are a fantastic option for meal prep, allowing busy home cooks to enjoy a delightful dessert with minimal hassle. You can prepare the apples and fill them with the cheesecake mixture up to 24 hours in advance; simply keep them covered in the refrigerator to maintain freshness. If you’re looking to take it a step further, you can also bake the stuffed apples and then refrigerate them to enjoy within 3 days—just make sure to reheat them gently in the oven to preserve their tender texture. When it’s time to serve, a quick drizzle of warm caramel sauce will elevate your Cheesecake Stuffed Apples, making them just as delicious and comforting as if they were made that day!
Cheesecake Stuffed Apples: Creative Twists
Invite your culinary spirit to take flight with these delicious customizations that amplify the joy of your Cheesecake Stuffed Apples!
-
Various Apple Types: Try using Fuji for a sweeter bite or Granny Smith for a zesty twist. Each kind brings a unique flavor, allowing you to personalize your treat.
-
Chocolate Cheesecake Filling: Swap the classic cheesecake filling for a rich chocolate version. Just blend in cocoa powder to the cream cheese mixture for a delightful twist that chocolate lovers will adore.
-
Pumpkin Spice Variation: For a seasonal flair, mix in pumpkin puree and spice with cinnamon, nutmeg, and cloves. This variation creates a cozy warmth that’s perfect for fall gatherings.
-
Nut-Free Option: Omit nuts in the filling and topping for a nut-free dessert. You can substitute crushed graham crackers with crushed cookies for an equally crunchy topping!
-
Maple Syrup Sweetener: Replace granulated sugar with pure maple syrup in the filling for a unique sweetness that complements the apples beautifully.
-
Vegan Version: Use dairy-free cream cheese and coconut yogurt to create a vegan cheesecake filling. This way, even plant-based eaters can delight in this warm, comforting dessert.
-
Extra Crunch: Top your apples with a streusel topping made from oats, flour, and brown sugar for added texture. This twist invites a delightful crunch to every bite!
-
Spicy Kick: Add a sprinkle of cayenne or red pepper flakes to the cheesecake filling for an unexpected spicy kick. The heat complements the sweetness, creating a flavor explosion.
Feel free to explore these variations, and if you’re looking for something simpler, consider whipping up my 5-Ingredient Cheesecake for a quick indulgence!
What to Serve with Cheesecake Stuffed Apples
As you savor the warm decadence of these delightful treats, imagine the perfect accompaniments to elevate your dessert experience.
- Creamy Vanilla Ice Cream: A scoop of vanilla ice cream melts beautifully over the warm apples, enhancing the richness and providing a refreshing contrast.
- Whipped Cream Topping: Light and airy, a dollop of whipped cream adds a lovely balance of creaminess to each bite, making the dessert feel even more indulgent.
- Caramel Sauce Drizzle: If you haven’t already, an extra drizzle of warm caramel sauce enriches the sweetness and adds an inviting, gooey texture.
- Chopped Nuts: Sprinkle additional chopped walnuts or pecans on top for a crunchy texture that beautifully contrasts the creamy filling. The nuts also add a lovely earthy note.
- Chai Tea: The spices in chai tea complement the cinnamon in the apples, creating a warm, flavorful pairing that enchants your palate. Enjoy it steaming hot alongside your dessert.
- Cinnamon Sugar Tortilla Chips: For a fun twist, serve crispy, cinnamon sugar-dusted tortilla chips that your guests can dip into the cheesecake filling—perfect for a unique texture experience!
- Warm Apple Cider: Embrace the fall flavors with a cozy cup of warm apple cider. Its sweet and spiced notes perfectly harmonize with the cheesecake stuffed apples.
- Pumpkin Spice Latte: This seasonal favorite echoes the warmth of the baked apples and cinnamon, making it a perfect drink companion for a cozy night in.
Storage Tips for Cheesecake Stuffed Apples
-
Room Temperature: Enjoy Cheesecake Stuffed Apples warm out of the oven, but if needed, they can be kept at room temperature for up to 2 hours before needing refrigeration.
-
Fridge: Store any leftover stuffed apples in an airtight container in the fridge for up to 3 days. Reheat gently in the microwave or oven to restore warmth and texture.
-
Freezer: These delicious desserts can be frozen before baking! Wrap individually in plastic wrap and place in a freezer-safe container for up to 2 months. Bake directly from frozen, adding a few extra minutes to the cooking time.
-
Reheating: To reheat chilled or frozen Cheesecake Stuffed Apples, bake in a preheated oven at 350°F (175°C) for about 15-20 minutes until warmed through, ensuring they stay moist and delicious.
Expert Tips for Cheesecake Stuffed Apples
-
Choose the Right Apples: Select apples with a balance of sweetness and tartness—Granny Smith for a tangy bite or Honeycrisp for sweetness. Avoid overly soft apples that may collapse during baking.
-
Soften Cream Cheese: Before mixing, ensure the cream cheese is at room temperature for smooth blending. Hard cream cheese can lead to lumps in your cheesecake filling.
-
Don’t Overbake: Keep a close eye on the bake time; overbaking can result in mushy apples. Aim to check for tenderness after 25 minutes for perfect texture.
-
Piping Made Easy: Use a piping bag to stuff the apples neatly if you want a more polished look. This method prevents mess and ensures an even distribution of the filling.
-
Customize Wisely: Feel free to mix up the flavors in your cheesecake filling, but keep measurements consistent to avoid compromising texture. Cheesecake Stuffed Apples are a wonderful canvas for your creativity!
-
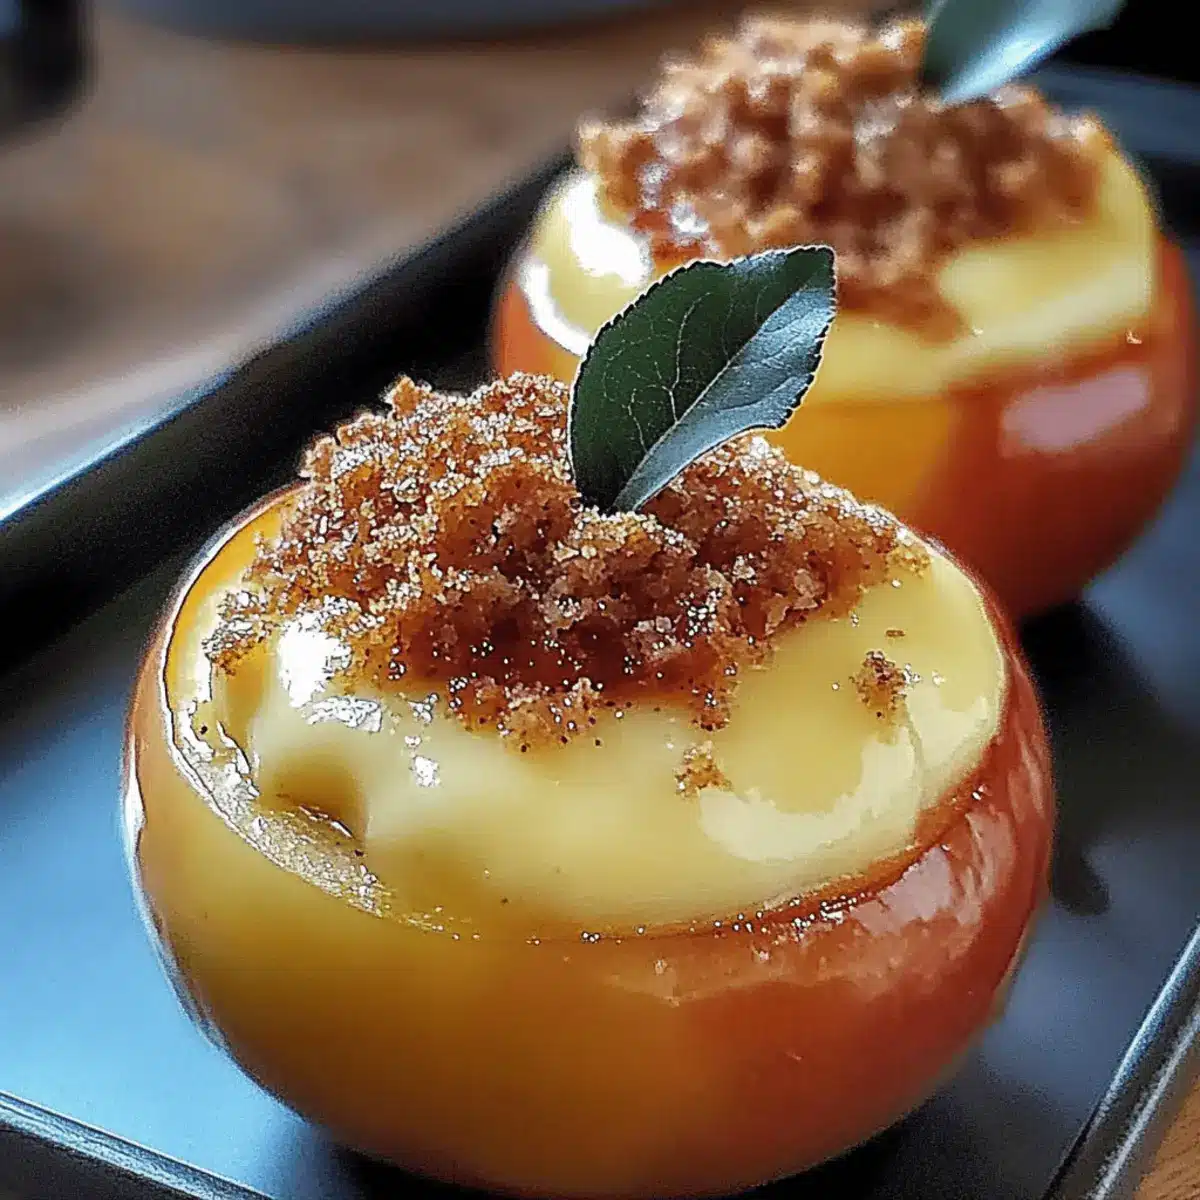
Best Served Fresh: For the ultimate experience, serve warm from the oven, drizzled with caramel sauce. These flavors shine brightest when enjoyed fresh!
Cheesecake Stuffed Apples Recipe FAQs
What type of apples work best for Cheesecake Stuffed Apples?
When choosing apples for your Cheesecake Stuffed Apples, go for varieties that offer a balance of sweetness and tartness. Granny Smith apples are great for a tart kick, while Honeycrisp apples lend a sweeter flavor. Fuji or Gala apples are also excellent choices for a more mellow sweetness. Just make sure to avoid overly soft apples that might collapse during baking!
How should I store leftover Cheesecake Stuffed Apples?
To keep your leftover Cheesecake Stuffed Apples fresh, store them in an airtight container in the refrigerator. They can last up to 3 days. If you’re reheating them, use the oven at 350°F (175°C) for about 15-20 minutes until warmed through for the best texture. Alternatively, if they haven’t been baked yet, you can freeze them!
Can I freeze Cheesecake Stuffed Apples?
Absolutely! To freeze unbaked Cheesecake Stuffed Apples, wrap each stuffed apple tightly in plastic wrap and place them in a freezer-safe container. They can be stored in the freezer for up to 2 months. When you’re ready to bake them, just remove them from the freezer and place them directly in a preheated oven. You may need to add an extra few minutes to the baking time for them to cook through properly.
What should I do if my cheesecake filling is lumpy?
If you find that your cheesecake filling is lumpy, don’t worry—this can happen if the cream cheese isn’t softened enough. To fix it, try beating the mixture a bit longer with a hand mixer until it reaches a smooth consistency. You can also mix in the sugar gradually and ensure everything is at room temperature before you begin. This will help create that lovely creamy filling you’re after!
Are there any allergens in Cheesecake Stuffed Apples?
Yes, this recipe contains dairy (from cream cheese, sour cream, and butter) and can also contain gluten (from graham crackers or digestive biscuits). If anyone in your household has allergies, feel free to substitute with dairy-free alternatives like vegan cream cheese and gluten-free crackers for the filling. Always double-check labels and consult with a family member or friend regarding dietary concerns.
Cheesecake Stuffed Apples: A Cozy Fall Dessert Delight
Ingredients
Equipment
Method
- Preheat your oven to 350°F (175°C).
- Wash and dry your apples, core each one while keeping the bottom intact, and drizzle with lemon juice.
- Grease a baking dish with butter and arrange the cored apples upright inside.
- In a mixing bowl, beat cream cheese and granulated sugar until smooth, then add brown sugar, vanilla, ground cinnamon, and salt. Blend well, then fold in sour cream, crushed graham crackers, and chopped nuts.
- Stuff each apple with the cheesecake filling, mounding slightly at the top.
- Cover the baking dish with foil and bake in the preheated oven for 25-30 minutes until apples are tender.
- Remove the foil and bake for an additional 10-15 minutes until tops are golden brown.
- Let the apples cool for about 10 minutes before serving.
- Drizzle with caramel sauce before serving, optionally add whipped cream or vanilla ice cream.
Leave a Reply