
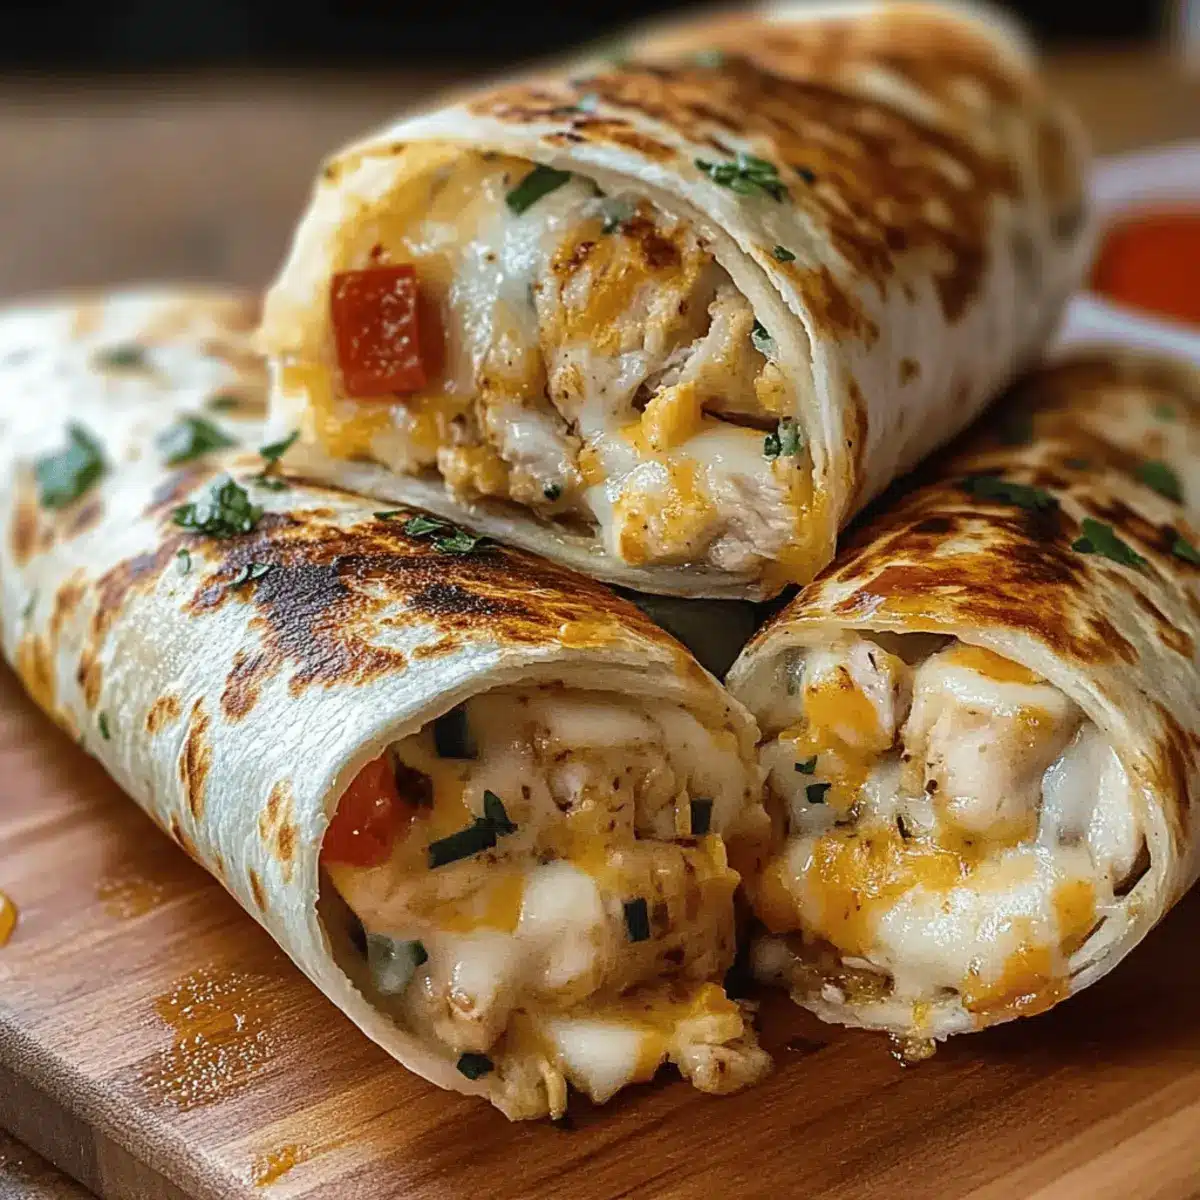
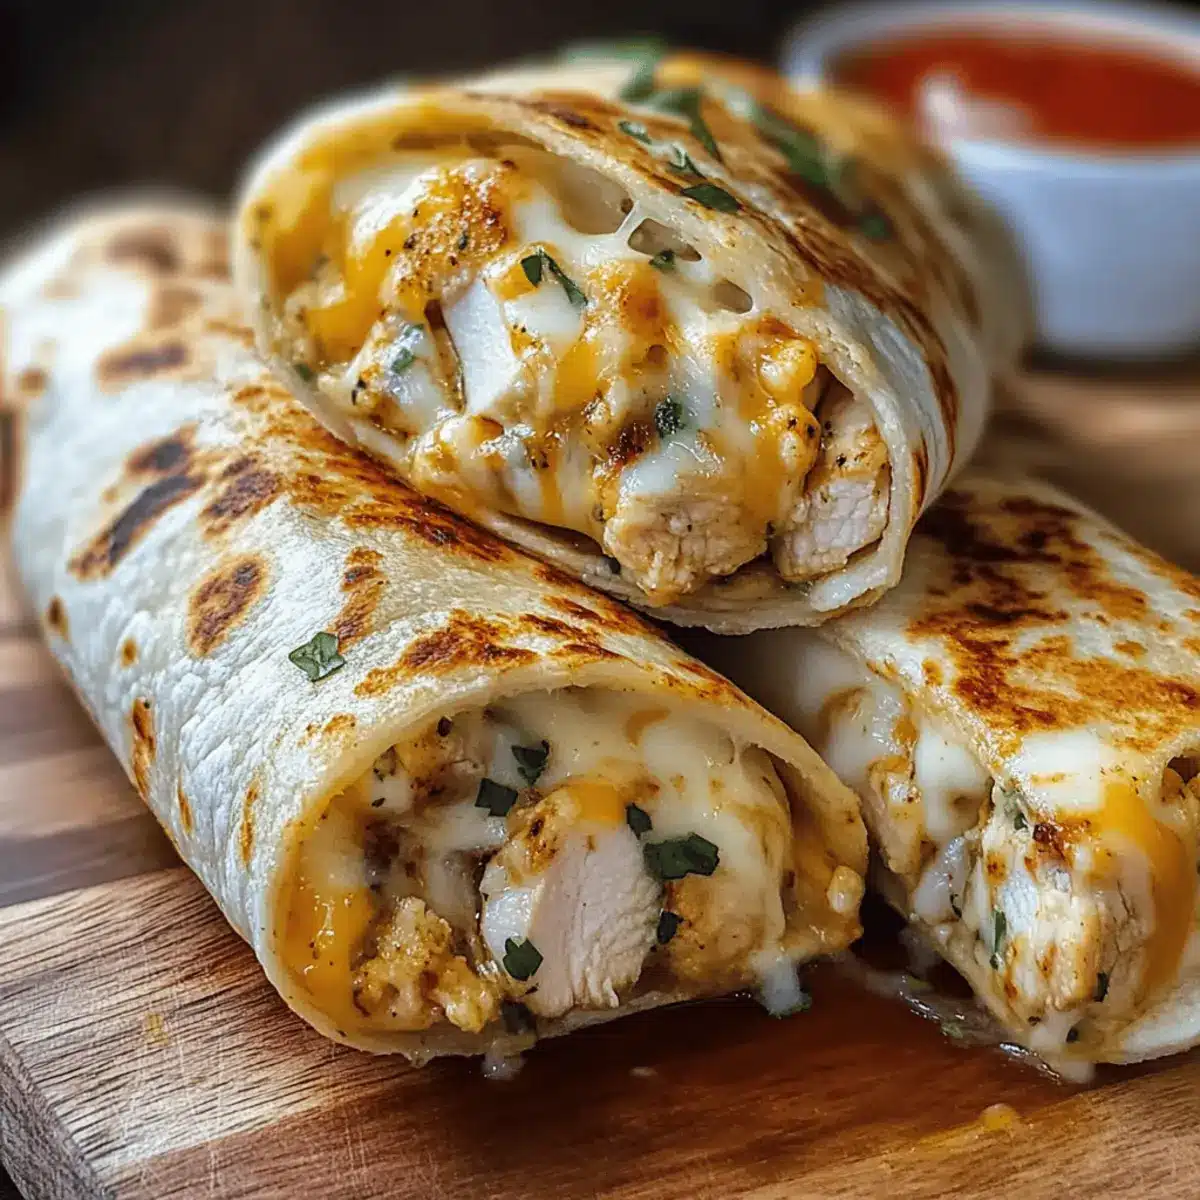
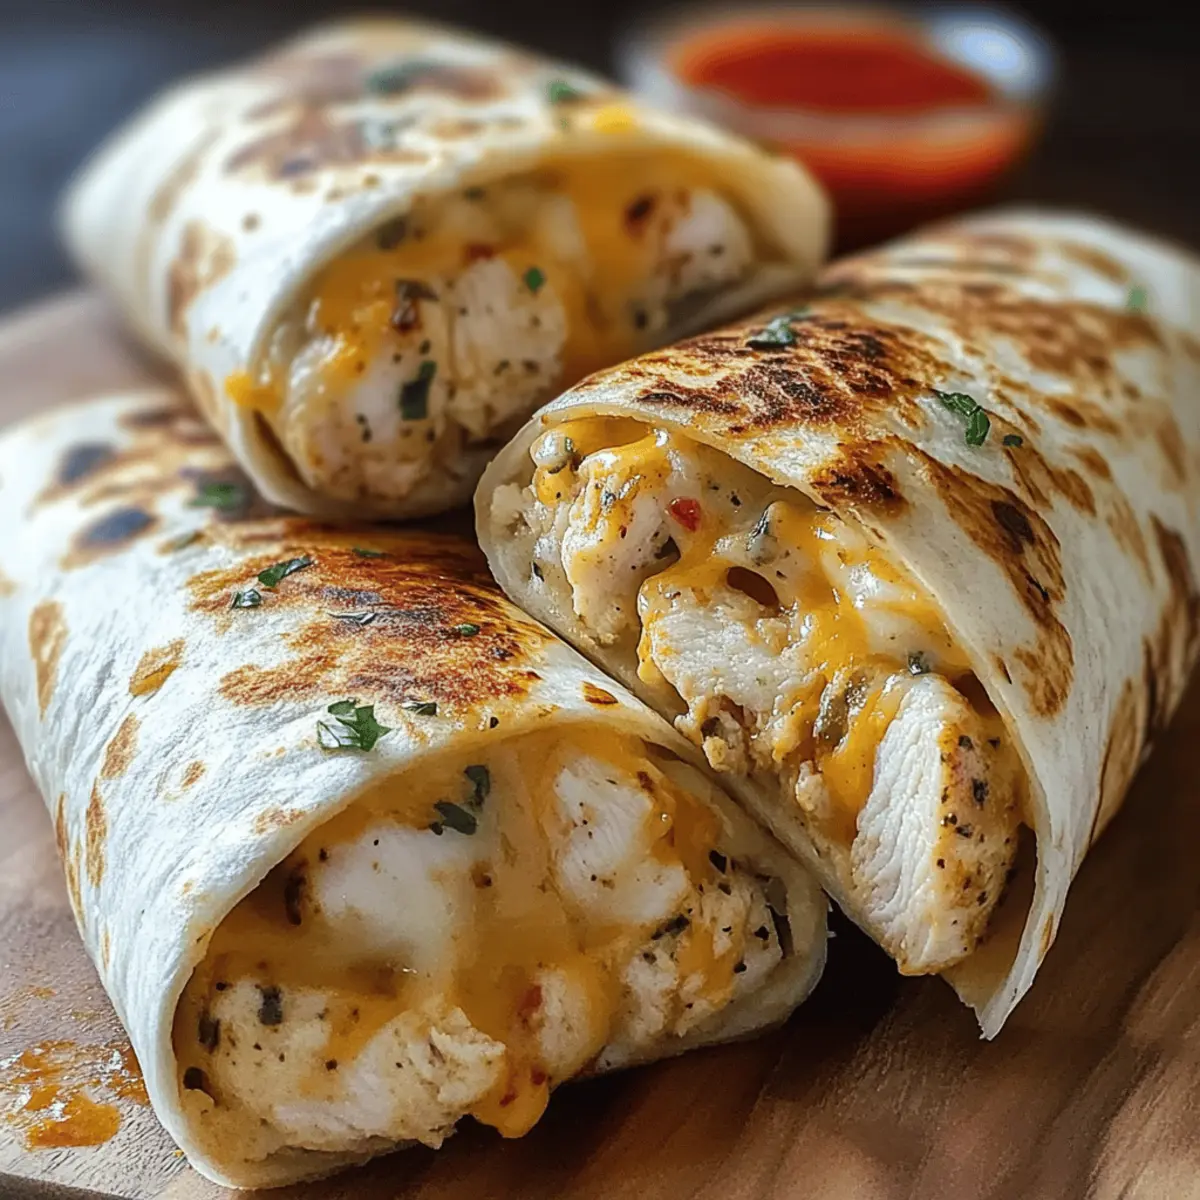
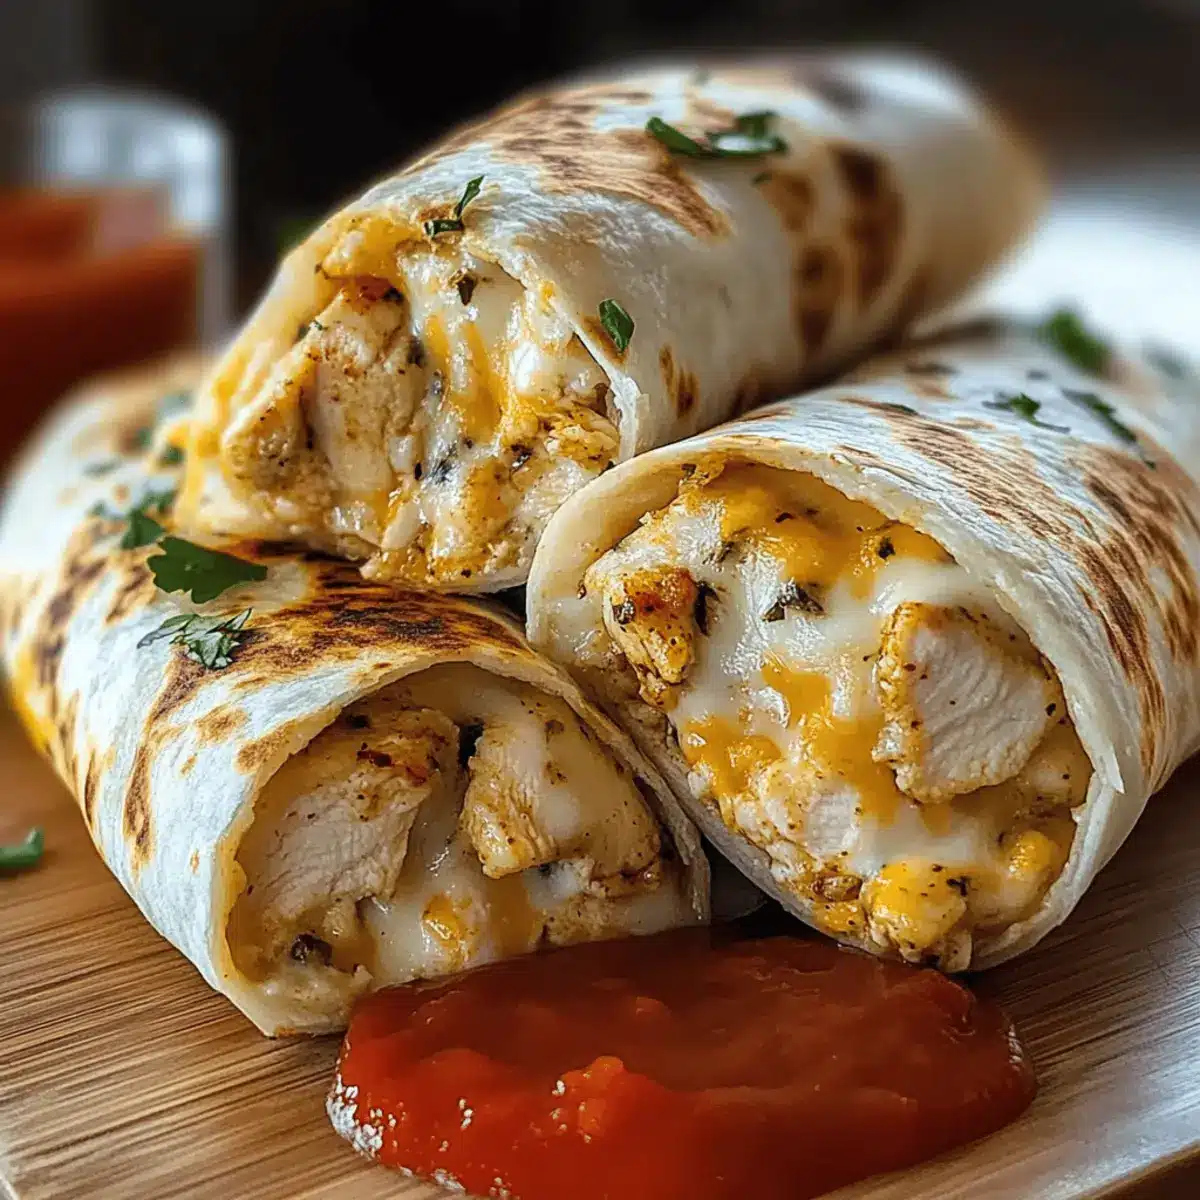
Fragrant garlic wafting through the kitchen is more than just an aroma; it’s an invitation to gather around the table. As I prepared these Cheesy Garlic Chicken Wraps, I couldn’t help but feel nostalgic, reminiscent of cozy weeknight dinners where each bite brings warmth and comfort. With their combination of juicy chicken and rich, melty cheese wrapped in a golden tortilla, these wraps are not only a delightful indulgence but also adaptable to your cravings. Whether you’re in need of a quick weeknight dinner or a fun dish for casual gatherings, these wraps are perfect for every occasion. Plus, the ease of customization means you can explore different cheese types and fillings, ensuring that every meal is uniquely yours. Ready to whip up something deliciously satisfying? Let’s dive in!
Why Are These Wraps So Appealing?
Customizable options make these wraps a favorite! You can easily substitute different cheeses and veggies, ensuring there’s a perfect version for everyone.
Quick and Easy to whip up, you’ll have a delicious dinner ready in no time! Perfect for busy weeknights or unexpected guests.
Crowd-Pleasing Flavor: The combination of garlic, cheese, and tender chicken creates a dish that satisfies even the pickiest eaters, making it a surefire hit at any gathering.
Meal Prep Friendly: These wraps can be made ahead, packed for lunch, or reheated for a satisfying snack, all while keeping their crispy charm intact.
Check out our tips on customizing your wraps and serving suggestions!
Cheesy Garlic Chicken Wrap Ingredients
• Get ready to dive into this delicious dish!
For the Chicken Mix
- Chicken – A hearty protein base; feel free to use rotisserie or cooked ground chicken for quicker prep.
- Garlic – Adds bold flavor and aroma; fresh minced garlic will elevate your wraps to new heights.
- Olive Oil – Essential for sautéing, adding flavor; substitute with butter for a richer taste.
For the Wrap Assembly
- Cheese (e.g., mozzarella, cheddar) – Provides that irresistible melt and creaminess; consider pepper jack for some heat or gouda for extra creaminess.
- Tortilla – The perfect encasement for your filling; choose regular or gluten-free tortillas based on your needs.
- Butter – Used for crisping the wraps; brushing with garlic butter adds an extra layer of flavor.
- Chopped Parsley (optional) – For garnish; it adds a pop of freshness and color to your wraps.
These Cheesy Garlic Chicken Wraps are adaptable to suit your cravings, so unleash your creativity!
Step‑by‑Step Instructions for Cheesy Garlic Chicken Wraps
Step 1: Cook the Chicken
Begin by seasoning your chicken with salt and pepper to enhance its flavor. You can bake, sauté, or grill it until fully cooked; this typically takes about 8-10 minutes over medium-high heat. Once done, let the chicken rest for a few minutes before dicing it into bite-sized pieces, ensuring it remains juicy for your cheesy garlic chicken wraps.
Step 2: Sauté Garlic
In a medium skillet, heat 2 tablespoons of olive oil over medium heat. Add 2-3 cloves of minced garlic and sauté for about 30 seconds, stirring frequently until the garlic turns golden and aromatic. Be careful not to let it burn, as this can impart a bitter flavor. This step infuses the oil with a rich garlic flavor, perfect for your wraps.
Step 3: Combine Ingredients
Toss the diced chicken into the skillet with the sautéed garlic, mixing well to coat the chicken in that flavorful oil. Remove the skillet from heat and immediately stir in 1-2 cups of shredded cheese (like mozzarella or cheddar), allowing the cheese to melt into a gooey mixture. This cheesy garlic chicken filling is the heart of your wraps!
Step 4: Prepare Wraps
Grab your tortillas and lay them flat on a clean surface. Spoon a generous amount of the cheesy garlic chicken mixture onto the center of each tortilla. Fold in the sides and roll it up tightly, securing the filling inside. This ensures a delightful bite each time you enjoy your cheesy garlic chicken wraps.
Step 5: Cook Wraps
In the same skillet, melt a tablespoon of butter over medium heat. Place the wraps seam-side down in the pan and gently press them to encourage crisping. Cook each side for about 2-3 minutes until they are golden brown and crispy. This step adds a delightful crunch, balancing the gooey filling in your wraps.
Step 6: Rest and Serve
Once golden, remove the wraps from the skillet and let them rest for 1-2 minutes on a cutting board. This helps to set the filling for a cleaner cut. If desired, garnish with chopped parsley for a pop of color and freshness before slicing them into halves or quarters for a perfect presentation of your cheesy garlic chicken wraps.
What to Serve with Cheesy Garlic Chicken Wraps
Fragrant bites of cheesy garlic chicken are just the beginning; let’s elevate this dish into a meal that dazzles the senses!
- Fresh Green Salad: A crisp salad with mixed greens and a tangy vinaigrette provides a refreshing contrast to the warm, cheesy wraps.
- Tomato Soup: A bowl of creamy tomato soup not only complements the wraps but offers a comforting dipping option that enhances each bite.
- Seasoned Potato Wedges: Crispy potato wedges seasoned with garlic and herbs add extra crunch and flavor—perfect for scooping up any leftovers!
Pairing these wraps with your favorite sides creates a delightful balance that makes your meal unforgettable, inviting everyone to come back for seconds!
-
Coleslaw: Light and crunchy coleslaw brings a zesty touch that cuts through the richness of the cheesy filling, refreshing the palate.
-
Sparkling Lemonade: The tartness of lemonade adds a bright, fizzy element, washing down the savory flavors beautifully while keeping your meal lively.
-
Fruit Salad: A vibrant fruit salad with seasonal fruits offers a sweet contrast, rounding out your meal with a burst of freshness.
-
Garlic Bread Sticks: For garlic aficionados, crispy breadsticks brushed with garlic butter provide that extra layer of taste, ensuring no one leaves hungry.
Cheesy Garlic Chicken Wraps Variations
Feel free to make these wraps your own with exciting twists and substitutions!
-
Cheese Swap: Try using pepper jack for an extra kick or creamy gouda for a unique flavor. Their melting properties ensure your wraps remain delectably gooey.
-
Vegetable Additions: Add spinach, mushrooms, or sautéed onions to elevate the nutritional profile and add delightful textures. Even a sprinkle of diced bell peppers can brighten the flavor!
-
Heat Level: Stir in crushed red pepper or jalapeños if you crave some spice. These additions infuse your wraps with warmth that complements the garlic beautifully.
-
Herb Infusion: Add fresh herbs like basil or cilantro to the chicken mixture before wrapping for a fresh, vibrant zing. A hint of mixed herbs can bring your wraps to life with enticing aromas.
-
Gluten-Free Options: Opt for certified gluten-free or low-carb tortillas to accommodate dietary needs while still enjoying the deliciousness of these wraps. They’ll taste just as great with no compromise!
-
Dinner Bowl: Transform this wrap into a delightful dinner bowl by layering the cheesy garlic chicken mix over a bed of rice or lettuce. Drizzle some salsa or dressing for added flair!
-
Creative Dipping Sauces: Elevate your experience by serving these wraps with a side of ranch dressing, spicy aioli, or homemade salsa. A little dip can elevate the flavor explosion!
For more inspiring ideas, check out our helpful section on customizing your wraps and dive into serving suggestions to make your meal even more delightful. Enjoy!
Expert Tips for Cheesy Garlic Chicken Wraps
• Perfectly Cooked Chicken: Make sure the chicken is cooked to an internal temperature of 165°F to ensure safety and juiciness.
• Garlic Sauté Timing: Don’t overcook the garlic! Sauté for no more than 30 seconds to prevent a bitter taste in your cheesy garlic chicken wraps.
• Cheese Melting Tips: For the best melt, add cheese off the heat, allowing it to combine without overcooking and becoming tough.
• Wrap Sealing Technique: Roll your tortillas tightly and secure the edges; this prevents spillage while cooking and ensures every bite is filled with deliciousness.
• Crispiness Boost: Brush the outside of the wraps with melted garlic butter before cooking them in the skillet for an extra layer of flavor and crunch.
How to Store and Freeze Cheesy Garlic Chicken Wraps
Room Temperature:: Enjoy your cheesy garlic chicken wraps fresh for optimal flavor. If left at room temperature, consume within 2 hours to ensure food safety.
Fridge:: Store leftover wraps in an airtight container in the fridge for up to 3 days. Reheat them in a skillet to maintain their crispy texture.
Freezer:: For longer storage, place the wraps in a freezer-safe bag or container and freeze for up to 2 months. To reheat, thaw overnight in the fridge and warm in the skillet.
Reheating:: To restore their crispy goodness, reheat the wraps in a skillet over medium heat for 3-5 minutes on each side until heated through and crispy again. Enjoy your delicious cheesy garlic chicken wraps!
Make Ahead Options
These Cheesy Garlic Chicken Wraps are fantastic for meal prep enthusiasts! You can prepare the cheesy filling (chicken, garlic, and cheese) up to 24 hours in advance. Simply let it cool completely after cooking, then store it in an airtight container in the refrigerator. When you’re ready to enjoy, warm the filling in a skillet until heated through and proceed to assemble the wraps as usual. To maintain the wraps’ crispiness, avoid wrapping them until ready to cook. This way, you can savor the delightful crunch of each bite while enjoying a homemade meal with minimal effort on busy weeknights!
Cheesy Garlic Chicken Wraps Recipe FAQs
What type of chicken should I use for the wraps?
Absolutely! For the best flavors and convenience, you can use rotisserie chicken or cooked ground chicken, which saves time in preparation. If you prefer, you can also grill or sauté raw chicken, seasoning it well with salt and pepper, cooking until it reaches an internal temperature of 165°F.
How should I store leftover Cheesy Garlic Chicken Wraps?
Very well! Store any leftovers in an airtight container in the refrigerator for up to 3 days. I recommend reheating them in a skillet rather than a microwave to maintain their crispy texture. Just heat them over medium heat for 3-5 minutes on each side, and they will taste almost as good as fresh!
Can I freeze Cheesy Garlic Chicken Wraps?
Absolutely! You can freeze these wraps for up to 2 months. To do this, place them in a freezer-safe container or bag, removing as much air as possible. When you’re ready to enjoy them, thaw overnight in the refrigerator. Reheat in a skillet over medium heat for a few minutes on each side to crisp them back up.
What are some common troubleshooting tips for making these wraps?
One common issue is the wraps spilling during cooking. To prevent this, make sure to roll them tightly and secure the edges well. If your chicken mixture is too wet, it may cause sogginess, so ensure you drain any excess liquid before filling the tortillas. For an even crispier wrap, consider brushing the outside with garlic butter before cooking!
Are these wraps suitable for those with food allergies?
Great question! These wraps offer fantastic adaptability. For gluten-free options, simply choose certified gluten-free tortillas. If anyone has dairy allergies, you can swap out cheese for a dairy-free alternative or omit it entirely, adding extra veggies for flavor. Always double-check the ingredient labels for potential allergens.
How ripe should the garlic be for the best flavor?
For the best aroma and flavor, opt for fresh, firm garlic cloves without any dark spots or sprouting. If the garlic has a strong odor and is overly soft, it may be past its prime and could impart a bitter taste. Using fresh minced garlic will truly elevate your Cheesy Garlic Chicken Wraps!
Cheesy Garlic Chicken Wraps for Quick, Delicious Dinners
Ingredients
Equipment
Method
- Season chicken with salt and pepper, cook until fully cooked (8-10 minutes). Let rest, then dice.
- Heat olive oil in a skillet, sauté minced garlic for 30 seconds until golden.
- Combine diced chicken with sautéed garlic, add cheese to melt and mix.
- Lay tortillas flat, fill with chicken mixture, fold sides, roll tightly.
- Melt butter in skillet, place wraps seam-side down, cook until golden brown (2-3 minutes each side).
- Let wraps rest for 1-2 minutes, garnish with parsley if desired, then slice to serve.
Leave a Reply