
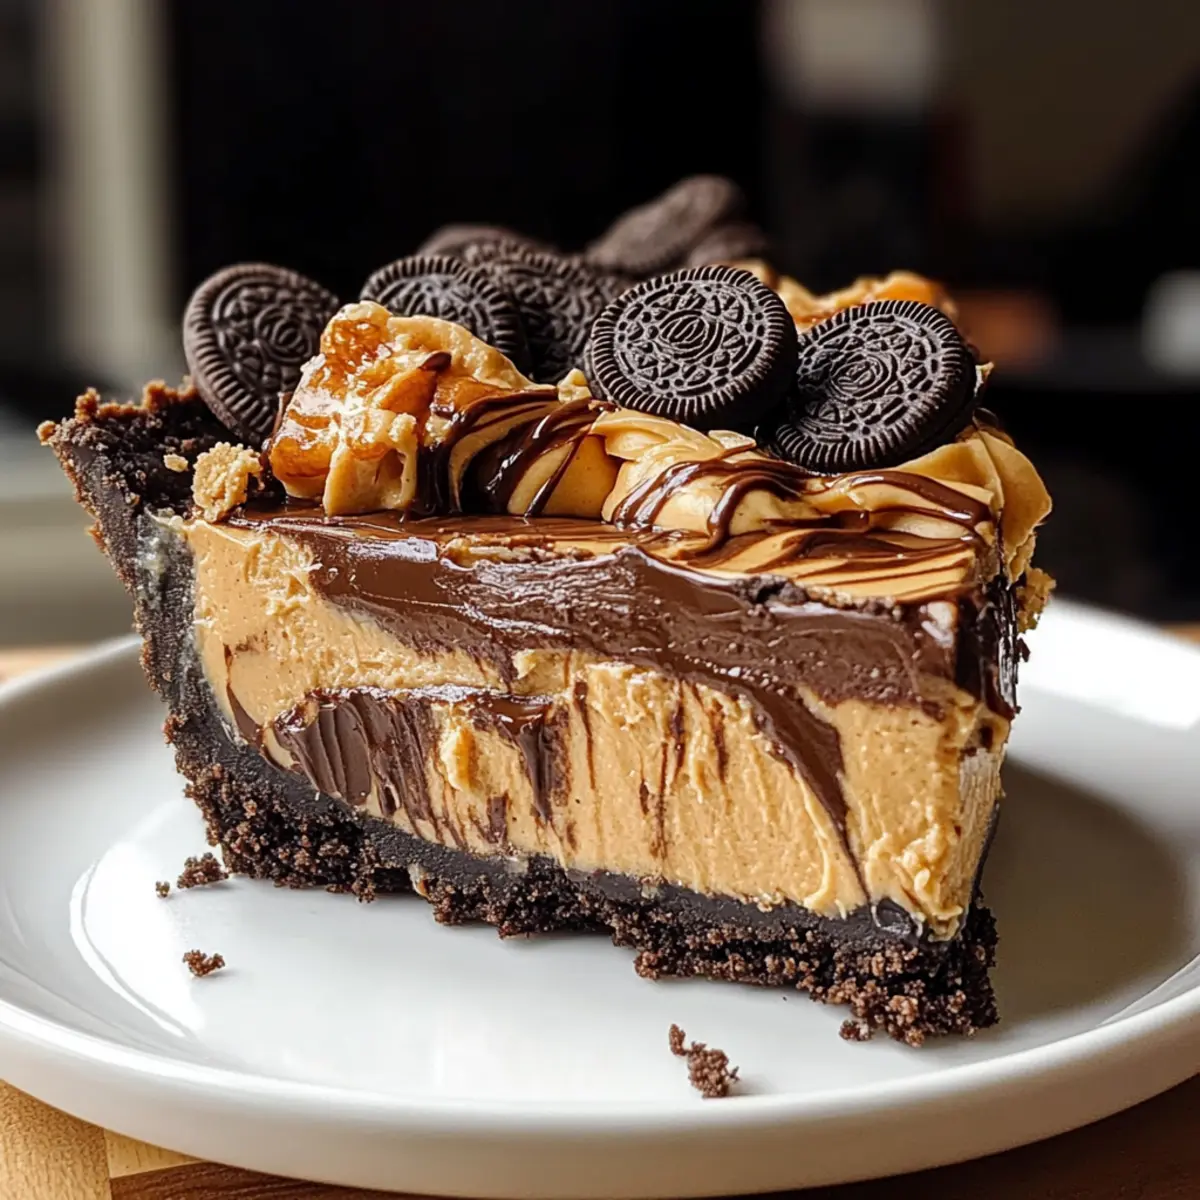
Did you know that the simplest pleasures often come from the most delicious combinations? Enter my No-Bake Chocolate Peanut Butter Pie—a heavenly fusion of rich chocolate and creamy peanut butter that’s bound to become your family’s new favorite dessert. This delectable treat is not only incredibly easy to whip up, but it also offers the delightful crunch of an Oreo crust that everyone will love. With its kid-friendly appeal and the potential to be gluten-free, this pie is perfect for gatherings or a cozy night in. And trust me, one slice won’t be enough! Are you ready to dive into a dessert that’ll have you dreaming sweetly? Let’s get started on this delightful creation!
Why is this pie a must-try?
Decadent Flavor: Rich chocolate and creamy peanut butter create a heavenly combination that satisfies any sweet tooth, making it a favorite for kids and adults alike.
Effortless Prep: No-bake means you can whip it up in no time, perfect for last-minute gatherings or casual family dinners.
Customizable Options: Easily modify the recipe with gluten-free cookies or different chocolate varieties for a personalized twist that suits your preferences.
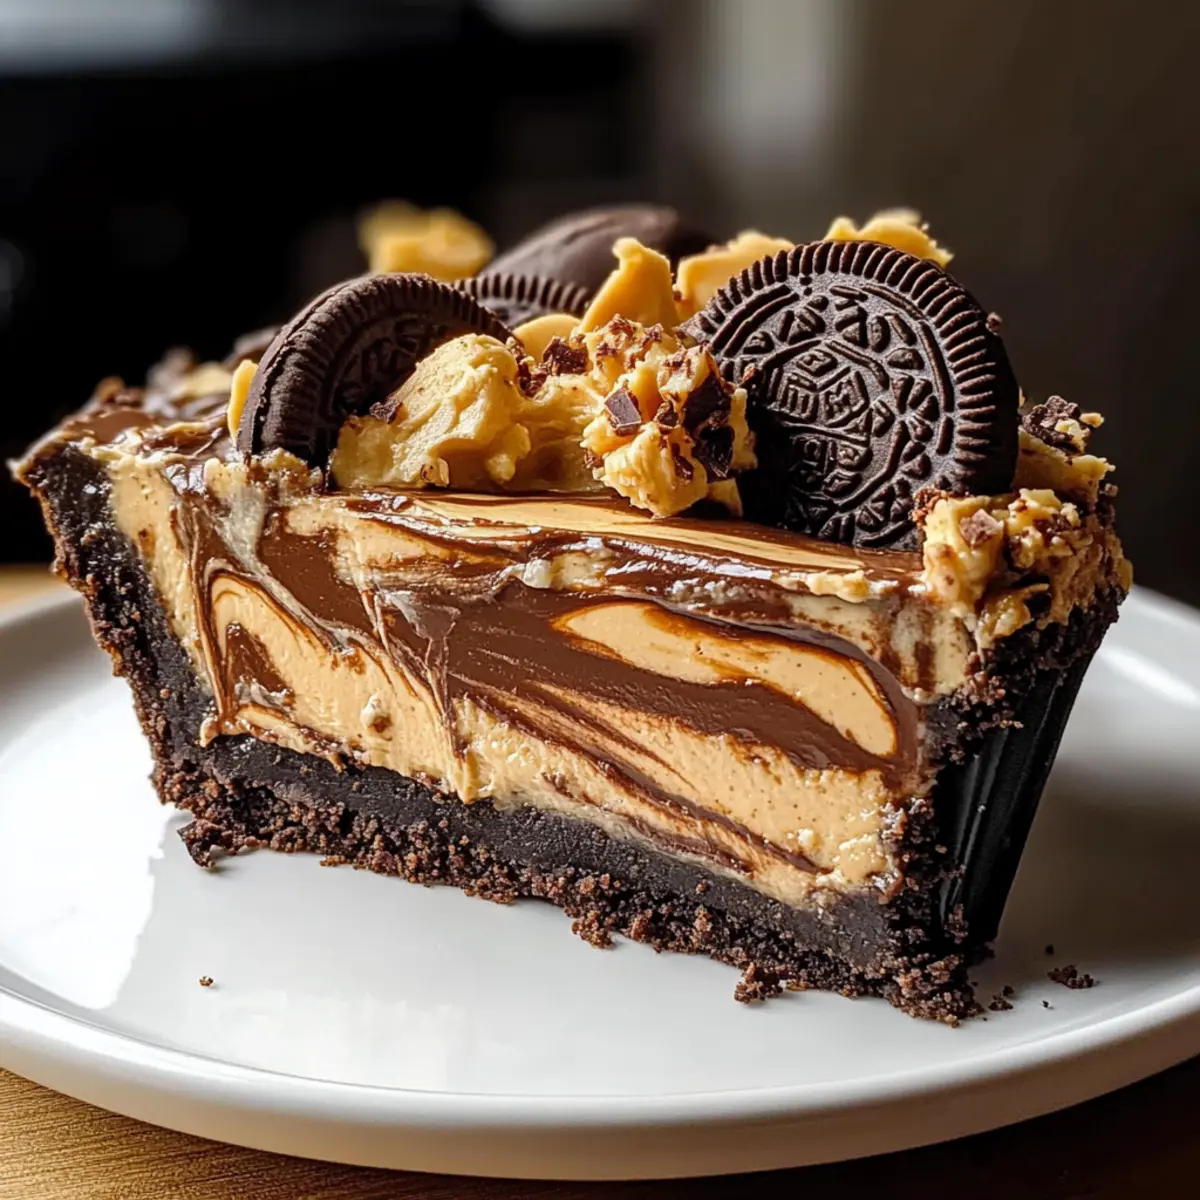
Irresistible Texture: Creamy filling and a crunchy Oreo crust combine to provide an outstanding dessert experience. Pair it with a drizzle of chocolate sauce for an extra touch!
Crowd Pleaser: Serve it at parties and watch it disappear—this pie is guaranteed to impress and please every guest. If you’re looking for more delightful treats, don’t miss my Homemade Chocolate Chip Cookies and Brown Butter Biscoff Blondies that are equally scrumptious!
Chocolate Peanut Butter Pie Ingredients
For the Crust
• Oreo cookies – The crunchy base that gives your pie a delightful texture; substitute with gluten-free cookies for dietary needs.
• Unsalted butter – Binds your crust together; ensure it’s melted for easier mixing.
For the Filling
• Cream cheese – Provides richness and creaminess to the filling; mascarpone can be used for a different flavor dimension.
• Creamy peanut butter – Offers the signature taste; consider crunchy for added texture and bite.
• Powdered sugar – Sweetens the filling and helps achieve a creamy texture; adjust based on your sweetness preference.
• Cool whip or whipped cream – Adds a light and fluffy element; Greek yogurt is a healthier alternative if desired.
For the Topping
• Chocolate chips – These create a pleasing chocolate layer; swapping for dark chocolate can enhance the richness.
• Peanut butter cups – Not just for decoration, they enhance flavor and visual appeal; feel free to use as many as you like!
Step‑by‑Step Instructions for Chocolate Peanut Butter Pie
Step 1: Prepare the Crust
Begin by crushing approximately 24 Oreo cookies in a food processor until they turn into fine crumbs. Melt ½ cup of unsalted butter in the microwave, then combine it with the Oreo crumbs in a mixing bowl. Press this mixture firmly into the bottom of a 9-inch pie pan, making sure it’s even and compact. Set aside to allow it to firm up while you make the filling.
Step 2: Make the Filling
In a large mixing bowl, beat 8 ounces of softened cream cheese with an electric mixer on medium speed until smooth and creamy. Gradually add 1 cup of creamy peanut butter and 1 cup of powdered sugar, mixing until well combined and fluffy. This rich filling will be the heart of your Chocolate Peanut Butter Pie, so ensure there are no lumps.
Step 3: Fold in Whipped Cream
Gently fold in 2 cups of Cool Whip or whipped cream into the peanut butter and cream cheese mixture. Use a spatula to incorporate the whipped cream slowly, being careful not to deflate it. The goal is a light and airy filling that will perfectly balance the richness and create that delightful chocolate peanut butter flavor.
Step 4: Layer Filling
Once your filling is ready, pour it over the prepared Oreo crust. Use a spatula to spread it evenly, creating a smooth top. It should fill the crust right to the edges. As you spread, aim for an even layer, ensuring the filling looks beautiful and ready for chilling.
Step 5: Chill
Now, it’s time for the Chocolate Peanut Butter Pie to set. Cover it with plastic wrap and refrigerate for at least 6 hours, or overnight for the best results. This chilling time allows the flavors to meld beautifully and the filling to firm up, giving you that perfect slice when you’re ready to serve.
Step 6: Serve
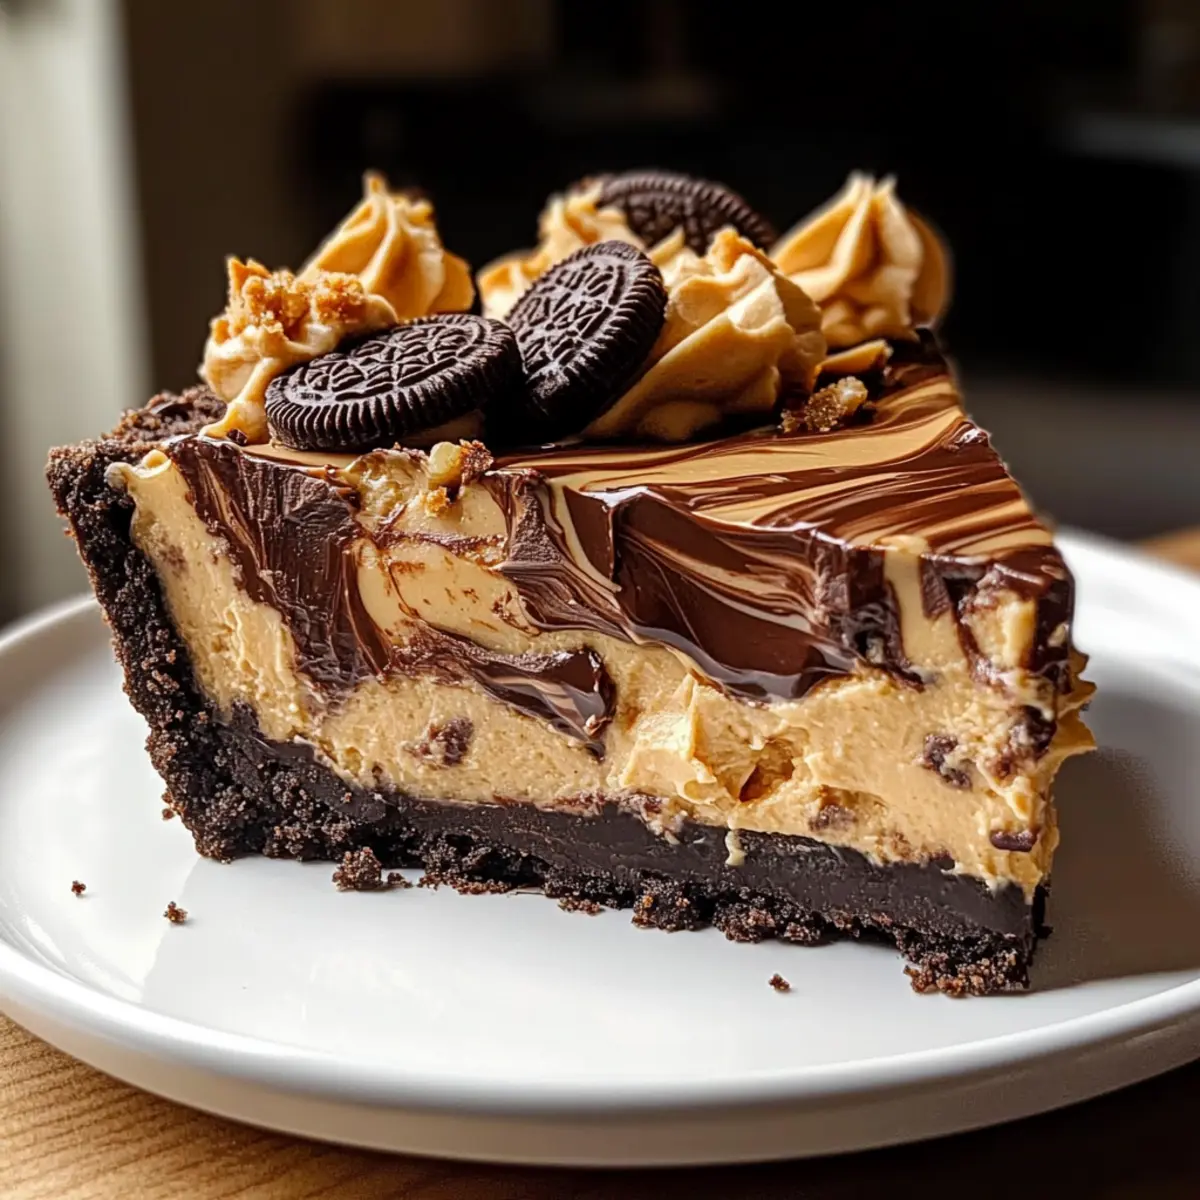
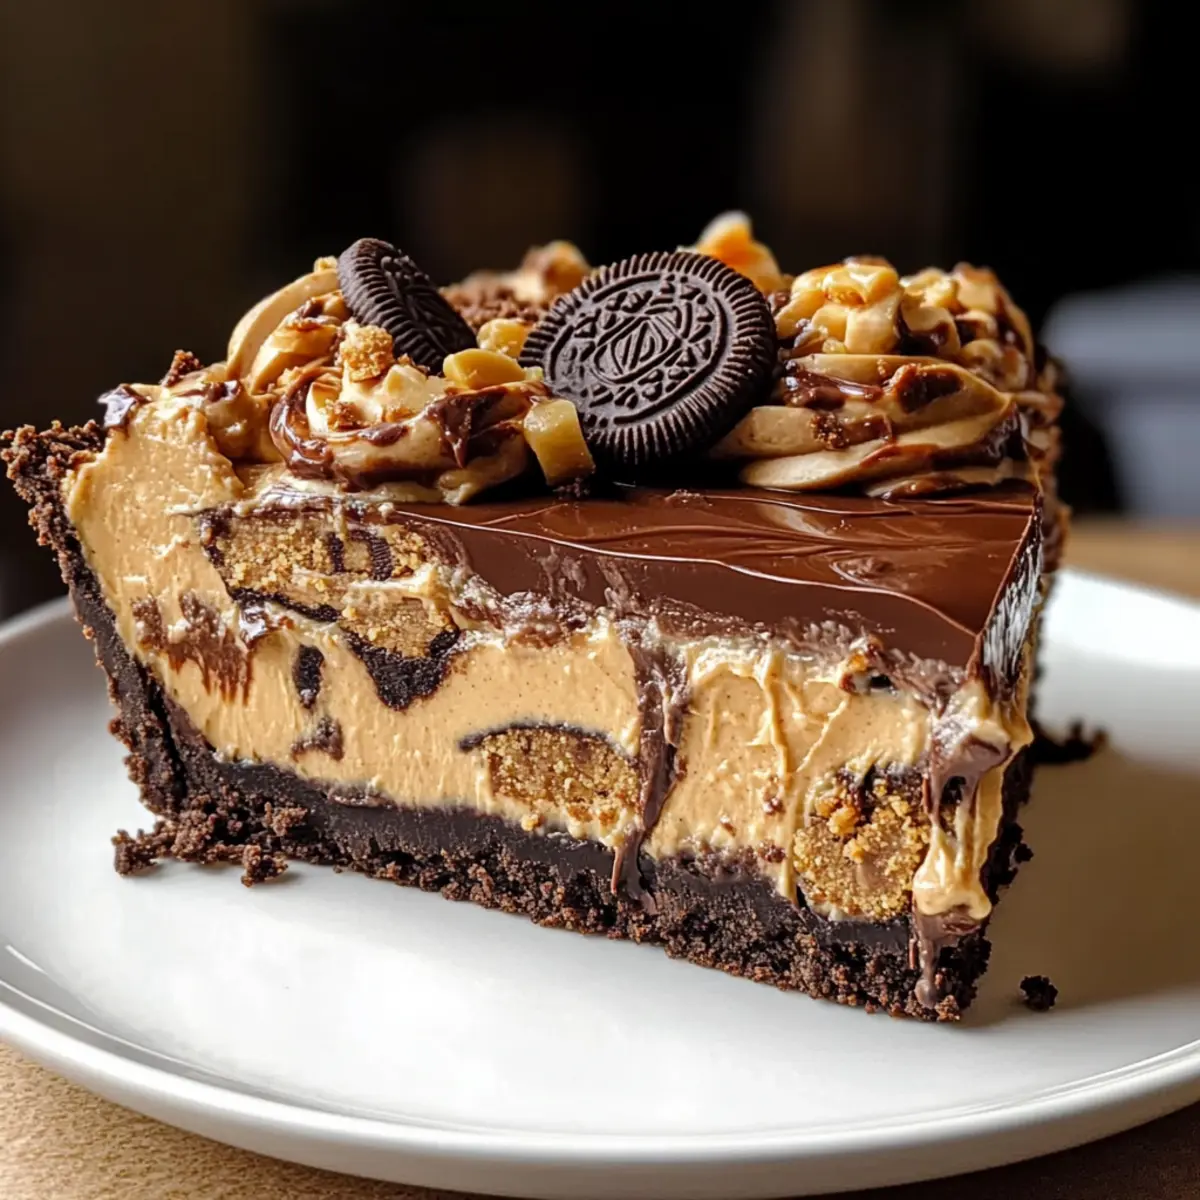
Once chilled, remove the pie from the refrigerator. Before serving, top it generously with chocolate chips and chopped peanut butter cups for a delightful garnish. For an extra touch, add a dollop of whipped cream on each slice. Slice into wedges and prepare to impress your guests with this decadently creamy Chocolate Peanut Butter Pie!
Expert Tips for Chocolate Peanut Butter Pie
- Room Temperature Cream Cheese: Let your cream cheese soften to room temperature; this makes it easier to beat and ensures a smooth filling.
- Whipped Cream Incorporation: Gently fold in the whipped cream to maintain the lightness; over-mixing can deflate the filling.
- Chill Time Matters: Refrigerate the pie for at least 6 hours or overnight for a perfect set and easier slicing.
- Taste Test Adjustments: Adjust powdered sugar based on your sweetness preference; taste before pouring the filling into the crust.
- Avoid Natural Peanut Butter: Stick to creamy peanut butter for better consistency; natural versions contain oils that can affect texture in the pie.
Make Ahead Options
These No-Bake Chocolate Peanut Butter Pies are perfect for meal prep enthusiasts! You can prepare the crust and filling up to 24 hours in advance, allowing you to save valuable time when you’re ready to serve. Simply crush the Oreo cookies and mix them with melted butter to form the crust; press it into the pie pan and refrigerate. For the filling, beat the cream cheese, peanut butter, and powdered sugar, then gently fold in the whipped cream, storing this mixture in an airtight container. When you’re ready to serve, layer the filling over the crust and chill for at least 6 hours—just as delicious, with flavors that meld beautifully!
Chocolate Peanut Butter Pie Variations
Feel free to get creative with your Chocolate Peanut Butter Pie and tailor it to your taste buds!
- Gluten-Free: Swap Oreo cookies for gluten-free cookie crumbs for a pie the whole family can enjoy.
- Nut-Free: Use sun butter or soy nut butter instead of peanut butter to make this pie nut-free and still delicious.
- Chocolate Twist: Experiment with flavored chocolate like dark or even white chocolate for a unique twist on the classic flavor.
- Extra Crunch: Add chopped nuts, such as pecans or walnuts, into the filling for an unexpected delightful crunch.
- Flavor Infusion: Incorporate a teaspoon of vanilla extract into the filling for a warm, aromatic twist that complements the peanut butter beautifully.
- Fruity Layer: Throw in some sliced bananas or crushed strawberries on top of the filling before chilling for a fruity surprise.
- Spicy Kick: For those who love heat, sprinkle a pinch of cayenne pepper in the filling to add an exciting hint of spice.
- Swap the Cream: For a lower-calorie version, replace cool whip with Greek yogurt, which keeps the pie creamy and light!
If you’re looking for more deliciousness, don’t forget to check out my Churro Maple Chocolate Chunk Cookies that blend sweet and spice perfectly!
What to Serve with No-Bake Chocolate Peanut Butter Pie
Prepare for a feast of flavors that will perfectly complement your delightful pie and create a memorable spread.
-
Vanilla Ice Cream: A scoop of creamy vanilla ice cream offers a delightful contrast to the rich, chocolatey flavors of the pie. It melts beautifully against the cool filling, enhancing each bite with silky smoothness.
-
Fresh Berries: Strawberries or raspberries add a burst of freshness and acidity that cuts through the creamy sweetness, providing a refreshing balance for the dessert.
-
Chocolate Drizzle: A simple drizzle of chocolate sauce over the pie creates an indulgent finish, amplifying the chocolate experience while adding an appealing visual element.
-
Whipped Cream: Light and airy whipped cream is a classic topping that complements the richness of the pie’s filling, allowing guests to customize their slice with extra creaminess.
-
Peanut Butter Cup Brownies: These fudgy brownies echo the flavors of your pie and can double as a delicious, chewy contrast, perfect for chocolate lovers.
-
Mint Iced Tea: A refreshing mint iced tea can cleanse the palate beautifully between bites, providing a cool contrast to the pie’s richness.
-
Coffee or Espresso: A warm cup of coffee or a shot of espresso pairs wonderfully, enhancing the chocolate flavors and providing a cozy finish to your dessert experience.
Each of these pairings elevates your No-Bake Chocolate Peanut Butter Pie, ensuring every bite is a delight!
How to Store and Freeze Chocolate Peanut Butter Pie
Fridge: Store leftovers in an airtight container in the fridge for up to 3-4 days to keep the filling fresh and creamy.
Freezer: You can freeze the pie for up to 2 months by wrapping it tightly in plastic wrap and aluminum foil. Thaw in the refrigerator before serving.
Serving: After thawing, top with fresh whipped cream or extra chocolate chips for a delightful presentation and flavor boost.
Reheating: There’s no need to reheat this no-bake pie; serve it chilled for the best experience.
Chocolate Peanut Butter Pie Recipe FAQs
How do I select the best Oreos for the crust?
Absolutely! For the best flavor and texture, choose fresh Oreo cookies without any visible damage. Look for cookies that have a crisp outer layer and a smooth filling. If you need a gluten-free alternative, opt for gluten-free chocolate sandwich cookies, which provide similar flavors and textures.
What’s the best way to store leftovers of Chocolate Peanut Butter Pie?
Very! Store any leftovers in an airtight container in the refrigerator for about 3-4 days. Make sure to keep the pie well-covered to preserve its freshness and prevent it from absorbing other odors in the fridge.
Can I freeze Chocolate Peanut Butter Pie?
Of course! Wrap the pie tightly with plastic wrap, then aluminum foil to prevent freezer burn. It can be stored in the freezer for up to 2 months. When you’re ready to enjoy it, thaw the pie in the refrigerator for several hours or overnight before serving.
What should I do if the filling isn’t mixing well?
If your filling appears lumpy, don’t worry! Ensure your cream cheese is softened to room temperature before mixing. If you’ve already mixed it but it’s still not smooth, try beating the mixture for a bit longer until creamy. If you’ve added the whipped cream and it’s too runny, add a bit more powdered sugar to help stabilize it.
Is this Chocolate Peanut Butter Pie safe for kids with nut allergies?
Not at all! The recipe contains peanut butter, so it’s not suitable for individuals with nut allergies. I recommend using alternatives like sunflower seed butter or soy nut butter for a similar texture and taste without the nutty risk.
What if I don’t like whipped cream?
No worries! If whipped cream isn’t your thing, you can substitute it with Greek yogurt for a healthier option that still adds creaminess to the filling. Just keep in mind it may alter the flavor slightly, giving a tangy note to the pie.
Irresistible No-Bake Chocolate Peanut Butter Pie Bliss
Ingredients
Equipment
Method
- Begin by crushing approximately 24 Oreo cookies in a food processor until they turn into fine crumbs. Melt ½ cup of unsalted butter in the microwave, then combine it with the Oreo crumbs in a mixing bowl. Press this mixture firmly into the bottom of a 9-inch pie pan, making sure it's even and compact. Set aside to allow it to firm up while you make the filling.
- In a large mixing bowl, beat 8 ounces of softened cream cheese with an electric mixer on medium speed until smooth and creamy. Gradually add 1 cup of creamy peanut butter and 1 cup of powdered sugar, mixing until well combined and fluffy.
- Gently fold in 2 cups of Cool Whip or whipped cream into the peanut butter and cream cheese mixture. Use a spatula to incorporate the whipped cream slowly.
- Once your filling is ready, pour it over the prepared Oreo crust. Use a spatula to spread it evenly, creating a smooth top.
- Cover it with plastic wrap and refrigerate for at least 6 hours, or overnight for the best results.
- Once chilled, remove the pie from the refrigerator. Top it generously with chocolate chips and chopped peanut butter cups before serving.
Leave a Reply