
The kitchen was filled with the warm, comforting scent of melting chocolate, a beautiful prelude to what I knew would be a delightful treat—Chocolate Peanut Butter Truffles. These incredible little bites, made with just four simple ingredients, transform into an irresistible dessert that’s perfect for sharing or indulging all by yourself. With their creamy peanut butter center wrapped in a rich chocolate coating, these truffles are not only quick to whip up but also make stunning gifts for friends and family. Whether you’re celebrating a special occasion or simply in need of a sweet pick-me-up, these Peanut Butter Truffles deliver on both flavor and presentation. Curious about how to make these indulgent delights? Let’s dive right in!
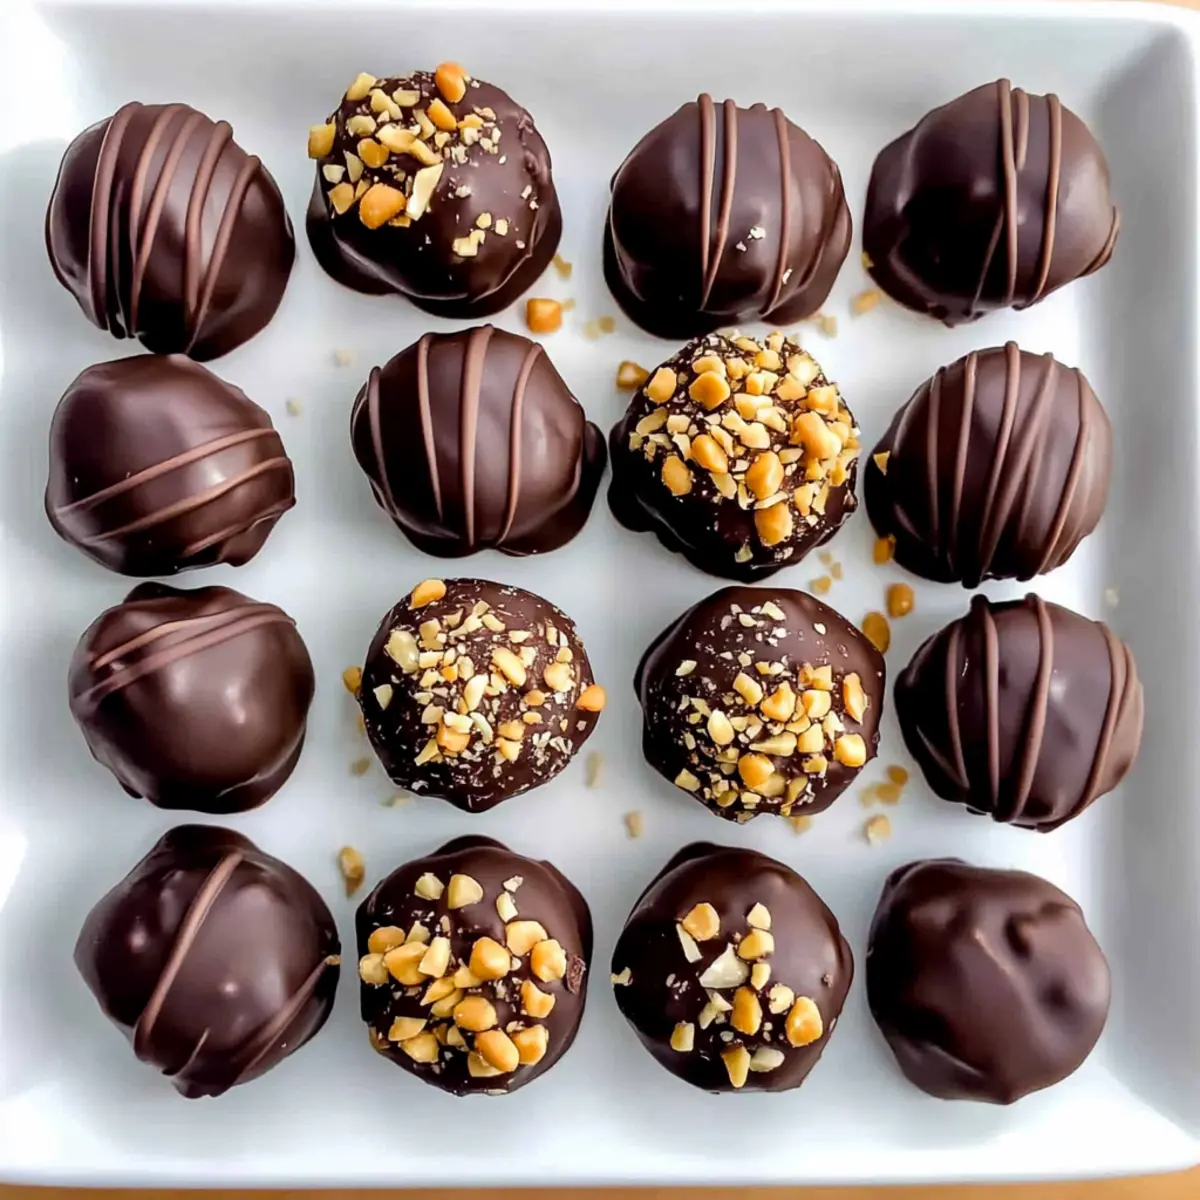
Why will you love these truffles?
Decadence Meets Simplicity: You’ll be amazed at how easy it is to create these gourmet-style Chocolate Peanut Butter Truffles with just four ingredients!
Irresistible Flavor: Each bite combines creamy peanut butter and rich chocolate for a taste that’s pure joy.
Perfect for Gifting: These truffles are beautifully presented, making them a delightful gift for anyone with a sweet tooth.
Quick and Easy: With minimal prep time, you’ll have a delicious treat ready in no time – perfect for when cravings hit!
Versatile Variations: Get creative; swap creamy peanut butter for crunchy or try different coatings for a unique twist.
Take your dessert game to the next level, and check out our Homemade Chocolate Chip cookies for another crowd-pleaser!
Chocolate Peanut Butter Truffles Ingredients
For the Truffle Mixture
- Creamy Peanut Butter – Provides a rich, nutty flavor and smooth texture. Ensure it’s at room temperature for easy mixing.
- Salted Butter – Adds richness and helps to bind the mixture. Use unsalted butter for a less salty flavor.
- Powdered Sugar – Sweetens the truffles and gives them a smooth, soft texture. May substitute with coconut sugar for a less sweet option.
For the Chocolate Coating
- Chocolate Melting Wafers – Used for the outer coating, offering a glossy, smooth finish. Alternative: Any melting chocolate without the need for tempering for best results.
Step‑by‑Step Instructions for Chocolate Peanut Butter Truffles
Step 1: Prepare Baking Sheet
Begin by lining a baking sheet with parchment paper to prevent the truffles from sticking. Make sure the parchment is smooth and flat, ensuring ease of placing the truffles later. This will be where your Chocolate Peanut Butter Truffles will cool and set perfectly.
Step 2: Mix Ingredients
In a large mixing bowl, combine room temperature creamy peanut butter and salted butter. Use an electric mixer on medium speed for about 1-2 minutes until the mixture is smooth and creamy. Gradually add powdered sugar, ½ cup at a time, mixing well after each addition until fully incorporated and fluffy.
Step 3: Form Balls
With your hands, scoop out tablespoon-sized portions of the truffle mixture. Roll each portion into a smooth ball, making sure it’s compact without cracks. Place the rolled balls onto your prepared baking sheet, giving them some space to breathe as they will slightly expand when chilled.
Step 4: Chill
Transfer the baking sheet with the formed truffles to the freezer. Allow the truffles to chill for about 30 minutes, or until they feel firm to the touch. This step is crucial for ensuring that your chocolate coating sets evenly on these creamy Chocolate Peanut Butter Truffles.
Step 5: Melt Chocolate
While the truffles are chilling, melt your chocolate melting wafers in a microwave-safe bowl. Heat in 30-second intervals at medium power, stirring in between until melted and smooth. Ensure there are no lumps, as a velvety chocolate coating is key to finishing your truffles beautifully.
Step 6: Coat Truffles
Once the truffles are firm, use a fork to dip each one into the melted chocolate, ensuring full coverage. Let the excess chocolate drip off back into the bowl before placing the coated truffles back onto the baking sheet. This technique will give your Chocolate Peanut Butter Truffles a delightful, shiny finish.
Step 7: Decorate
Before the chocolate sets, sprinkle some crushed peanuts or colorful sprinkles on top of each truffle for an added touch. Work quickly, as the melted chocolate will harden rapidly. This decorative step elevates your Peanut Butter Truffles, making them even more appealing.
Step 8: Chill Until Set
Finally, refrigerate your coated truffles until the chocolate is firm, which usually takes about 30 minutes. Once set, your delectable Chocolate Peanut Butter Truffles will be ready to enjoy, looking stunning and ready for sharing or gifting!

What to Serve with Chocolate Peanut Butter Truffles
Indulge in a delightful spread that elevates your truffle experience to new heights, perfect for sharing or savoring solo.
-
Fresh Berries: Their tartness provides a refreshing contrast to the rich, creamy truffles, creating a delightful balance of flavors.
-
Coffee: A robust cup of coffee enhances the chocolate flavors and brings out the nutty essence of the peanut butter.
-
Vanilla Ice Cream: The creamy, cold ice cream is a heavenly pairing that wonderfully complements the rich, sweet truffles.
-
Chocolate-Covered Pretzels: The crunchy, salty pretzels add an exciting texture, perfectly offsetting the smooth truffles’ sweetness.
-
Sparkling Wine: The bubbles create a fun, celebratory tone, lightening the decadent nature of the chocolate peanut butter truffles.
-
Homemade Whipped Cream: A dollop adds an airy texture and rich creaminess, enriching each bite with an extra indulgent layer.
-
Peanut Butter Cookies: Create a peanut lover’s dream! These cookies mirror the truffle’s flavors while adding a delightful crunch.
-
Chocolate Fondue: Serve alongside fresh fruits and marshmallows for a fun and interactive dessert experience that amplifies the chocolate theme.
Chocolate Peanut Butter Truffles Variations
Get ready to make your truffles uniquely yours with these delightful twists and swaps!
- Crunchy Peanut Butter: Use crunchy peanut butter instead of creamy for a satisfying crunch in each bite.
- Coconut Sugar: Swap out powdered sugar for coconut sugar to add a rich caramel flavor with less sweetness.
- White Chocolate Coating: Try melting white chocolate for a sweeter, creamy coating that beautifully contrasts the peanut butter filling.
- Spiced Chocolate: Stir a pinch of cinnamon or cayenne pepper into the chocolate for a surprising spicy kick. The warmth from the spices will elevate the overall flavor experience!
- Nutty Variations: Add chopped nuts or crushed pretzels inside the truffle mix for an unexpected textural twist that adds delightful crunch.
- Dark Chocolate: Opt for dark chocolate melting wafers to enhance the richness and deepen the flavor profile of your truffles.
- Herbal Infusion: Infuse your chocolate coating with a hint of mint or orange zest for a refreshing twist. Just a little goes a long way to brightening the flavor!
- Decorative Sprinkles: Consider using fun decorative sprinkles, edible glitter, or powdered cocoa for a stunning aesthetic appeal that will wow your friends and family.
Simply swap out the ingredients or add these variations to your truffles for a delicious new experience! If you’re looking for more dessert inspiration, check out these scrumptious Brown Butter Biscoff treats or our delightful Churro Maple Chocolate cookies!
Expert Tips for Chocolate Peanut Butter Truffles
-
Use Room Temperature Ingredients: This ensures a smooth and even mixture, helping your truffles achieve the perfect creamy texture without lumps.
-
Be Mindful of Consistency: If your truffle mixture feels crumbly after adding powdered sugar, don’t hesitate to mix it longer until it becomes moldable and cohesive.
-
Timing is Key: When decorating with sprinkles or toppings, act swiftly as the melted chocolate sets quite fast; this will help ensure everything sticks perfectly.
-
Avoid Overheating Chocolate: Melt your chocolate slowly to avoid burning. Heating in 30-second intervals can help achieve that glossy finish without lumps.
-
Experiment with Fillings: For added texture, consider using crunchy peanut butter. You could also include a sprinkle of sea salt for an indulgent twist in your chocolate coating.
Make Ahead Options
These Chocolate Peanut Butter Truffles are perfect for busy home cooks looking to save time! You can prepare the truffle mixture up to 24 hours in advance; simply shape the mixture into balls, chill them for 30 minutes, and then refrigerate (this helps maintain their shape). Additionally, you can dip the truffles in chocolate coating up to 2 days before serving—just let them set in the refrigerator. For the best quality, store the finished truffles in an airtight container to keep them fresh and delicious. When ready to enjoy, simply remove them from the fridge for a moment and serve these delightful treats to impress your family or friends!
How to Store and Freeze Chocolate Peanut Butter Truffles
Fridge: Keep your chocolate peanut butter truffles in an airtight container in the refrigerator for up to 7 days for optimal freshness and flavor.
Freezer: For longer storage, freeze the truffles in a single layer on a baking sheet, then transfer to a freezer-safe container. They can last up to 2 months.
Reheating: No need to reheat these truffles! Enjoy them cold straight from the fridge or freezer for a delightful treat.
Serving After Freezing: Thaw the truffles in the fridge for a few hours before serving to ensure they retain their creamy texture and flavor.
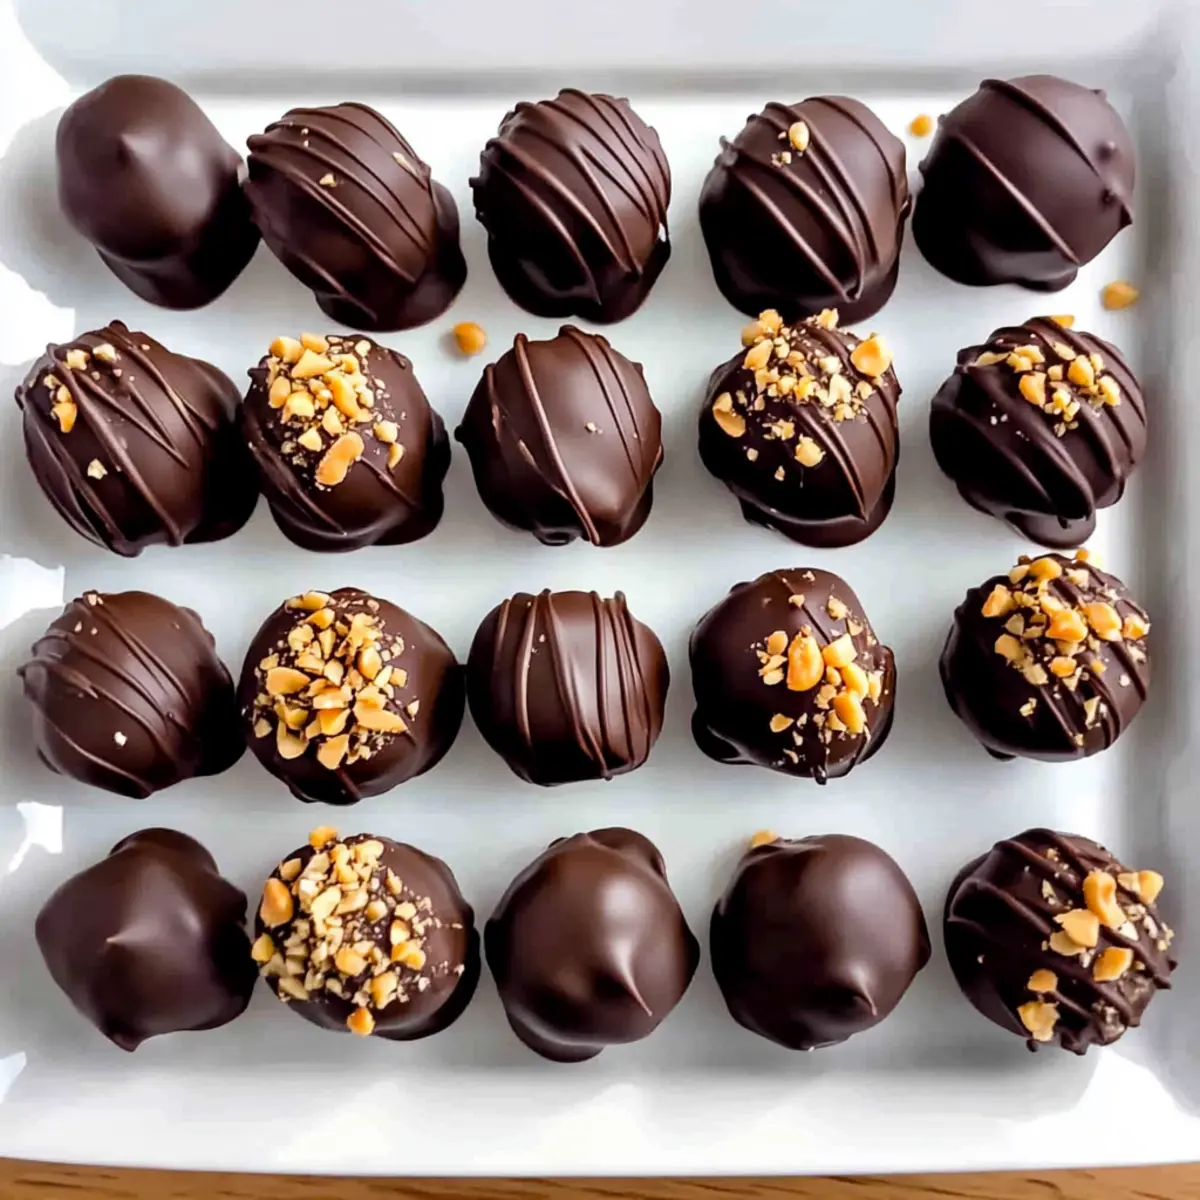
Chocolate Peanut Butter Truffles Recipe FAQs
What type of peanut butter should I use for the truffles?
Absolutely! I recommend using creamy peanut butter as it creates a smooth texture that’s easy to mix. If you prefer a little crunch, feel free to substitute with crunchy peanut butter for a delightful texture variation. Just ensure it’s at room temperature for the best blending results.
How long can I store the truffles, and what’s the best method?
To keep your chocolate peanut butter truffles at their freshest, store them in an airtight container in the refrigerator for up to 7 days. If you need to enjoy them later, you can freeze them. Just remember to layer them in a single layer on a baking sheet first, and then transfer them into a freezer-safe container once solid. They can last up to 2 months in the freezer!
Can I freeze chocolate peanut butter truffles? If so, how?
Yes, you can definitely freeze these delightful truffles! Here’s how: First, place the formed truffles on a baking sheet lined with parchment paper and freeze them until solid, about 2-3 hours. Once they’re firm, transfer them to a freezer-safe container or bag, labeling with the date. This way, they’ll stay fresh for up to 3 months. Thaw in the refrigerator before serving for the best texture.
What should I do if my truffle mixture is crumbly?
If your mixture appears crumbly after adding powdered sugar, no need to worry! Just continue mixing until it reaches a smooth, moldable consistency. You can use a stand mixer for better results or mix with a spatula if you want to keep it hand-made. The mixture should hold together well without cracks after thorough blending.
Are there any dietary considerations with these truffles?
These chocolate peanut butter truffles contain ingredients that may not be suitable for everyone. If you’re concerned about allergies, be mindful of peanut butter if anyone in your household has nut allergies. Additionally, always check the labels of your chocolate melting wafers to ensure they are free from allergens or ingredients you want to avoid. If you’re cooking for pets, these truffles are not pet-friendly due to the chocolate content!
Can I add flavors or toppings to the truffles?
Very! You can easily elevate the flavor of your truffles by adding a teaspoon of vanilla extract to the truffle mixture or sprinkling sea salt on top of the chocolate coating before it sets. Get creative! You can also mix in ingredients like toffee bits, mini chocolate chips, or even a drizzle of caramel for an indulgent twist.
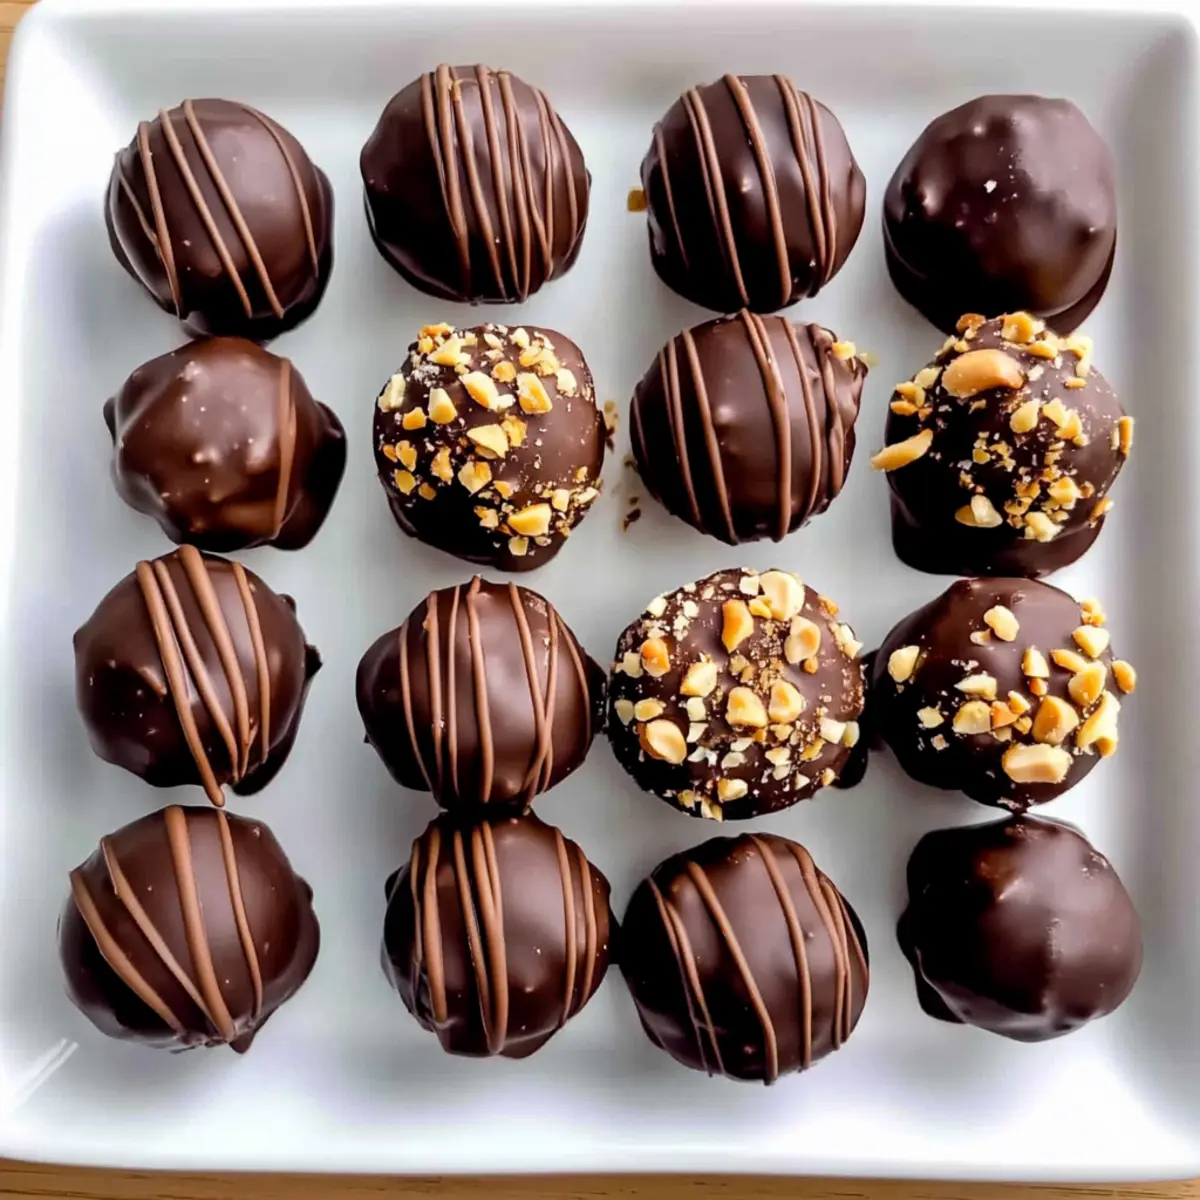
Decadent Chocolate Peanut Butter Truffles You Can Make Today
Ingredients
Equipment
Method
- Prepare a baking sheet by lining it with parchment paper.
- In a large mixing bowl, combine room temperature creamy peanut butter and salted butter. Use an electric mixer on medium speed for about 1-2 minutes until smooth.
- Gradually add powdered sugar, ½ cup at a time, mixing well after each addition until fully incorporated and fluffy.
- Scoop out tablespoon-sized portions of the truffle mixture and roll into smooth balls.
- Place rolled balls onto the prepared baking sheet, giving them space to breathe.
- Transfer the baking sheet to the freezer and chill for about 30 minutes.
- Melt chocolate melting wafers in a microwave-safe bowl, heating in 30-second intervals until smooth.
- Dip each chilled truffle into the melted chocolate using a fork and let excess chocolate drip off back into the bowl.
- Before chocolate sets, sprinkle crushed peanuts or colorful sprinkles on top of each truffle.
- Refrigerate the coated truffles until the chocolate is firm, about 30 minutes.
Leave a Reply