
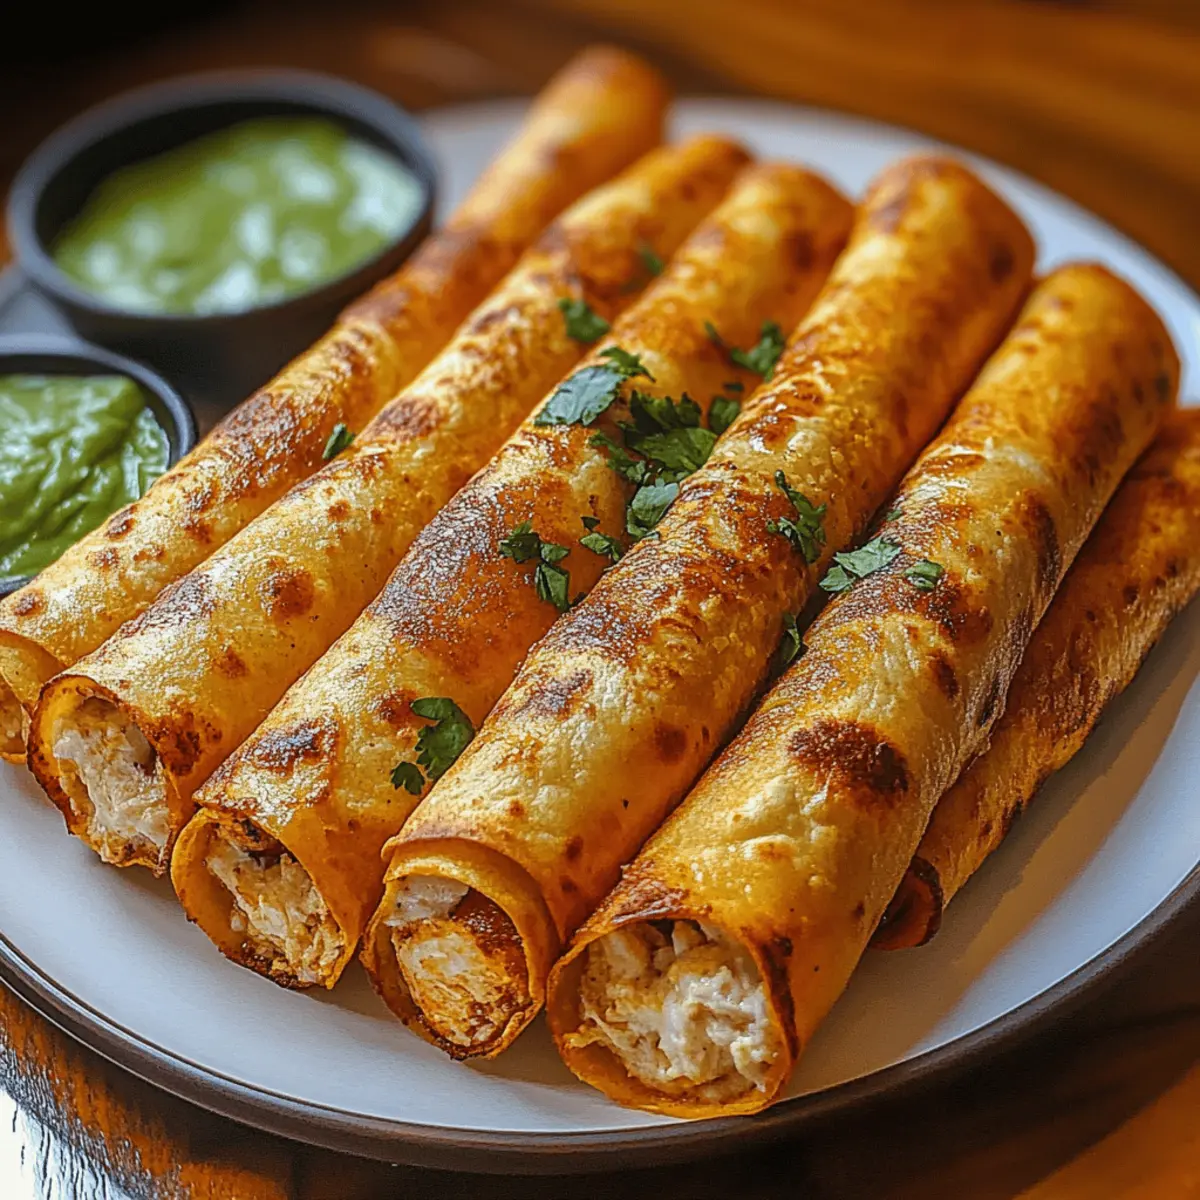
As I stood in my kitchen, a sudden craving hit me for something crispy and satisfying, yet utterly simple to prepare. That’s when I knew it was time for Crunchy Oven-Baked Chicken Taquitos. These delightful little rolls, filled with seasoned chicken and creamy cheese, are perfect for making any gathering feel special or just for enjoying a cozy night in. Not only are they quick and easy to whip up—ideal for any busy night—but they also allow for endless variations, whether you want to sneak in some veggies or swap out the chicken for another protein. Each bite promises a satisfying crunch, making them a hit for both young and old alike. Ready to turn your kitchen into a fiesta? Let’s dive into this fun recipe!
Why are these taquitos so irresistible?
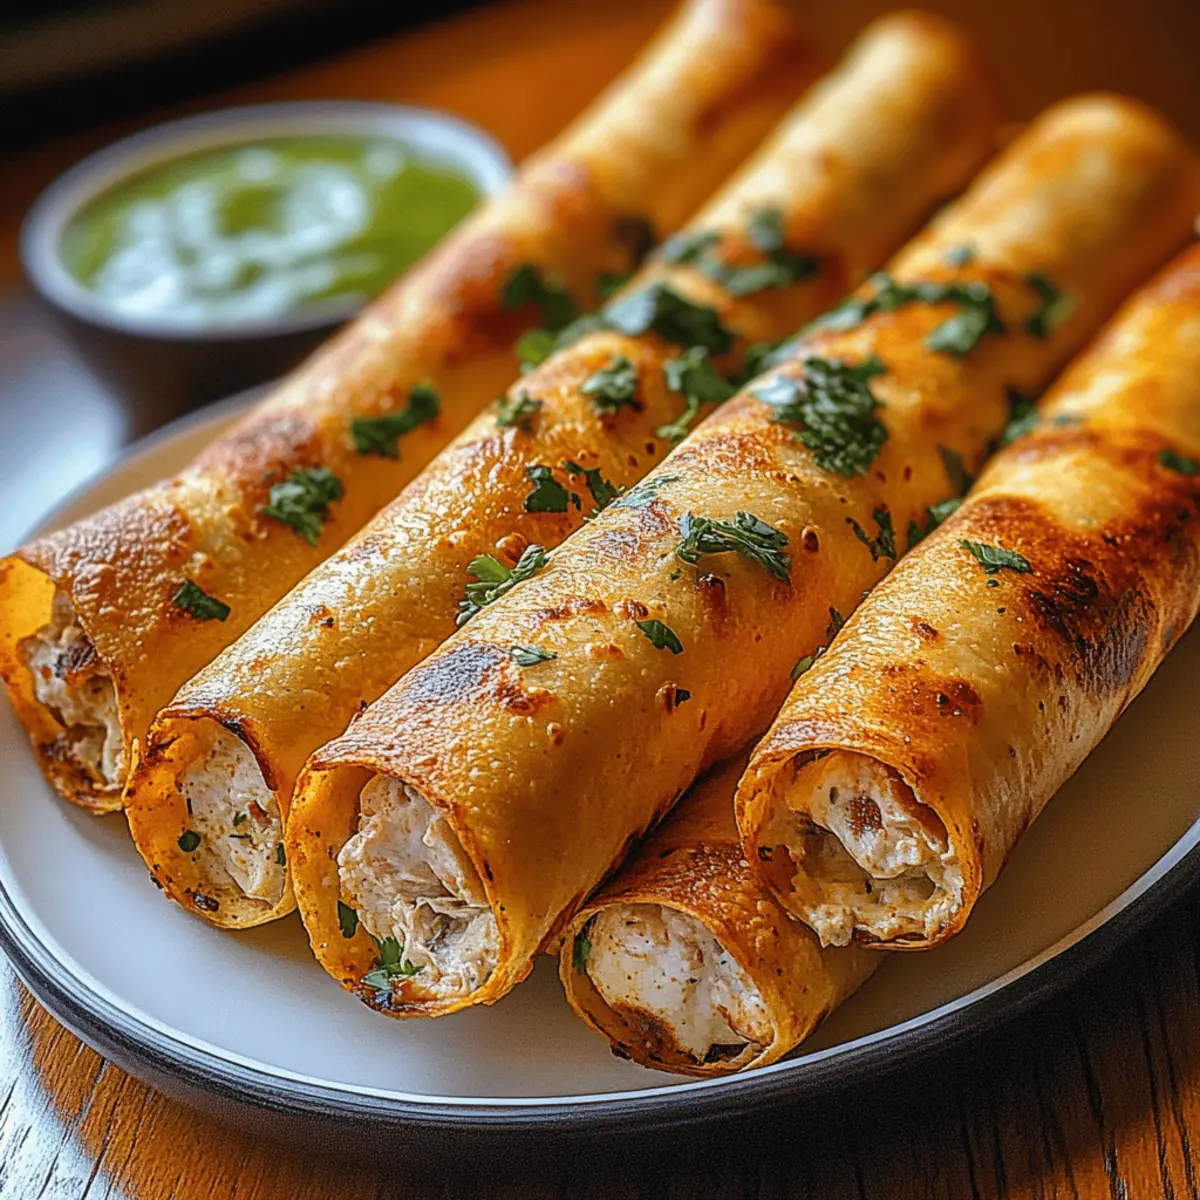
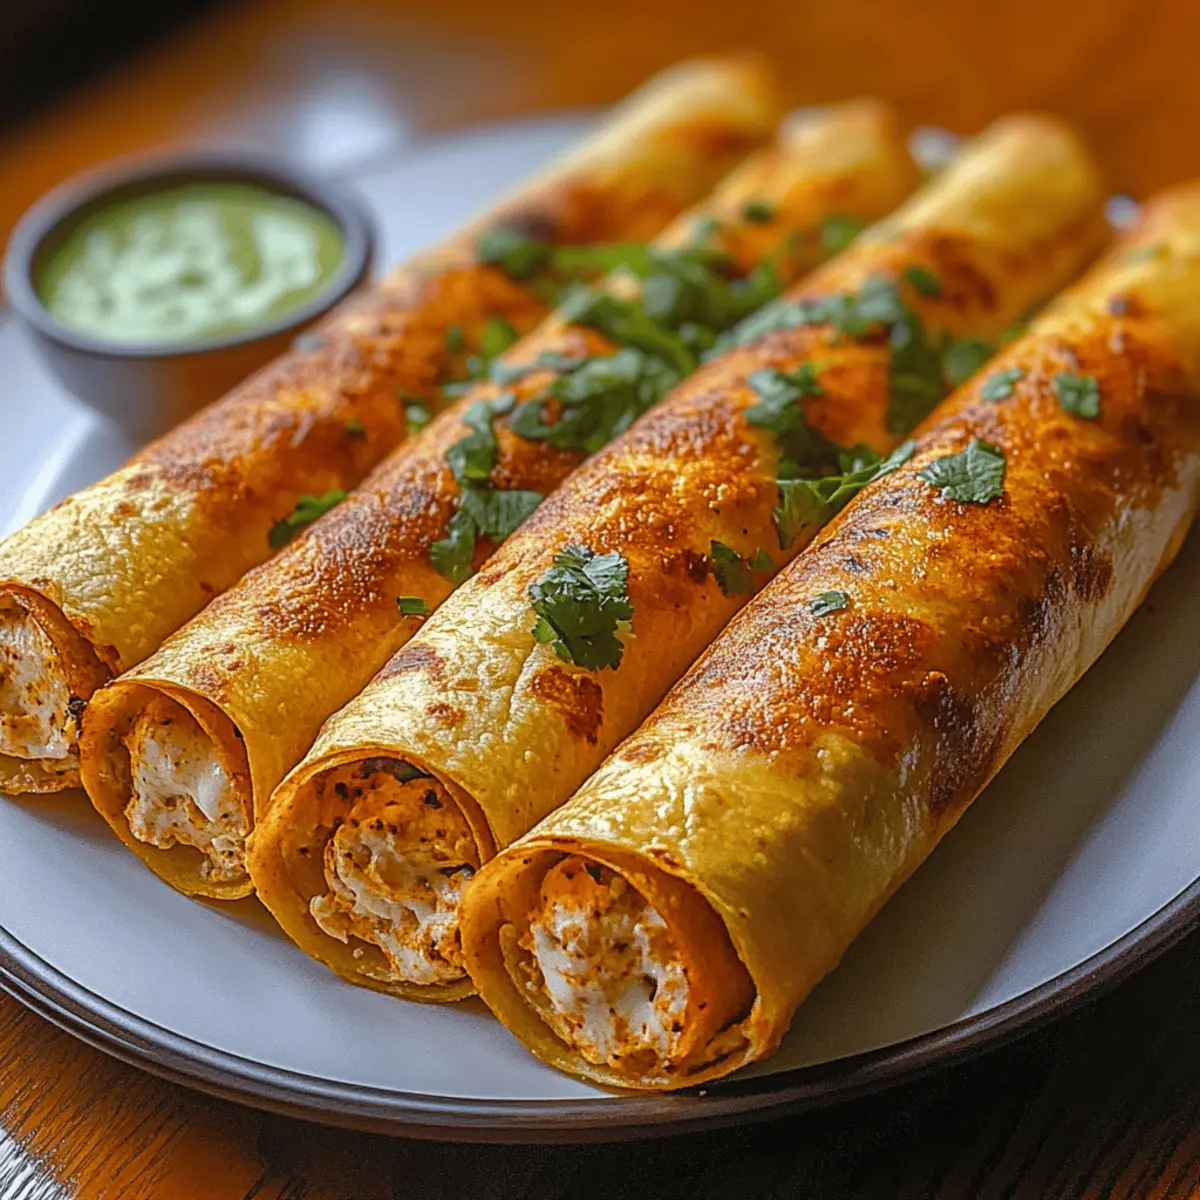
Crispy Perfection: These Crunchy Oven-Baked Chicken Taquitos are designed to deliver unmatched crunch with minimal frying, making them a healthier option for satisfying cravings.
Effortlessly Quick: With just a handful of ingredients and easy prep steps, you can have a tempting dish on the table in no time—perfect for busy weeknights or surprise guests!
Flavorful Fillings: Each taquito is a flavor bomb filled with seasoned chicken, creamy cheese, and zesty salsa, creating a gourmet experience at home.
Versatile Variations: Whether you’re a meat lover or a veggie enthusiast, the option to customize fillings means you’ll never get bored—try adding black beans or corn for extra taste!
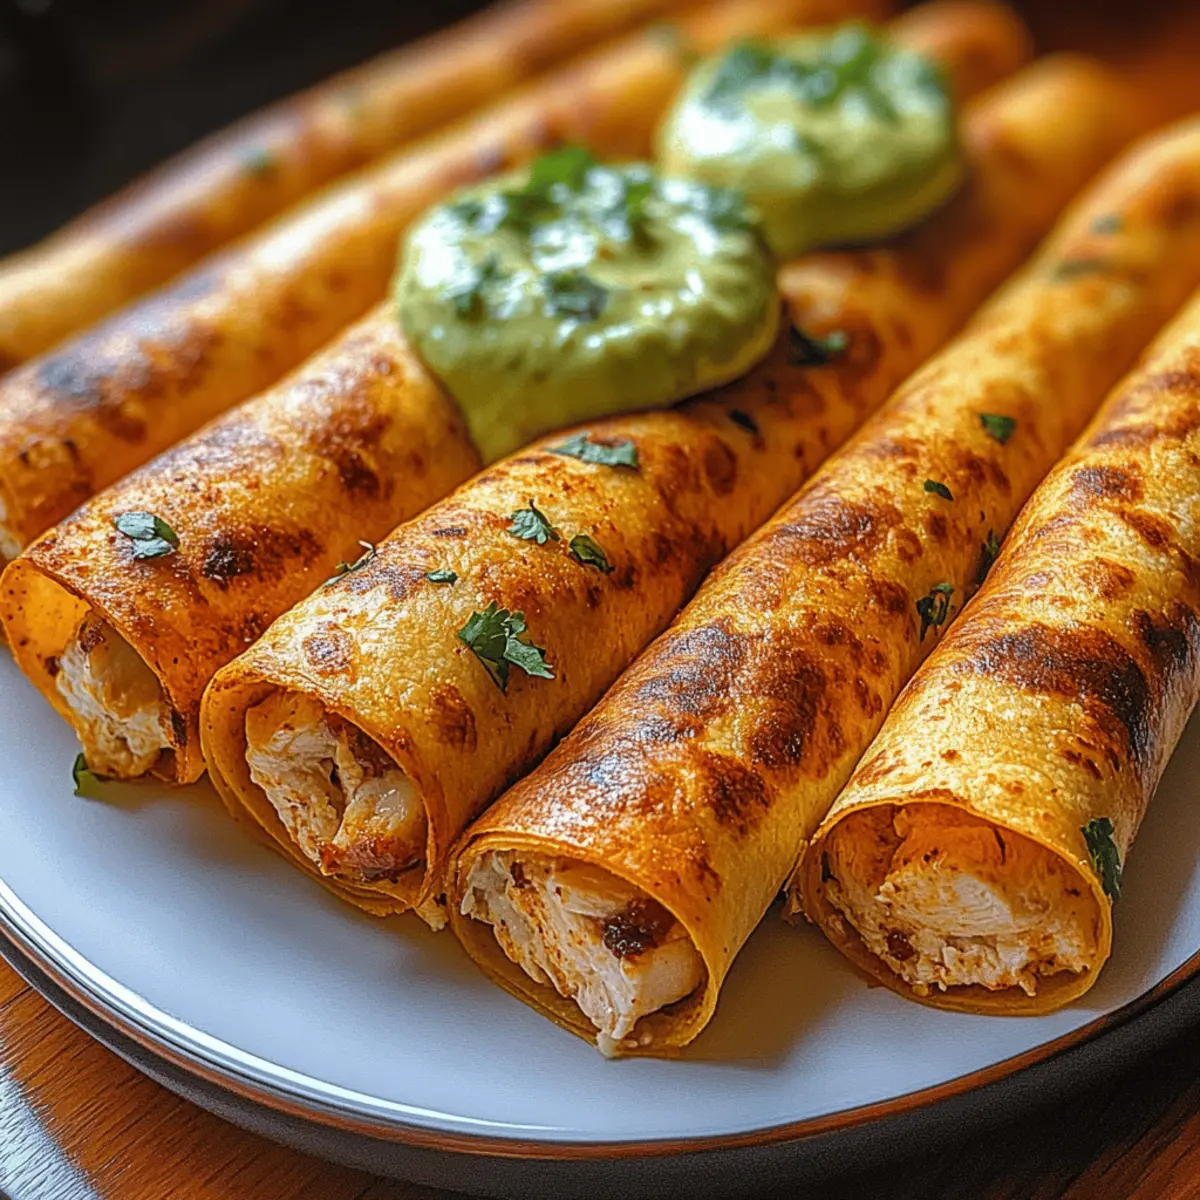
Family-Friendly Fun: Perfect for all ages, these taquitos can become a family favorite or a go-to for parties. Serve them with a side of fresh guacamole or sour cream for the ultimate snacking experience!
Crunchy Oven-Baked Chicken Taquito Ingredients
For the Filling
- Shredded Cooked Chicken – The main filling ingredient that provides a rich flavor; using rotisserie chicken can cut down on prep time.
- Cream Cheese – Adds creaminess and helps bind the filling together; opt for low-fat cream cheese to keep calories in check.
- Shredded Cheese (Cheddar or Mexican Blend) – Offers beautiful melting qualities and depth of flavor; feel free to use pre-shredded varieties for convenience.
- Salsa – Introduces moisture and robust flavor; select a type that suits your spice tolerance—mild, medium, or hot.
- Taco Seasoning – Essential for that authentic taquito flavor; consider making your own blend for a tailored taste.
- Fresh Lime Juice – Lends a bright acidity that enhances all the flavors; squeeze fresh for optimal results.
- Chopped Fresh Cilantro (optional) – Adds a refreshing herbal note; substitute with chopped parsley if cilantro isn’t your preference.
For the Wrap
- Small Flour Tortillas – The base for your taquitos; choose pliable tortillas for easy rolling, or swap for corn tortillas for a gluten-free option.
- Cooking Spray or Olive Oil – Ensures crispy taquitos in the oven; lightly coat the outside for the best crunch.
Optional Toppings
- Guacamole – A creamy, delicious addition that pairs perfectly with each taquito.
- Sour Cream – Provides a cool creaminess to balance the flavors.
- Additional Salsa – Spice it up with extra salsa for those who love a kick.
- Diced Tomatoes – Freshness and a pop of color to enhance your dish.
- Sliced Jalapeños – For those who crave an extra heat!
With these ingredients, your Crunchy Oven-Baked Chicken Taquitos will be a delightful adventure every time!
Step‑by‑Step Instructions for Crunchy Oven-Baked Chicken Taquitos
Step 1: Preheat the Oven
Begin by preheating your oven to 425°F (220°C). This temperature is crucial for achieving that perfect crunch on your Crunchy Oven-Baked Chicken Taquitos. As the oven warms up, you can prepare the baking sheet and filling to save time.
Step 2: Prepare the Baking Sheet
Line a baking sheet with parchment paper or lightly grease it with cooking spray or olive oil. This will prevent your taquitos from sticking and ensure they come out crispy and golden. Place the baking sheet aside while you focus on mixing your delicious filling.
Step 3: Mix the Filling
In a large mixing bowl, combine the shredded cooked chicken, cream cheese, shredded cheese, salsa, taco seasoning, lime juice, and chopped cilantro. Stir until all the ingredients are well incorporated and creamy. The mixture should be smooth and flavorful, ready to fill your tortillas with a burst of flavors.
Step 4: Warm the Tortillas
Heat the small flour tortillas in a microwave for about 30 seconds or until they are warm and pliable. This step is vital to prevent the tortillas from cracking when you roll them up. An easy-to-roll tortilla will make assembling your Crunchy Oven-Baked Chicken Taquitos a breeze!
Step 5: Fill and Roll
On each tortilla, place about 2 tablespoons of the chicken filling towards one edge. Carefully roll each tortilla tightly, sealing the filling inside, and place them seam-side down on the prepared baking sheet. Make sure they are spaced evenly to allow for even cooking and crispiness.
Step 6: Oil the Taquitos
Lightly brush or spray the tops of the taquitos with olive oil. This will help them develop a golden-brown crust during baking, enhancing the crunch factor. Ensure each taquito is coated evenly for the best results when they come out of the oven.
Step 7: Bake
Place the baking sheet in the preheated oven and bake the Crunchy Oven-Baked Chicken Taquitos for about 15 minutes. After this initial time, flip them over to ensure they bake evenly, then continue baking for another 10-15 minutes until they are beautifully golden and crispy. Keep a close eye on them to avoid burning!
Step 8: Serve
Once baked, remove the taquitos from the oven and let them cool for a couple of minutes. Serve them hot with your favorite toppings like guacamole, sour cream, or salsa. Dive into these delicious Crunchy Oven-Baked Chicken Taquitos and enjoy every satisfying bite!
Expert Tips for Crunchy Oven-Baked Chicken Taquitos
- Perfect Tortilla Temperature: Warm your tortillas in the microwave for 30 seconds to keep them pliable, preventing cracking while rolling.
- Avoid Overfilling: Stick to 2 tablespoons of filling per tortilla; overfilling can cause spills and dry edges during baking.
- Crispy Coating: Lightly spray or brush the taquitos with oil before baking to ensure a golden, crunchy exterior that’s irresistibly tasty.
- Use Fresh Ingredients: Opt for fresh salsa and lime juice to enhance the flavors of your taquitos; quality ingredients make a significant difference!
- Freezing Ahead: Prepare and freeze assembled taquitos for a quick meal later—just add extra baking time when cooking from frozen.
What to Serve with Crunchy Oven-Baked Chicken Taquitos
Elevate your taquito experience with delightful sides and toppings that bring joy to your table.
- Guacamole: Creamy and rich, guacamole adds a perfect coolness that balances the savory crunch of the taquitos.
- Fresh Salsa: A zesty, vibrant salsa not only enhances flavor but adds a splash of freshness for a delightful bite.
- Mexican Rice: This fluffy side dish complements the taquitos, making it a hearty meal. It brings a touch of comfort and fills you up!
- Corn Salad: Bright and crisp, a sweet corn salad brings refreshing flavor, offering a crunchy contrast with each bite of your taquito.
- Black Beans: Rich in protein, seasoned black beans add a hearty texture while beautifully matching the taquito’s flavor profile. Incorporating them creates a satisfying contrast!
- Sour Cream: Cool and tangy, a dollop of sour cream provides a luscious offset to the crispy exterior of the taquitos.
- Pico de Gallo: Freshly chopped tomatoes, onions, and cilantro create a delightful burst of flavor that brightens every bite.
- Light Salad: Serve a crisp green salad with a zesty vinaigrette to add a light, refreshing touch to your meal while keeping it healthy.
- Margaritas: Elevate your gathering with refreshing margaritas that complement the vibrant flavors of your taquitos, making every sip a celebration!
How to Store and Freeze Crunchy Oven-Baked Chicken Taquitos
Fridge: Store leftovers in an airtight container for up to 3 days; make sure they are completely cooled before sealing to maintain texture.
Freezer: For longer storage, freeze assembled but unbaked taquitos in a single layer on a baking sheet. Once frozen, transfer them to a freezer bag for up to 3 months.
Baking from Frozen: When ready to enjoy, bake frozen taquitos directly from the freezer, adding an extra 10-15 minutes to the cooking time to ensure they are crispy throughout.
Reheating: For best results, reheat in a preheated oven at 375°F (190°C) for about 10-15 minutes, allowing them to regain their crunch.
Make Ahead Options
These Crunchy Oven-Baked Chicken Taquitos are perfect for meal prep, saving you time and effort on busy weeknights! You can assemble the taquitos up to 24 hours in advance and refrigerate them before baking. To keep the tortillas pliable, wrap the assembled taquitos tightly in plastic wrap or store them in an airtight container. When you’re ready to enjoy them, simply preheat your oven and bake directly from the fridge, adding an extra 5 minutes to the cooking time for the best results. You’ll have crispy, mouthwatering taquitos just as delicious as if you made them fresh!
Crunchy Oven-Baked Chicken Taquitos Variations
Feel free to customize these taquitos to suit your taste buds and dietary needs, and let your creativity run wild in the kitchen!
-
Protein Swaps: Replace chicken with ground beef, pulled pork, or even tofu for a delicious vegetarian option.
-
Cheese Choices: Mix it up by using pepper jack for a spicy kick or a herb-infused cheese for a unique flavor twist.
-
Veggie Boost: Incorporate black beans, corn, or diced bell peppers into the filling for added nutrition and texture.
-
Whole Wheat Wraps: Opt for whole wheat tortillas instead of regular flour ones to enhance fiber content and nutrition; a simple switch for health-conscious eaters.
-
Spice It Up: Add diced jalapeños or a splash of hot sauce to the filling for a tantalizing heat that elevates the flavor profile.
-
Salsa Varieties: Experiment with different types of salsa, such as pineapple or mango salsa, for a refreshing twist that adds a burst of sweetness.
-
Make-Ahead Freezing: Assemble your taquitos and freeze them before baking; cook from frozen by just adding a few extra minutes to the baking time.
With these variations, your Crunchy Oven-Baked Chicken Taquitos will forever remain a family favorite! For a delectable side, consider pairing them with guacamole or fresh homemade salsa for extra zing. Enjoy the culinary adventure!
Crunchy Oven-Baked Chicken Taquitos Recipe FAQs
What is the best way to choose ripe ingredients for my taquitos?
Absolutely! For your taquitos, choose ripe avocados for making guacamole and fresh tomatoes that are firm and not overly squishy. Fresh herbs like cilantro should be vibrant green with no wilting, and when selecting salsa, consider the freshness and flavor based on your heat preference. If you’re using produce like jalapeños, look for smooth skin without dark spots to ensure they pack a punch of flavor!
How should I store leftover taquitos?
You can store leftover Crunchy Oven-Baked Chicken Taquitos in an airtight container for up to 3 days. Make sure to let them cool completely before sealing to maintain their crispiness. When ready to enjoy, simply reheat them in a preheated oven at 375°F (190°C) for about 10-15 minutes for that delightful crunch to return!
Can I freeze my taquitos, and if so, how?
Absolutely! To freeze your assembled Crunchy Oven-Baked Chicken Taquitos, first arrange them in a single layer on a baking sheet. Place them in the freezer for 1 to 2 hours or until frozen solid. Then, transfer the frozen taquitos into a freezer bag, and they can last for up to 3 months. When you’re ready to bake from frozen, simply add 10-15 minutes to your baking time and keep an eye on their crispiness.
What do I do if my taquitos are not crispy enough?
Very commonly, the culprits for non-crispy taquitos are under-oiling and overfilling. Ensure each taquito is lightly brushed or sprayed with oil before baking to achieve that desired crunchy texture. Also, try keeping the filling to about 2 tablespoons per tortilla to avoid spills during baking. If they still turn out soggy, consider raising the oven temperature slightly during the last few minutes of baking, or leave them in a bit longer, watching carefully to prevent burning.
Are there any dietary considerations I should be aware of?
Definitely! If you have dietary restrictions, you can easily make these Crunchy Oven-Baked Chicken Taquitos healthier. Utilize whole wheat tortillas for added fiber or opt for low-fat cream cheese. For a vegetarian version, simply swap out the chicken for a mixture of beans, cheese, and other veggies like corn and bell peppers. Always check for allergies if serving guests—common allergens in this recipe include cream cheese and certain salsas, so make adjustments where needed!
Can I use different proteins or make them vegetarian?
Absolutely! The beauty of Crunchy Oven-Baked Chicken Taquitos lies in their versatility. You can replace shredded chicken with ground beef, pulled pork, or even sautéed vegetables for a vegetarian twist. For added nutrition, consider adding beans or corn into the filling. Whatever variation you choose, the key is to ensure that the fillings are well-seasoned and will retain their delicious flavor after baking!
Crunchy Oven-Baked Chicken Taquitos for Quick Family Fun
Ingredients
Equipment
Method
- Preheat your oven to 425°F (220°C).
- Line a baking sheet with parchment paper or lightly grease it with cooking spray or olive oil.
- In a large mixing bowl, combine the shredded cooked chicken, cream cheese, shredded cheese, salsa, taco seasoning, lime juice, and chopped cilantro. Stir until smooth.
- Warm the small flour tortillas in a microwave for about 30 seconds until warm and pliable.
- Place about 2 tablespoons of the chicken filling on each tortilla, roll tightly, and place seam-side down on the baking sheet.
- Lightly brush or spray the tops of the taquitos with olive oil.
- Bake for about 15 minutes, flip, and continue to bake for another 10-15 minutes until golden and crispy.
- Let them cool for a few minutes before serving with toppings.
Leave a Reply