
As I stood in the kitchen, the sweet aroma of crushed Oreos filled the air, igniting memories of joyful Easter celebrations from my childhood. Cue the “Adorable Easter Dirt Cups with Peeps and Mini Eggs”—a whimsical dessert that marries creamy vanilla pudding with crunchy cookie layers! Not only are these Easter Dirt Cups simple to whip up, but they also make for a visually stunning treat that will delight both kids and adults alike. The best part? You can easily customize them with chocolate or banana pudding for a fun twist. Whether you’re hosting a family gathering or a festive brunch with friends, these delightful cups will be the centerpiece of your celebration. Are you ready to dive into this easy and delicious recipe that promises to make your Easter even more special?
Why Are Easter Dirt Cups So Appealing?
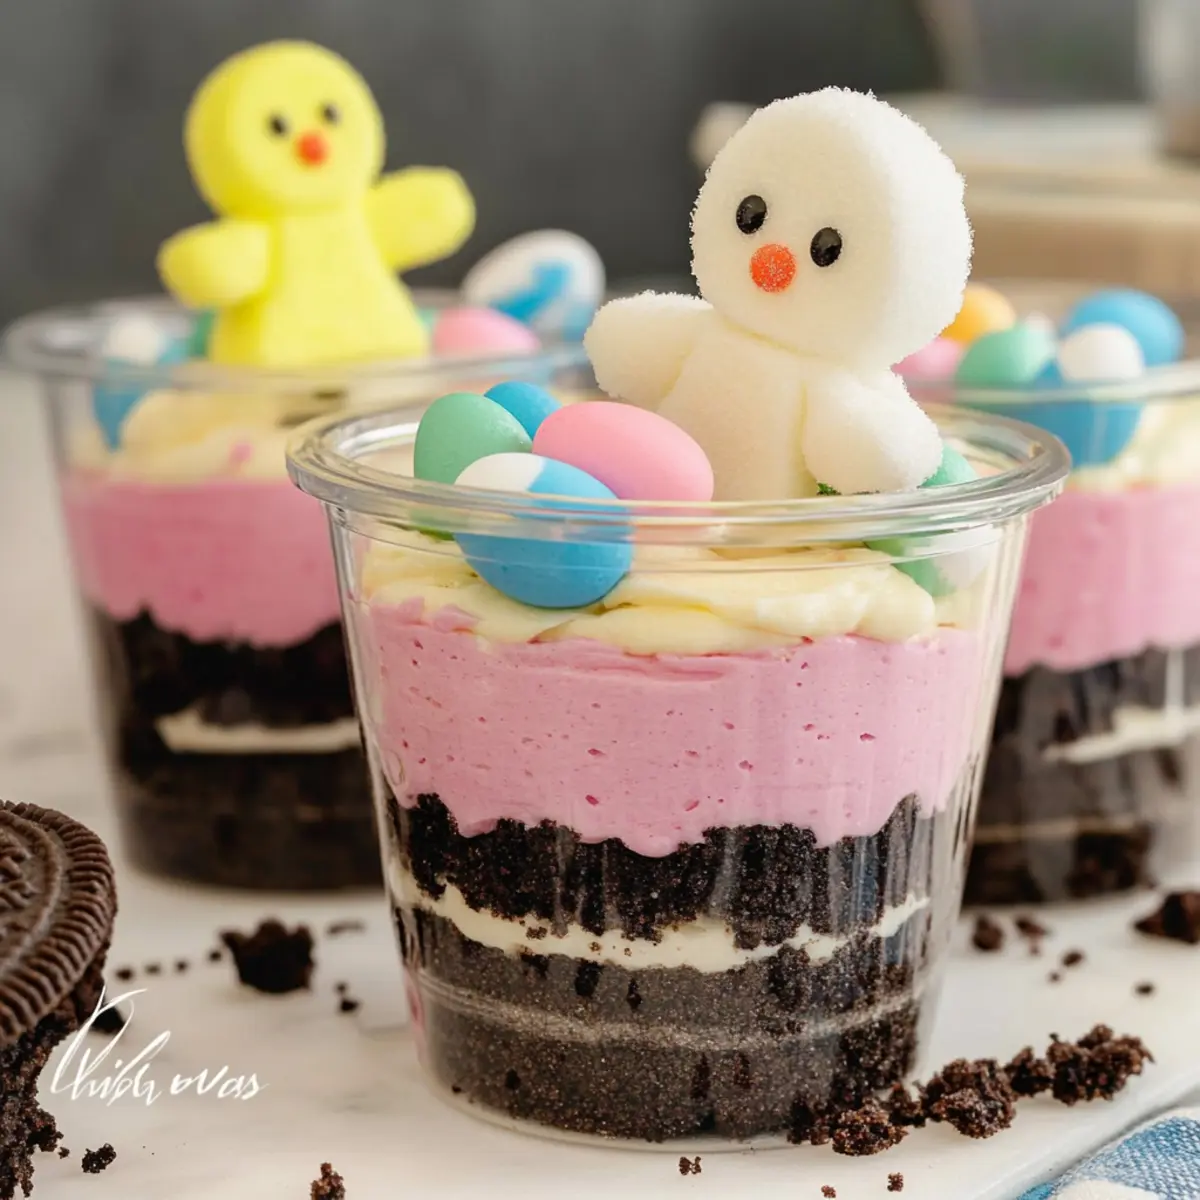
Fun, Whimsical Presentation: These Easter Dirt Cups are not just a dessert; they’re a delightful experience that brings a smile to everyone’s face, thanks to adorable Peeps and colorful mini eggs on top.
Customizable Flavors: Enjoy the freedom to swap in chocolate or banana pudding, making these cups perfect for any palate.
Easy to Make: With simple ingredients and straightforward instructions, even novice cooks can create this festive treat.
Perfect for Gatherings: They’re an eye-catching centerpiece for family gatherings or kids’ parties, guaranteed to please young and old.
Make Ahead Convenience: These cups can be prepared a day in advance, allowing you to enjoy your time with guests instead of being stuck in the kitchen. For more fun desserts, check out our Shrimp Dirty Rice for a savory twist!
Easter Dirt Cups Ingredients
For the Crust
• Oreos – Provides a crunchy texture and chocolatey flavor for layering; the finer they are crushed, the less you’ll need.
For the Pudding
• Vanilla Pudding – Adds creaminess and sweetness; try substituting with chocolate or banana pudding for a delightful twist.
• Whole Milk – Essential for preparing the pudding; ensure it’s cold for the best consistency.
• Cool Whip – Incorporates a light, airy texture; remember to thaw before mixing for optimal results.
For the Toppings
• Mini Eggs – Decorative candy that adds sweetness and visual appeal; feel free to add more for extra fun.
• Peeps – A whimsical element that ties in with the Easter theme; alternative suggestion: use chocolate-covered strawberries for a festive flair.
Step‑by‑Step Instructions for Easter Dirt Cups
Step 1: Prepare the Cups
Begin by preparing 12 eight-ounce cups. Place 1 ½ tablespoons of crushed Oreos at the bottom of each cup, creating a delightful crunchy base that will serve as the foundation for your Easter Dirt Cups. Aim for an even layer for a balanced texture, ensuring each cup is ready for layering.
Step 2: Make the Pudding
In a large bowl, whisk together 1 package of vanilla pudding mix with 2 cups of cold whole milk. Use a hand mixer for about 2 minutes until the mixture becomes thick and smooth, resembling a creamy custard. This step is essential for achieving the perfect texture in your Easter Dirt Cups, so make sure to blend thoroughly.
Step 3: Incorporate the Cool Whip
Gently fold in the thawed Cool Whip into the pudding mixture, using a spatula to combine until smooth and airy. Be careful not to overmix, as you want to maintain that light, fluffy texture. This step adds a wonderful creaminess to your Easter Dirt Cups that will delight every palate.
Step 4: Begin Layering
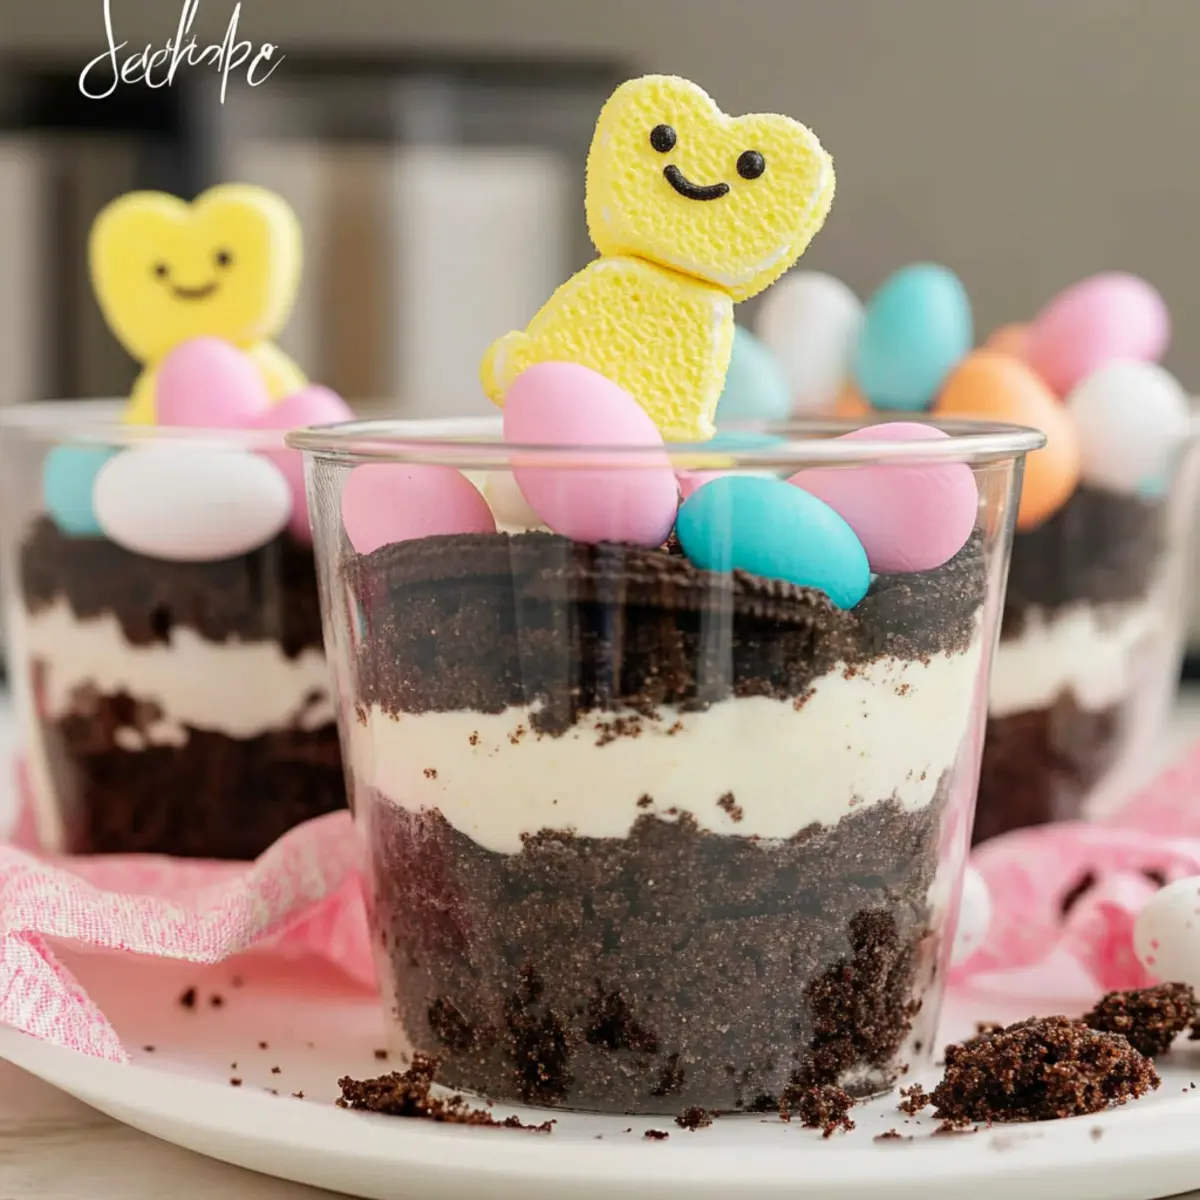
Start layering your dessert by spooning 2 heaping spoonfuls of the pudding mixture into each cup over the Oreo base. Follow this with another 1 ½ tablespoons of crushed Oreos, creating a charming contrast. Repeat this layering process twice to build up the cups, ensuring each layer is visible through the transparent sides.
Step 5: Top with Crumbs
After layering, finish each cup with a smaller amount of Oreo crumbs—approximately 1 tablespoon on top. This final touch adds a charming finish to your Easter Dirt Cups, which not only enhances the flavor but also visually prepares them for decoration.
Step 6: Chill the Cups
Cover the cups with plastic wrap and refrigerate for at least 1 hour to allow the layers to set and the flavors to meld together. This chilling step is crucial for creating a refreshing treat, ensuring that your Easter Dirt Cups are perfect upon serving.
Step 7: Add Final Decorations
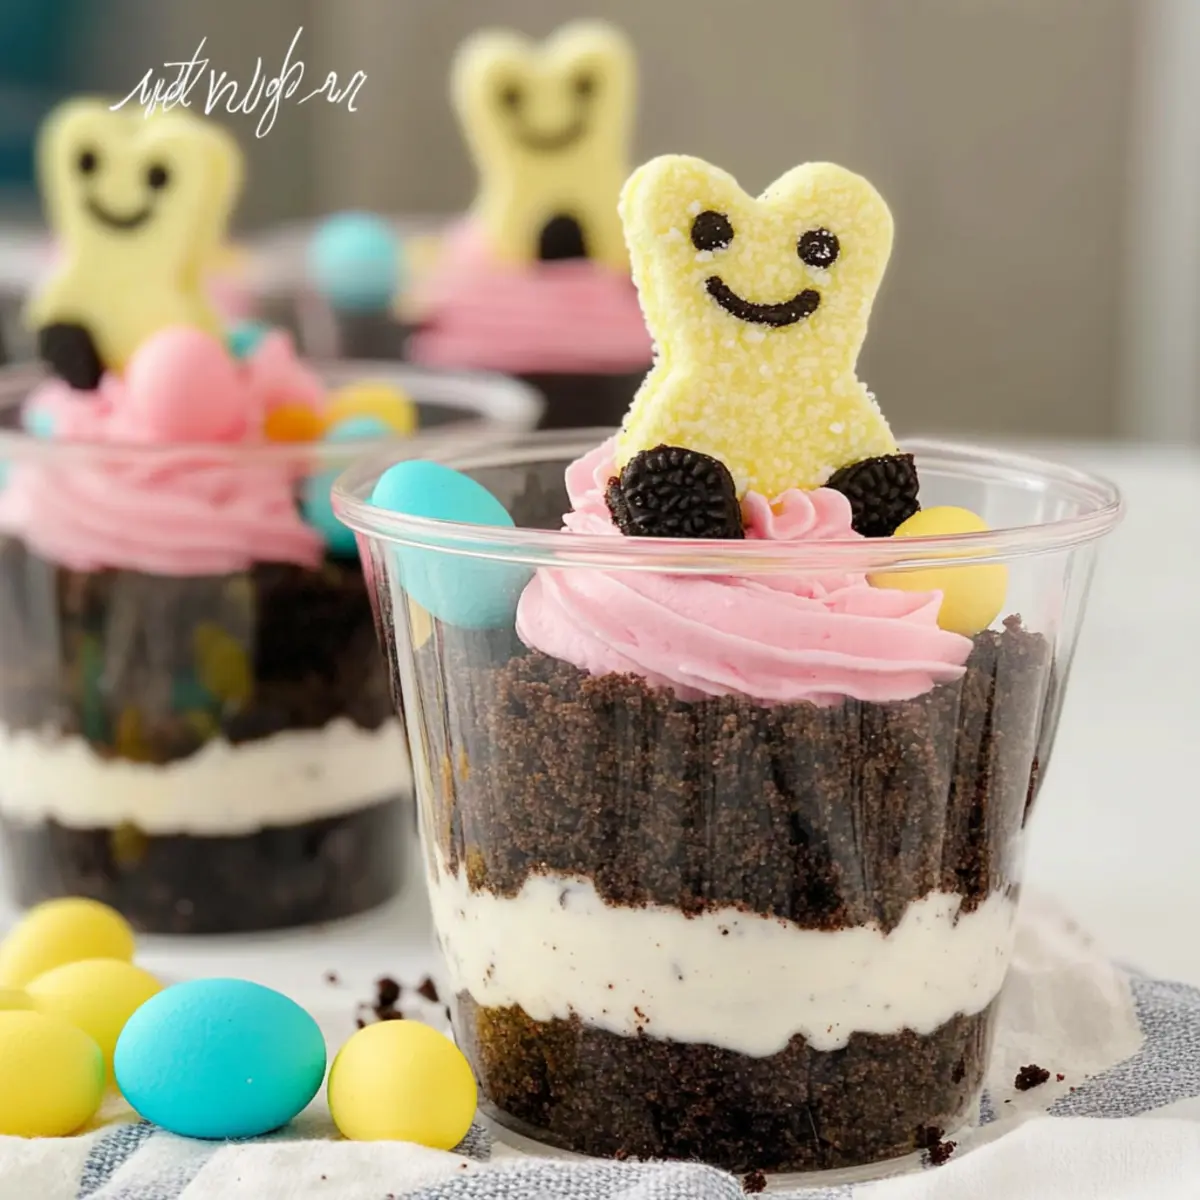
Before serving, take your cups out of the refrigerator and add at least 3 mini eggs and 1 Peep to the top of each cup as a festive garnish. This final decorative flourish not only elevates the presentation of your Easter Dirt Cups but also brings a whimsical touch that is sure to delight everyone at your gathering.

What to Serve with Easter Dirt Cups?
Prepare to delight your palate as you set the stage for a memorable Easter gathering with these whimsical treats!
- Creamy Mashed Potatoes: A velvety side that adds a comforting touch to your festive meal, complementing the airy nature of the cups.
- Grilled Vegetables: Seasonal vegetables like asparagus or bell peppers provide a fresh crunch, balancing out the indulgent dessert.
- Fruit Salad: A bright mix of berries and citrus can refresh the palate, introducing a burst of flavor that pairs beautifully with the sweetness of the cups.
- Deviled Eggs: A classic appetizer that adds a savory note to your Easter table, these are sure to please guests of all ages.
- Sparkling Lemonade: A bubbly, citrusy drink that brings a festive spark to your gathering and contrasts nicely with the rich flavors of the dirt cups.
- Chocolate-Drizzled Strawberries: A sweet treat that pairs well with the theme and adds a touch of chocolatey indulgence, echoing the Oreo layers in the dessert.
- Carrot Cake: Embrace the Easter spirit with a spiced cake that resonates with the holiday’s joys, rounding out the meal with warmth and nostalgia.
- Pistachio Gelato: This creamy and nutty dessert offers a unique flavor profile, contrasting with the familiar themes of Easter while still being deliciously indulgent.
Make Ahead Options
These adorable Easter Dirt Cups are perfect for meal prep, allowing you to lighten your load during the busy holiday festivities. You can prepare the pudding mixture and layer the cups up to 24 hours in advance, simply storing them covered in the refrigerator. Be sure to add the crushed Oreo layers, as this keeps the texture delightful without becoming soggy. When you’re ready to serve, just top each cup with mini eggs and a Peep for that whimsical touch. By prepping ahead, you’ll enjoy a delicious dessert with minimal effort, leaving you more time to create cherished memories with loved ones!
Expert Tips for Easter Dirt Cups
- Whisk Thoroughly: Ensure you whisk the vanilla pudding well to avoid any lumps. A smooth pudding guarantees a delightful texture in your Easter Dirt Cups.
- Cool Whip Caution: When folding in Cool Whip, do so gently to maintain the light texture. Overmixing can lead to a denser pudding.
- Chill Time: Don’t skip the chilling step! Allowing the cups to set in the fridge enhances the flavors and makes serving easier.
- Flavor Variations: Feel free to experiment with different pudding flavors, like chocolate or banana, to customize your Easter Dirt Cups according to your taste.
- Decorative Touch: Using mini eggs and Peeps adds a whimsical flair; however, you can also try chocolate-covered strawberries for a delightful alternative decoration.
Easter Dirt Cups Variations
Make these cute Easter Dirt Cups even more fun by adding your personal touch!
- Chocolate Pudding: Swap vanilla pudding for chocolate pudding to indulge chocolate lovers in the family.
- Banana Pudding: Use banana pudding for a fruity twist that complements the crunch of the Oreos beautifully.
- Nutty Delight: Mix in a handful of chopped nuts, like pecans or walnuts, between layers for added texture and depth.
- Fruit Layer: Add a layer of fresh strawberries or raspberries for a pop of color and fresh flavor, creating a delightful contrast.
- Dairy-Free: Substitute whole milk with almond or oat milk and use dairy-free whipped topping for a dairy-free version.
- Mini Marshmallows: Top each cup with mini marshmallows along with the eggs and Peeps for an extra layer of whimsy.
- Spicy Kick: Incorporate a sprinkle of cayenne pepper or chili powder into the crushed Oreos for a surprising heat that contrasts with the sweet pudding. For a more complete meal idea, consider serving alongside our delicious Shrimp Dirty Rice.
- Caramel Drizzle: Finish with a drizzle of caramel sauce over each cup for a dreamy and indulgent touch!
How to Store and Freeze Easter Dirt Cups
Fridge: Store any leftover Easter Dirt Cups in an airtight container in the refrigerator for up to 3 days to maintain freshness and flavor.
Make Ahead: You can prepare the cups a day in advance; just layer and refrigerate until ready to serve to enhance the flavors.
Freezer: While it’s not recommended to freeze the whole cups due to texture changes, you can freeze individual components like the pudding mixture or crushed Oreos separately for future use.
Reheating: There’s no need to reheat these cups; enjoy them chilled as a refreshing treat that’s ideal for spring celebrations!
Easter Dirt Cups Recipe FAQs
What type of Oreos should I use for the crust?
Absolutely! I recommend using regular Oreos for that classic chocolate flavor and crunchy texture. You can also experiment with Golden Oreos if you prefer a vanilla-based crust, adding a different twist to your Easter Dirt Cups.
How should I store the Easter Dirt Cups?
Store your leftovers in an airtight container in the refrigerator. They will stay fresh for about 3 days. To ensure optimal flavor and texture, enjoy them within this time frame!
Can I freeze the Easter Dirt Cups?
It’s best not to freeze the entire cups, as the creamy pudding and Cool Whip may not thaw well and could alter the texture. However, if you want to prepare in advance, you can freeze the crushed Oreos or the pudding mixture separately for up to 3 months. Just be sure to thaw them in the refrigerator before assembly and serving.
What if my pudding doesn’t thicken?
If your pudding mixture isn’t thickening after mixing with the milk, check that you’re using cold milk, as warm milk won’t set the pudding. Mix for a full 2 minutes, and if it still seems too thin, try letting it sit for another few minutes before folding in the Cool Whip.
Are these Easter Dirt Cups suitable for children with nut allergies?
Yes! This recipe is free of nuts, making it a safe treat for kids with nut allergies. However, always check the ingredient labels, especially for products like Cool Whip and Oreos, just to be safe.
How can I easily customize these cups for different flavors?
Very easily! Simply swap out the vanilla pudding for chocolate or banana pudding based on your taste preferences. For a fun twist, try adding a layer of diced fruits or sprinkles in between the layers for some extra flavor and color!
Easter Dirt Cups: A Fun, Whimsical Treat for Everyone!
Ingredients
Equipment
Method
- Prepare 12 eight-ounce cups and add 1 ½ tablespoons of crushed Oreos at the bottom of each cup.
- In a large bowl, whisk together 1 package of vanilla pudding mix with 2 cups of cold whole milk for about 2 minutes until thick and smooth.
- Gently fold in the thawed Cool Whip into the pudding mixture until smooth and airy.
- Layer 2 heaping spoonfuls of the pudding mixture in each cup over the Oreo base, followed by another 1 ½ tablespoons of crushed Oreos. Repeat the layering process twice.
- Finish each cup with approximately 1 tablespoon of Oreo crumbs on top.
- Cover the cups with plastic wrap and refrigerate for at least 1 hour.
- Before serving, add at least 3 mini eggs and 1 Peep to the top of each cup.
Leave a Reply