
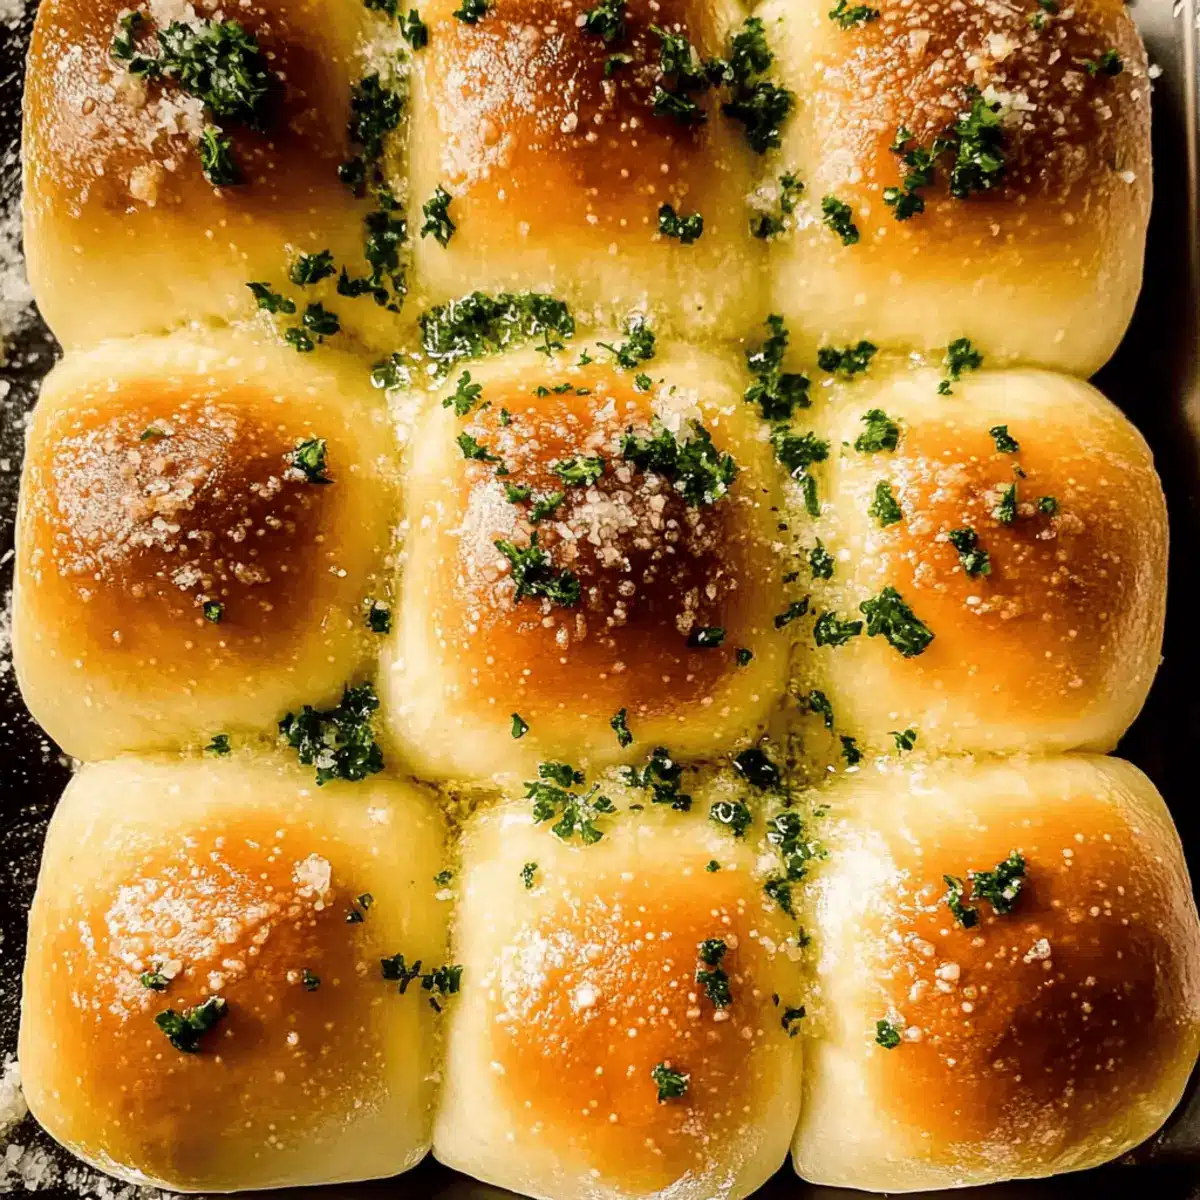
As I stood in my kitchen savoring the rich aroma of garlic wafting through the air, I couldn’t help but feel a wave of nostalgia. There’s something undeniably comforting about homemade Garlic Bread Rolls, soft and fluffy, just waiting to be enjoyed. This recipe is a delightful crowd-pleaser, perfect for family gatherings or cozy dinners at home, and it’s surprisingly simple to whip up. These rolls not only elevate any meal with their buttery goodness, but they also offer the flexibility of customization—substituting ingredients to suit your dietary needs or occasion. Trust me, once you try these Garlic Bread Rolls, you’ll discover a new favorite that will have everyone begging for the recipe. Are you ready to get your hands doughy and experience the magic of homemade rolls?
Why are Garlic Bread Rolls so irresistible?
Simplicity, this recipe is straightforward, requiring minimal baking expertise. Versatile, customize it with different herbs or cheese for a unique touch. Aromatic, the scent of freshly baked garlic rolls fills your kitchen with warmth and charm. Crowd-Pleasing, perfect for gatherings, these rolls are a hit at any table. Time-Saving, with make-ahead options, you can enjoy hassle-free preparation without sacrificing flavor. Dive into the world of homemade goodness and pair these delicious rolls with your favorite dishes!
Garlic Bread Rolls Ingredients
• Elevate your baking with these essential flavors!
For the Dough
- All-Purpose Flour – Provides structure and softness; ensure accurate measurement for the best texture.
- Instant Yeast – Helps the dough rise quickly; active dry yeast can be substituted but requires activation.
- Sugar – Enhances flavor and aids yeast activation; can be omitted for a savory version.
- Fine Sea Salt – Balances flavors and strengthens gluten structure; avoid using coarse salt.
- Butter – Adds richness and flavor; can be replaced with vegan butter for a dairy-free version.
- Milk – Hydrates the dough and contributes to softness; substitute with plant-based milk for a vegan option.
- Egg – Adds moisture and assists in structure; can be replaced with a flax egg for vegan versions.
For the Flavor
- Garlic – Key flavor component; fresh minced garlic is recommended for best taste, as it brings that zingy kick to your garlic bread rolls!
- Fresh Parsley – Enhances flavor and adds color; dried parsley can substitute, but use it halved.
Prepare yourself for a baking adventure that will fill your home with the irresistible aroma of homemade Garlic Bread Rolls!
Step‑by‑Step Instructions for Garlic Bread Rolls
Step 1: Prepare Garlic Butter
Start by melting 1/2 cup of butter in a small saucepan over low heat. Add 4 cloves of minced garlic and sauté gently for 1-2 minutes until fragrant but not browned. This step infuses the butter with that delicious garlic flavor. Once aromatic, remove from heat and set aside to cool while you prepare the dough.
Step 2: Mix Dry Ingredients
In the bowl of a stand mixer, combine 4 cups of all-purpose flour, 2 tablespoons of fresh chopped parsley, 2 tablespoons of sugar, 2 teaspoons of instant yeast, and 1 teaspoon of fine sea salt. Using the dough hook attachment, stir the dry ingredients until well blended. This mixture forms the base for your flavorful Garlic Bread Rolls.
Step 3: Incorporate Wet Ingredients
Next, gently warm 1 cup of milk until it’s just warm to the touch, then add it along with 1 large egg and the cooled garlic butter to your dry mixture. Mix on medium speed for about 2 minutes until combined. You’re creating a lovely dough that will rise beautifully, so take a moment to enjoy the rich aroma of garlic as everything comes together!
Step 4: Knead the Dough
Continue kneading the dough with the stand mixer on medium speed for 10-12 minutes, or until it’s smooth and slightly tacky. You can add additional flour a tablespoon at a time if the dough feels too sticky. Once done, the dough should pull away from the sides of the bowl and be elastic, setting the stage for soft, fluffy Garlic Bread Rolls.
Step 5: Shape Dough
Lightly grease a large bowl with cooking spray or a bit of oil. Transfer the dough to the bowl, cover it with a clean kitchen towel, and let it rise in a warm place for 1-2 hours, or until it’s doubled in size. This first rise is crucial for achieving that perfect fluffy texture in your Garlic Bread Rolls.
Step 6: Preheat Oven
While the dough rises, preheat your oven to 350°F (180°C). This will ensure it’s hot and ready when the rolls are shaped and ready to bake. A properly preheated oven is key to getting that golden-brown finish on your delicious Garlic Bread Rolls.
Step 7: Shape and Second Rise
Once risen, punch down the dough to release the air and divide it into 12 equal pieces. Shape each piece into a ball and place them in a greased baking pan, leaving space between each roll. Cover again with a towel and let them rise for another 30-60 minutes until puffy. This second rise will enhance their tenderness and create those beautiful, fluffy rolls.
Step 8: Brush and Bake
Gently brush the tops of the risen rolls with a beaten egg to give them a shiny finish. Place the pan in the preheated oven and bake for 20-30 minutes, or until golden brown and they sound hollow when tapped. The aroma of the baking Garlic Bread Rolls will fill your kitchen, making it even harder to wait!
Step 9: Finish with Garlic Butter
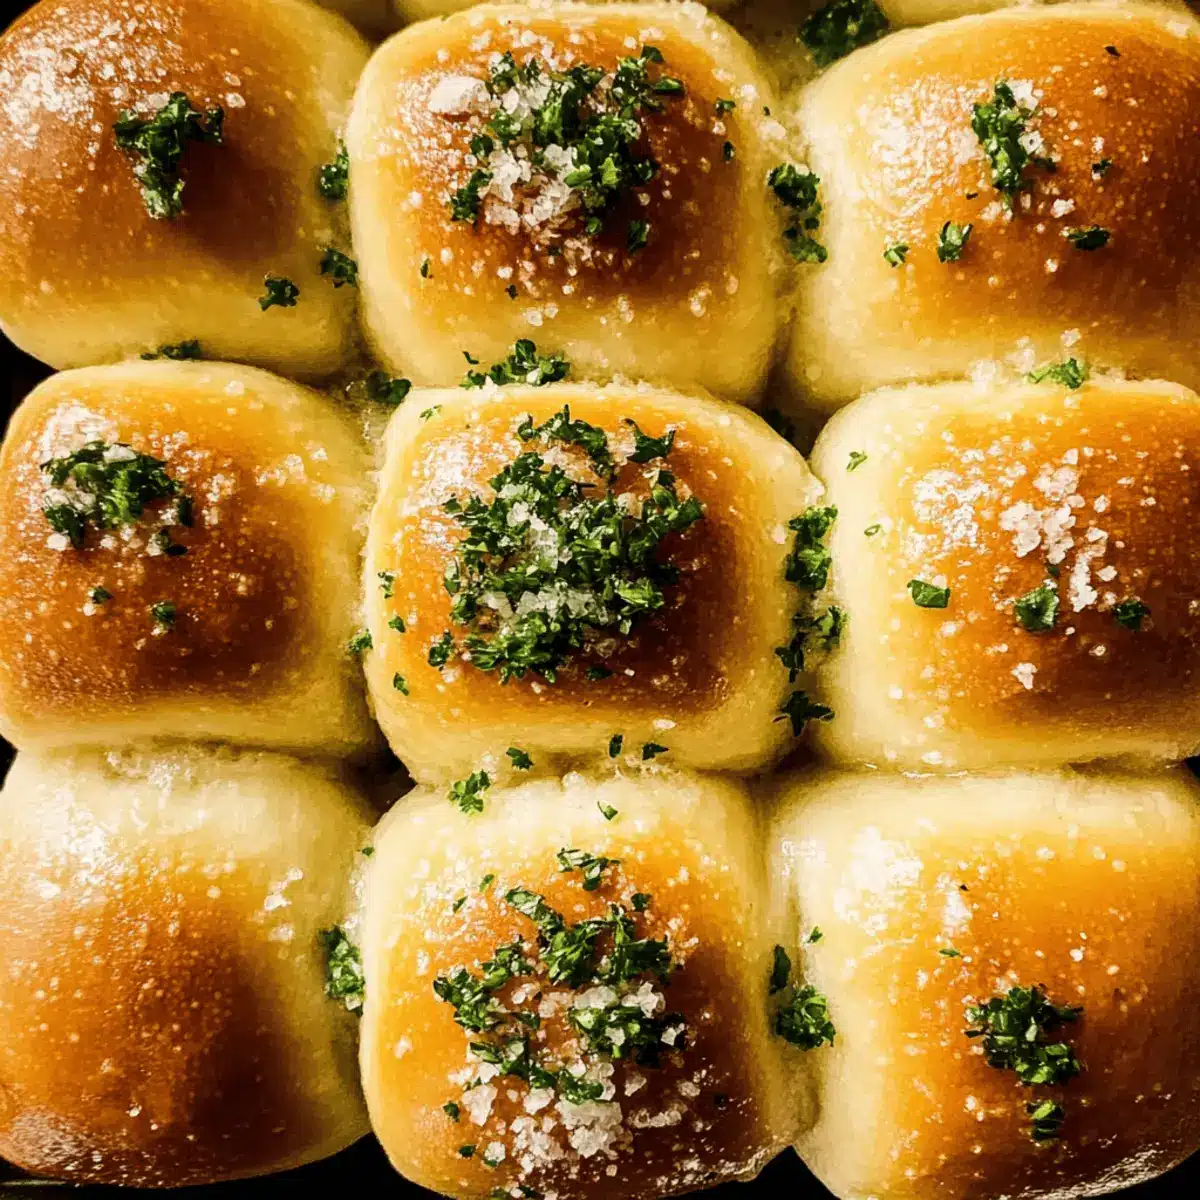
While the rolls are still warm, melt another 1/4 cup of butter and mix in a bit more minced garlic if desired. Brush this finishing garlic butter generously over the baked rolls, letting it soak in. For an extra touch, sprinkle them with a pinch of flaky sea salt before serving. Your Garlic Bread Rolls are now ready to be enjoyed, warm and delicious!
Make Ahead Options
These irresistible Garlic Bread Rolls are perfect for busy weeknights and meal prep! You can shape the rolls and let them rise in the refrigerator overnight (up to 24 hours) for a hassle-free baking experience the next day. Simply follow the steps until shaping, then cover the rolls tightly with plastic wrap to maintain their quality and prevent drying out. When you’re ready to bake, take them out, allow them to come to room temperature for about 30 minutes, and then brush with the egg wash and bake as directed. This way, you’ll enjoy freshly baked, garlicky rolls with minimal effort and just the same deliciousness!
Expert Tips for Garlic Bread Rolls
-
Dough Consistency: Aim for a slightly sticky dough; if it’s too wet, add flour gradually during kneading to avoid dense rolls.
-
Yeast Tips: If using active dry yeast, activate it by mixing with warm milk and a pinch of sugar before adding to the dough for the best rise.
-
Rising Time: Make sure to give your rolls plenty of time to rise; a warm environment helps them become fluffy and light.
-
Storage Solutions: Store leftovers in an airtight container at room temperature for up to 3 days, or freeze for longer freshness.
-
Custom Flavors: Feel free to experiment with different herbs or cheeses; adding parmesan can enhance the flavor of your Garlic Bread Rolls.
What to Serve with Garlic Bread Rolls
Creating a comforting meal is easy when you have these fluffy creations ready to shine alongside your favorite dishes.
-
Rich Tomato Soup: A classic pairing that enhances the garlic bread rolls’ flavor while offering a warm, hearty balance.
-
Creamy Alfredo Pasta: The rich and velvety texture complements the rolls perfectly, making each bite a heavenly experience.
-
Mixed Green Salad: A light, fresh option; the crisp greens and zesty dressing provide a refreshing contrast to the warm, buttery rolls.
-
Savory Herb Chicken: Juicy chicken infused with fresh herbs complements the flavors of the rolls, creating a delightful, mouthwatering meal.
-
Hearty Beef Stew: A rich stew with tender meat and vegetables pairs excellently, where rolls become a vessel for soaking up every delicious drop.
-
Sparkling Lemonade: This refreshing drink adds a zesty kick that beautifully contrasts the garlicky richness of the rolls, making every gathering feel festive.
-
Chocolate Mousse: End your meal with a sweet note; the rich, airy dessert contrasts nicely while balancing the savory rolls.
Transform your Garlic Bread Rolls into a centerpiece dish by pairing them with these delightful options!
How to Store and Freeze Garlic Bread Rolls
Airtight Container: Store leftover Garlic Bread Rolls in an airtight container at room temperature for up to 3 days to keep them fresh and soft.
Refrigeration: If you prefer longer storage, wrap the rolls tightly in plastic wrap and refrigerate for up to one week, although their texture may slightly change.
Freezing: For longer preservation, freeze the baked rolls in an airtight container for up to one month. Make sure they are completely cooled before freezing to prevent freezer burn.
Reheating: When ready to enjoy, reheat the frozen rolls in a preheated oven at 350°F (180°C) for about 10-15 minutes, wrapped in foil to retain moisture.
Variations & Substitutions for Garlic Bread Rolls
Feel free to unleash your creativity in the kitchen with these scrumptious tweaks that elevate your Garlic Bread Rolls!
-
Dairy-Free: Replace butter with vegan butter and use plant-based milk to keep your rolls entirely dairy-free and just as luscious.
Why not explore delightful flavors? The richness remains while welcoming a vegan option for everyone to enjoy. -
Herb-Infused: Swap out fresh parsley for other fresh herbs like basil or thyme for a unique flavor twist.
Imagine a touch of freshness that dances on the palate! Each variation will transport you to a different culinary experience. -
Cheesy Goodness: Incorporate grated Parmesan or mozzarella into the dough for a melty surprise in every bite.
Cheese lovers rejoice! These gooey pockets of flavor add depth and richness that are simply irresistible. -
Spicy Kick: Add a pinch of red pepper flakes into the dough for a hint of heat that complements the garlic beautifully.
Transform your rolls from delightful to dynamic! A touch of spice can beautifully balance the richness of the garlic. -
Sweet Twist: For a hint of sweetness, consider adding a tablespoon of honey or maple syrup to the dough.
Sweet garlic bread rolls? Yes, please! This unexpected combination creates a delightful contrast that’s perfect for brunch. -
Flavorful Butters: Experiment with infused garlic butter made with additional herbs like rosemary or chives for a burst of flavor.
Taking your finishing touch to the next level will wow your guests; this extra step brings layers of flavor to your rolls! -
Make it Your Own: For a different texture, use part whole wheat flour in place of all-purpose flour for a heartier roll.
This option not only adds a nutty flavor but also enhances the nutritional profile, making it a guilt-free indulgence! -
Serving Suggestions: These rolls pair wonderfully with soups, as a side to pasta, or made into mini sliders.
Versatility at its best! Bring warmth and comfort to any dish, or impress your guests with your creativity in meal-serving.
No matter how you choose to customize your Garlic Bread Rolls, each variation brings its own charm and delightful surprise. Happy baking!
Garlic Bread Rolls Recipe FAQs
How do I select the right garlic for my Garlic Bread Rolls?
Absolutely! For the best flavor, choose fresh garlic cloves that are firm and free of dark spots or sprouts. The fresher the garlic, the more aromatic and flavorful your rolls will be. I recommend using 4 cloves of fresh minced garlic for a robust taste, as it elevates the entire dish.
How can I store leftover Garlic Bread Rolls?
Very easily! Store your leftover Garlic Bread Rolls in an airtight container at room temperature for up to 3 days. If you want to keep them longer, you can wrap them tightly in plastic wrap and refrigerate for up to one week, although the texture might slightly change. Just make sure they are cooled completely before storing for the best results.
Can I freeze Garlic Bread Rolls?
Absolutely! To freeze, let your baked rolls cool completely, then place them in an airtight container or a zip-top bag, squeezing out excess air. You can freeze them for up to one month. When ready to enjoy, reheat them in a preheated oven at 350°F (180°C) for about 10-15 minutes, wrapped in foil to keep them moist and delicious.
What should I do if my dough isn’t rising properly?
If your dough isn’t rising, it could be due to inactive yeast. Make sure your yeast is fresh and check the temperature of your liquids—too hot can kill the yeast. If using active dry yeast, activate it first in warm milk with a pinch of sugar for about 5 minutes before mixing it with the other ingredients. If the dough feels too dense, it may need additional kneading or a warmer environment to rise effectively.
Are these Garlic Bread Rolls suitable for a vegan diet?
Yes, they can be! To make your Garlic Bread Rolls vegan, replace the butter with a plant-based alternative, use plant-based milk, and substitute the egg with a flax egg (1 tablespoon of ground flaxseed mixed with 2.5 tablespoons of water, let sit until gel-like). These substitutions will keep the essence of the rolls while catering to vegan diets.
How long do homemade Garlic Bread Rolls last in the fridge?
They can be kept in the refrigerator for up to one week if wrapped tightly in plastic wrap or placed in an airtight container. However, keep in mind that the texture might not be as fluffy as when they were first baked. It’s always best to enjoy them fresh, but you can also reheat for a tasty treat!
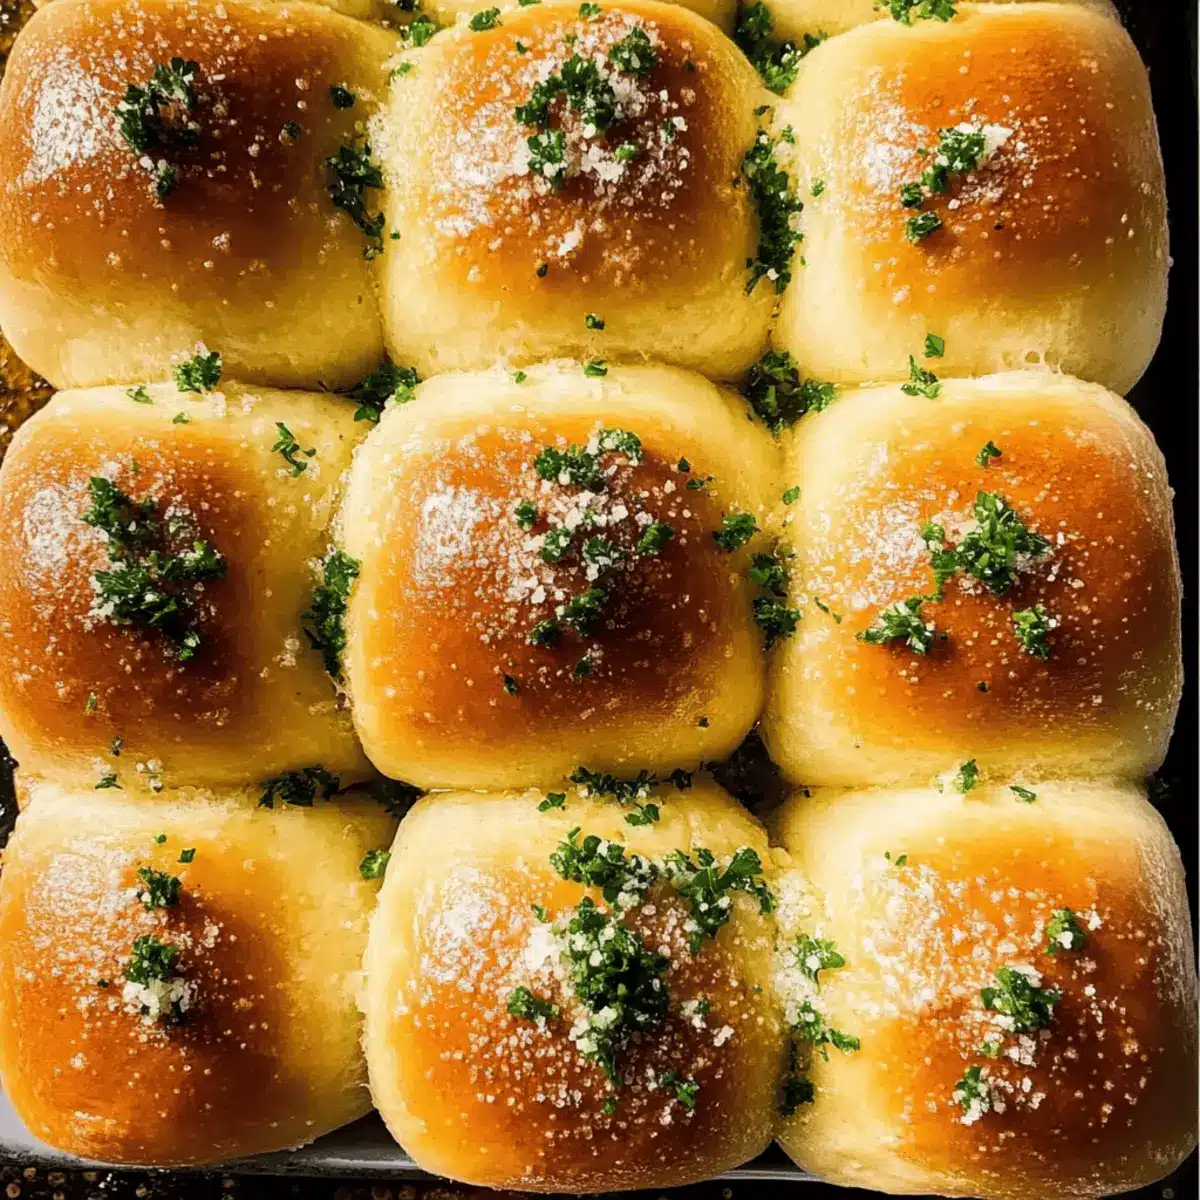
Garlic Bread Rolls That Melt in Your Mouth - Easy Recipe
Ingredients
Equipment
Method
- Melt 1/2 cup of butter and sauté 4 cloves of minced garlic for 1-2 minutes until fragrant.
- Combine 4 cups flour, 2 tablespoons parsley, 2 tablespoons sugar, 2 teaspoons yeast, and 1 teaspoon salt.
- Warm 1 cup of milk, add it with 1 large egg and the cooled garlic butter to the dry mixture, then mix.
- Knead dough for 10-12 minutes until smooth and slightly tacky; add flour as needed.
- Grease a bowl, transfer the dough, cover, and let it rise for 1-2 hours until doubled.
- Preheat oven to 350°F (180°C). This ensures it’s ready for baking.
- Punch down dough, divide into 12 pieces, shape into balls and place in a greased pan, let rise again for 30-60 minutes.
- Brush risen rolls with a beaten egg, bake for 20-30 minutes until golden brown.
- Melt 1/4 cup of butter, brush over baked rolls, and add flaky sea salt if desired.
Leave a Reply