
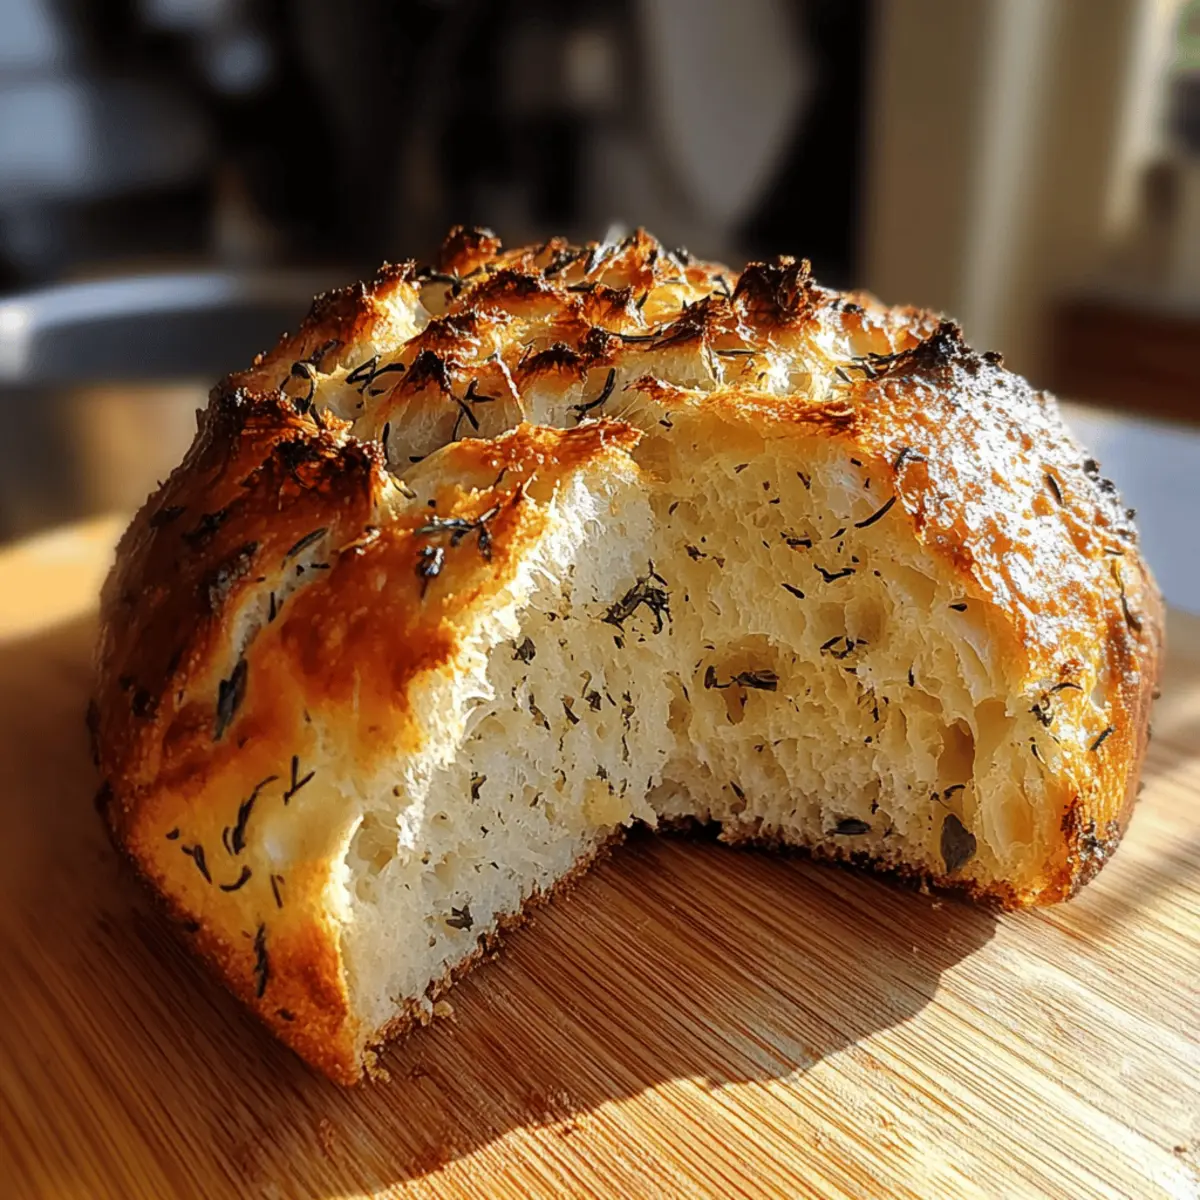
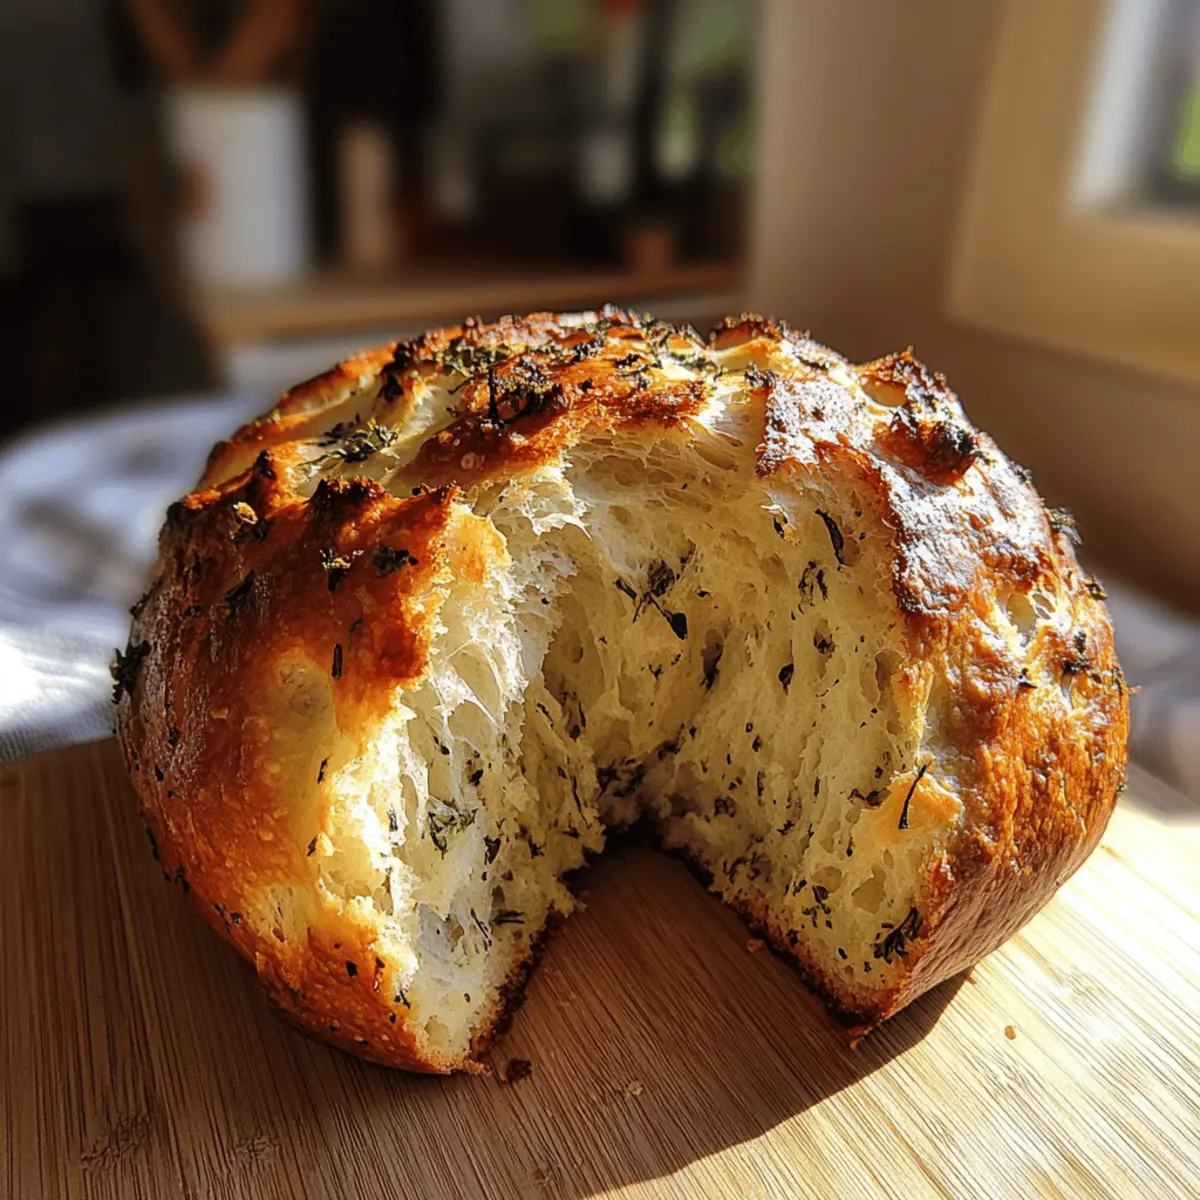
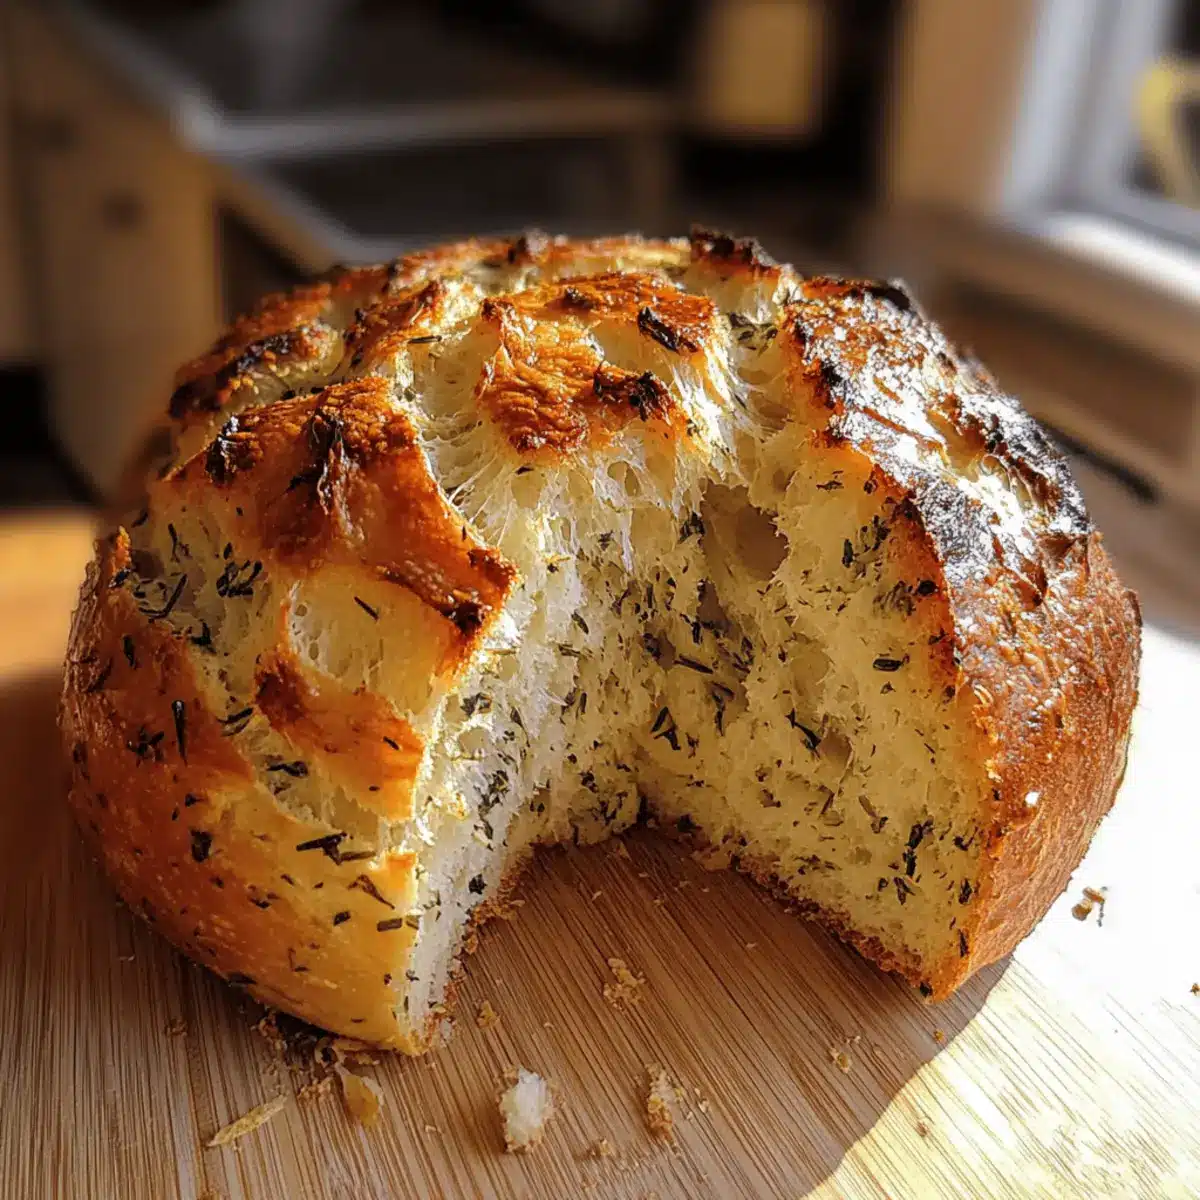
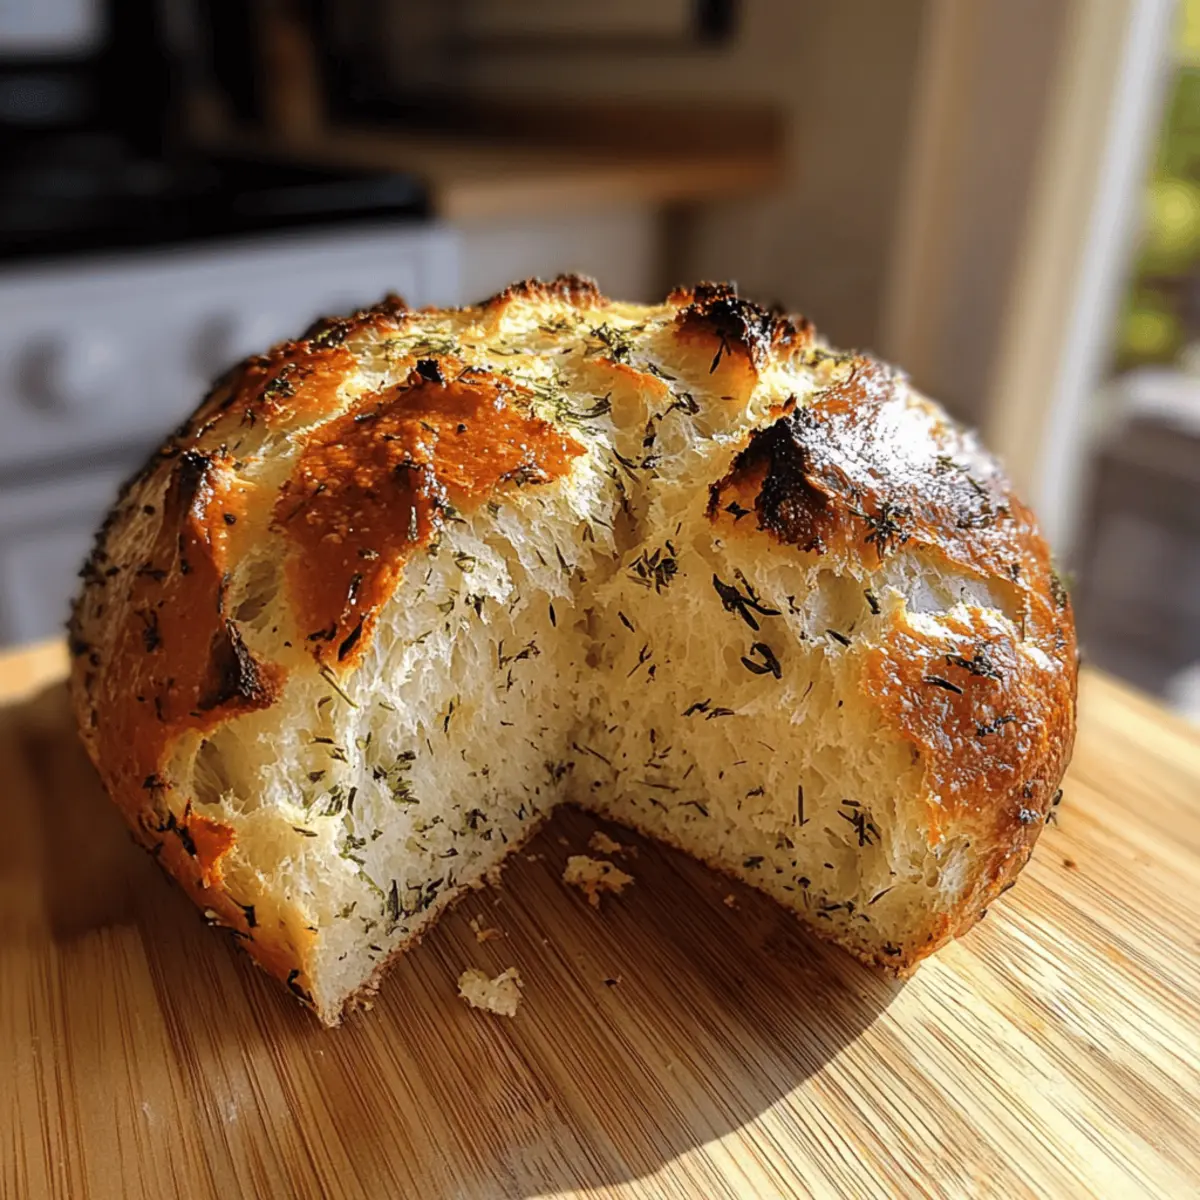
Walking into my kitchen, I’m immediately enveloped by the warm, inviting aroma of freshly baked bread that dances through the air. Today, I’m thrilled to share my Garlic Herb Dutch Oven Bread recipe—a no-knead marvel that transforms a handful of simple ingredients into a stunning artisan loaf. This bread is not only incredibly easy to make but also a brilliant way to impress friends and family with minimal effort. Thanks to an overnight resting period, you get maximum flavor with just a few minutes of hands-on time! Whether you’re gearing up for a cozy dinner or wanting to elevate your lunch game, this herb-infused bread is bound to become a go-to favorite in your home. Are you ready to bake your way to an irresistible loaf?
Why is This Bread So Irresistible?
Simplicity reigns supreme with this no-knead recipe, making it perfect for both novice and seasoned bakers. Flavorful garlic and fresh herbs combine for a deliciously aromatic loaf that elevates any meal. Versatile enough for various variations, from cheese to sun-dried tomatoes, you’ll find endless ways to enjoy it. Time-saving with minimal hands-on effort, you can spend more time with loved ones instead of in the kitchen. Whether for a dinner party or a cozy family meal, this Garlic Herb Dutch Oven Bread is sure to be a crowd-pleaser. Enjoy it with your favorite soup or as a delicious side; it’s the ultimate homemade delight!
Garlic Herb Dutch Oven Bread Ingredients
• Experience the magic of baking with these simple ingredients!
For the Dough
- All-Purpose Flour – Provides structure to the bread; you can substitute with bread flour for a chewier texture.
- Salt – Enhances flavor and helps with gluten formation.
- Instant Yeast – Leavens the bread quickly; can be swapped with active dry yeast (activate in warm water first).
- Warm Water – Hydrates the flour to form dough; ensure it’s warm (not hot) to activate the yeast.
For Flavor
- Garlic – Infuses the bread with a robust flavor; adjust quantity according to your preference.
- Fresh Herbs (e.g., rosemary, thyme) – Adds aromatic flavor; dried herbs can be substituted using a smaller amount.
For Baking
- Olive Oil – Prevents sticking and promotes a golden crust for your Garlic Herb Dutch Oven Bread.
Get ready to indulge in a freshly baked loaf that will have everyone asking for seconds!
Step‑by‑Step Instructions for Garlic Herb Dutch Oven Bread
Step 1: Mix Dry Ingredients
In a large mixing bowl, combine 3 cups of all-purpose flour, 1 teaspoon of salt, and 1 packet of instant yeast. Whisk these ingredients together until well blended. This simple step is crucial for an even distribution of yeast and salt, setting a solid base for your Garlic Herb Dutch Oven Bread.
Step 2: Incorporate Wet Ingredients
Add 1.5 cups of warm water, 4 minced garlic cloves, and 2 tablespoons of freshly chopped herbs to the dry mixture. Stir using a wooden spoon or a spatula until a shaggy dough forms, ensuring no dry flour remains. The mixture will be sticky, and that’s exactly what you want for a delicious, airy bread.
Step 3: Let the Dough Rest
Cover the bowl tightly with plastic wrap or a clean kitchen towel to prevent drafts. Let the dough rest at room temperature for 12 to 18 hours, allowing it to rise and develop rich flavors. After resting, the dough should bubble and expand, ready for the next exciting steps of the Garlic Herb Dutch Oven Bread process.
Step 4: Preheat the Oven
About 30 minutes before baking, preheat your oven to 450°F (230°C). Place a Dutch oven with its lid inside to heat up. This preheating step is essential to create that perfect crust on your bread. The Dutch oven’s heat will give the Garlic Herb Dutch Oven Bread a gorgeous, golden exterior.
Step 5: Prepare the Dutch Oven
Once the Dutch oven is hot, carefully remove it from the oven using oven mitts. Drizzle 1 tablespoon of olive oil into the pot, swirling it around to coat the bottom. This not only prevents sticking but also enhances the flavors and contributes to a crispy crust on your Garlic Herb Dutch Oven Bread.
Step 6: Shape the Dough
Transfer the dough onto a floured surface, using floured hands to gently shape it into a ball. Take care not to overwork the dough; a light touch ensures you maintain the airiness you’ve developed during the resting period. After shaping, the dough should feel slightly tacky yet smooth.
Step 7: Bake Covered
Place the dough ball into the hot Dutch oven and cover it with the lid. Bake for 30 minutes, letting the steam trapped inside create the ideal environment for the Garlic Herb Dutch Oven Bread to rise. You’ll know it’s baking perfectly when you start to smell the delicious aromas wafting through your kitchen!
Step 8: Bake Uncovered
After 30 minutes, carefully remove the lid from the Dutch oven. Continue baking the bread for an additional 15 to 20 minutes, or until the top turns a deep golden brown. This step is crucial for achieving that beautiful crust that contrasts perfectly with the tender inside of your Garlic Herb Dutch Oven Bread.
Step 9: Cool and Slice
Once baked, remove the Dutch oven from the oven and transfer the bread to a wire rack. Allow it to cool for at least 15 minutes. This cooling period is essential, as it helps the bread set properly for slicing, ensuring you can enjoy each piece of your delicious Garlic Herb Dutch Oven Bread without it falling apart.
What to Serve with Garlic Herb Dutch Oven Bread
Indulging in freshly baked bread is a sensory delight, and pairing it with the right accompaniments elevates the experience even further.
-
Creamy Tomato Soup: The tangy richness of tomato soup complements the garlicky flavor of the bread, creating a comforting duo perfect for any chilly evening.
-
Mixed Green Salad: A vibrant salad with fresh greens and a zingy vinaigrette adds a refreshing crunch, balancing the warm, crusty loaf beautifully.
-
Savory Cheese Platter: Pair your bread with a selection of cheeses, such as brie or aged cheddar, for a delightful contrast of flavors and textures; a cheese board can also spark great conversations!
-
Olive Oil Dip: A drizzle of high-quality olive oil sprinkled with sea salt creates an irresistible dip that enhances the flavor profile of the Garlic Herb Dutch Oven Bread.
-
Grilled Vegetables: Charred seasonal veggies bring out earthy flavors that harmonize nicely with the bread’s herbs, making for a wholesome and delicious pairing.
-
White Wine Spritzer: Refreshing and light, this drink perfectly complements the warmth of the bread, making it a delightful addition to any meal occasion.
-
Chocolate Chip Cookies: For those with a sweet tooth, enjoy the comforting contrast of warm, chewy cookies alongside your bread; it’s a delightful surprise for dessert!
-
Herbed Butter: Whipping up a compound butter with fresh herbs and garlic is a simple yet delectable way to elevate each slice—spread it on while the bread is still warm for melting goodness.
Expert Tips for Garlic Herb Dutch Oven Bread
-
Preheat Properly: Ensure your Dutch oven is fully preheated. This is crucial for developing that perfect, crusty exterior on your Garlic Herb Dutch Oven Bread.
-
Hydration Matters: Maintain the dough’s stickiness to achieve an airy loaf. If it’s too dry, you may miss out on the tender crumb.
-
Don’t Skimp on Time: Allowing the dough to rest for 12 to 18 hours is key for flavor. Skipping this step hampers the taste and texture of your bread.
-
Flavor Adjustments: Feel free to increase the garlic or herbs for a personal touch. Just remember, a little goes a long way with flavor!
-
Use Care When Uncovering: When removing the lid after the first bake, be cautious of the steam. It’s hot and can cause burns—just another reminder of the magic happening inside!
Garlic Herb Dutch Oven Bread Variations
Feel free to get creative with this recipe and make it your own—there’s so much you can do with a delicious loaf!
-
Cheesy Delight: Add shredded cheese (cheddar or parmesan) to the dough for a rich, savory twist. Imagine each bite bursting with melted goodness!
-
Sun-Dried Tomatoes: Stir in chopped sun-dried tomatoes for a beautifully tangy flavor. They add a wonderful burst of color and Mediterranean flair to your bread.
-
Herb Shuffle: Swap in your favorite fresh herbs, like basil or oregano, to alter the aroma and taste profile entirely. Seasonal herbs offer a unique touch every time you bake.
-
Caramelized Onions: Replace the garlic with caramelized onions for a sweeter, more complex flavor. The sweetness balances perfectly with the bread’s crust, making it absolutely irresistible.
-
Spice it Up: For those who love heat, mix in a pinch of red pepper flakes or a dash of cayenne pepper to give your bread a kick. It’s a fun surprise that adds depth to each slice.
-
Nutty Texture: Incorporate chopped nuts, like walnuts or pecans, into the dough for added crunch and flavor. They create a delightful contrast to the soft, airy interior.
-
Black Olive Twists: Add chopped black olives for a Mediterranean vibe. Their salty richness elevates the flavor profile and pairs wonderfully with soups or salads.
-
Sweet Touch: Drizzle some honey or maple syrup into the dough for a hint of sweetness—perfect for breakfast or paired with cheese and fruit!
With endless options to explore, your Garlic Herb Dutch Oven Bread will never feel the same twice, making each baking session an exciting culinary adventure! Don’t forget to check out our recipes for soup pairings and tips on preserving bread freshness for the ultimate dining experience!
Make Ahead Options
These Garlic Herb Dutch Oven Bread loaves are perfect for meal prep! You can mix the dry ingredients and combine them with the wet ingredients up to 24 hours in advance. After forming the dough, simply cover it and let it rest at room temperature, allowing the flavors to develop beautifully. If you prefer, you can also shape the dough and store it in the refrigerator for up to 3 days—just make sure to cover it tightly to prevent drying out. When you’re ready to bake, bring the dough back to room temperature before preheating your oven and following the baking instructions. This way, you’ll enjoy fresh, crusty bread with minimal effort during your busy week!
How to Store and Freeze Garlic Herb Dutch Oven Bread
Room Temperature: Store leftover bread in a paper bag at room temperature for up to 3 days to maintain its delightful crust and soft interior. Avoid plastic, which can make it soggy.
Freezer: For longer storage, wrap slices of Garlic Herb Dutch Oven Bread in plastic wrap and then in aluminum foil. It can be frozen for up to 3 months without losing flavor or texture.
Reheating: When you’re ready to enjoy, simply bake the frozen slices at 350°F (175°C) for about 10-15 minutes, or until warmed through and slightly crusty again. Enjoy!
Garlic Herb Dutch Oven Bread Recipe FAQs
How do I know if my ingredients are fresh?
For optimal flavor and texture in your Garlic Herb Dutch Oven Bread, ensure your all-purpose flour is free of any lumps or off-smells. Check the expiration date on your yeast; if it’s past due, it may not leaven properly. Fresh garlic should be firm and unbruised, while herbs should be vibrant and fragrant without any dark spots.
What’s the best way to store leftover Garlic Herb Dutch Oven Bread?
Store your leftover bread in a paper bag at room temperature for up to 3 days. This method will help maintain its crusty exterior. If you need to store it longer, wrap the bread tightly in plastic wrap and then in aluminum foil to freeze. It can last for up to 3 months; just remember to thaw and reheat before enjoying!
Can I freeze Garlic Herb Dutch Oven Bread? How?
Absolutely! To freeze your bread, slice it into desired portions. Wrap each piece tightly in plastic wrap, and then wrap in aluminum foil to prevent freezer burn. Place the wrapped slices in a freezer-safe bag or container for easy access. When ready to enjoy, bake the frozen slices at 350°F (175°C) for about 10-15 minutes until warm and crusty—like fresh from the oven!
What if my dough doesn’t rise?
If your dough doesn’t rise after the resting period, it could be due to the yeast being inactive, often because it was old or improperly stored. Ensure your warm water isn’t too hot, as temperatures over 120°F (49°C) can kill the yeast. For best results, use instant yeast and check its expiration date before beginning your Garlic Herb Dutch Oven Bread journey.
Is this recipe suitable for people with dietary restrictions?
Yes! This Garlic Herb Dutch Oven Bread is inherently vegetarian, and by substituting the all-purpose flour with a gluten-free all-purpose blend, it can cater to gluten-sensitive individuals. Always double-check the labels of any additional ingredients used—like cheese for variations—if you’re cooking for someone with allergies or special dietary requirements.
Garlic Herb Dutch Oven Bread That's Effortlessly Delicious
Ingredients
Equipment
Method
- In a large mixing bowl, combine 3 cups of all-purpose flour, 1 teaspoon of salt, and 1 packet of instant yeast. Whisk these ingredients together until well blended.
- Add 1.5 cups of warm water, 4 minced garlic cloves, and 2 tablespoons of freshly chopped herbs to the dry mixture. Stir until a shaggy dough forms.
- Cover the bowl tightly and let the dough rest for 12 to 18 hours at room temperature.
- Preheat your oven to 450°F (230°C) about 30 minutes before baking.
- Remove the hot Dutch oven from the oven, drizzle 1 tablespoon of olive oil into the pot, swirling to coat.
- Transfer the dough onto a floured surface and shape it into a ball.
- Place the dough ball into the hot Dutch oven, cover it, and bake for 30 minutes.
- After 30 minutes, remove the lid and bake for an additional 15 to 20 minutes, until golden brown.
- Remove the Dutch oven from the oven and transfer the bread to a wire rack to cool for at least 15 minutes.
Leave a Reply