
Standing in my kitchen, I couldn’t help but smile as I prepared to dive into the delightful world of sushi-making with my Homemade California Crunch Roll Sushi. The combination of creamy avocado, succulent imitation crab, and crisp cucumber layered with perfectly seasoned sushi rice is simply irresistible. What’s even better is that this recipe is incredibly customizable; you can easily switch ingredients for vegetarian options or even toss in some fruit for a refreshing twist. Not only does this sushi roll make for a fun cooking experience, but it’s also a crowd-pleaser, sure to impress family and friends at your next gathering. Are you ready to roll up your sleeves and create something deliciously memorable?
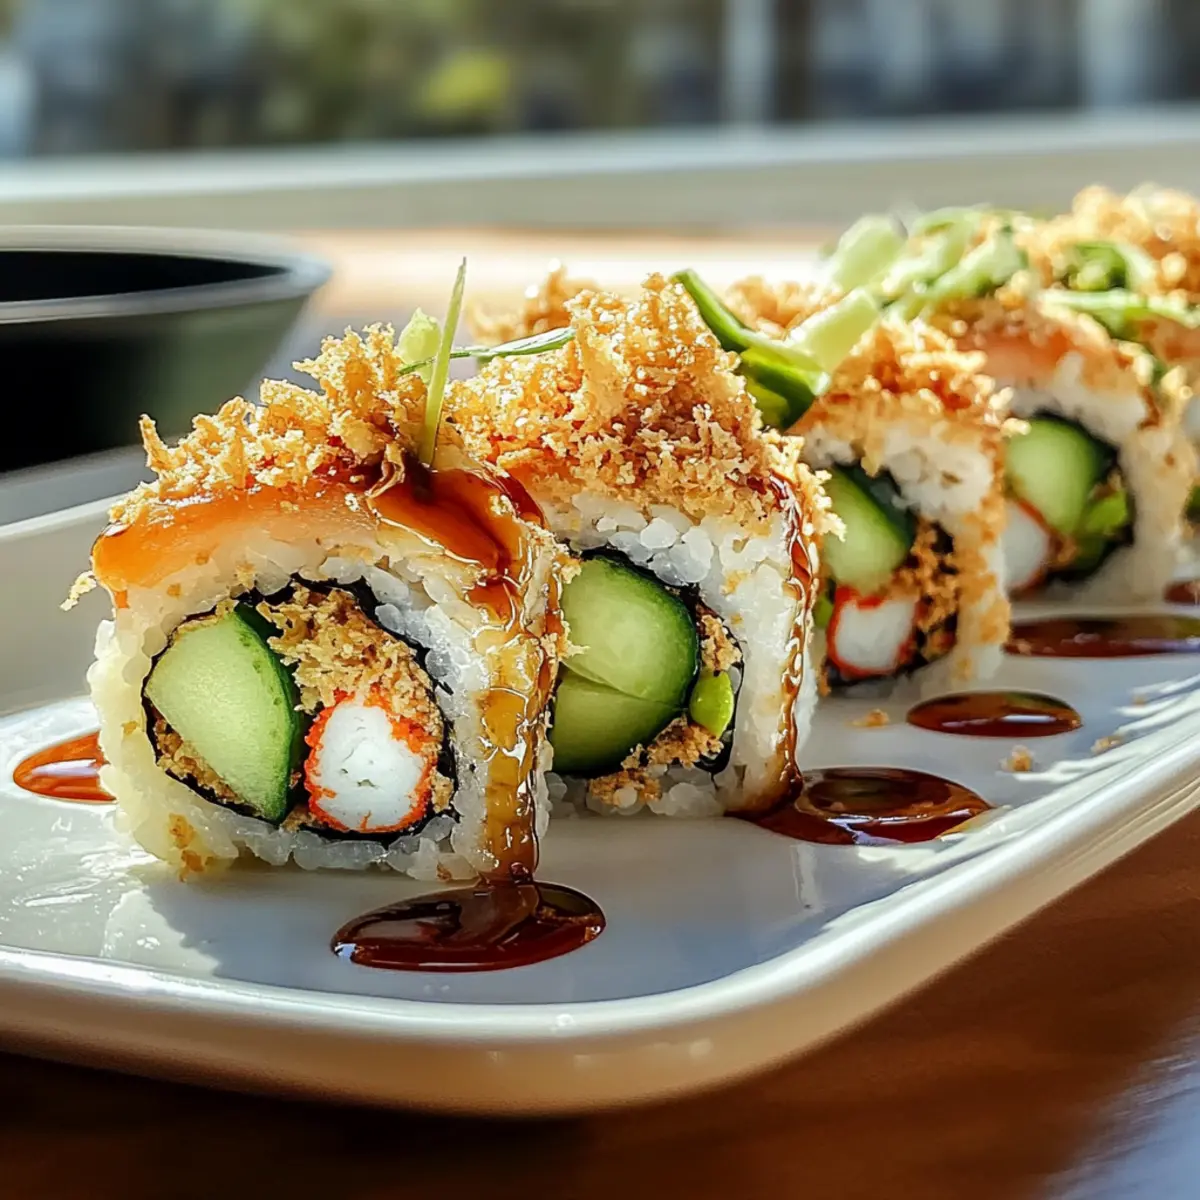
Why Make Homemade California Crunch Roll Sushi?
Endless customization: You can easily swap out ingredients to fit everyone’s taste, whether you’re craving a spicy kick or a refreshing fruit-infused twist. Quick and easy: Preparing sushi at home is simpler than you might think, even for beginners! Fun experience: Get friends and family involved in the rolling process, turning dinner into a delightful activity. Crowd-pleaser: With its rich flavors and crunchy textures, your homemade sushi will leave everyone asking for seconds! Plus, pair it with some Soft Cinnamon Roll bars for a sweet finish.
Homemade California Crunch Roll Sushi Ingredients
Create your own delicious sushi at home with these key ingredients!
For the Sushi Rice
- Short-grain white rice – Provides structure and stickiness for easy rolling. Substitution Note: Medium-grain rice can be used but may alter texture.
- Rice vinegar – Adds the essential tangy flavor to seasoned sushi rice.
For the Roll
- Roasted nori sheets – Wraps the sushi and holds ingredients together. Substitution Note: Soy paper can be used for a milder flavor.
- Imitation crab – Adds a sweet, ocean-like flavor. Substitution Note: Real crab meat, shredded cooked shrimp, or marinated tofu can be used for alternate versions.
- Avocado – Provides creaminess and a rich texture. No substitutions needed; choose ripe avocados for best flavor.
- Cucumber – Adds crunch and freshness. Any variety can work; opt for English cucumber for minimal seeds.
For the Crunch & Flavor
- Tempura flakes – Creates a delightful crunch on top. No direct substitute, but crispy onions can add a similar texture.
- Spicy mayo – Enhances overall flavor. Easily made by mixing mayonnaise and sriracha; adjust spice level as preferred.
This Homemade California Crunch Roll Sushi will be a colorful, delicious experience that brings joy to your table!
Step‑by‑Step Instructions for Homemade California Crunch Roll Sushi
Step 1: Rinse and Cook the Rice
Begin by rinsing 1 cup of short-grain white rice under cold water until the water runs clear, which usually takes about 2–3 minutes. Then, cook the rice according to package instructions, typically bringing it to a boil in a pot with 1 ¼ cups of water, then reducing to low heat and simmering for 18–20 minutes. Once tender, let it sit covered for another 10 minutes.
Step 2: Season the Rice
Once the rice has cooled slightly, transfer it to a large bowl and integrate a mixture of 2 tablespoons of rice vinegar, 1 tablespoon of sugar, and a pinch of salt while gently folding with a spatula. The rice should be shiny and sticky but not mushy, taking care not to mash it. Allow the seasoned rice to cool to room temperature as you prepare your other ingredients.
Step 3: Prepare Your Rolling Area
Lay out a bamboo sushi mat on a clean, flat surface and place a damp cloth over it to prevent sticking. Place a sheet of roasted nori, shiny side down, on the mat, ensuring it’s oriented with one edge closest to you. This will provide a sturdy base for your Homemade California Crunch Roll Sushi, making rolling much easier.
Step 4: Spread the Sushi Rice
Wet your fingers to prevent sticking and take about 1 cup of the seasoned sushi rice. Evenly press the rice onto the nori, covering about two-thirds of the sheet while leaving the top edge clear. Make sure the rice layer is not too thick; you want it just enough to hold the ingredients without overflowing when you roll it.
Step 5: Add Fillings and Sauce
Layer your ingredients starting with several strands of imitation crab, followed by thin slices of ripe avocado and crunchy cucumber. Drizzle a bit of spicy mayo over the ingredients to add flavor, making sure to keep the filling close to the edge of your roll. This balance will help create that perfect Homemade California Crunch Roll Sushi.
Step 6: Roll the Sushi
Gently lift the bamboo mat and roll it towards you, tucking the edge of the nori over your fillings. Keep the roll tight but not overly compressed, applying even pressure as you roll it away from you. Continue rolling until you reach the top edge of the nori, which should remain exposed to seal the roll closed.
Step 7: Seal and Slice the Roll
Before slicing, dampen the edge of the exposed nori with a little water to help seal the roll. Using a sharp knife, slice the sushi roll into bite-sized pieces, applying gentle pressure without squishing the roll. Aim for about 6-8 pieces so that everyone can enjoy your Homemade California Crunch Roll Sushi!
Step 8: Add the Crunchy Topping
To finish your sushi, sprinkle a generous amount of tempura flakes on top, giving it that delightful crunch. Arrange the sushi pieces on a platter and serve with additional spicy mayo or soy sauce for dipping. Your Homemade California Crunch Roll Sushi is now ready to be enjoyed!
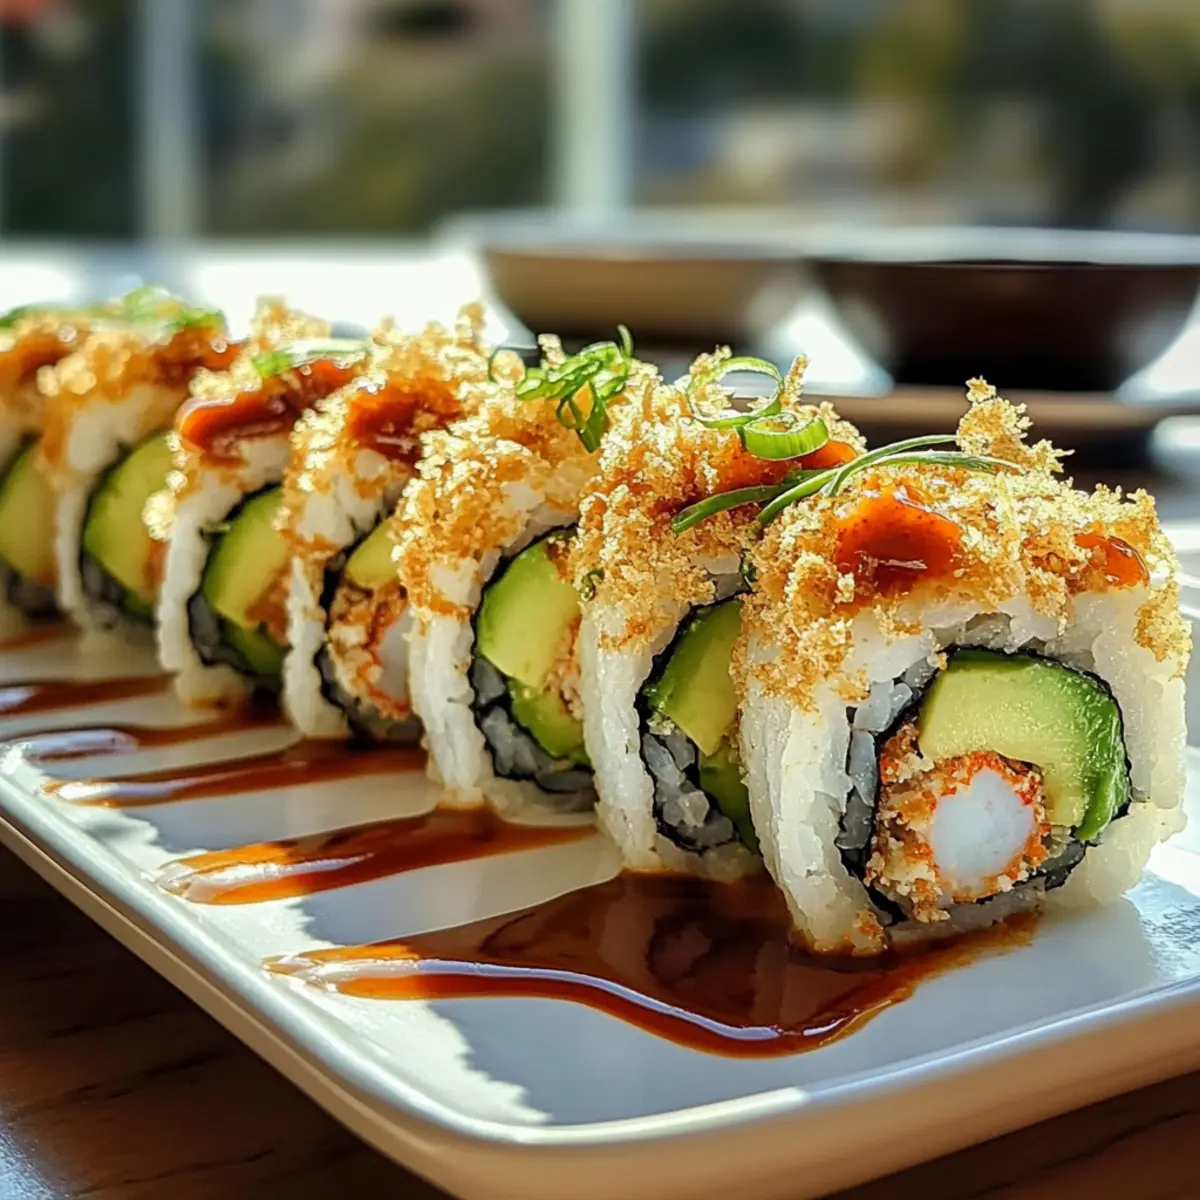
Make Ahead Options
These Homemade California Crunch Roll Sushi are perfect for meal prep enthusiasts! You can prepare the sushi rice and cut your fillings—imitation crab, avocado, and cucumber—up to 24 hours in advance. Simply store the cooked rice in an airtight container in the refrigerator to maintain its moisture and prevent drying out. When it’s time to roll, all you need to do is layer your chilled ingredients on freshly prepared nori and roll it up, ensuring a tight seal. This way, you’ll enjoy fresh, delicious sushi with minimal effort on busy weeknights or at your next gathering!
Storage Tips for Homemade California Crunch Roll Sushi
-
Room Temperature: Sushi is best enjoyed fresh, but if you need to leave it out, do not exceed 2 hours at room temperature to maintain safety and quality.
-
Fridge: Wrap the sushi tightly in plastic wrap and store in the refrigerator for up to 24 hours to maintain moisture and flavor.
-
Freezer: Freezing homemade California Crunch Roll Sushi is not recommended, as the texture won’t hold up well once thawed.
-
Reheating: For best results, enjoy sushi cold or at room temperature; do not microwave as it can ruin the texture of the rice and fillings.
Homemade California Crunch Roll Sushi Variations
Feel inspired to put your own twist on this delightful homemade sushi creation! Customize it with different flavors and textures to suit your taste buds.
-
Spicy Kick: Add more sriracha to the spicy mayo or use spicy tuna for an extra zing. Just imagine the heat mixing wonderfully with the creamy avocado!
-
Vegetarian Delight: Swap out imitation crab for marinated tofu or a medley of fresh veggies. Crunchy bell peppers and mango can elevate the flavor profile beautifully.
-
Tempura Twist: For a delightful texture contrast, incorporate tempura shrimp into the filling. The crispy shrimp will bring a satisfying surprise to each bite!
-
Fruity Fusion: Add slices of mango or pineapple to create a sweet and tropical flavor combined with the savory sushi. It’s like a mini-vacation in your mouth!
-
Zesty Citrus: Drizzle some fresh lime or lemon juice over your fillings for a refreshing zest. It perfectly balances out the richness of the avocado.
-
Asian-inspired Edge: Try adding pickled ginger or daikon radish for a tangy crunch that complements your sushi beautifully. A perfect pairing with a side of miso soup!
-
Bold Barbecue: Swap your spicy mayo for a light drizzle of your favorite barbecue sauce for a unique and smoky flavor blend. It’s an unexpected but delicious surprise!
-
Baked Crunch: After rolling, briefly bake your sushi roll until warm and crispy. This creates a whole new experience of hot sushi that you didn’t know you needed!
Feeling adventurous? Don’t forget to accompany your sushi with some Famous Homemade Shepherds for a comforting second course. Enjoy!
What to Serve with Homemade California Crunch Roll Sushi
Elevate your sushi experience with delightful pairings that create a complete meal for your loved ones.
- Edamame: Steamed and lightly salted, these tender soybeans offer a satisfying pop that contrasts beautifully with the sushi’s textures.
- Miso Soup: Warm, savory miso soup provides a comforting backdrop to your sushi night, perfectly balancing the delicate flavors of your rolls.
- Seaweed Salad: Refreshing and slightly tangy, seaweed salad adds a unique depth of flavor, enhancing the sushi experience with each bite.
- Pickled Ginger: This zesty condiment cleanses the palate between bites, allowing you to fully enjoy the contrasting flavors of each piece.
- Tempura Vegetables: Lightly battered and fried vegetables introduce a crispy, crunchy element that mirrors the tempura flakes on your sushi.
- Sake: A chilled glass of sake beautifully complements the sushi’s flavors, enhancing the overall dining experience with its smooth finish.
- Fruit Platter: For dessert, offer a colorful fruit platter featuring ripe mangoes, strawberries, and kiwi, which echoes the freshness of your sushi.
Expert Tips for Homemade California Crunch Roll Sushi
-
Rice Rinsing: Rinse the rice thoroughly before cooking to achieve the right texture. This ensures a perfect stickiness, making your sushi easier to roll.
-
Proper Rolling Mat: Invest in a quality bamboo sushi mat. It makes the rolling process smoother and helps achieve tighter rolls for your Homemade California Crunch Roll Sushi.
-
Don’t Overstuff: Avoid the temptation to cram too many fillings into your roll. Overstuffing can lead to a messy roll that is harder to slice and eat.
-
Wet Hands and Mat: Always wet your fingers and the mat during the rolling process. This simple trick prevents the rice from sticking and keeps everything neat.
-
Consider Freshness: For the best flavor, use fresh ingredients. If trying variations like spicy tuna or fruit-infused options, ensure they are ripe and flavorful for maximum enjoyment.
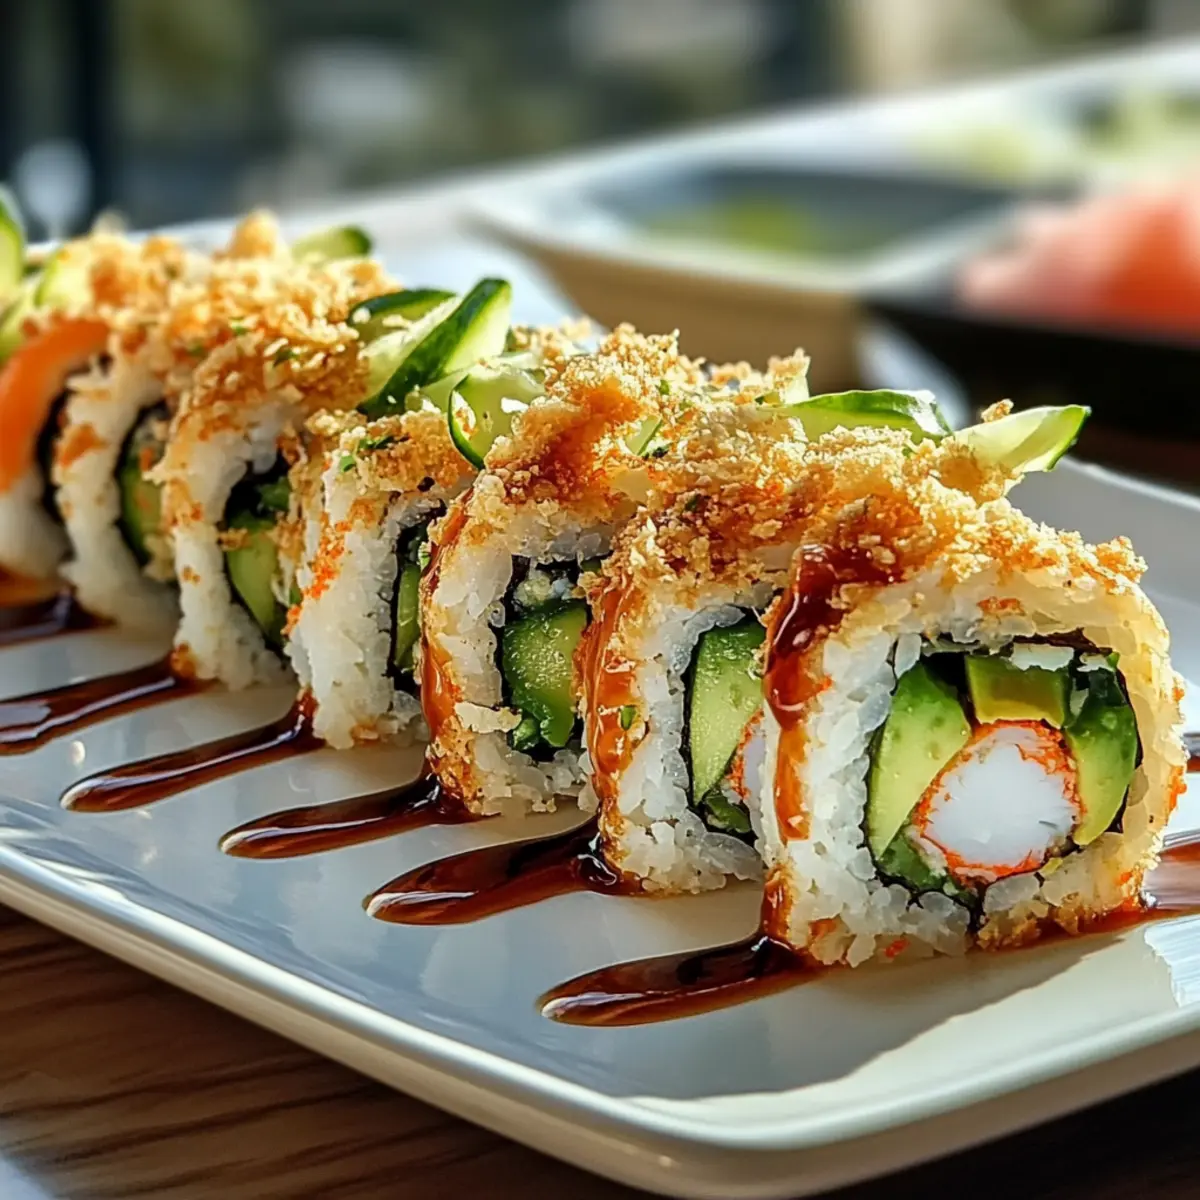
Homemade California Crunch Roll Sushi Recipe FAQs
How do I choose ripe avocados for my sushi?
Absolutely! When selecting avocados, look for ones that yield slightly to gentle pressure but are not overly soft or mushy. Dark green or almost black skin can indicate ripeness, but the best test is to gently press. Choose ripe avocados for that creamy texture your sushi deserves!
What is the best way to store leftover sushi?
Very good question! To maintain the freshness of your Homemade California Crunch Roll Sushi, wrap it tightly in plastic wrap and store it in the refrigerator. It’s best enjoyed within 24 hours for optimal taste and texture, as the ingredients can lose their quality over time.
Can I freeze my California Crunch Roll Sushi?
It’s generally not recommended to freeze sushi, especially with the rice and fresh ingredients involved. The texture will suffer after thawing, leaving you with something far from the delightful crunch and soft flavors of freshly made sushi. Instead, enjoy your sushi within a day of making it!
What should I do if my sushi rice is too sticky or too dry?
No worries at all! If your sushi rice is too sticky, ensure that you thoroughly rinse the rice before cooking, as this helps remove excess starch. If it’s too dry, it could mean that it didn’t absorb enough water during cooking. For future rolls, try adjusting the water ratio slightly and keeping an eye on cooking time to find that perfect balance.
Are there any allergy considerations for the ingredients?
Definitely! If you’re preparing sushi for someone with allergies, be mindful of common triggers. For example, imitation crab often contains seafood allergens. You can opt for marinated tofu or other vegetarian options. Additionally, check for any allergies concerning the spicy mayo, as mustard or other spices might also cause reactions. Always double-check labels for any hidden ingredients, just to be safe!
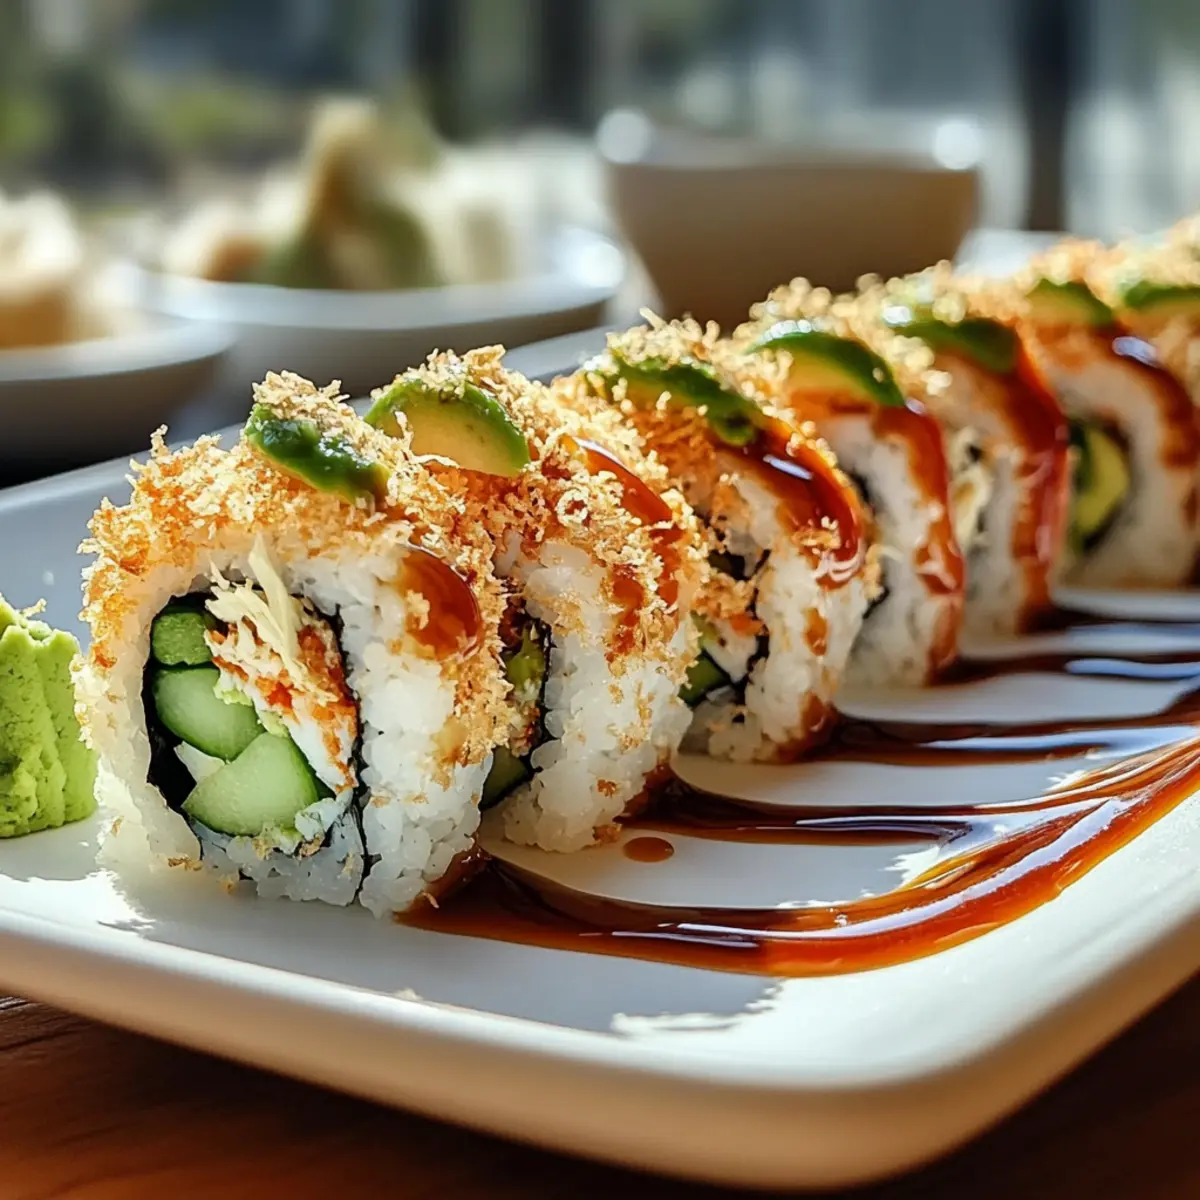
Homemade California Crunch Roll Sushi
Ingredients
Equipment
Method
- Begin by rinsing 1 cup of short-grain white rice under cold water until the water runs clear, which usually takes about 2–3 minutes. Then, cook the rice according to package instructions, typically bringing it to a boil in a pot with 1 ¼ cups of water, then reducing to low heat and simmering for 18–20 minutes. Once tender, let it sit covered for another 10 minutes.
- Once the rice has cooled slightly, transfer it to a large bowl and integrate a mixture of 2 tablespoons of rice vinegar, 1 tablespoon of sugar, and a pinch of salt while gently folding with a spatula. The rice should be shiny and sticky but not mushy.
- Lay out a bamboo sushi mat on a clean, flat surface and place a damp cloth over it to prevent sticking. Place a sheet of roasted nori, shiny side down, on the mat.
- Wet your fingers to prevent sticking and take about 1 cup of the seasoned sushi rice. Evenly press the rice onto the nori, covering about two-thirds of the sheet while leaving the top edge clear.
- Layer your ingredients starting with several strands of imitation crab, followed by thin slices of ripe avocado and crunchy cucumber. Drizzle a bit of spicy mayo over the ingredients.
- Gently lift the bamboo mat and roll it towards you, tucking the edge of the nori over your fillings. Keep the roll tight but not overly compressed.
- Before slicing, dampen the edge of the exposed nori with a little water to help seal the roll. Using a sharp knife, slice the sushi roll into bite-sized pieces.
- To finish your sushi, sprinkle a generous amount of tempura flakes on top, and serve with additional spicy mayo or soy sauce for dipping.
Leave a Reply