
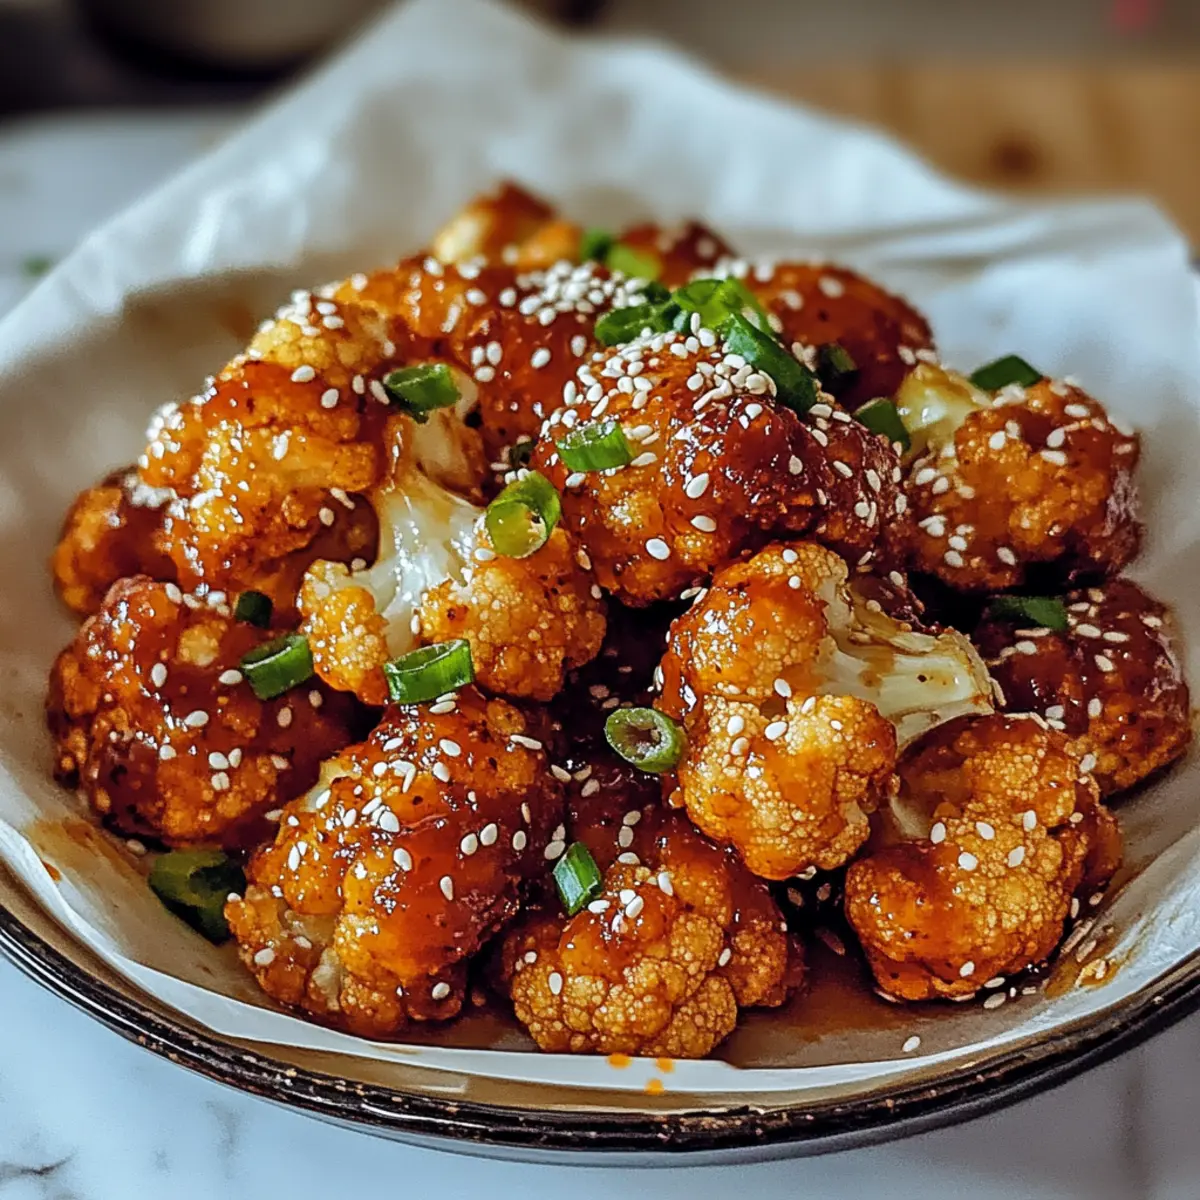
As I opened the fridge, a lone head of cauliflower caught my eye, whispering promises of flavor and creativity. That’s when I decided to whip up my Spicy Korean Baked Cauliflower—an explosive blend of sweet and spicy that elevates this humble veggie to new heights. This dish is perfect whether you’re searching for a quick weeknight meal or a show-stopping side for gatherings. It’s not just healthy and plant-based; it’s also deceptively simple to make, providing a satisfying crunch that will have everyone coming back for more. You deserve to enjoy vibrant meals without the hassle of complicated preparation, and this recipe hits the spot. Why settle for takeout when you can experience bold, homemade flavors right in your own kitchen? Now, are you ready to dive into the deliciousness of Korean Baked Cauliflower?

Why is Korean Baked Cauliflower a Must-Try?
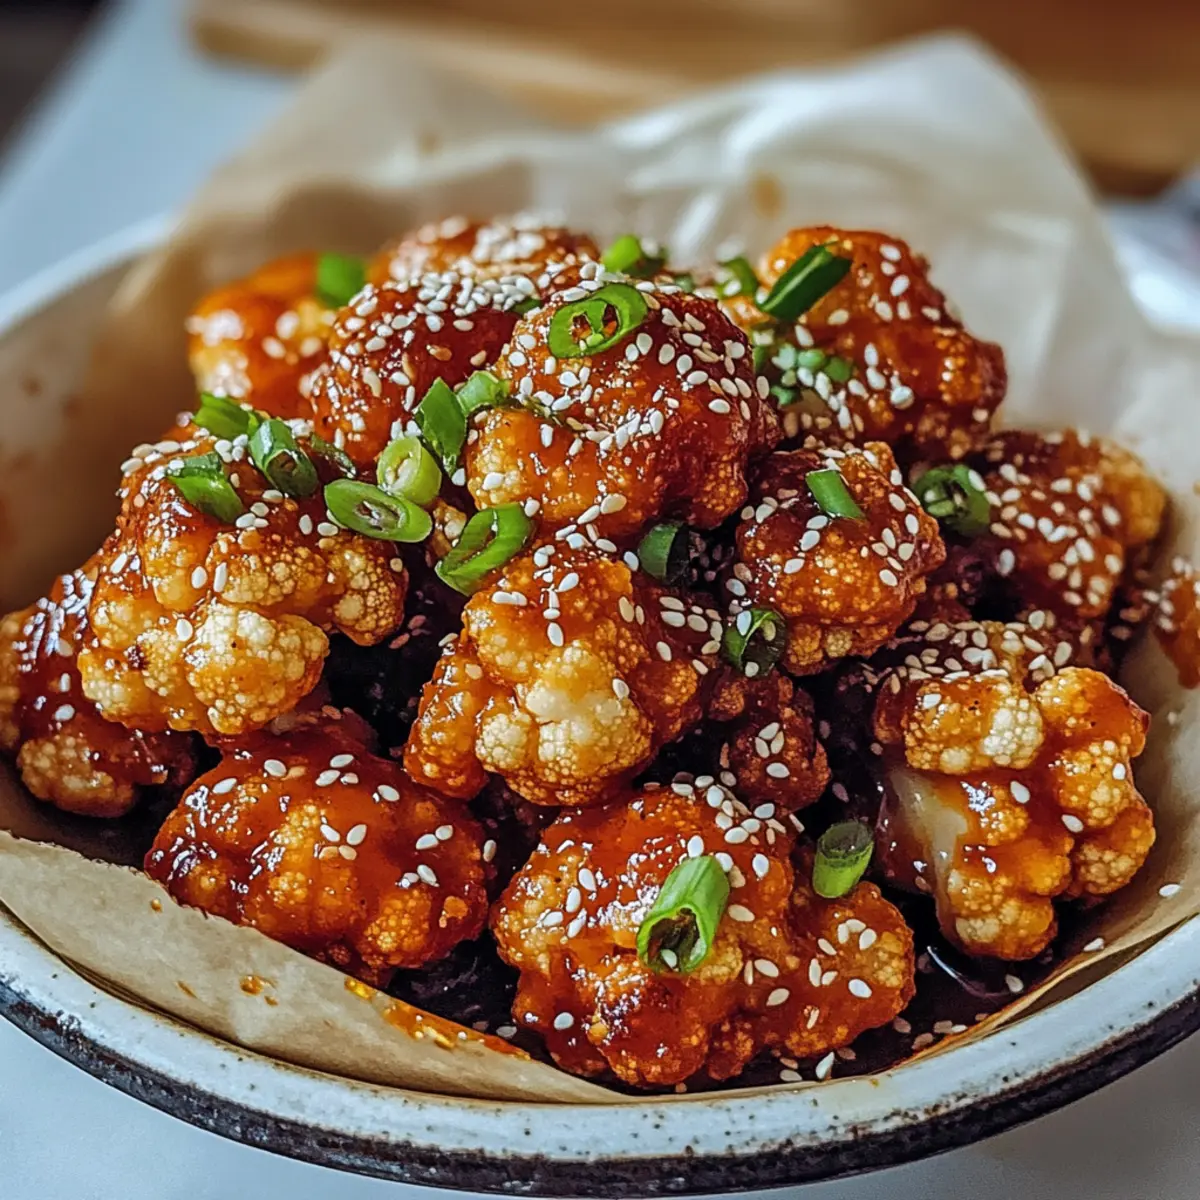
Bold flavors collide in this dish, making it a standout that tantalizes your taste buds with its sweet and spicy profile. Health-conscious eaters will appreciate the dish’s vegan and gluten-free qualities, ensuring everyone can indulge guilt-free. Crispy texture on the outside and tender on the inside, it’s perfect as a snack or side. Versatility shines through; serve it warm with rice or on salads. Lastly, the quick prep time means more time to enjoy your meal, making this recipe a delightful alternative to routine takeout.
Korean Baked Cauliflower Ingredients
For the Cauliflower
• Cauliflower – This is the main ingredient, offering a hearty structure and satisfying texture to your dish.
For the Sauce
• Gochujang – This Korean chili paste adds a sweet and spicy kick; adjust the amount for your heat preference!
• Soy Sauce – Imparts a rich, savory depth to the sauce; swap with tamari to keep it gluten-free.
• Honey – Provides the perfect balance of sweetness; use maple syrup if you need a vegan substitute.
• Sesame Oil – Delivers a nutty aroma; feel free to use vegetable oil if you’re out of sesame oil.
• Garlic Powder – Enhances overall flavor; fresh minced garlic can elevate the taste even more.
• Salt – A crucial seasoning; adjust according to your dietary needs.
This flavorful assembly of ingredients comes together to create a mouthwatering Korean Baked Cauliflower, sure to excite your taste buds and impress your guests!
Step‑by‑Step Instructions for Korean Baked Cauliflower
Step 1: Preheat Oven
Begin by preheating your oven to 400°F (200°C). This ensures that your Korean Baked Cauliflower cooks evenly and achieves that golden, crispy exterior. While the oven heats up, gather your ingredients and prepare your mixing bowls for the next steps.
Step 2: Prepare Cauliflower
Take a fresh head of cauliflower and carefully remove the leaves. Cut it into bite-sized florets, ensuring they are roughly similar in size for even cooking. Place the florets in a large mixing bowl, and be ready to coat them in a delicious sauce that will transform them into a flavor-packed dish.
Step 3: Make Sauce
In a separate bowl, whisk together the gochujang, soy sauce, honey, sesame oil, garlic powder, and salt until well combined. The sauce should have a smooth consistency and a delightful contrast of sweet and spicy. This vibrant mixture is the key to elevating your cauliflower, so be sure to taste and adjust the flavors according to your preference.
Step 4: Coat Cauliflower
Pour the prepared sauce over the cauliflower florets in the mixing bowl. Use your hands or a spatula to toss the florets until they are evenly coated in the zingy mixture. Take care to ensure every piece is enveloped in that bold, spicy sauce. This step is crucial for flavor and ensures your Korean Baked Cauliflower will be fully infused with taste.
Step 5: Bake
Spread the coated cauliflower florets in a single layer on a baking sheet lined with parchment paper. Place them in the preheated oven and bake for 25–30 minutes. Halfway through the baking time, give them a gentle toss to ensure even cooking and achieve that perfect crispy texture all around.
Step 6: Serve
Once the cauliflower is beautifully golden and crispy, carefully remove it from the oven. Allow it to cool for a minute or two before serving. This scrumptious Korean Baked Cauliflower can be enjoyed hot as an appetizer, a delightful side dish alongside rice, or even tossed into salads for an extra flavor boost.
Variations & Substitutions for Korean Baked Cauliflower
Feel free to make this dish your own with these delightful twists and substitutions that will elevate your Korean Baked Cauliflower experience!
-
Dairy-Free: Swap honey for maple syrup to keep it vegan-friendly while still achieving that perfect sweetness.
-
Extra Crunch: Sprinkle toasted sesame seeds over the cauliflower before serving for a delicious texture contrast. The nutty flavor pairs beautifully with the spices!
-
Vegetable Medley: Toss in broccoli or brussels sprouts with the cauliflower for a colorful mix. This not only enhances the nutritional profile but adds more delightful textures.
-
Heat Boost: Experiment with gochugaru (Korean chili flakes) to ramp up the heat level. It’s all about finding that sweet spot of spice that excites your taste buds!
-
Flavor Variations: Add a splash of rice vinegar or lime juice to the sauce for a tangy twist. This brightens the dish and draws out the flavors beautifully, making every bite memorable.
-
Asian Flair: Incorporate a splash of coconut aminos for a sweeter soy sauce alternative that is gluten-free and adds a hint of tropical flavor.
-
Air Fryer Option: For a faster alternative, try air frying the cauliflower at 375°F (190°C) for about 15-20 minutes. This method yields a perfectly crispy result in a fraction of the time!
-
Meal Prep: Prepare a large batch and enjoy it throughout the week. Pair with grains like quinoa or brown rice to make a hearty, nutritious meal. You can even use it as a topping for salads or in wraps!
Level up your culinary creations! For more scrumptious ideas, try pairing these bites with oven-baked cabbage burgers or enjoy them alongside a cozy dish like baked feta potatoes. Happy cooking!
Storage Tips for Korean Baked Cauliflower
Fridge: Store leftovers in an airtight container for up to 3 days to maintain flavor and freshness.
Freezer: For long-term storage, freeze the cooled cauliflower in a freezer-safe bag for up to 2 months. Thaw before reheating.
Reheating: Reheat in the oven at 350°F (175°C) for about 10–15 minutes to regain crispiness, rather than using the microwave, which may soften the texture.
Room Temperature: If serving at a gathering, Korean Baked Cauliflower can sit out for up to 2 hours safely before needing to be refrigerated.
Make Ahead Options
These Korean Baked Cauliflower florets are a fantastic option for meal prep, saving you time on busy weeknights! You can prepare the sauce and coat the cauliflower up to 24 hours in advance; simply refrigerate the coated florets in an airtight container to maintain flavor and prevent browning. When you’re ready to enjoy, just spread the florets on a baking sheet and bake them fresh at 400°F (200°C) for 25-30 minutes until crispy. This approach ensures that the Korean Baked Cauliflower remains just as delicious while fitting seamlessly into your schedule, allowing you to savor vibrant homemade flavors without the work on the day of serving!
What to Serve with Spicy Korean Baked Cauliflower
Delight in creating a full meal experience that balances flavors, textures, and vibrant colors to complement this exciting dish.
-
Steamed Jasmine Rice: The fluffy grains absorb the sauce’s sweetness, making it a classic pairing that soothes the palate.
-
Garlic Roasted Asparagus: The crisp texture and earthy flavor elevate the meal, and the vibrant green enhances the plate’s appeal.
-
Cucumber Salad: This refreshing side brings a crunchy contrast to the spicy cauliflower, offering a light and zesty flavor that is utterly refreshing.
-
Kimchi: Adding a side of this fermented wonder introduces tangy and spicy elements, elevating your meal to a true Korean feast.
-
Miso Soup: Warm and savory, this soup adds an umami-rich depth, creating a cozy vibe and balancing the dish’s spice.
-
Sesame Noodles: These flavorful noodles, drizzled with sesame oil and sprinkled with scallions, create a delightful texture and playful flavor complement.
If you’re feeling adventurous, consider pairing with a sparkling water with lime—its fizz refreshes the palate beautifully between bites. Finish off the meal with a light fruit sorbet for a sweet and icy conclusion that cleanses the taste buds.
Expert Tips for Korean Baked Cauliflower
-
Coat Evenly: Ensure every floret is well-coated with the sauce to maximize flavor and texture. Uneven coating can lead to bland bites!
-
Watch the Time: Baking times may vary based on your oven. Keep an eye on the cauliflower to get that perfect crispy finish and prevent burning.
-
Try Broiling: For an extra crispy exterior, switch to broil for the last 2–3 minutes. Just watch closely to avoid overcooking your Korean Baked Cauliflower.
-
How to Store: Leftovers can be stored in an airtight container for up to 3 days. Reheat in the oven to maintain that coveted crunch!
-
Mix it Up: Don’t hesitate to add other veggies like broccoli or bell peppers for more variety and color. Experiment with spice levels to find your perfect balance!
Korean Baked Cauliflower Recipe FAQs
What’s the best way to select a ripe cauliflower?
Absolutely! When selecting cauliflower, look for a compact head with tightly packed florets and bright white color. Avoid any heads with dark spots or browning, as this indicates age. Firmness is key; it should feel heavy for its size and have a fresh, earthy aroma.
How long can I store leftovers of Korean Baked Cauliflower?
You can store leftover Korean Baked Cauliflower in an airtight container in the refrigerator for up to 3 days. To enjoy it again, simply reheat in the oven at 350°F (175°C) for about 10–15 minutes. This helps to maintain its crispy texture, making every bite just as good as fresh.
Can I freeze Korean Baked Cauliflower? How?
Definitely! To freeze your Korean Baked Cauliflower, first ensure that it has completely cooled. Then, spread the florets in a single layer on a baking sheet and freeze them for about 1-2 hours until solid. Once frozen, transfer them to a freezer-safe bag, making sure to squeeze out as much air as possible. Label the bag and store for up to 3 months. When you’re ready to enjoy, simply thaw overnight in the fridge and reheat in the oven to restore that delightful crunch.
What if my cauliflower isn’t crispy after baking?
If your Korean Baked Cauliflower isn’t crispy, it might be due to overcrowding on the baking sheet or not baking long enough. You can solve this by ensuring the florets are spread out in a single layer, allowing for better air circulation. You can also try broiling the cauliflower for an additional 2–3 minutes at the end of the baking time to achieve that crunchy exterior. Never forget to keep a close watch during broiling to prevent burning!
Are there any dietary concerns with Korean Baked Cauliflower?
Very! This dish is naturally vegan and gluten-free, making it suitable for a variety of dietary preferences. However, if you’re cooking for someone with allergies, make sure to check the labels of your ingredients, particularly for soy sauce, which can contain gluten. It’s also good to note that gochujang may contain soy, so opt for a brand that’s allergy-friendly if needed.
Can I use different vegetables in this recipe?
The more the merrier! You can definitely mix in or substitute other vegetables like broccoli, brussels sprouts, or bell peppers for added variety. Just remember to cut them into similar-sized pieces to ensure even cooking. Adjust the sauce quantity as needed to ensure every veggie is nicely coated and flavorful!

Savory Korean Baked Cauliflower: A Sweet and Spicy Delight
Ingredients
Equipment
Method
- Preheat your oven to 400°F (200°C).
- Remove the leaves from the cauliflower and cut into bite-sized florets.
- In a bowl, whisk together gochujang, soy sauce, honey, sesame oil, garlic powder, and salt until well combined.
- Coat the cauliflower florets with the sauce until evenly covered.
- Spread the cauliflower on a baking sheet lined with parchment paper and bake for 25-30 minutes, tossing halfway.
- Remove from the oven and let cool for a minute before serving.
Leave a Reply