
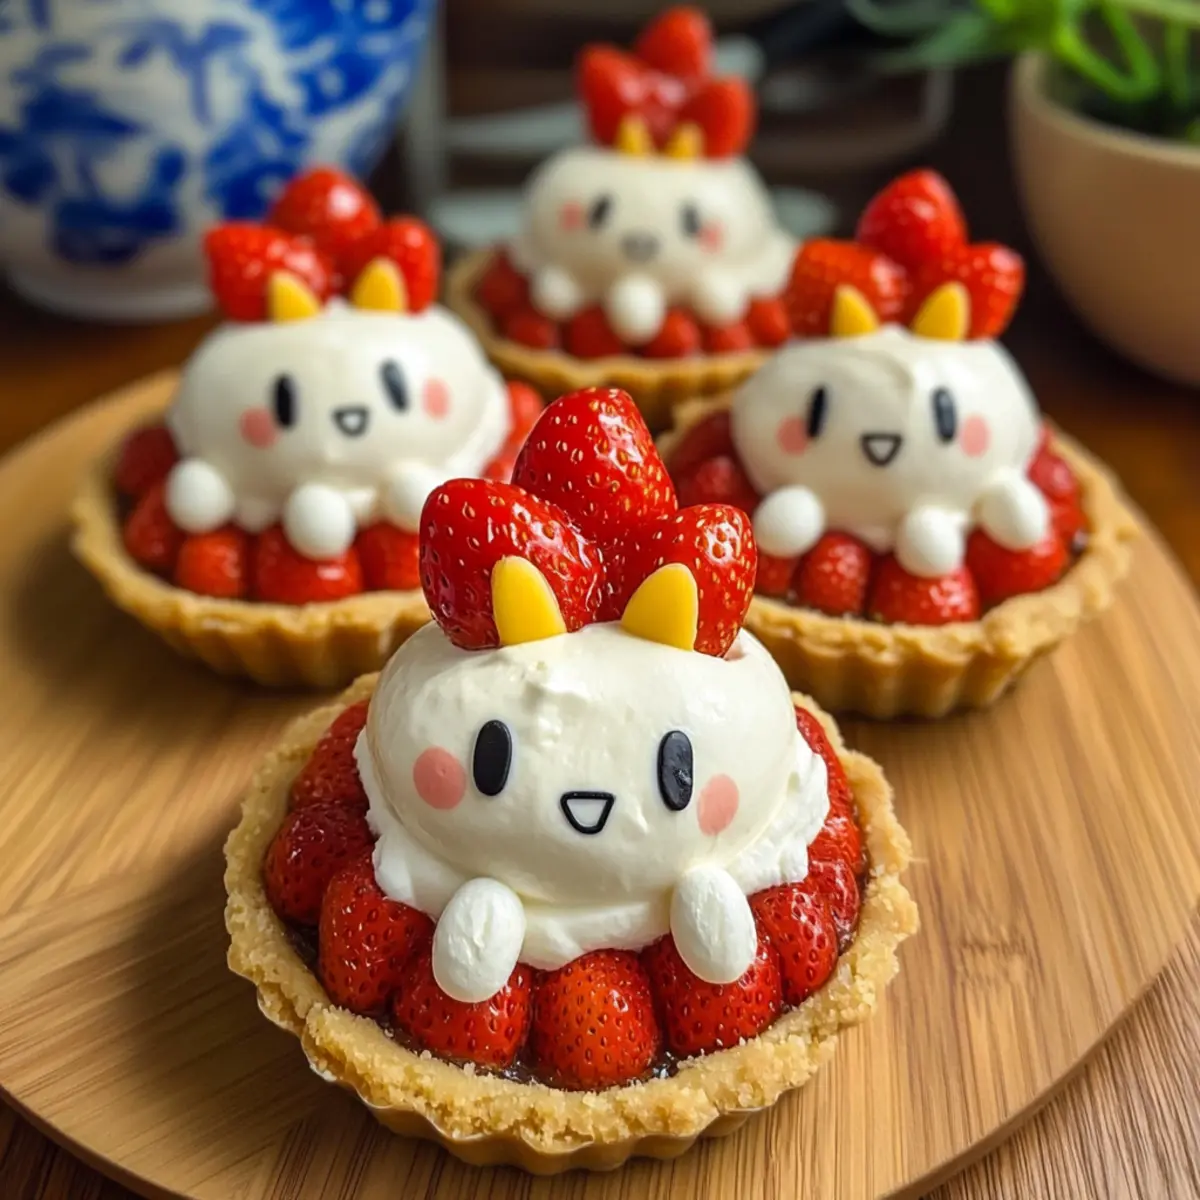
As I stood in my kitchen, the delightful aroma of melted marshmallows danced in the air, pulling me back to childhood memories of treats that warmed my heart. Today, I’m excited to share my beloved Miffy Strawberry Cheesecake Tartlets—a whimsical dessert that perfectly blends creamy strawberry mousse and the light sweetness of mascarpone whipped cream. Not only are these adorable tartlets an impressive centerpiece for any gathering, but they also boast a quick prep time that makes them accessible for anyone looking to elevate their dessert game. Whether you’re planning a birthday bash or a cozy get-together, these mini cheesecakes will charm your guests and tantalize their taste buds. Ready to create something irresistibly cute? Let’s dive into this delightful recipe!
Why Are These Tartlets a Must-Try?
Irresistibly Cute: Miffy Strawberry Cheesecake Tartlets not only taste fantastic but also bring a playful aesthetic to your table, making them perfect for kids and adults alike.
Quick and Easy: With straightforward steps, you don’t need to be a pastry chef to whip these up—ideal for a quick dessert fix!
Versatile Flavors: Feel free to swap strawberries with your favorite fruit jam for unique flavor experiences, catering to every palate.
Perfect for Celebrations: Capture hearts and create lasting memories at birthdays, baby showers, or casual get-togethers with these charming treats that everyone will adore.
Texture Heaven: Enjoy the delightful contrast between the light, fluffy mousse and the crunchy tart shell; your taste buds won’t know what hit them!
For more delightful desserts, check out our Velvet Oreo Cheesecake—it’s another perfect choice for your celebrations!
Miffy Strawberry Cheesecake Tartlet Ingredients
For the Filling
• Butter – Provides richness and moisture. Ensure it is softened to room temperature for even melting.
• Marshmallows – Adds sweetness and helps achieve a creamy texture. Use large marshmallows for best melting results.
• Cream Cheese – Gives a creamy texture and tangy flavor to the filling. Full-fat cream cheese is recommended for richness.
• White Chocolate – Enhances flavor and adds creaminess to the filling. Can substitute with milk chocolate for a different taste.
• Strawberry Jam – Acts as a fruity core and flavor enhancer. Feel free to use any fruit jam if strawberries are unavailable.
For the Whipped Topping
• Heavy Whipping Cream – For whipped cream topping, adds lightness and creaminess. Ensure it’s well-chilled for optimal whipping.
• Mascarpone Cheese – Adds decadence to the whipped cream. Can substitute with additional heavy cream if not available.
• Powdered Sugar – Sweetens the whipped cream topping. Adjust to taste based on sweetness preference.
For the Tart Base and Decoration
• Tart Shells – Base for the tartlets. Pre-made shells save time, but homemade can also be used for a personalized touch.
• Chocolate/Fondant (for decoration) – Used for creating Miffy’s facial features, adding a whimsical touch. Edible markers can be an alternative for decoration.
Step‑by‑Step Instructions for Miffy Strawberry Cheesecake Tartlets
Step 1: Melt the Filling
In a medium saucepan over low heat, combine the softened butter, marshmallows, cream cheese, and white chocolate. Stir gently until the mixture is completely smooth and melted, about 5–7 minutes. Once done, remove from heat and mix in 6 tablespoons of strawberry jam, allowing it to cool at room temperature while you prepare the next step.
Step 2: Whip the Cream
In a large mixing bowl, pour in the chilled heavy whipping cream. Using an electric mixer, beat on medium speed until stiff peaks form, which should take about 3–4 minutes. Gently fold the whipped cream into the cooled strawberry cheesecake mixture until no white streaks remain, ensuring a light and fluffy texture. Then, refrigerate this filling for at least 30 minutes.
Step 3: Assemble the Tartlets
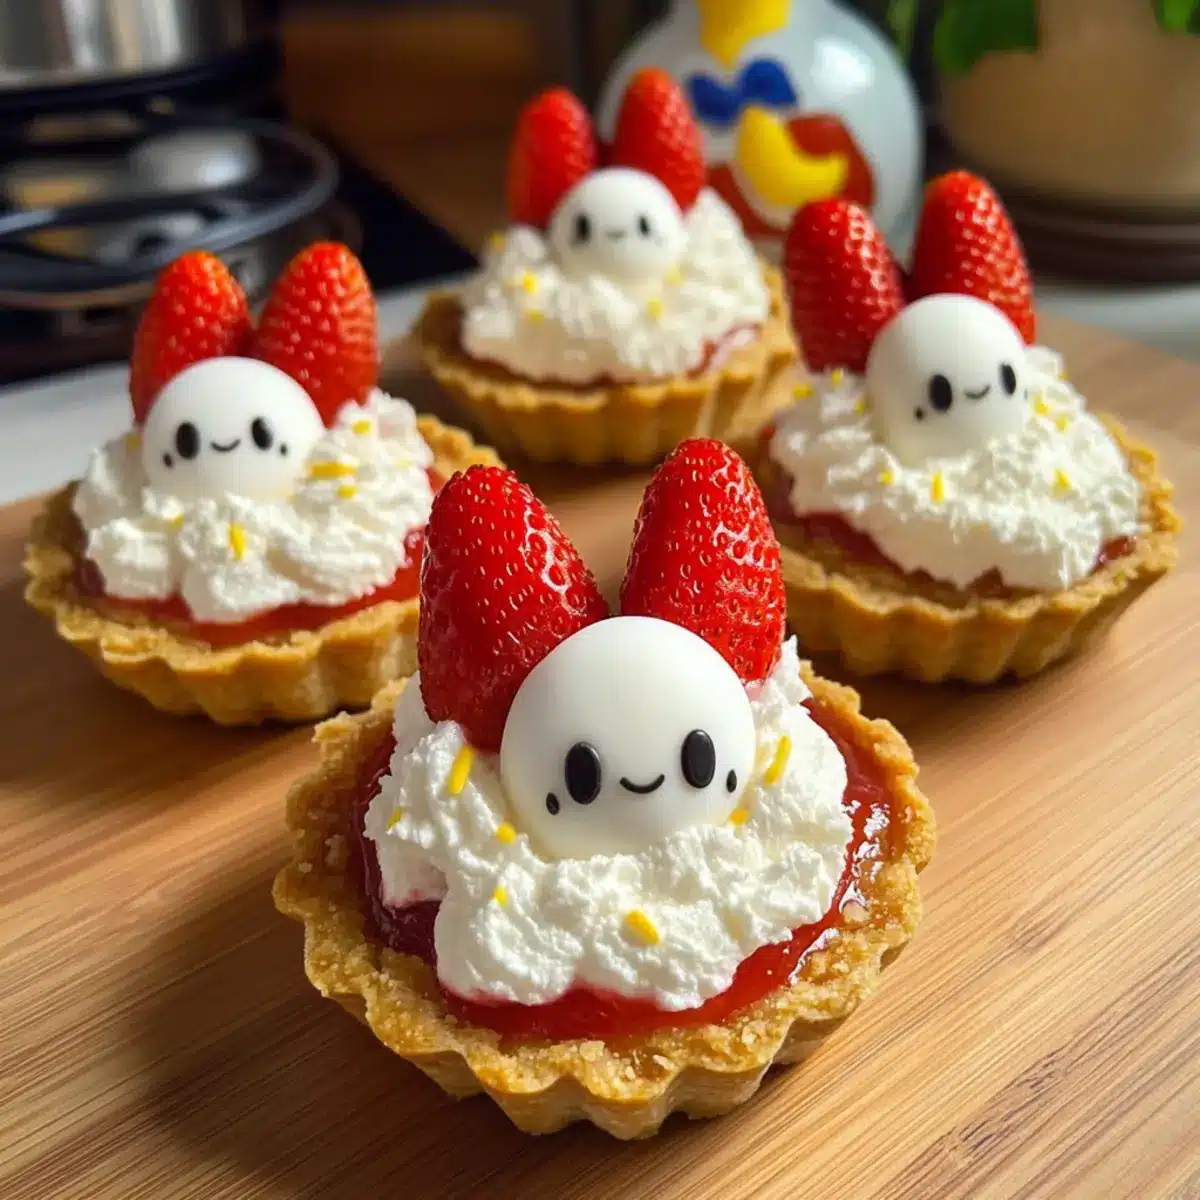
Once the filling has chilled and thickened, take your tart shells and place them on a serving tray. Using a piping bag or a ziplock bag with a corner snipped, pipe the creamy Miffy Strawberry Cheesecake filling into each tart shell. For a delightful surprise, add a dollop of extra strawberry jam in the center of each tart and optionally top with fresh slices of strawberries.
Step 4: Make the Topping
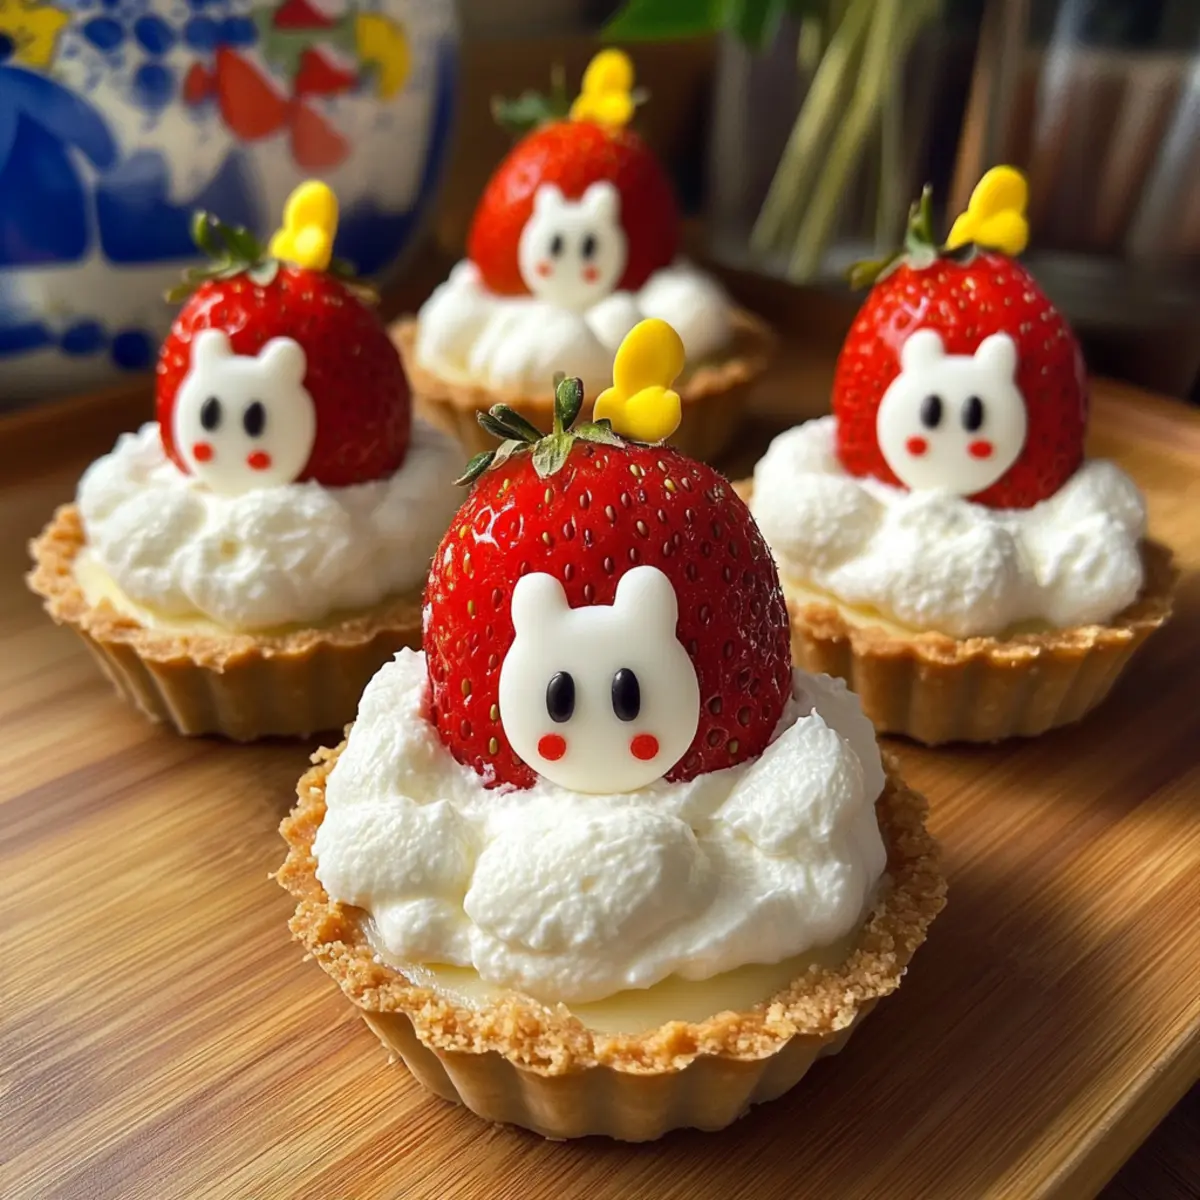
In a clean mixing bowl, combine the mascarpone cheese, powdered sugar, and remaining heavy cream. Beat until stiff peaks form, which should take about 2–3 minutes. Once the mixture is fluffy and well combined, scoop generous dollops onto each tartlet, giving them a beautiful, swirled appearance that resembles fluffy clouds.
Step 5: Decorate the Tartlets
Now comes the fun part! Use melted chocolate or fondant to create Miffy’s adorable facial features on each tartlet. You can either pipe the chocolate for precise details or use edible markers for a quick and easy approach. Get creative and make each tartlet uniquely charming, ready to brighten up any celebration!
Miffy Strawberry Cheesecake Tartlets Variations
Feel free to let your creativity soar as you customize these whimsical tartlets to match any occasion!
-
Different Fruits: Experiment with blueberry or raspberry jam for a fruity twist. You’ll create a delightful medley of flavors that can evoke childhood sweetness.
-
Chocolate Lovers: Swap white chocolate for dark chocolate in the filling for a richer taste experience. The deep flavor pairs wonderfully with the fruity tartness of strawberries.
-
Nutty Crunch: Add crushed nuts or granola into the tart shell for an extra texture twist. This will give the tartlets a delightful crunch that complements the creamy filling perfectly.
-
Vegan Delight: Use coconut cream in place of mascarpone and swap the marshmallows with vegan alternatives. These substitutions create an equally delightful plant-based dessert for everyone to enjoy.
-
Gluten-Free Option: Use a gluten-free tart shell for those with dietary restrictions. This allows everyone to join in on the fun without compromising taste or texture.
-
Mini Bundt Cakes: If you’re feeling adventurous, bake the filling in mini bundt pans instead of tart shells. The outcome will be just as adorable and delightful!
-
Decorative Touches: Try using fresh edible flowers or colorful sprinkles to enhance the visual appeal of your tartlets. These finishing touches will elevate your dessert presentation.
For more delightful dessert inspiration, don’t miss out on our charming Velvet Oreo Cheesecake—it’s sure to add sweetness to your celebrations!
What to Serve with Miffy Strawberry Cheesecake Tartlets
Create the perfect spread to elevate your dessert experience!
-
Fresh Fruit Salad: A vibrant mix of seasonal fruits adds a refreshing contrast, balancing the rich creaminess of the tartlets. The juicy bites provide a satisfying crunch that complements the soft texture perfectly.
-
Vanilla Ice Cream: The classic creaminess of smooth vanilla ice cream pairs beautifully with these whimsical tartlets. It melts atop the dessert, creating a delightful harmony of flavors that’s simply irresistible.
-
Chocolate Dipped Strawberries: These elegant bites bring a touch of decadence and visually stunning appeal to your dessert table. Their sweetness enhances the strawberry flavor while the chocolate adds a luxurious touch.
-
Sparkling Lemonade: A bubbly, citrusy drink brings brightness to counter the sweetness of the tartlets. It’s not only refreshing but also adds fun and fizz to your gathering.
-
Almond Biscotti: The crunchy texture of almond biscotti offers a delightful contrast when enjoyed alongside the creamy tartlets. Dip them to soak in flavors that will leave a lasting impression.
-
Mini Berry Tarts: Serve these as complementary mini desserts that echo the flavors found in your Miffy Strawberry Cheesecake Tartlets. Their bite-sized nature encourages guests to indulge in a variety of treats!
-
Coffee or Tea Service: A warm cup of coffee or herbal tea rounds off the dessert experience beautifully. The warmth enhances flavors and offers a cozy ending to your sweet celebration.
-
Chocolate Mousse Cups: Luxurious chocolate mousse adds another layer of richness to your spread. The creamy chocolate texture balances the fruity notes of the tartlets while creating an indulgent duo.
-
Coconut Macaroons: These chewy, sweet bites introduce a tropical twist that pairs well with the fruity tartlets, enhancing their festive charm without overwhelming the palate.
Storage Tips for Miffy Strawberry Cheesecake Tartlets
Refrigerator: Store tartlets in an airtight container for up to 3 days to maintain their freshness and flavor.
Freezer: Avoid freezing due to the whipped cream’s texture loss; it’s best enjoyed fresh on the day of assembly for optimal taste.
Make-Ahead: Consider prepping the filling a day prior and storing it in the fridge. Assemble the tartlets just before serving to keep them light and fluffy.
Serving: Serve chilled from the refrigerator for a refreshing dessert experience that will impress your family and friends!
Make Ahead Options
These Miffy Strawberry Cheesecake Tartlets are perfect for busy cooks looking to save time! You can prepare the cheesecake filling up to 24 hours in advance; simply store it in an airtight container in the refrigerator until you’re ready to assemble. Additionally, the tart shells can be made or purchased a few days ahead, allowing you to have them on hand for quick assembly. To maintain quality, ensure your whipped cream topping ingredients are well-chilled and add the topping just before serving to keep it light and fluffy. When ready to indulge, simply pipe the filling into the tart shells, add any toppings, and decorate to ensure your delightful tartlets are just as delicious as when freshly made!
Expert Tips for Miffy Strawberry Cheesecake Tartlets
• Room Temperature Ingredients: Start with butter and cream cheese at room temperature for a smoother filling that’s easy to mix.
• Chill Your Cream: Ensure your heavy whipping cream and mascarpone are well-chilled before whipping for the best consistency and stability in your topping.
• Prep Ahead: Consider making the cheesecake filling a day in advance. It not only saves time but also allows the flavors to meld beautifully—just keep it covered in the refrigerator.
• Piping Trick: If you don’t have a piping bag, a ziplock bag with a corner snipped off works perfectly for filling the tart shells with the creamy filling.
• Jam Swaps: Feel free to substitute strawberry jam with any other fruit jam you enjoy—this can be a fun way to customize your Miffy Strawberry Cheesecake Tartlets to suit different tastes or themes!
Miffy Strawberry Cheesecake Tartlets Recipe FAQs
What types of strawberries should I use in the tartlets?
Absolutely! Use ripe, fresh strawberries for the best flavor and sweetness. Look for strawberries that are vibrant red with no dark spots; they should be firm to the touch. If strawberries aren’t available, feel free to substitute with your favorite fruit or jam, such as raspberries or blueberries, for a delightful twist.
How should I store the tartlets after making them?
Store your Miffy Strawberry Cheesecake Tartlets in an airtight container in the refrigerator for up to 3 days. Make sure that they’re well-covered, as you’ll want to avoid any absorbing other odors in the fridge. Enjoy them chilled for the best taste!
Can I freeze the Miffy Strawberry Cheesecake Tartlets?
I don’t recommend freezing these tartlets, as the whipped cream will lose its airy texture and may become grainy upon thawing. Instead, prepare the filling in advance and keep it in the refrigerator, assembling the tartlets just before serving for a fresh experience.
What if the filling isn’t thickening properly?
If your Miffy Strawberry Cheesecake filling isn’t thickening when you mix in the whipped cream, you might not have whipped the cream enough. Ensure you’re beating it to stiff peaks—it should hold its shape and not droop. Also, make sure your cheesecake mixture is fully cooled before folding in the whipped cream for better stability.
Are there any allergy considerations when making these tartlets?
Yes, be mindful of allergies! The ingredients involved include dairy (butter, cream cheese, heavy cream, and mascarpone) and gluten if you’re using traditional tart shells. For gluten-sensitive options, you can easily find gluten-free tart shells at most grocery stores. Always double-check product labels to ensure they suit your dietary needs.
Can I make these tartlets ahead of time?
Certainly! You can prepare the Miffy Strawberry Cheesecake filling a day in advance. Just store it in the refrigerator in an airtight container. When you’re ready to serve, simply pipe it into the tart shells and top with the whipped mascarpone. This not only saves time but allows the flavors to meld beautifully!

Miffy Strawberry Cheesecake Tartlets for a Sweet Celebration
Ingredients
Equipment
Method
- In a medium saucepan over low heat, combine the softened butter, marshmallows, cream cheese, and white chocolate. Stir gently until the mixture is completely smooth and melted, about 5–7 minutes. Remove from heat and mix in 6 tablespoons of strawberry jam, allowing to cool at room temperature while preparing the next step.
- In a large mixing bowl, pour in the chilled heavy whipping cream. Using an electric mixer, beat on medium speed until stiff peaks form, about 3–4 minutes. Gently fold the whipped cream into the cooled strawberry cheesecake mixture until no white streaks remain. Refrigerate this filling for at least 30 minutes.
- Once the filling has chilled and thickened, take your tart shells and place them on a serving tray. Using a piping bag or a ziplock bag with a corner snipped, pipe the creamy filling into each tart shell. Add a dollop of extra strawberry jam in the center of each tart.
- In a clean mixing bowl, combine mascarpone cheese, powdered sugar, and remaining heavy cream. Beat until stiff peaks form, about 2–3 minutes. Scoop generous dollops onto each tartlet, giving them a beautiful, swirled appearance.
- Use melted chocolate or fondant to create Miffy’s facial features on each tartlet. Pipe the chocolate for details or use edible markers for a quick approach.
Leave a Reply