
As I stood in my kitchen, the tantalizing aroma of melting chocolate wafted through the air, instantly reminding me of the comforting sweetness of childhood treats. These delightful No-Bake Chocolate Peanut Butter Oat Bars bring together the rich taste of chocolate and the creamy goodness of peanut butter for a snack that’s both satisfying and indulgent. With an easy prep time that requires no baking at all, you can whip these up in a flash—perfect for those days when you crave something sweet without the hassle. Plus, they’re gluten-free and packed with healthy oats, making them a wholesome choice for any time of the day. Couldn’t you just imagine taking a bite of these chewy bars, with that luscious chocolate topping melting on your tongue? Let’s dive into how to make this guilt-free treat!
Why are No-Bake Oat Bars Amazing?
Ease of Preparation: No baking means you can whip these up in minutes, making them perfect for a busy lifestyle.
Nutritious Ingredients: Packed with oats and peanut butter, these bars offer a healthy dose of fiber and protein to keep you energized.
Decadent Flavor: The combination of creamy peanut butter and rich chocolate provides an indulgent treat that feels like dessert but is good for you.
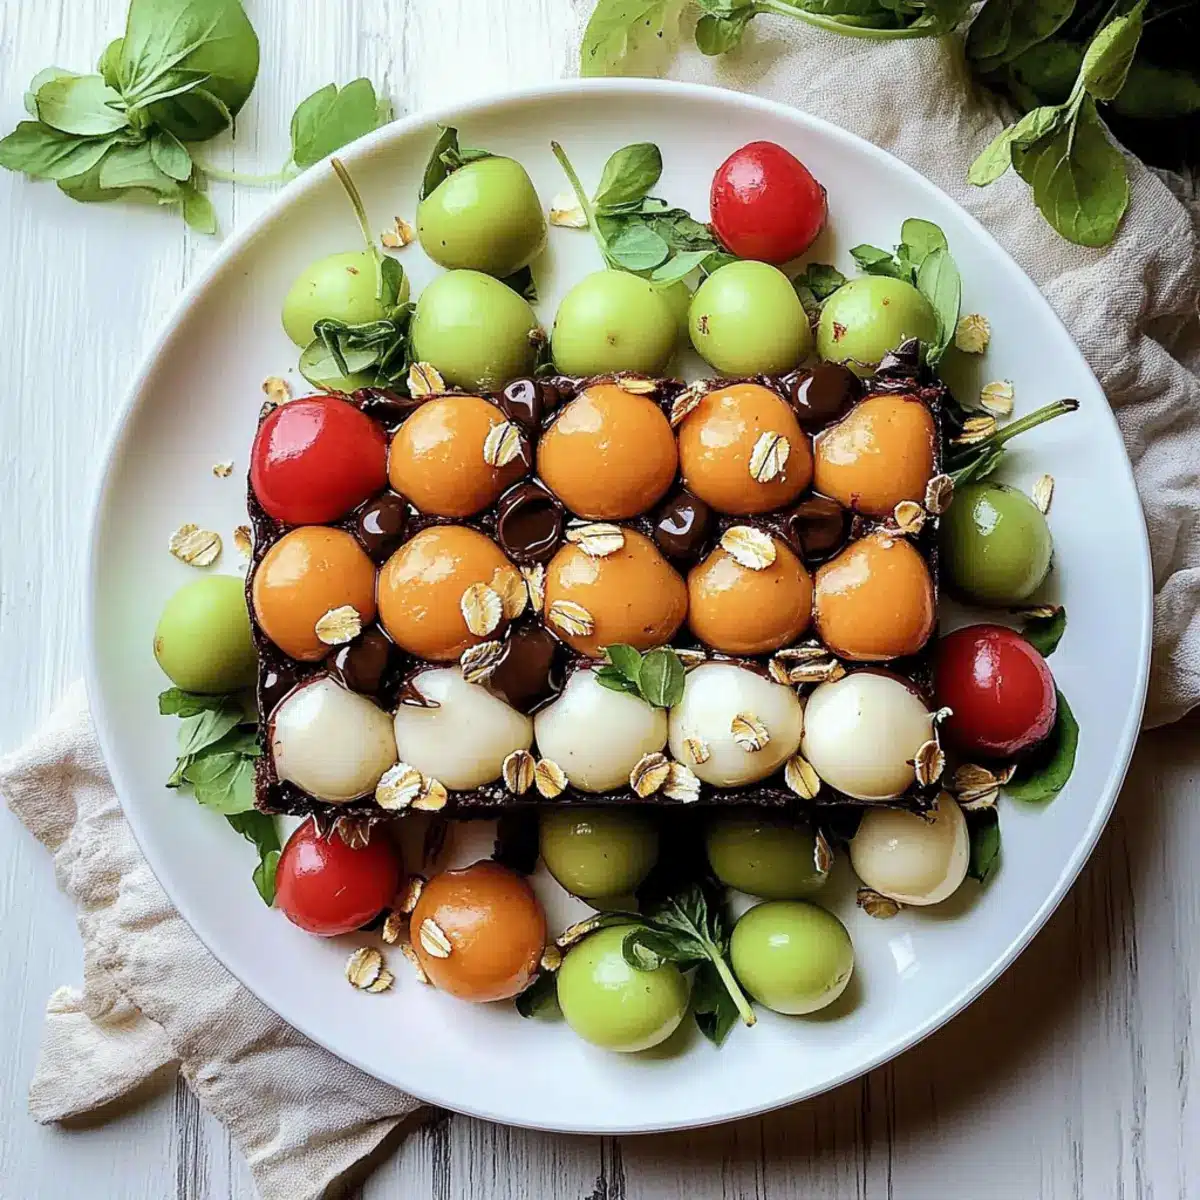
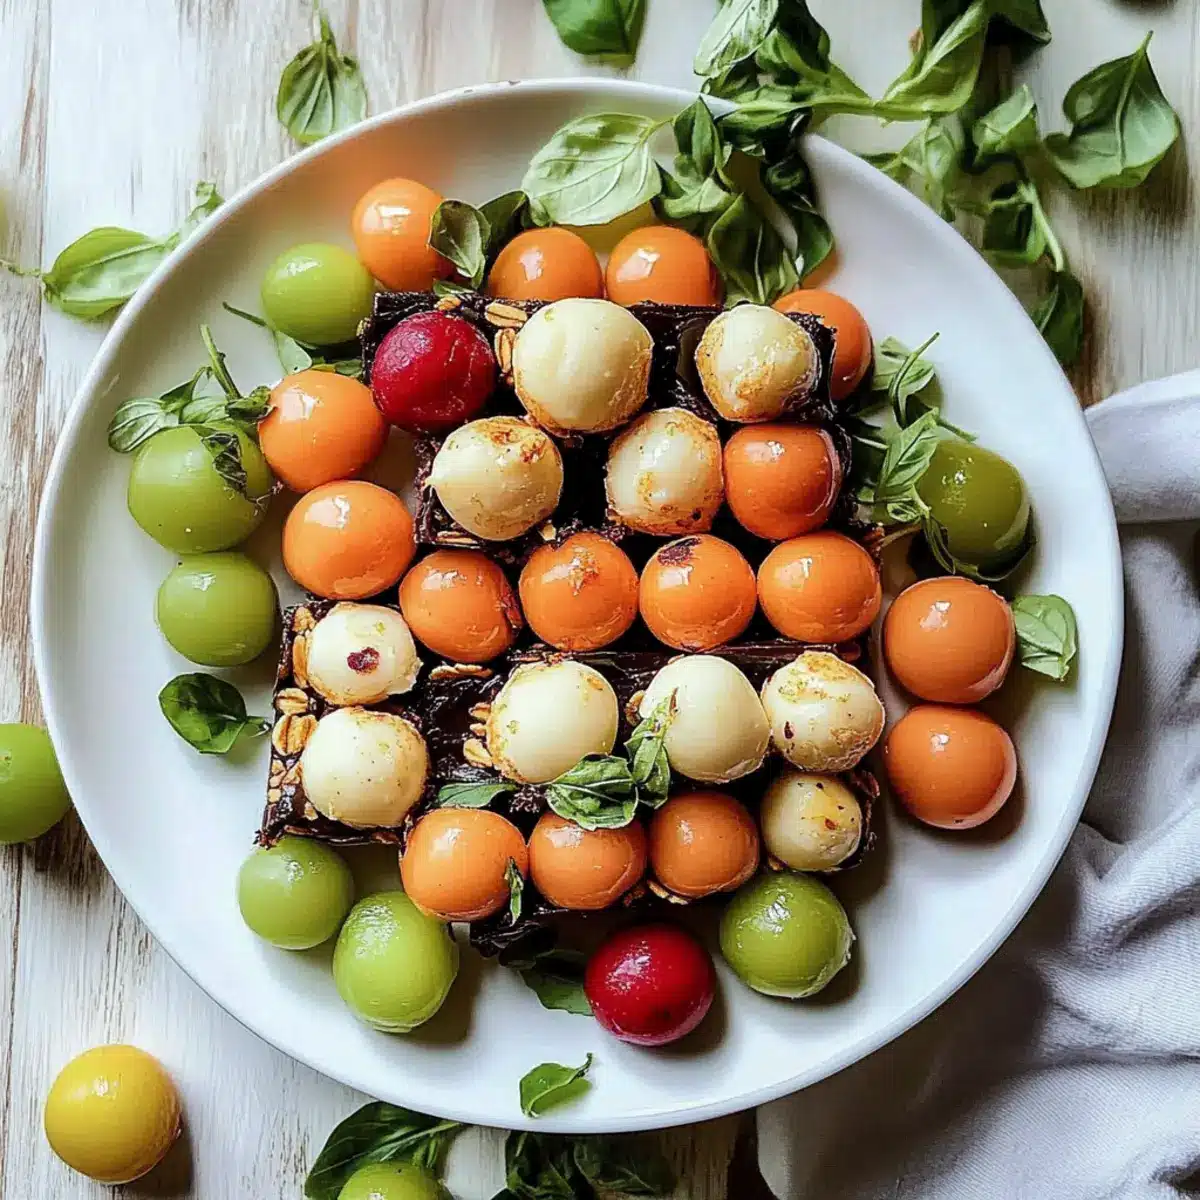
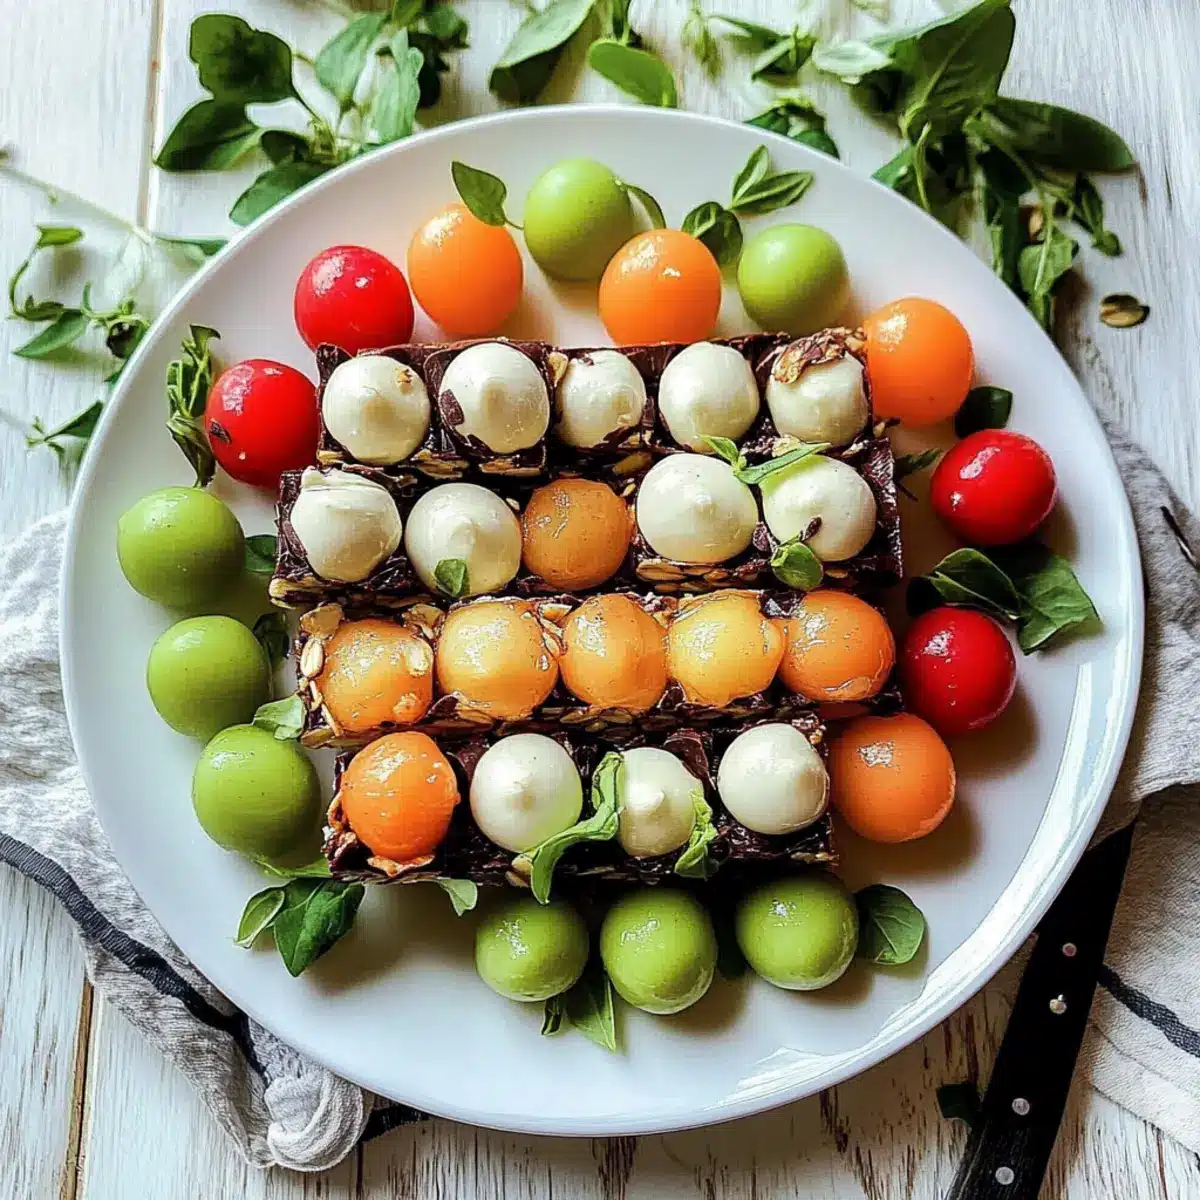
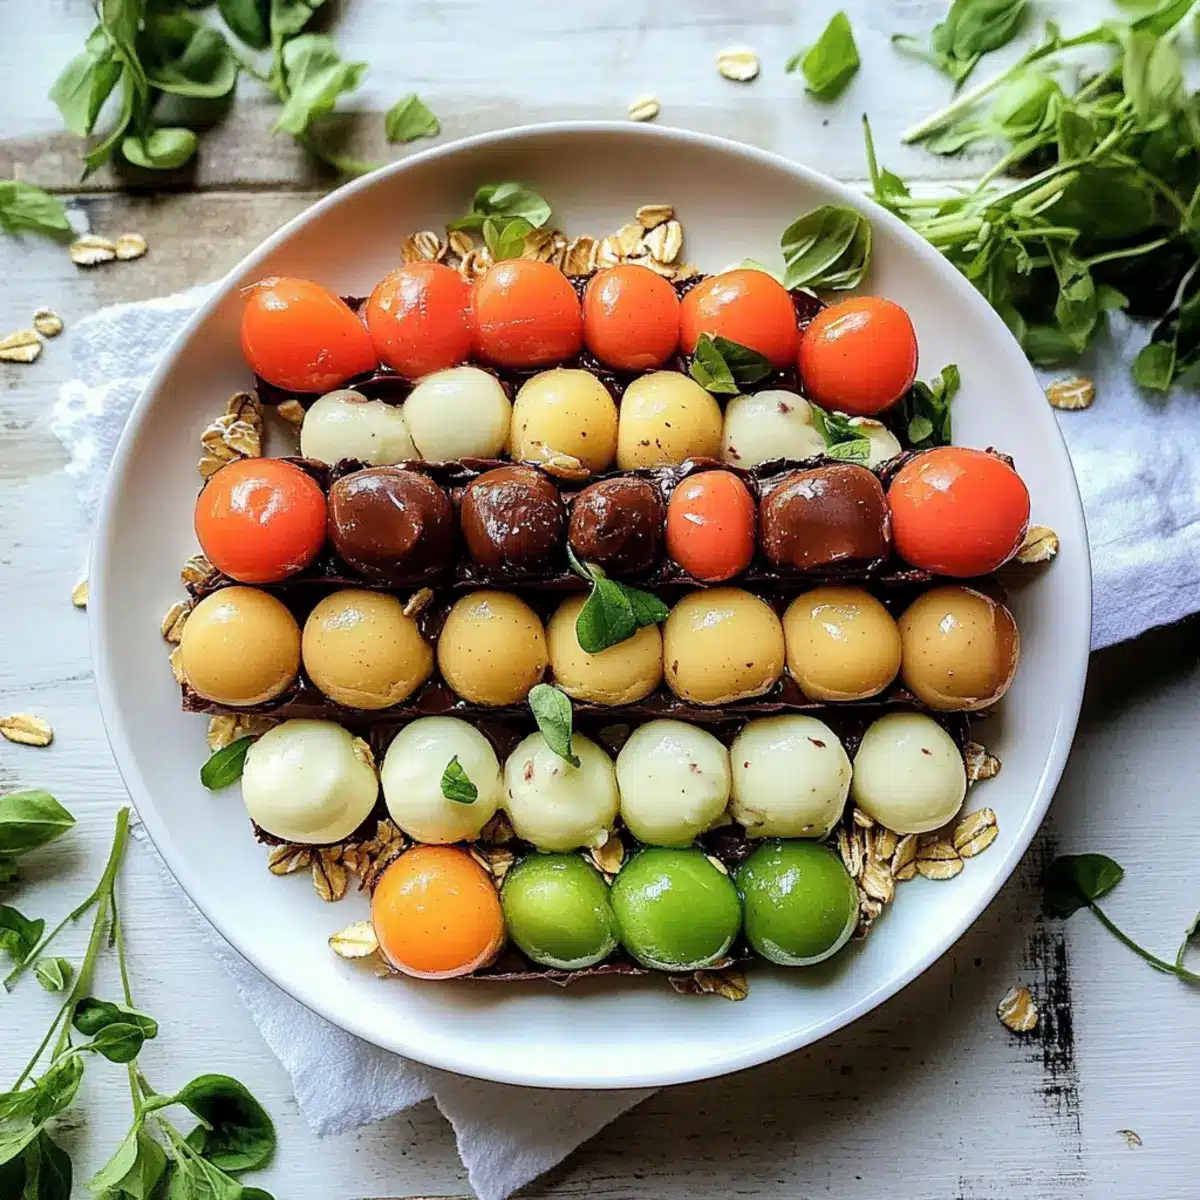
Customizable Delight: Feel free to personalize your bars with adds like dried fruits or different nut butters; the options are endless! Pair them with a refreshing drink like Agua Fresca Melon Salad with Hot Honey Lime Dressing for a delightful snack experience.
Crowd-Pleasing Snack: These bars are perfect for sharing, whether at a potluck or just with your family—everyone will love them!
No-Bake Chocolate Peanut Butter Oat Bars Ingredients
For the Base
• Oats – Rolled oats provide the perfect chewy texture; avoid quick oats as they might become too mushy.
• Peanut Butter – Adds creaminess and natural sweetness; almond butter is a great nut-free substitute.
• Honey or Maple Syrup – Acts as a binding agent and sweetener; use agave syrup for a vegan alternative.
• Cocoa Powder – Infuses rich chocolate flavor; opt for unsweetened to control the sweetness level.
For the Topping
• Dark Chocolate Chips – Melts beautifully for the topping; dairy-free chocolate is a fantastic choice for a vegan treat.
Enjoy these No-Bake Chocolate Peanut Butter Oat Bars as a wholesome snack that pairs wonderfully with a refreshing drink, like Agua Fresca Melon Salad with Hot Honey Lime Dressing!
Step‑by‑Step Instructions for No-Bake Chocolate Peanut Butter Oat Bars
Step 1: Mix Base
In a large mixing bowl, combine 2 cups of rolled oats, 1/2 cup of unsweetened cocoa powder, and a pinch of salt. Stir these dry ingredients together until evenly mixed, ensuring there are no lumps of cocoa. This mixture forms the foundation of your No-Bake Chocolate Peanut Butter Oat Bars.
Step 2: Incorporate Wet Ingredients
Add 1 cup of peanut butter and 1/3 cup of honey (or maple syrup) to the dry oat mixture. Using a sturdy spoon, mix until everything is well combined and forms a thick, sticky dough-like consistency. It may take a minute or two to fully incorporate; don’t be afraid to get your hands in there if needed!
Step 3: Press Mixture
Line an 8×8-inch square baking pan with parchment paper for easy removal. Transfer the oat mixture into the pan, pressing it down firmly with the back of a spatula or your hands to create an even layer. Make sure it is compact to prevent crumbling when cut into bars—aim for a smooth, level surface.
Step 4: Melt Topping
In a microwave-safe bowl, combine 1/2 cup of dark chocolate chips. Microwave in 30-second intervals, stirring in between, until the chocolate is fully melted and smooth, which should take about 1-2 minutes total. Be careful not to overheat, as burnt chocolate can ruin the flavor of your bars.
Step 5: Top Bars
Once melted, pour the chocolate evenly over the pressed oat mixture in the pan. Use a spatula to gently spread it to the edges, ensuring the chocolate layer is smooth and covers the entire surface. This decadent topping is what makes your No-Bake Chocolate Peanut Butter Oat Bars truly indulgent.
Step 6: Chill
Place the prepared pan in the refrigerator and chill for at least 1 hour, or until the chocolate has set and the bars are firm. After chilling, the bars will become easier to cut. If you prefer them firmer, leave them to chill a bit longer for a delightful texture.
Step 7: Cut and Serve
Once set, carefully lift the bars out of the pan using the parchment paper. Place them on a cutting board and slice them into squares or rectangles, depending on your preference. Serve immediately, or store in an airtight container in the fridge for up to a week, making them a perfect on-the-go snack!
What to Serve with No-Bake Chocolate Peanut Butter Oat Bars
These delightful treats are perfect for creating a satisfying snack or dessert experience that tantalizes the senses.
-
Fresh Fruit Salad: A colorful mix of juicy watermelon, strawberries, and blueberries adds a refreshing contrast to the rich bars. This light and vibrant salad brings in natural sweetness and hydration.
-
Creamy Yogurt: A bowl of vanilla Greek yogurt or your favorite dairy-free alternative offers a creamy, tangy complement. You can drizzle honey on top for added sweetness—perfect for dipping!
-
Chocolate Drizzle Coffee: Sip on a warm cup of coffee with a hint of chocolate syrup. This cozy drink enhances the indulgent flavors of the bars, making every bite feel even more luxurious.
-
Chilled Coconut Water: This refreshing beverage provides hydration and a subtle sweetness, counterbalancing the richness of the bars. It’s a delightful energy booster any time of the day!
-
Nut Butter Dip: Serve with a side of almond or cashew butter for an extra creamy snack. The nutty flavor pairs beautifully with the chocolate and adds a layer of richness that’s irresistible.
-
Mini Gelato Cups: Pair your bars with small cups of gelato for a decadent dessert experience. Choose flavors like pistachio or salted caramel to complement the chocolate and peanut butter balance—pure bliss!
Enjoy these bars with any of these perfect pairings for a well-rounded treat that fulfills all your cravings!
Make Ahead Options
These No-Bake Chocolate Peanut Butter Oat Bars are a fantastic option for meal prep, allowing you to enjoy a delicious treat without the last-minute stress! You can prepare the base mixture (steps 1-3) up to 24 hours in advance. Simply store the pressed mixture tightly covered in the refrigerator to maintain freshness. The melted chocolate topping can also be made ahead, but it’s best added just before serving to prevent a messy surface. When you’re ready to indulge, pour the chocolate on and chill for at least an hour to set. This way, you’ll have a delightful snack at your fingertips whenever you need a sweet pick-me-up!
Expert Tips for No-Bake Oat Bars
• Ingredient Precision: Ensure you measure ingredients accurately; too much peanut butter can make the bars overly sticky or too soft.
• Pressing Firmly: Press the base mixture firmly into the pan, as this will prevent your No-Bake Chocolate Peanut Butter Oat Bars from crumbling when you cut them.
• Chill Time: Allow for adequate chilling time; the longer they chill, the firmer the bars will be. If you prefer a softer bite, reduce the time a bit.
• Even Mixing: Stir your dry ingredients thoroughly before adding wet ones to avoid clumps of cocoa powder, ensuring every bite is delicious throughout.
• Storage Tips: Store the bars in an airtight container in the fridge for up to one week; they can also be frozen for later enjoyment, keeping their flavor intact.
Storage Tips for No-Bake Chocolate Peanut Butter Oat Bars
Fridge: Store the bars in an airtight container in the refrigerator for up to one week. This keeps them fresh and chewy, ready for your snacking needs.
Freezer: For longer storage, you can freeze the bars for up to 3 months. Wrap individual pieces in plastic wrap and place them in a freezer-safe bag for easy access.
Reheating: If you prefer a softer texture, let the frozen bars sit at room temperature for about 10 minutes before enjoying. This will allow them to soften while still maintaining their delicious flavor.
Cutting: When cutting the bars, make sure they’ve chilled sufficiently to avoid crumbling. A sharp knife works best for clean, even slices of these No-Bake Chocolate Peanut Butter Oat Bars.
Variations & Substitutions for No-Bake Chocolate Peanut Butter Oat Bars
Feel free to get creative and customize your no-bake bars for a unique twist that’s sure to delight your taste buds!
- Nut-Free: Substitute peanut butter with sunflower seed butter for a delicious nut-free option. This swap gives the bars an entirely new flavor while keeping them allergy-friendly.
- Sweet Surprise: Add dried fruits such as cranberries or raisins for a chewy texture and a burst of sweetness. These additions not only enhance the flavor but also provide a lovely contrast to the rich chocolate.
- Vegan Delight: Use maple syrup or agave syrup instead of honey to create a fully vegan option. The bars will maintain their delicious taste while accommodating dietary restrictions.
- Protein Boost: Stir in a scoop of your favorite protein powder for an extra nutritional punch. This addition will not only elevate your snack’s health profile but also keep you fuller for longer.
- Crunchy Texture: Toss in some chopped nuts or seeds like almonds or pumpkin seeds for a satisfying crunch. The added texture elevates this treat and brings in new flavors to enjoy.
- Chocolate Variations: Experiment with different types of chocolate—try white chocolate chips for a sweet twist or even dark chocolate drizzled on top for a rich finish. The chocolaty goodness is endless!
- Tropical Delight: Incorporate shredded coconut for a tropical flair that complements the chocolate and peanut butter. The coconut will add a unique chewiness that brings a whole new dimension to your bars.
- Heat it Up: For those who enjoy a kick, sprinkle in some cayenne pepper or chili powder to the chocolate topping. This unexpected heat will elevate your no-bake bars and provide a delicious surprise with each bite.
For an even more delightful experience, pair these bars with a refreshing drink like Agua Fresca Melon Salad with Hot Honey Lime Dressing. Enjoy the joy of experimentation!
No-Bake Chocolate Peanut Butter Oat Bars Recipe FAQs
How do I know if my oats are the right kind for this recipe?
Absolutely! Rolled oats are your best bet for these bars, as they provide the perfect chewy texture. Avoid quick oats, as they can become mushy and alter the final structure of your bars. For a crunchy finish, opt for steel-cut oats instead, but keep in mind the texture will differ.
What’s the best way to store these bars?
Very! Store your No-Bake Chocolate Peanut Butter Oat Bars in an airtight container in the refrigerator for up to one week. This keeps them fresh, chewy, and ready for snacking whenever that sweet tooth strikes!
Can I freeze these oat bars for later use?
Absolutely! These bars freeze beautifully. To do so, wrap each bar individually in plastic wrap and place them in a freezer-safe bag. They will stay delicious for up to 3 months! When you’re ready to enjoy, just let them sit at room temperature for about 10 minutes to soften a bit before biting in.
What should I do if my bars are too crumbly?
Ah, crumbs can be a pain! If your bars are crumbling, this usually means the mixture wasn’t pressed enough into the pan or there might not have been sufficient wet ingredients. Next time, ensure you press the base mixture firmly into the pan, creating a compact layer. If they’re still too crumbly, you can add a touch more peanut butter or honey to help bind the mixture together better.
Can I make these bars nut-free?
Yes! If you’re looking for a nut-free option, simply replace peanut butter with sunflower seed butter. It gives a similar creamy texture while keeping it safe for those with nut allergies. Also, always check the labels on every ingredient, including syrup, to ensure they meet your dietary needs.
What if I want to make these bars healthier?
The more the merrier! You can easily add protein powder for a nutritional boost or incorporate dried fruits like cranberries or raisins for extra flavor and nutrients. Just be sure to adjust the wet ingredients slightly, so the mixture stays sticky and holds together well.
Agua Fresca Melon Salad with Spicy Hot Honey Lime Dressing
Ingredients
Equipment
Method
- In a large mixing bowl, combine melon, cucumber, and mint.
- In a separate small bowl, whisk together honey, lime juice, and red pepper flakes.
- Pour the dressing over the salad and toss to combine.
- Allow salad to chill in the refrigerator for at least 1 hour before serving.
Leave a Reply