
As I sifted through my pantry for inspiration, I stumbled upon a bag of glutinous rice flour just waiting to shine. Combining the delightful chewiness of mochi with the beloved flavor of Oreos, this Easy Oreo Mochi recipe was born! With just a handful of ingredients and minimal time required for prep, this dessert turns out to be a versatile crowd-pleaser. Whether enjoyed on its own or dressed up with some fresh berries or ice cream, each chewy bite provides a delightful surprise. I can’t wait for you to dive in! What will you pair your mochi with?
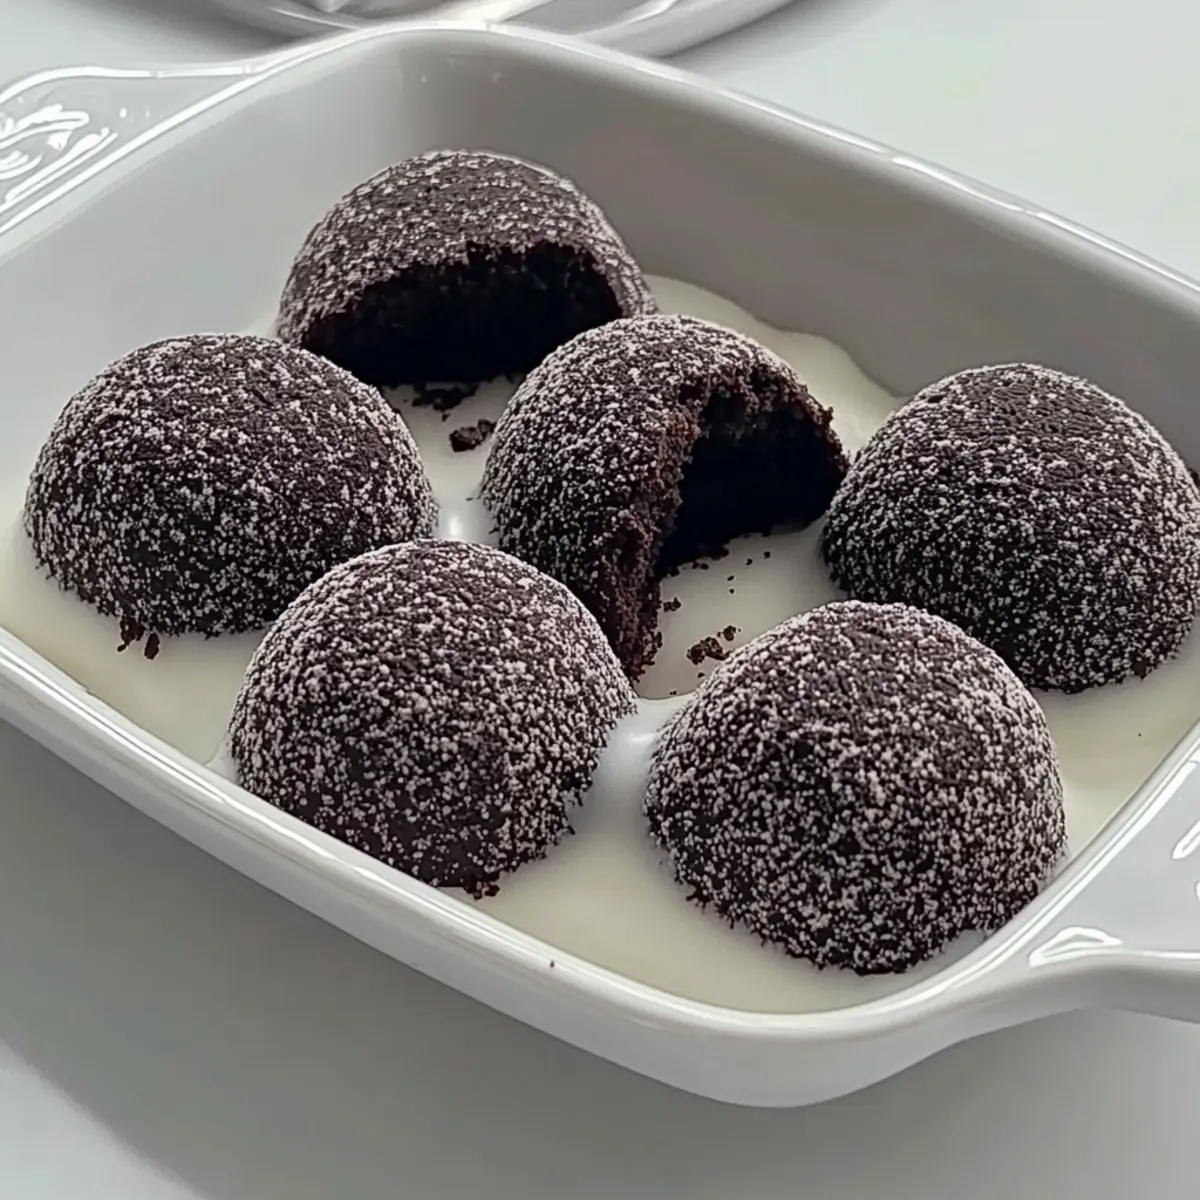
Why Is Oreo Mochi So Special?
Unique Fusion: This recipe unites the classic Japanese mochi with the irresistible taste of Oreos, creating a delightful twist on two favorites.
Quick & Easy: With minimal ingredients and straightforward steps, you’ll have these chewy treats ready in no time!
Versatile Pleasure: Feel free to customize your mochi with different cookies or toppings—try pairing it with a scoop of vanilla ice cream for an extra indulgent dessert experience.
Crowd-Pleasing Appeal: Oreo Mochi is perfect for parties or gatherings, bringing a unique dessert that impresses everyone. For something equally decadent, check out our Red Velvet Oreo treats!
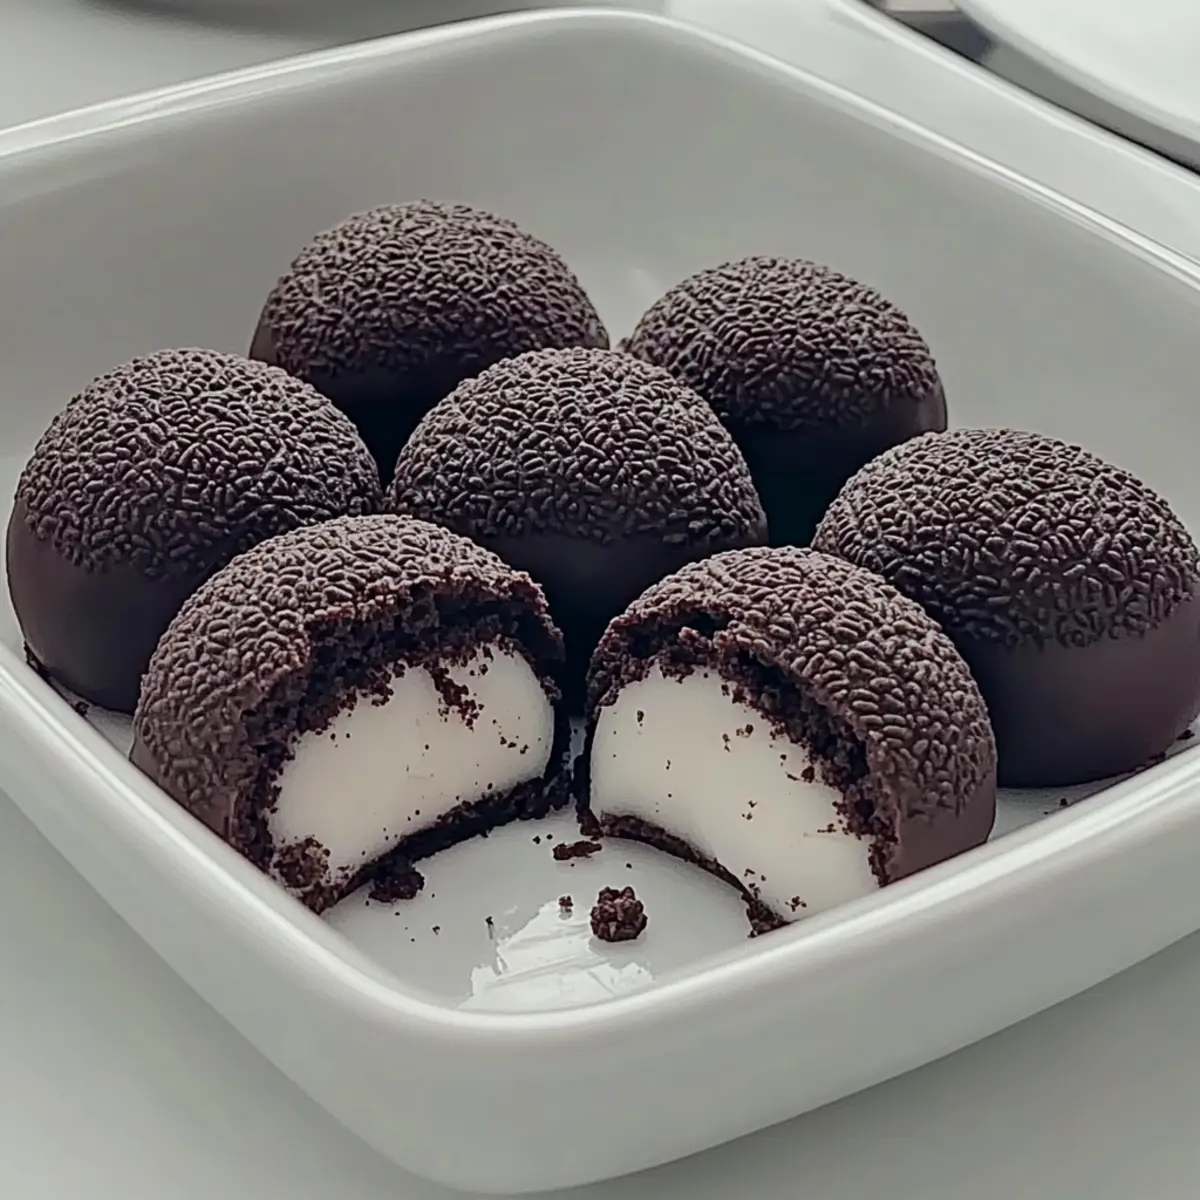
Soft, Chewy Texture: The mochi offers a perfect chewy bite, complemented by the crunch of Oreo coating, making each mouthful pure bliss.
Oreo Mochi Ingredients
Get ready to create these deliciously chewy treats!
For the Mochi Base
- Glutinous Rice Flour – Essential for that chewy mochi texture; can be substituted with sweet rice flour if needed.
- Cornstarch – Provides the right texture; replace with more glutinous rice flour for a thicker consistency.
- Cocoa Powder – Infuses a rich chocolate flavor; opt for Dutch-processed for a gentler taste.
- White Sugar – Sweetens the mochi; coconut sugar can be used as an alternative for a unique flavor.
- Corn Oil – Keeps the mochi moist; can be substituted with vegetable oil or melted butter for variety.
- Milk – Hydrates the dough; almond milk is a great option if you’re looking for a dairy-free choice.
For the Coating
- Oreo Cookies – Use these to coat the mochi for a delightful crunch; swap with other chocolate sandwich cookies for a fun twist.
Step‑by‑Step Instructions for Oreo Mochi
Step 1: Prepare Batter
In a mixing bowl, whisk together 1 cup of glutinous rice flour, ¼ cup of cornstarch, 2 tablespoons of cocoa powder, ½ cup of white sugar, 2 tablespoons of corn oil, and 1 cup of milk until smooth and well combined. The batter should be thick and glossy, with no lumps. This is the key base for your delicious Oreo Mochi.
Step 2: Sift the Mixture
To achieve a velvety texture, pour the prepared batter through a fine sieve into a heavy-bottomed pot. This ensures any clumps are removed, granting your mochi that perfect chewy consistency. Make sure to scrape the bottom of the sieve to get every bit of that luscious mixture into the pot for cooking.
Step 3: Cook the Batter
Place the pot over low heat and, using a wooden spatula, stir continuously for about 10-15 minutes. Watch for the batter to thicken significantly and become glossy while pulling away from the sides of the pot. This crucial step transforms the raw combination into chewy mochi dough that will hold together beautifully.
Step 4: Cool the Dough
Once thickened, transfer the cooking batter to a cornstarch-lined surface. Let it cool for about 10 minutes, just until it’s manageable but still warm. As you transfer it, spread it gently to form a rectangular shape. Once cooled, stretch and knead it until it becomes elastic and smooth.
Step 5: Form Mochi Balls
Divide the slightly cooled mochi dough into small, tablespoon-sized portions. Roll each piece between your palms to form uniform balls. The size makes them easy to handle and allows for a perfect bite of chewy goodness in every Oreo Mochi treat. Keep your hands dusted with cornstarch to prevent sticking.
Step 6: Coat in Oreo Crumbs
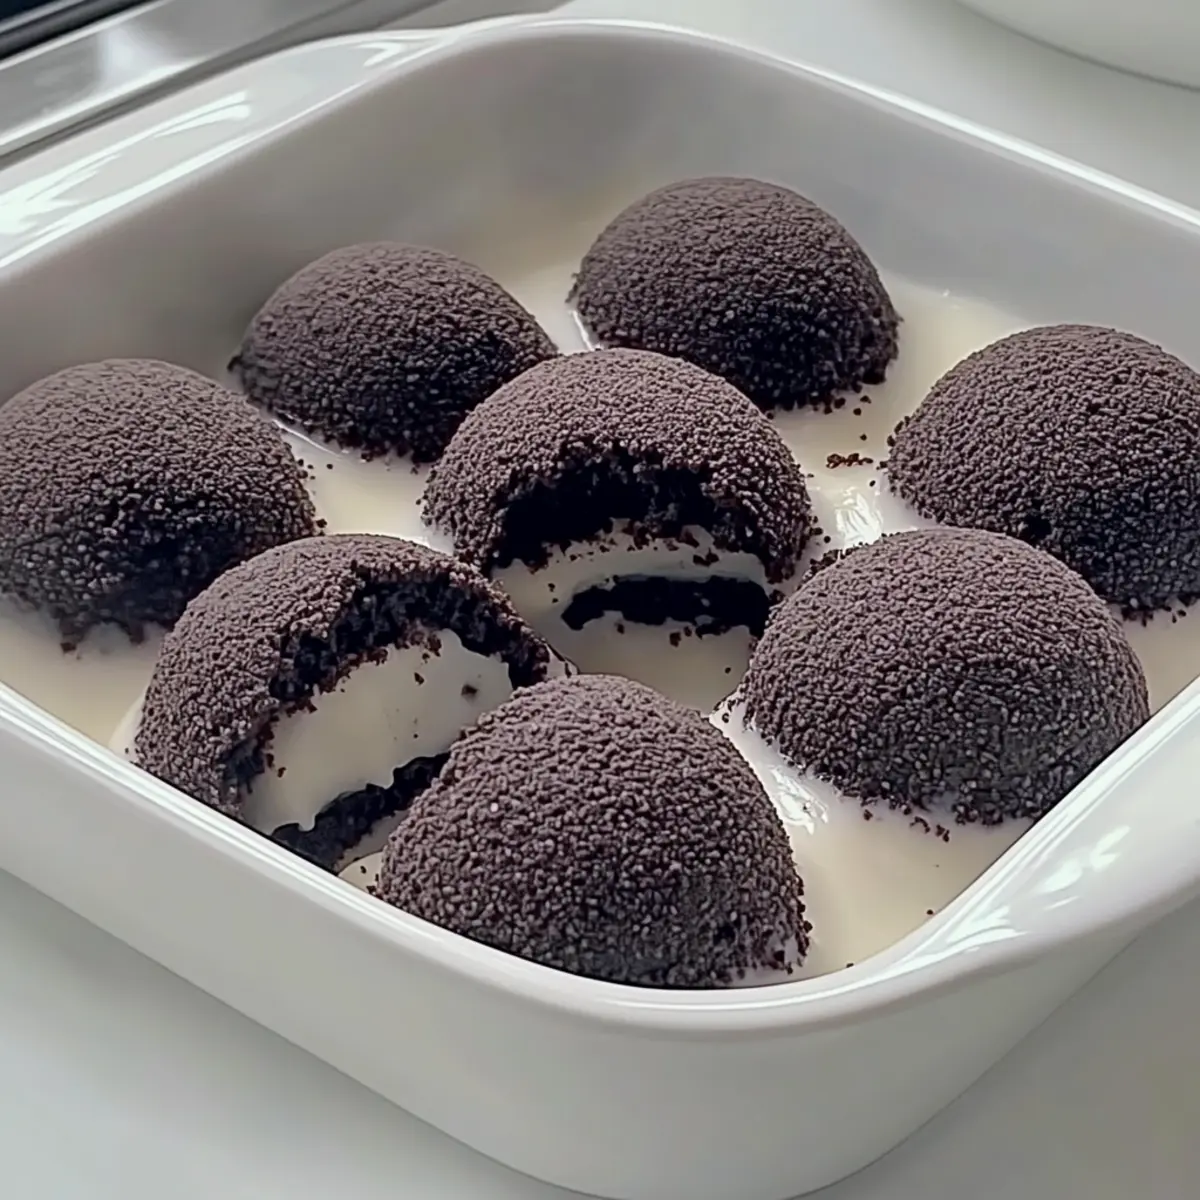
Crush a few Oreo cookies into fine crumbs and place them in a shallow bowl. Roll each mochi ball in the Oreo crumbs until they are fully coated, ensuring each bite has that delightful crunchy topping. The contrast between the soft mochi and crunchy layer will elevate your Oreo Mochi, making it simply irresistible.
What to Serve with Easy Oreo Mochi
Imagine sharing delightful bites of soft, chewy mochi that’s enveloped in a crunchy Oreo coating with your loved ones—pure dessert bliss!
-
Fresh Berries: Juicy strawberries or blueberries add a refreshing tang that balances the rich chocolate, making each bite a luscious experience.
-
Vanilla Ice Cream: A scoop of creamy vanilla melts beautifully alongside the mochi, making for an indulgently sweet and cold pairing.
-
Whipped Cream: Light and airy, whipped cream adds a delightful cloud of sweetness to the chewy mochi, enhancing the overall dessert experience.
-
Chocolate Sauce Drizzle: A velvety chocolate drizzle introduces a luxurious touch, making each mochi indulgently rich and decadently delightful.
-
Fruit Sorbet: Serve a scoop of tangy sorbet on the side for a refreshing contrast to the sweet, chewy delights, captivating your taste buds.
-
Coffee or Tea: A warm cup of coffee or aromatic tea brings warmth and complexity, perfectly complementing the chewy, sweet flavors of the mochi.
With these thoughtful pairings, your Oreo Mochi will not only shine but become a centerpiece of a memorable dessert spread!
Oreo Mochi Variations to Try
Feel free to unleash your creativity with these fun twists that enhance flavors and textures!
-
Different Cookies: Swap Oreos for chocolate chip or graham crackers to explore new taste profiles. Each cookie brings its unique charm to the chewy mochi!
-
Nut Butters: Add a dollop of peanut or almond butter into the dough before cooking for a nutty depth. It pairs beautifully with the chocolate flavor!
-
Dairy-Free Delight: Use almond milk instead of regular milk for a creamy, dairy-free version. You can also replace the butter with coconut oil for a subtle coconut flavor.
-
Flavor Boost: Infuse a teaspoon of vanilla or almond extract into the batter for an extra layer of flavor. Just a hint can elevate the mochi experience!
-
Roll in Sprinkles: After coating in Oreos, roll the mochi in colorful sprinkles to add a festive touch. Perfect for parties or celebrations!
-
With Ice Cream: Serve warm mochi with a scoop of vanilla ice cream for an indulgent treat. It creates a delicious contrast between the soft mochi and cold ice cream.
-
Chocolate Drizzle: Drizzle warm mochi with melted chocolate after coating in Oreos for a decadent finish. The combination is irresistibly rich and delightful.
-
Fruity Twist: Consider adding chopped strawberries or raspberries into the dough for a fruity burst that balances the sweetness beautifully. For an even bolder combo, pair it with whipped cream!
Each variation can bring a delightful surprise to your homemade Oreo Mochi. If you’re looking for another amazing dessert, don’t miss our luscious Red Velvet Oreo recipe that everyone will love!
Make Ahead Options
These Easy Oreo Mochi are perfect for meal prep enthusiasts looking to save time! You can prepare the mochi dough up to 24 hours in advance; simply follow the regular steps, then let it cool and store it in an airtight container in the refrigerator. The coated mochi can also be made ahead—just roll them in Oreo crumbs and refrigerate for up to 3 days. To keep those chewy delights fresher longer, ensure they are in a single layer, separated by parchment paper if stacking. When you’re ready to serve, simply take them out and enjoy the same delicious flavors without any hassle. This make-ahead method will make your dessert stress-free and just as delightful!
Expert Tips for Making Oreo Mochi
- Use Non-Stick Cookware: Using non-stick pots prevents the mochi batter from sticking, ensuring an easy release and perfect texture.
- Cool Before Handling: Always allow the dough to cool slightly before shaping it into balls; this protects your hands from burns and helps the mochi maintain its form.
- Adjust Texture as Needed: If your dough feels too sticky, dust your hands with cornstarch or add a bit more. If it’s too dry, a splash of milk can bring it back to life.
- Uniform Size: Try to keep your mochi balls the same size for even cooking. This way, every Oreo Mochi will have the same delightful chewiness!
- Creative Coating: Don’t be afraid to experiment with different cookies for a unique twist; any favorite cookie can work wonders and add new flavors to your Oreo Mochi!
How to Store and Freeze Oreo Mochi
Room Temperature: Keep Oreo Mochi in an airtight container at room temperature for up to 2-3 days to maintain their chewy texture.
Fridge: For extended freshness, refrigerate your mochi in an airtight container for up to a week, ensuring they stay soft and delightful.
Freezer: Wrap individual mochi pieces tightly in plastic wrap, then place them in a freezer-safe bag. They can be frozen for up to one month.
Reheating: To enjoy frozen mochi, simply let them thaw at room temperature for about 15 minutes before serving, or microwave for 10-15 seconds for a quick warm-up!
Oreo Mochi Recipe FAQs
What type of glutinous rice flour should I use for Oreo Mochi?
Absolutely! Use high-quality glutinous rice flour to achieve the signature chewy texture of mochi. If you can’t find it, sweet rice flour can be a suitable substitute. Just ensure it’s labeled specifically for cooking.
How should I store leftovers of Oreo Mochi?
Very! Store your Oreo Mochi in an airtight container at room temperature for up to 2-3 days. If you want to keep them longer, refrigerating them will extend their freshness for a week, so they stay soft and delightful!
Can I freeze Oreo Mochi?
Definitely! To freeze your Oreo Mochi, wrap each piece individually in plastic wrap and then place them in a freezer-safe bag. They can be stored this way for up to one month. Thaw them at room temperature for about 15 minutes before serving, or pop them in the microwave for a quick 10-15 seconds to warm them up!
What should I do if my mochi dough is too sticky?
Don’t worry if you find the dough too sticky! Simply dust your hands with cornstarch while shaping the mochi balls. If it’s excessively sticky, you can also sprinkle in a little more cornstarch during the mixing process until you reach the desired consistency.
Are there any dietary considerations for Oreo Mochi?
Certainly! This recipe contains gluten due to glutinous rice flour. If you have gluten allergies or concerns, I recommend using gluten-free cookies for the coating or try swapping the cookie variety altogether while keeping the mochi base the same. This way, you can adapt it to fit various dietary preferences!
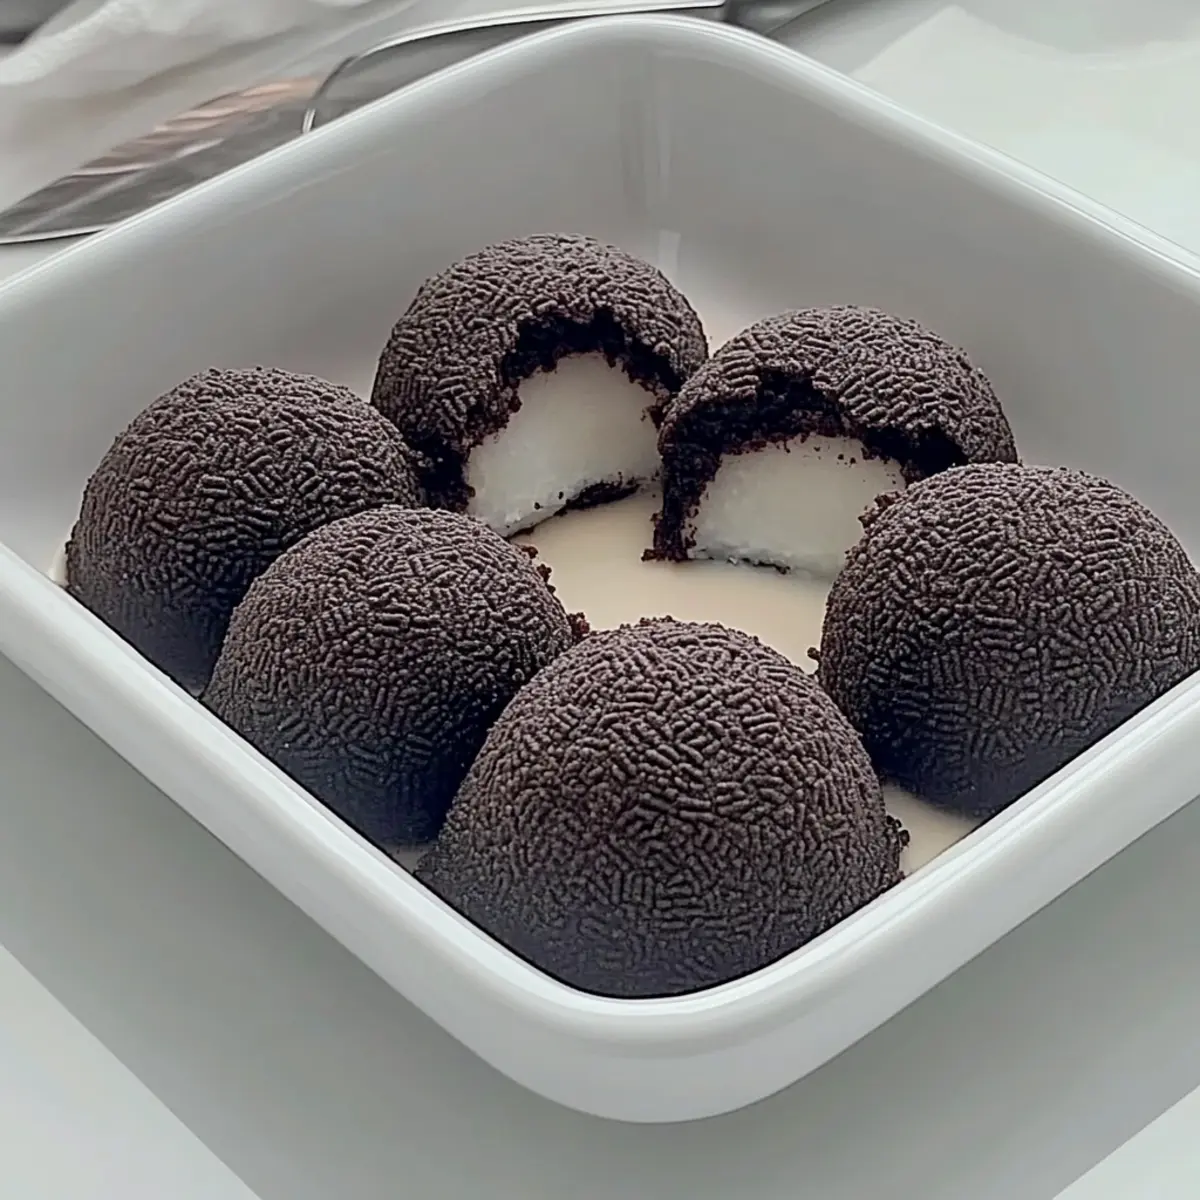
Oreo Mochi: Chewy Chocolate Treats Everyone Will Love
Ingredients
Equipment
Method
- In a mixing bowl, whisk together the glutinous rice flour, cornstarch, cocoa powder, white sugar, corn oil, and milk until smooth and well combined.
- Pour the prepared batter through a fine sieve into a heavy-bottomed pot to remove any clumps.
- Place the pot over low heat and stir continuously for about 10-15 minutes until the batter thickens significantly.
- Transfer the thickened batter to a cornstarch-lined surface and let it cool for about 10 minutes.
- Divide the mochi dough into small portions and roll each into uniform balls.
- Crush the Oreo cookies into fine crumbs and roll each mochi ball in the crumbs until fully coated.
Leave a Reply