
There’s something magical about the first bite of homemade Pad Thai; it transports me straight to bustling street stalls in Bangkok. The warm aroma of garlic, the crunch of fresh veggies, and the smooth rice noodles combine into a heavenly dish that’s both comforting and exciting. This Authentic Pad Thai in 30 Minutes is not just a meal; it’s a sensational experience that can easily adapt to your needs—be it chicken, prawns, or even tofu for a vegetarian twist. Plus, it’s quick and family-friendly, making it perfect for any busy weeknight. So, are you ready to elevate your dinner game with a deliciously easy Thai treat?
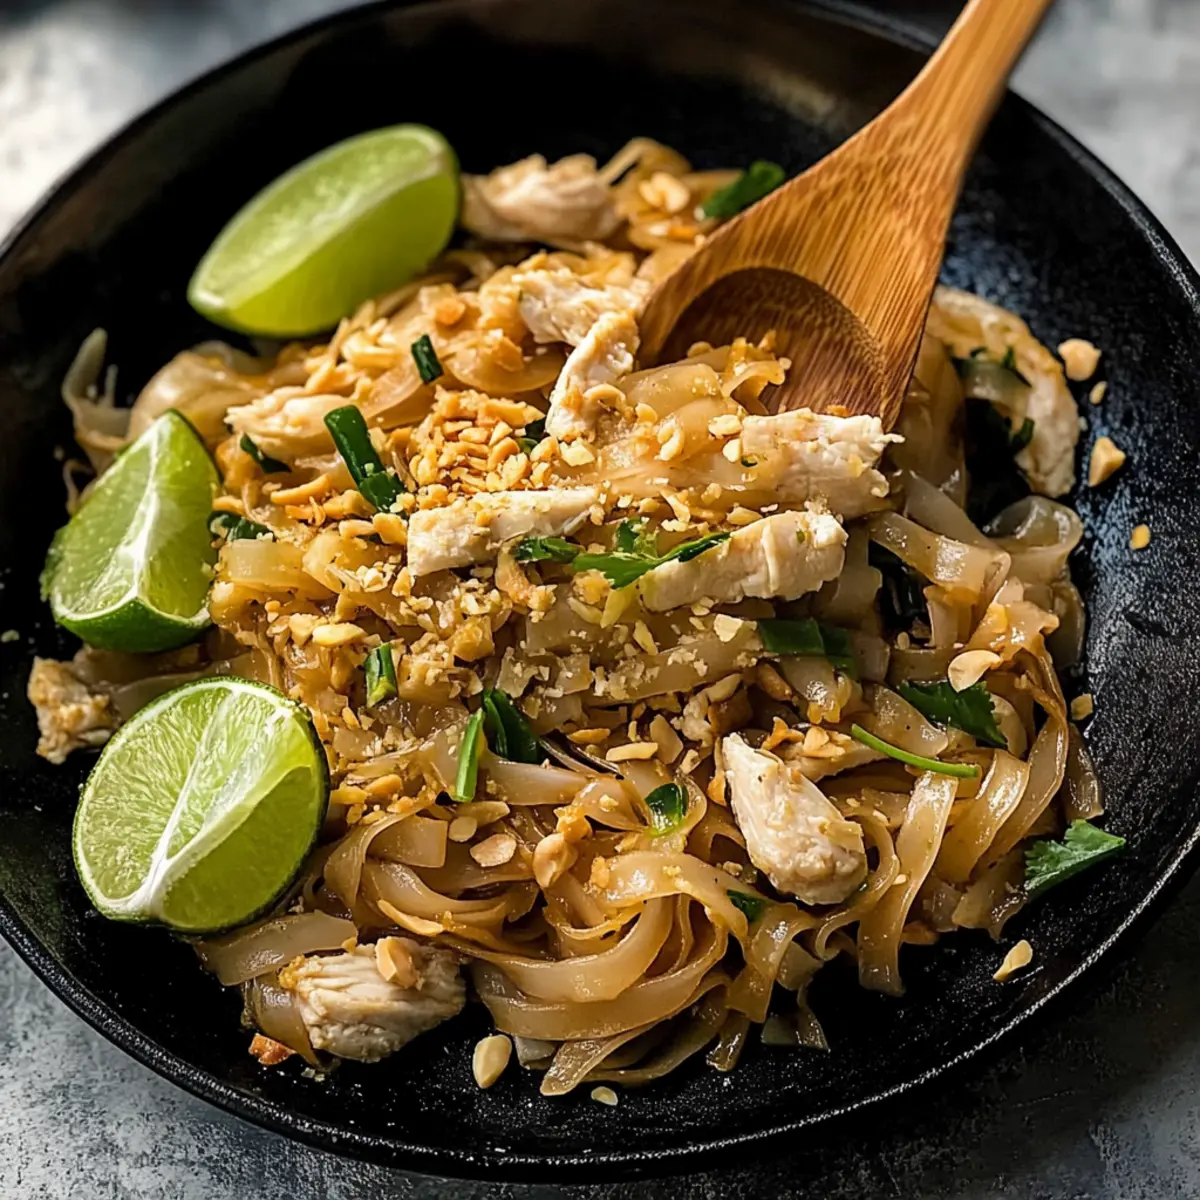
Why is this Pad Thai a must-try?
Quick and Easy: You can whip this up in just 30 minutes, making it ideal for busy weeknights without sacrificing flavor.
Customizable: Whether you prefer chicken, prawns, or tofu, this recipe adapts beautifully to your taste and dietary needs.
Family-Friendly: Everyone will love the delightful mix of flavors and textures, making it a hit at the dinner table.
Authentic Taste: A simple yet mouthwatering combination of sauces, spices, and fresh ingredients gives you that authentic Thai street food experience right at home.
Serve with a Twist: Elevate your meal by pairing it with some Thai Chicken Bites for a complete Thai feast!
Pad Thai Ingredients
• Discover the vital components for making perfect Pad Thai!
For the Noodles
- Rice Noodles – Essential base for the dish; avoid larger noodles that may break easily.
For the Sauce
- Tamarind Puree – Key for authentic flavor; substitute with a mixture of ketchup, brown sugar, and fish sauce if unavailable.
- Brown Sugar – Adds sweetness and depth; packed brown sugar enhances sauce flavor.
- Fish Sauce – Contributes umami and saltiness; light soy sauce may be used, but it alters flavor slightly.
- Oyster Sauce – Boosts umami and completes flavor balance; it’s not traditional but enhances home-style versions.
For the Stir-Fry
- Vegetable or Canola Oil – Essential cooking medium for high-heat stir-frying.
- Onion – Provides aromatic sweetness; brown or yellow onions are preferred.
- Garlic – Elevates overall flavor; finely chopping releases maximum aroma.
- Chicken Breast/Thigh – Main protein source; can substitute with tofu or shrimp.
- Eggs – Adds richness and protein; whisk lightly before adding for even cooking.
For the Crunch
- Bean Sprouts – Essential for a fresh crunch; can be doubled for extra texture.
- Firm Tofu – Provides a vegetarian protein alternative; use the firmest type to prevent breaking during cooking.
- Garlic Chives – Adds a unique garlicky flavor; substitutes include regular chives or scallions.
- Peanuts – Offers a nutty crunch; finely chop for topping, or use almond/sunflower seeds as nut-free options.
For Serving
- Lime Wedges – Essential for fresh acidity; adjust to your taste.
- Chili/Cayenne Pepper – Optional heat enhancer; add according to your spice preference.
Step‑by‑Step Instructions for Pad Thai
Step 1: Prepare Noodles
Soak the rice noodles in a pot of boiling water for about 5 minutes, stirring gently to separate them. When they become soft yet slightly firm, drain and rinse them under cold water to stop the cooking process; set aside for later use in your Pad Thai.
Step 2: Mix Sauce
In a small bowl, combine the tamarind puree, brown sugar, fish sauce, and oyster sauce. Whisk these ingredients together until smooth and well combined. This sauce is key to achieving the authentic flavor profile in your Pad Thai, so set it aside and let the flavors meld.
Step 3: Heat Oil
In a non-stick pan or wok, heat 2 tablespoons of vegetable or canola oil over medium-high heat until shimmering. A properly heated pan helps to achieve that signature stir-fried taste, so wait until the oil is hot before moving to the next step.
Step 4: Sauté Aromatics
Add thinly sliced onion and minced garlic to the hot oil, stirring consistently for about 30 seconds until fragrant and lightly golden. This step builds the aromatic foundation for your Pad Thai, bringing warmth and depth to the dish.
Step 5: Cook Chicken
Add the sliced chicken to the pan, stirring continuously for about 1.5 minutes until the meat is mostly cooked through and no longer pink. Ensure the chicken pieces are well distributed, allowing them to sear effectively in the hot pan.
Step 6: Scramble Eggs
Push the chicken to one side of the pan and pour the lightly beaten eggs into the other side. Allow them to cook for 30 seconds before scrambling thoroughly, then mix with the chicken until the eggs are just set and incorporated into your Pad Thai.
Step 7: Add Remaining Ingredients
Toss in the drained rice noodles along with the bean sprouts, tofu, and the previously prepared sauce. Gently stir-fry everything together for about 1.5 minutes, ensuring the noodles absorb the sauce and all ingredients are heated through.
Step 8: Finish Dish
Add chopped garlic chives and half of the crushed peanuts to the pan, quickly tossing everything together for a final 30 seconds. As soon as the green ingredients are wilted and mixed well, serve your Pad Thai immediately, garnished with the remaining peanuts and lime wedges on the side.
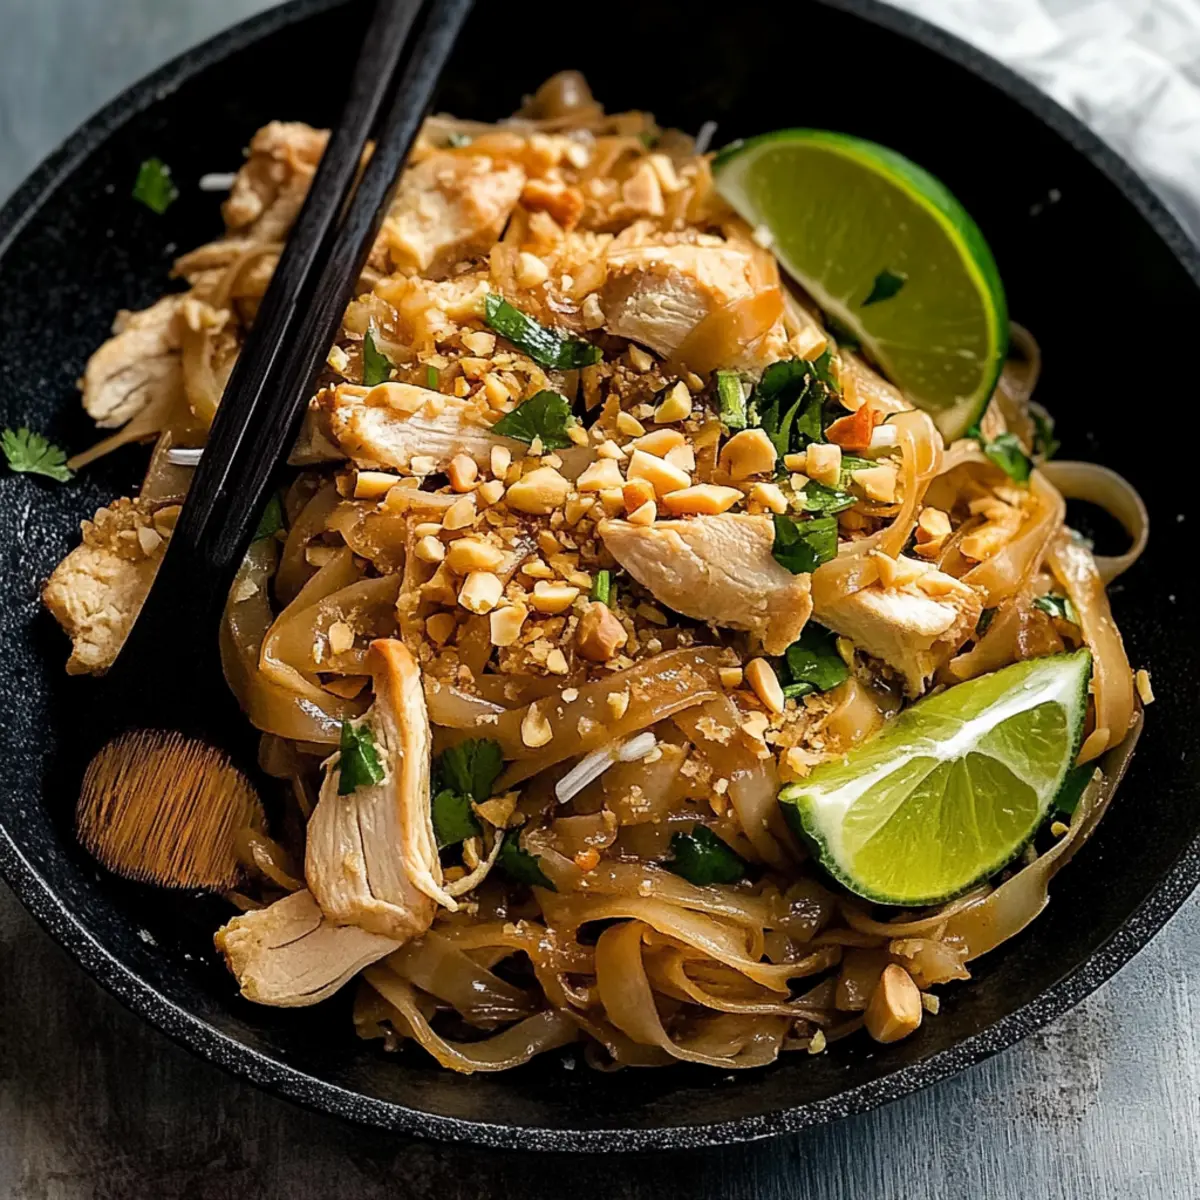
What to Serve with Authentic Pad Thai
Imagine this: the tantalizing aroma of your homemade Pad Thai fills the kitchen, and you want the perfect companions to create a complete dining experience.
-
Thai Spring Rolls: These crispy delights provide a delightful crunch and vivid flavors that complement the savory, tangy notes of Pad Thai.
-
Fresh Cucumber Salad: A cool, tangy cucumber salad offers a refreshing contrast, balancing the heat and richness of your Pad Thai beautifully.
-
Steamed Jasmine Rice: Soft, fluffy rice is a comforting side that soaks up the flavors of Pad Thai, making it a wonderful accompaniment to your meal.
-
Thai Iced Tea: Rich and creamy, this iconic drink adds a sweet touch and refreshing finish, perfectly harmonizing with the flavors of your dish.
-
Mango Sticky Rice: A luscious dessert that delivers sweetness and creaminess after your savory Pad Thai, creating a delightful end to the meal.
-
Chili Lime Roasted Cashews: These nutty treats bring a satisfying crunch and a little heat, echoing the flavors of the Pad Thai.
-
Egg Drop Soup: Silky smooth and light, this flavorful soup adds a comforting dimension and warms your palette before diving into the Pad Thai.
-
Grilled Corn on the Cob: Sweet and smoky, this summer favorite adds a burst of flavor and texture that pairs well with the spices in Pad Thai.
Each of these dishes enhances the overall meal, making your dining experience feel special and complete.
Expert Tips for Pad Thai
-
Prep Ingredients First: Having all your ingredients prepped before cooking helps maintain the dish’s speed and flavor—stir-frying goes quickly!
-
Noodle Care: Be cautious not to let the soaked rice noodles sit for too long; keep them moving to prevent stickiness and ensure the right texture in your Pad Thai.
-
Use Fresh Tamarind if Possible: For the most authentic flavor, try to source genuine tamarind puree. Substituting with ketchup can still taste good, but it won’t match the original!
-
High Heat is Key: Ensure your pan or wok is super hot before adding the oil and vegetables; this prevents steaming and promotes that perfect stir-fry effect.
-
Egg Scrambling Technique: For even distribution of egg throughout your Pad Thai, lightly whisk the eggs before adding them to the pan, ensuring every bite is rich and delicious!
-
Serving Fresh is Best: Pad Thai is best enjoyed immediately, but if you need to store leftovers, keep them in an airtight container and consume within two days for the best taste.
Storage Tips for Pad Thai
Fridge: Store leftover Pad Thai in an airtight container for up to 2 days. Ensure it cools to room temperature before sealing to maintain freshness.
Freezer: You can freeze Pad Thai for up to 1 month. Divide it into portions, using freezer-safe containers or bags to avoid freezer burn.
Reheating: For best results, reheat thawed Pad Thai in a skillet over medium heat, adding a splash of water or oil to restore moisture and flavor.
Texture Tips: Keep in mind that noodles may become softer upon reheating. Enjoy this flavorful Pad Thai fresh for the best experience!
Variations & Substitutions for Pad Thai
Feel free to get creative with this recipe; your Pad Thai can be tailored to suit every taste and preference!
-
Prawn Power: Substitute chicken with prawns for a seafood twist that cooks quickly and adds a delicious freshness.
-
Vegetarian Delight: Replace meat with extra-firm tofu and double the bean sprouts for a satisfying plant-based option that’s just as flavorful.
-
Gluten-Free Switch: Use gluten-free soy sauce or tamari in place of regular soy sauce, ensuring a safe, tasty dish for gluten-sensitive diners.
-
Ketchup-Free Tamarind: If tamarind isn’t on hand, blend equal parts ketchup and vinegar with a touch of brown sugar for a sweet and tangy substitute.
-
Heat It Up: Increase the amount of chili or sprinkle in some sriracha for an extra kick, turning up the spice factor to your liking.
-
Nut Free: Replace peanuts with sunflower seeds or omit them altogether for a nut-free version that still provides a pleasant crunch.
-
Veggie Boost: Add more colorful vegetables like bell peppers or broccoli to enhance the nutritional value while adding vibrant texture and flavor.
-
Sauce Adjustments: Feel free to mix up the sauce ingredients—try adding a splash of lime juice for extra acidity or a hint of hoisin for a sweeter profile.
For more ideas, check out our Thai Chicken Bites to complement your meal, or see how these variations elevate your Pad Thai experience!
Make Ahead Options
These delicious Pad Thai are perfect for meal prep, saving you time on busy weeknights! You can soak the rice noodles up to 24 hours in advance, just remember to rinse them to prevent sticking. The sauce can also be mixed ahead of time and kept in the fridge for up to 3 days; whisk well before using, as the ingredients may separate. Prepare your protein (chicken or tofu) and chop the vegetables a day ahead to ensure a quicker cooking process. When you’re ready to serve, simply stir-fry all ingredients together as instructed, and enjoy restaurant-quality Pad Thai at home with minimal effort!
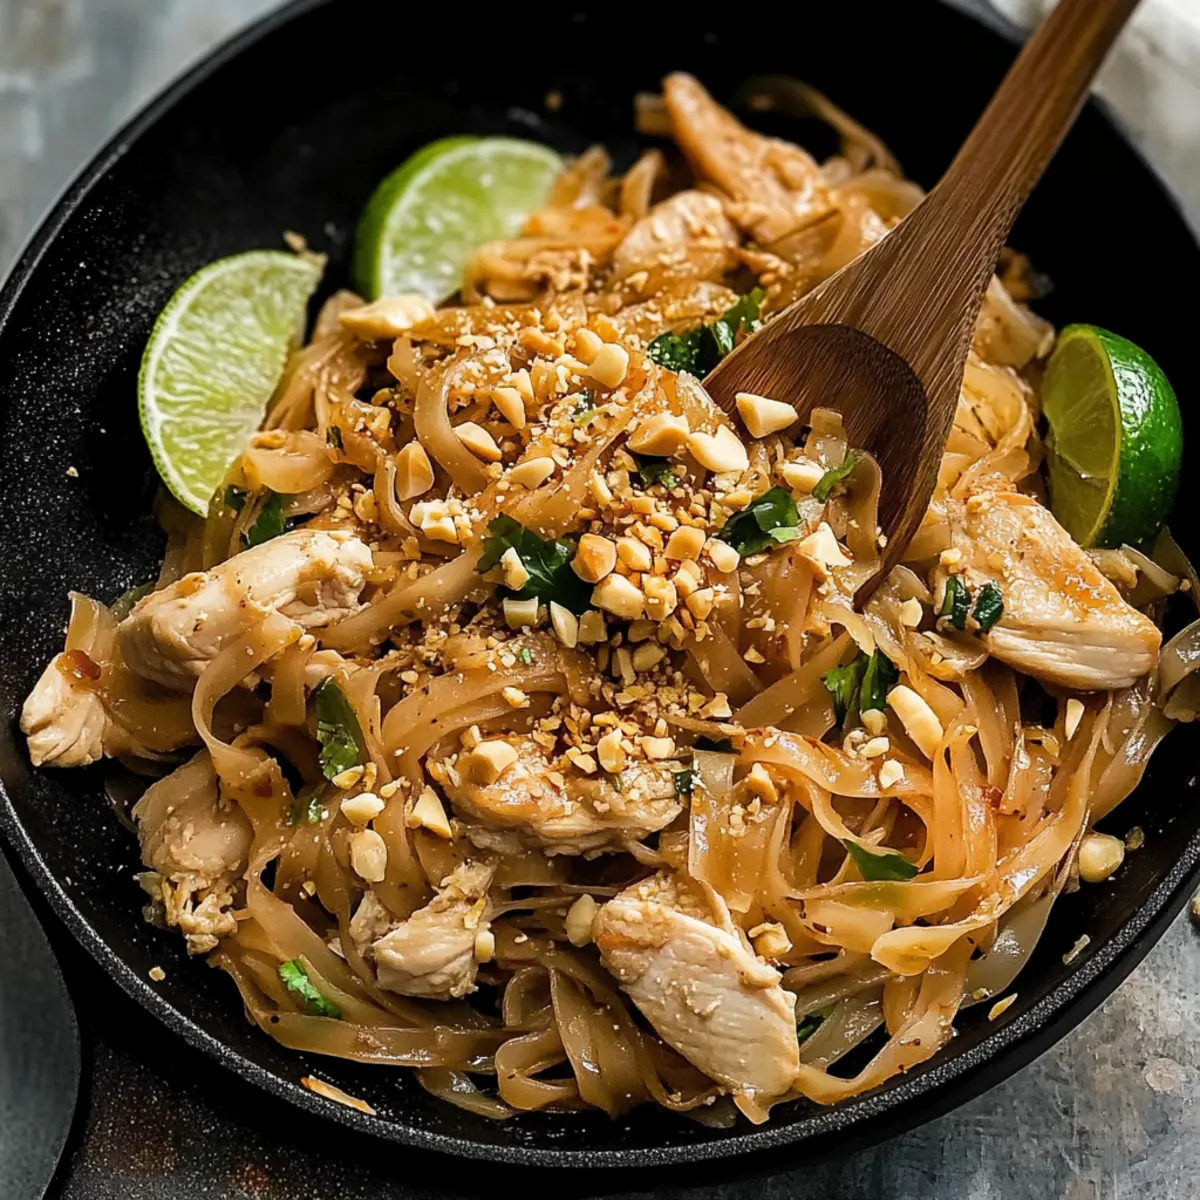
Pad Thai Recipe FAQs
How do I choose the best rice noodles for Pad Thai?
Absolutely! For the best Pad Thai experience, I recommend using Chang’s Pad Thai dried rice sticks. Look for noodles that are thin, as larger noodles tend to break easily when cooked. They should be firm yet slippery after soaking, providing the perfect base for the delicious flavors to shine through.
What’s the best way to store leftover Pad Thai?
Very well! To store your delicious Pad Thai, place it in an airtight container and refrigerate for up to 2 days. Allow the dish to cool to room temperature before sealing it to keep it fresh and tasty. When you’re ready to enjoy it again, gently reheat it in a skillet over medium heat, adding a splash of water or oil for moisture.
Can I freeze Pad Thai, and if so, how?
Yes, you can! Freezing Pad Thai is an excellent option if you want to save it for later. First, let the dish cool completely. Then, divide it into portions and place them in freezer-safe containers or bags. Make sure to remove as much air as possible to prevent freezer burn. It can be stored in the freezer for up to 1 month. When ready to eat, simply thaw in the fridge overnight and reheat in a skillet.
What if my Pad Thai turns out too sticky?
Oh no, don’t worry! If your Pad Thai is too sticky, it might be due to over-soaking the noodles or not enough oil in the pan. To remedy this, you can try adding a bit more oil while reheating after storage. If you’re cooking fresh, ensure your noodles are properly rinsed and avoid letting them sit too long after soaking. A hot wok and quick stir-frying can also help maintain optimal noodle texture.
Are there any dietary considerations for this Pad Thai recipe?
Absolutely! This Pad Thai can easily be adapted to accommodate various dietary needs. For gluten-free options, just ensure that all sauces you use, particularly fish sauce and soy sauce, are gluten-free. You can also replace the chicken with tofu or shrimp depending on your preference. Always check for allergy information if serving to others, especially concerning nuts and seafood.
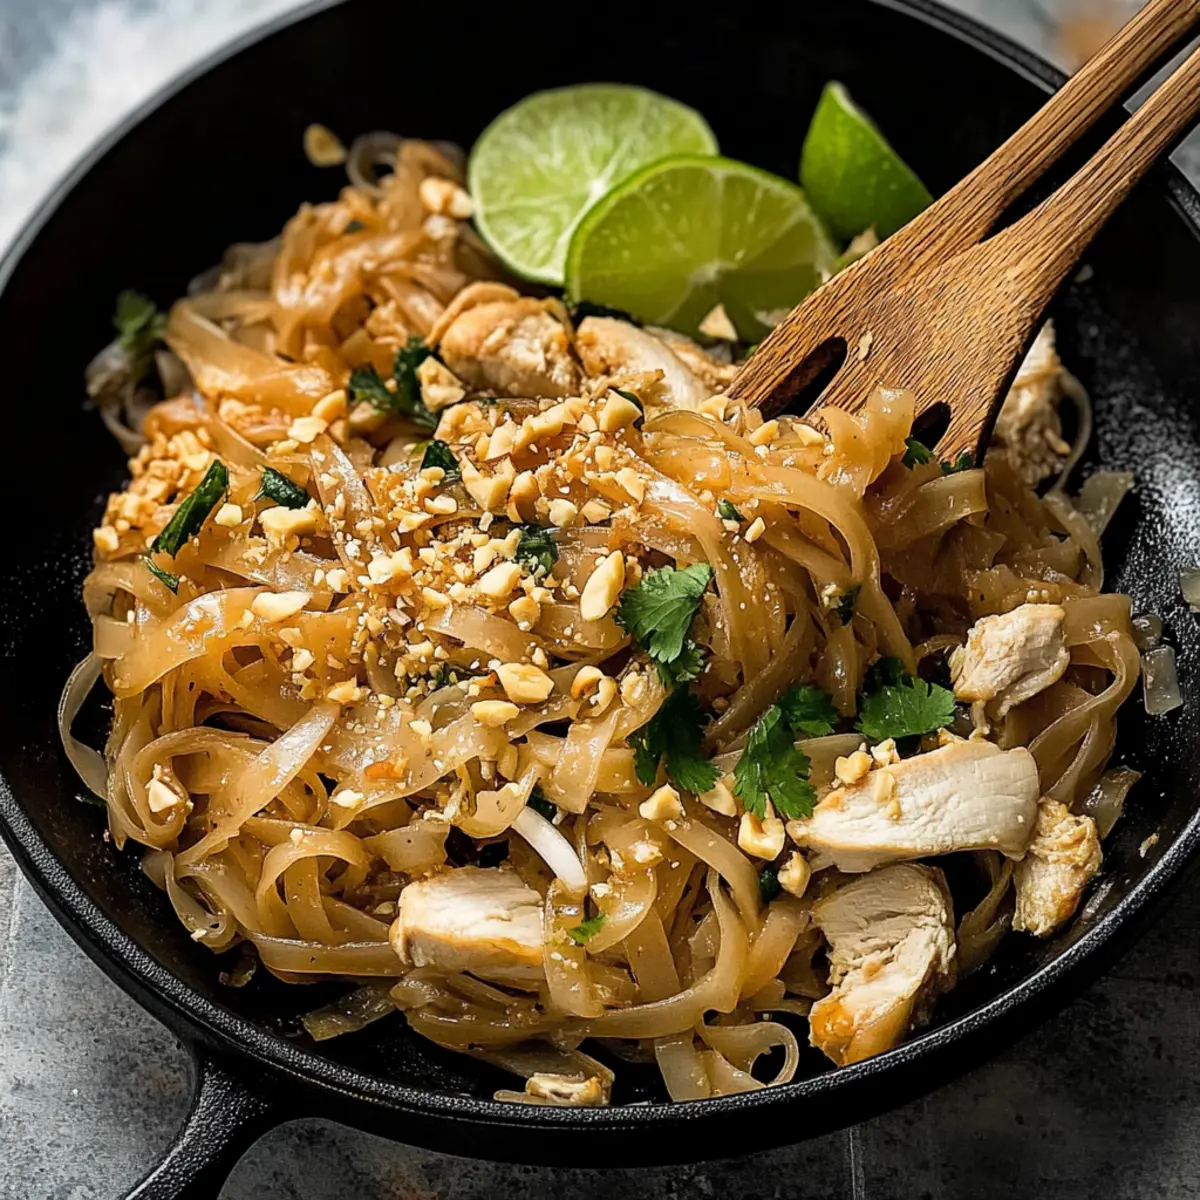
Quick and Easy Pad Thai That’ll Wow Your Taste Buds
Ingredients
Equipment
Method
- Soak the rice noodles in a pot of boiling water for about 5 minutes, stirring gently to separate them. Drain and rinse under cold water.
- In a small bowl, combine the tamarind puree, brown sugar, fish sauce, and oyster sauce. Whisk until smooth.
- Heat 2 tablespoons of vegetable or canola oil in a non-stick pan over medium-high heat until shimmering.
- Add sliced onion and minced garlic; stir for about 30 seconds until fragrant and lightly golden.
- Add sliced chicken to the pan, stirring continuously for about 1.5 minutes until mostly cooked through.
- Push the chicken to one side and pour the beaten eggs into the other side, scrambling until just set.
- Toss in the drained rice noodles, bean sprouts, tofu, and prepared sauce. Stir-fry for about 1.5 minutes.
- Add chopped garlic chives and half of the crushed peanuts. Toss together for a final 30 seconds and serve immediately.
Leave a Reply